
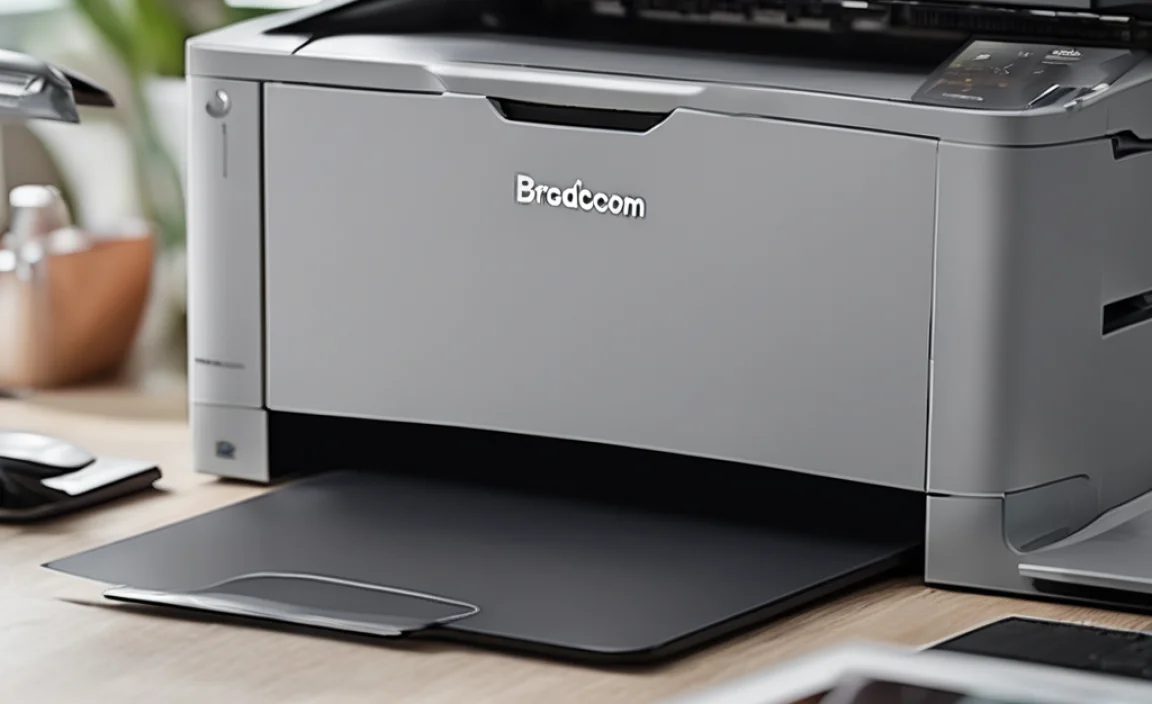
Keeping your Broadcom printer driver updated on macOS is crucial for smooth printing. You can download the latest Broadcom printer drivers for macOS for free directly from the printer manufacturer’s website or through Apple’s built-in software update feature. This guide will walk you through the simple steps to find and install the essential update, ensuring your printer works perfectly.
It can be incredibly frustrating when your printer suddenly stops working with your Mac. You’ve got documents to print, and your trusty Broadcom printer seems to be ignoring your commands. Often, the culprit isn’t a broken printer but an outdated driver. Drivers are like translators, helping your Mac “talk” to your printer. When they’re old, that translation can get garbled. Don’t worry, though! This is a common issue, and fixing it is usually straightforward. We’ll guide you through finding and installing the latest Broadcom printer drivers for your macOS, completely free, so you can get back to printing without a hitch. Let’s dive in!
Why Updating Your Broadcom Printer Driver for macOS is Essential
Think of your printer driver as a vital bridge between your Mac and your printing hardware. When this bridge is in good shape – updated – everything flows smoothly. But when it becomes outdated, or a new macOS update happens, cracks can appear, leading to printing problems. Keeping your Broadcom printer’s driver up-to-date offers a host of benefits.
Ensuring Compatibility with Latest macOS Versions
Apple frequently releases updates to macOS, and these updates come with enhancements and security patches. While these are great for your overall system, they can sometimes disrupt the way older software, including printer drivers, communicates with the operating system. The latest Broadcom printer drivers are specifically designed and tested to work seamlessly with the newest macOS versions. This ensures that you won’t encounter errors or unexpected behavior when trying to print after a macOS system update. It’s like making sure your car’s tires are compatible with the new road surfacing – essential for a smooth ride.
Resolving Printing Issues and Glitches
Printers can be finicky, and outdated drivers are a common source of printing woes. You might experience:
Garbled printouts: Text and images appear distorted or nonsensical.
Slow printing speeds: Jobs take much longer than they should to complete.
“Printer Offline” errors: Your Mac can’t find or connect to the printer.
Incomplete prints: Only a portion of your document gets printed.
Inability to use advanced printer features: Options like duplex printing or specific paper types might not work.
Updating the driver often resolves these frustrating issues instantly, restoring your printer’s functionality.
Improving Performance and Efficiency
Newer drivers aren’t just about fixing bugs; they often include performance improvements. Manufacturers work to optimize how their drivers communicate with the printer hardware and the operating system. This can lead to faster print jobs, more efficient ink or toner usage, and better overall printing quality. It’s a win-win for both speed and cost savings.
Accessing New Features
Sometimes, a driver update is released to enable new features or support for newer printer models that might not have been compatible with older driver versions. By keeping your driver updated, you ensure you can take advantage of all the capabilities your Broadcom printer has to offer.
Where to Find Broadcom Printer Latest Driver for macOS Free
The good news is that obtaining the latest official Broadcom printer drivers for your macOS is usually free and accessible. The key is to know where to look.
Method 1: Through Apple Software Update (Often the Easiest)
For many common printer brands, including those utilizing Broadcom components or technologies, Apple’s macOS includes a robust system for automatically detecting and downloading printer drivers. This is often the simplest and most reliable method.
1. Connect Your Printer: Make sure your printer is powered on and connected to your Mac, either via USB or your Wi-Fi network.
2. Open System Settings (or System Preferences): Click the Apple menu in the top-left corner of your screen and select “System Settings” (on macOS Ventura and later) or “System Preferences” (on older macOS versions).
3. Navigate to Printers & Scanners: Scroll down in System Settings and click “Printers & Scanners.” In System Preferences, it’s usually a direct option in the main window.
4. Add Printer: Click the “Add Printer, Scanner, or Fax…” button. Your Mac will begin searching for available printers on your network or connected via USB.
5. Select Your Printer: Once your Broadcom printer appears in the list, select it.
6. Driver Selection: Look at the “Use” or “Driver” dropdown menu. If macOS has a suitable Broadcom driver readily available, it might automatically select it. If not, look for an option like “Select Software…” or similar. This will open a list of available drivers.
7. Search for Your Printer Model or Driver: Type your printer model name or “Broadcom” into the search bar to find the correct driver.
8. Install the Driver: Select the appropriate driver and click “Add” or “OK.” macOS will download and install the driver automatically.
Important Note: If your printer is not detected, or if the “Use” dropdown doesn’t show a specific driver, you might need to proceed to Method 2.
Method 2: Directly from the Printer Manufacturer’s Official Website
If Apple’s built-in update doesn’t provide the driver, the next best place is the official website of your printer’s manufacturer (e.g., HP, Canon, Epson, Brother, etc., as Broadcom often supplies components or chipset technology within these brands’ printers).
1. Identify Your Printer Manufacturer and Model: You’ll need to know the exact make and model number of your printer. This is usually found on the front or top of the printer itself.
2. Visit the Manufacturer’s Support Website: Open your web browser and go to the official support or downloads section of your printer manufacturer’s website. A quick search for “[Printer Manufacturer Name] support” will usually get you there. For example, search for “HP support” or “Canon support.”
3. Navigate to the Drivers/Downloads Section: Look for a section labeled “Support,” “Downloads,” “Drivers,” or “Software.”
4. Enter Your Printer Model: You will typically be prompted to enter your printer’s model name or number. Type it in accurately.
5. Select Your Operating System: Crucially, select “macOS” from the operating system dropdown menu. You may also need to choose the specific version of macOS you are running (e.g., macOS Sonoma, macOS Ventura, macOS Monterey). If you’re unsure of your macOS version, click the Apple menu > “About This Mac.”
6. Locate the Driver: Browse the list of available downloads. Look for “Driver,” “Full Feature Software,” or “Printer Driver.” Prioritize the latest version released.
7. Download the Driver: Click the download link. The file will typically be a `.dmg` (Disk Image) file.
8. Install the Driver:
Once the download is complete, open the `.dmg` file. It will mount a virtual disk on your desktop.
Open the mounted disk and run the installer package (usually a file ending in `.pkg`).
Follow the on-screen instructions provided by the installer. This typically involves agreeing to terms, selecting installation options, and entering your Mac’s administrator password.
The installer will guide you through adding the printer if it hasn’t been added already, or it will update the existing driver.
External Link: For a comprehensive guide on finding drivers for various manufacturers, Apple’s support pages offer excellent advice. You can find information on setting up printers and troubleshooting here: https://support.apple.com/en-us/HT201465
Method 3: Using Generic PCL or PostScript Drivers (As a Last Resort)
If you absolutely cannot find a specific driver for your Broadcom-based printer, and the manufacturer’s website or Apple’s updates are unhelpful, you might consider using a generic driver. Most modern printers support standard printing languages like PCL (Printer Command Language) or PostScript.
PCL Drivers: Often better for text-based documents and monochrome printing.
PostScript Drivers: Generally preferred for graphics, complex layouts, and higher-quality output.
You can often select these generic drivers during the “Add Printer” process in macOS (System Settings/Preferences > Printers & Scanners > Add Printer). When you click the “Use” dropdown, you might see options like “Generic PCL Printer” or “Generic PostScript Printer.”
Caveats: Using generic drivers means you will likely lose access to many of your printer’s advanced features, such as specific paper handling, color management settings, or duplex printing. It’s a fallback option to get basic printing functionality.
Step-by-Step Guide: Installing the Broadcom Printer Driver on macOS
Let’s walk through the most common and reliable method, assuming you’re downloading directly from the printer manufacturer’s website.
Step 1: Gather Necessary Information
Before you begin, make sure you know:
Your Printer’s Exact Model Name: (e.g., “HP OfficeJet Pro 9015e,” “Canon PIXMA TR4520”).
Your macOS Version: Click the Apple menu > “About This Mac.” Note the version number (e.g., “macOS Sonoma 14.1”).
Step 2: Visit the Printer Manufacturer’s Support Website
Open your preferred web browser and navigate to the official support website for your printer’s brand.
Example Websites:
HP: https://support.hp.com/
Canon: https://www.usa.canon.com/support (or your region’s Canon site)
Epson: https://epson.com/Support
Brother: https://www.brother-usa.com/support
Step 3: Locate the Downloads Section
Once on the support site, look for a prominent link or tab labeled “Support,” “Drivers & Downloads,” “Software & Drivers,” or similar.
Step 4: Find Your Printer Model
Enter your printer’s model name or number into the search bar provided on the downloads page. Select the correct model from the search results.
Step 5: Select Your Operating System (macOS)
This is a critical step! You’ll see a dropdown menu or a selection of operating systems. Choose “macOS” and then precisely select your version of macOS (e.g., “macOS Sonoma,” “macOS Ventura,” “macOS Monterey”). If your exact version isn’t listed but a newer or similar one is, try the closest match.
Step 6: Download the Latest Driver or Software Package
Browse the available downloads for your printer and macOS version. You’ll typically want to download the “Printer Driver” or the “Full Software and Driver” package. The “Full Software” package often includes helpful utilities like scanning software or maintenance tools, which can be beneficial.
Check the Release Date: Look for the most recently updated driver. This ensures you have the latest fixes and compatibility.
File Type: Drivers usually come as `.dmg` files for macOS.
Step 7: Install the Downloaded Driver
1. Open the DMG File: Locate the downloaded `.dmg` file (usually in your “Downloads” folder) and double-click it. A new window will pop up, typically showing the installer package.
2. Run the Installer: Double-click the `.pkg` file within the mounted disk image.
3. Follow the On-Screen Prompts: The installer will launch. Read each screen carefully. You’ll likely need to:
Agree to the software license agreement.
Choose the installation destination (usually your main Macintosh HD).
Enter your Mac’s administrator password when prompted. This is a security measure.
4. Connect Your Printer (If Prompted): The installer might ask you to connect your printer via USB or ensure it’s on the network at a certain point. Follow its instructions.
5. Complete the Installation: Once the installation finishes, you should see a confirmation message.
Step 8: Add Your Printer to macOS (If not done automatically)
Sometimes, the installer adds the printer automatically. If not, you’ll need to do it manually.
1. Go to Apple menu > “System Settings” (or “System Preferences”) > “Printers & Scanners.”
2. Click the “Add Printer, Scanner, or Fax…” button.
3. Your printer should now appear in the list, and the correct driver should be automatically selected under “Use.”
4. Click “Add.”
Step 9: Test Your Printer
Open a simple document (like a text file) and try printing it. Select your Broadcom printer and click “Print.” Hopefully, it works perfectly!
Understanding Broadcom’s Role in Printers
It’s important to clarify that “Broadcom printer driver” might not always refer to a standalone driver directly from a company named “Broadcom Printer.” Instead, Broadcom is a major technology company that designs and supplies semiconductors and systems-on-a-chip for a wide range of networking and connectivity products.
This means that Broadcom technology is often integrated into the internal components of printers made by other well-known brands like HP, Canon, Epson, Brother, and others. When you’re looking for a “Broadcom printer driver for macOS,” you are typically looking for the driver provided by the printer manufacturer (HP, Canon, etc.) that supports the connectivity hardware, which may include Broadcom chipsets, within that printer.
So, while you won’t usually go to a “Broadcom Printer” website, you’re ensuring that the drivers you download from your printer’s brand are optimized to work with the underlying Broadcom technology responsible for network connectivity (like Wi-Fi or Ethernet) or even processing within the printer.
Here’s a table illustrating this relationship:
| Printer Brand | Broadcom’s Contribution (Likely) | Where to Get Drivers |
|---|---|---|
| HP | Wi-Fi or Ethernet chipsets, internal processing chips | HP Support Website |
| Canon | Wireless network modules, other internal components | Canon Support Website |
| Epson | Network interface controllers, internal processing | Epson Support Website |
| Brother | Wi-Fi/Ethernet components, chipsets | Brother Support Website |
In essence, a “Broadcom printer driver for macOS” is the official driver from your printer’s brand that correctly manages the hardware, some of which might be Broadcom-made.
Troubleshooting Common Driver Issues
Even with the best intentions, driver installations can sometimes hit a snag. Here are some common issues and how to tackle them like a pro (a beginner pro, that is!).
Printer Not Detected by macOS
Check Connections: Ensure your printer is powered on and securely connected via USB or your Wi-Fi network. Restart both your printer and your Mac.
Reset Printing System: Sometimes, macOS’s printing system gets confused.
1. Go to System Settings/Preferences > Printers & Scanners.
2. Control-click (or right-click) in the empty space of the printer list.
3. Select “Reset printing system…”
4. Confirm the reset. Then, try adding your printer again.
Verify Network: If using Wi-Fi, ensure your printer is connected to the same network as your Mac. Check your router settings if necessary.
Driver Installation Fails
Permissions: Ensure you’re logged in as an administrator and that you have permission to install software.
Interference: Temporarily disable any third-party antivirus or security software that might be blocking the installation. Remember to re-enable it afterward.
Corrupted Download: If the download seemed incomplete or the `.dmg` file won’t open properly, try downloading the driver again.
Incompatible Driver: Double-check that you downloaded the driver specifically for your printer model and your exact macOS version.
Previously Working Printer Stops Printing After macOS Update
This is a classic sign of driver incompatibility.
Run Software Update: Go to System Settings/Preferences > General > Software Update (macOS Ventura and later) or System Preferences > Software Update (older versions). Apple sometimes releases updated drivers through this channel.
Reinstall Driver: Remove the printer from System Settings/Preferences > Printers & Scanners. Then, download and reinstall the latest driver from the manufacturer’s website as described above.
Printer Shows “Offline” or “Idle” but Won’t Print
Check Printer Queue: Open the printer queue (System Settings/Preferences > Printers & Scanners > click your printer > Open Print Queue). See if there are any stuck print jobs. You can try canceling them.
Restart Printer Spooler: While complex for beginners, a simple restart of the printer and Mac often resolves this by clearing the print spooler.
For more advanced troubleshooting, reputable sources like the official printer manufacturer support pages or even resources from organizations like the International Telecommunication Union (ITU), which sets global standards for communication