
Have you ever wondered why your computer sometimes runs slow? It could be that its memory is full. Windows 11 has a clever solution to this problem: automatically manage paging file size for all drives. This feature helps your computer run smoothly by adjusting its memory like a well-timed dance.
When your computer needs more memory, it can use part of the hard drive. This is called the paging file. But, if you don’t set it right, this file can get too big or too small. Luckily, Windows 11 can fix this for you!
Imagine having a magic helper that takes care of things without you asking. That’s what this feature does. It helps avoid slowdowns, so you can keep playing games or watching videos without any pauses. Sounds awesome, right?
In this article, we will explore how to use this feature. You will learn why it’s important and how it can make your experience on Windows 11 so much better. So, let’s dive in!
Automatically Manage Paging File Size For All Drives Windows 11

Automatically Manage Paging File Size for All Drives Windows 11
Did you know Windows 11 can manage your computer’s memory without much input? By automatically managing the paging file size for all drives, it adjusts how much space is used based on your needs. This setting helps your PC run smoothly, especially when it has many programs open. You do not have to worry about adjusting the settings manually. Simply enable this option, and your computer will adapt automatically, ensuring better performance.
Understanding Paging Files in Windows 11
Definition and purpose of paging files. Importance of managing paging file size for system performance.
Paging files are special files that help your computer remember things. They act like extra memory when your computer runs out of space. This is important because it helps your system run smoothly and quickly. If the paging file is too small, your computer may slow down. Therefore, it is smart to automatically manage paging file size for all drives in Windows 11. A well-managed paging file boosts performance and keeps everything working well.
What are Paging Files Used For?
Paging files store temporary data and help your computer multitask effectively.
Benefits of Managing Paging Files:
- Improves speed
- Prevents crashes
- Boosts overall performance
Steps to Enable Automatic Paging File Management
Navigating to System Properties. Configuring virtual memory settings.
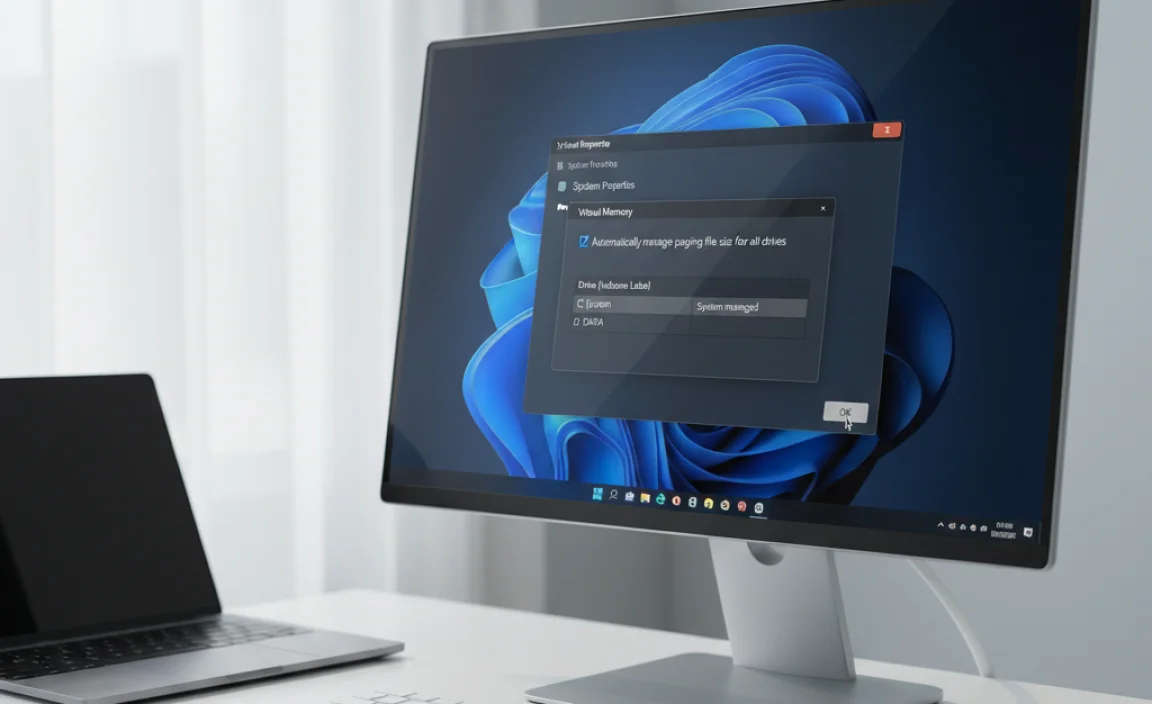
First, let’s dive into the System Properties. Press the Windows key + R to open the Run dialog. Type sysdm.cpl and hit Enter. Next, spot the Advanced tab. Here comes the fun part—click Settings under Performance. Now that you’re in the Performance Options, go to the Advanced tab again, and hit Change under Virtual Memory. Don’t worry, we’re almost there!
Uncheck the box for “Automatically manage paging file size for all drives.” Then select your drive, choose System managed size, and hit Set. Ta-da! You’ve just set Windows to handle its paging file like a pro. Who knew managing virtual memory could feel this good?
| Step | Action |
|---|---|
| 1 | Open Run dialog |
| 2 | Type sysdm.cpl |
| 3 | Click on the Advanced tab |
| 4 | Go to Performance Settings |
| 5 | Change Virtual Memory settings |
Customizing Paging File Settings for Optimal Performance

How to set specific size limits. Factors to consider when customizing settings.
Setting specific size limits for your paging file can boost your computer’s speed. Start by identifying how much memory your system uses. Remember, too small of a size can cause slowdowns. Factors to consider include:
- The total RAM in your computer
- Your typical workload, like gaming or video editing
- How many programs you run at once
Balancing these factors will help you choose the best paging file size!
What are the benefits of customizing the paging file size?
Customizing your paging file size can make your computer run faster and use less memory. It can also help prevent errors when opening big programs or files.
Troubleshooting Common Issues with Paging Files
Identifying issues related to paging file size. Solutions for paging file errors and performance drops.
Many people face problems with paging files. These issues can cause your computer to slow down. You might notice it when programs take longer to open or crash unexpectedly. Here are some common problems and fixes:
- Low Disk Space: Check if your drive is nearly full.
- Incorrect Paging File Size: Adjust it through System Settings.
- Driver Issues: Make sure your drivers are updated.
- Background Programs: Close unused programs to free up memory.
By identifying these problems and applying simple solutions, you can improve your computer’s performance.
What can cause paging file problems?
Errors in paging files can happen due to low disk space and outdated drivers. This can lead to crashes and slow speed, making it hard to use your PC comfortably.
How do I fix paging file errors?
To fix these errors, check disk space and adjust the paging file settings. This helps with performance and allows your PC to run smoothly.
Monitoring Paging File Performance in Windows 11
Tools and methods to monitor paging file usage. Analyzing performance metrics for system optimization.
To keep your Windows 11 running smoothly, you need to check how well your paging file is performing. Tools like the Task Manager and Resource Monitor can show you whether your system is juggling memory efficiently. These handy tools help spot when your paging file might be slacking off, like a lazy cat sunbathing on the window sill. Want to analyze its performance? Look for metrics like page faults and memory usage. Understanding these numbers is like reading the fine print on a cereal box—important!
| Performance Metric | Description |
|---|---|
| Page Faults | When the system needs data that’s not in RAM, it causes a page fault. |
| Memory Usage | Indicates how much of the paging file is actually in use. |
Monitoring these metrics will help you optimize your system. You’ll know when it’s time to upgrade, so your computer can perform like a cheetah instead of a turtle!
Impact of SSDs vs. HDDs on Paging File Management
Differences in paging file management between SSDs and HDDs. Recommendations based on storage type.
SSDs and HDDs manage paging files differently. SSDs are faster, allowing quicker access to files. This means your computer runs smoother. On the other hand, HDDs are slower, leading to longer wait times. It’s smart to adjust settings based on your storage type:
- Use SSDs for best performance. Keep the paging file on the same drive.
- For HDDs, consider a smaller paging file to save space.
Best Practices for Managing Paging Files on Multiple Drives
Tips for maintaining performance across all drives. Balancing paging file allocation among multiple drives.
To keep your computer fast and smooth, managing your paging files across multiple drives is key. Follow these tips for the best performance:
- Balance your paging files evenly. This helps share the workload across your drives.
- Use SSDs for your paging file. They are faster than traditional hard drives.
- Monitor performance. Check how each drive handles the paging file.
With these practices, your Windows 11 device will run better, no matter how many drives you have!
How do I manage paging files on different drives?
To manage paging files, go to your system settings. Under the Advanced tab, you can set the size and location for each drive. Be sure to apply changes for better performance!
Conclusion
In conclusion, automatically managing paging file size in Windows 11 helps your computer run better. It saves space and improves performance. You can find this setting in the System Properties. We encourage you to explore this option and see how it benefits your device. For more tips on optimizing Windows 11, check out related articles to enhance your tech knowledge!
FAQs
Here Are Five Related Questions On The Topic Of Automatically Managing Paging File Size For All Drives In Windows 11:
Windows 11 can automatically manage the paging file size on your computer. The paging file is like extra memory that helps your computer run better. When your computer needs more memory, it adds to this file by itself. You don’t have to worry about it; Windows takes care of everything! Just make sure you give your computer enough space to help it work smoothly.
Sure! Please provide the question you would like me to answer.
How Can I Enable Automatic Management Of The Paging File Size For All Drives In Windows 11?
To automatically manage the paging file size in Windows 11, first, click on the Start Menu. Then, type “Performance” and select “Adjust the appearance and performance of Windows.” Next, go to the “Advanced” tab and click on “Change” in the Virtual Memory section. Uncheck the box that says “Automatically manage paging file size for all drives.” Finally, select “System managed size” for each drive and click “OK.” Your computer will now handle this automatically!
What Are The Benefits Of Allowing Windows To Automatically Manage The Paging File Size Instead Of Setting It Manually?
Letting Windows manage the paging file size means it can change the size based on your needs. This helps your computer run better without you doing anything. It saves you time because you don’t have to worry about it. Plus, it prevents problems if your computer runs out of memory.
How Does Windows Determine The Appropriate Size For The Paging File When Managed Automatically?
Windows looks at how much memory you use on your computer. It checks the amount of RAM (random access memory) you have. Then, it decides how big the paging file needs to be. This file helps your computer run programs when it runs out of memory. Windows wants to make sure everything works smoothly!
Are There Any Limitations Or Considerations To Keep In Mind When Using Automatic Paging File Management In Windows 11?
Yes, there are some things to think about with automatic paging file management in Windows 11. First, it uses space on your hard drive, so make sure you have enough room. If your computer is too full, it might slow down. Also, sometimes it can decide to make the paging file too big. This can take away space from other important files you need.
How Can I Access And Modify The Virtual Memory Settings To Enable Automatic Paging File Management On Different Drives In Windows 11?
To change how Windows 11 uses its virtual memory, first, click on the Start button. Then, type “advanced system settings” and select it. In the new window, click on “Settings” under the Performance section. Next, find the “Advanced” tab and click on “Change” for virtual memory. You can check the box to let Windows manage the paging file automatically on different drives. Remember to click “OK” to save your changes!