Do you want your computer to run faster? Have you ever thought about how to format a hard drive for Windows 10? Formatting can be like giving your old computer a fresh start. Imagine opening your computer and seeing everything organized like new.
Many people don’t realize that formatting a hard drive is sometimes necessary. It can fix problems and clear away old files. However, it might sound complicated. But it’s not! With the right steps, anyone can do it.
Here’s a fun fact: formatting your hard drive can wipe out all the junk files that slow it down. Doesn’t that sound cool? You can learn how to format a hard drive for Windows 10 quickly and easily. Are you ready to dive into this simple process? Let’s explore together!
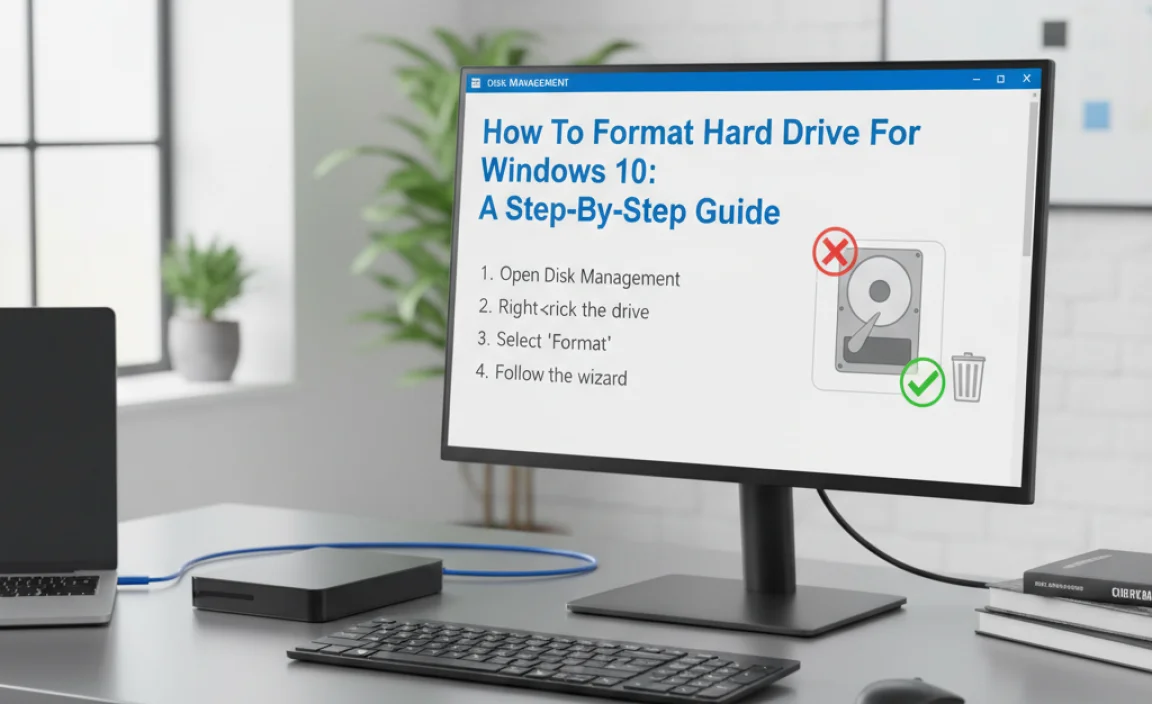
How To Format Hard Drive For Windows 10: A Step-By-Step Guide
How to Format Hard Drive for Windows 10
Formatting a hard drive in Windows 10 is a simple process that helps you start fresh or clear space. Ever wondered how to wipe everything off your drive? First, back up your important files! Then, access Disk Management and choose the drive you want to format. A quick right-click lets you start formatting, picking the right file system, like NTFS. Formatting clears data, making your drive like new. It’s easier than you think!
Understanding Hard Drive Formatting
Definition and purpose of hard drive formatting. Different file systems available (NTFS, FAT32, exFAT).
Hard drive formatting is the process of preparing a storage device for use. It removes old data and sets up a new system. This helps in organizing files efficiently. Common file systems include:
- NTFS: This system supports large files and is great for Windows.
- FAT32: It allows for easy sharing between different systems but can’t handle files over 4GB.
- exFAT: Ideal for USB drives, it supports larger files without limits.
Understanding these systems helps you find the right format for your needs.
What is the purpose of hard drive formatting?
The purpose of hard drive formatting is to prepare the drive for new data. It gives the drive a fresh start, clears old files, and helps your computer run faster.
Pre-Formatting Considerations
Importance of backing up data before formatting. Identifying the hard drive to be formatted.
Backing up your data is very important. It means saving your files somewhere safe. If something goes wrong, you won’t lose everything. Always remember to check which hard drive you plan to format. Use the correct drive to avoid losing precious files. Formatting erases all data on that drive. So, double-check before starting. Follow these steps!
- Save important files in cloud storage.
- Use an external hard drive for backups.
- Make sure you’re formatting the right drive.
Why is backing up data important?
Backing up keeps your files safe during formatting. It helps recover lost data if things go wrong. Always take this step.
How to identify the right hard drive?
Look for the drive label in Windows. You can see all drives in “This PC.” Make sure to only format the one you want.
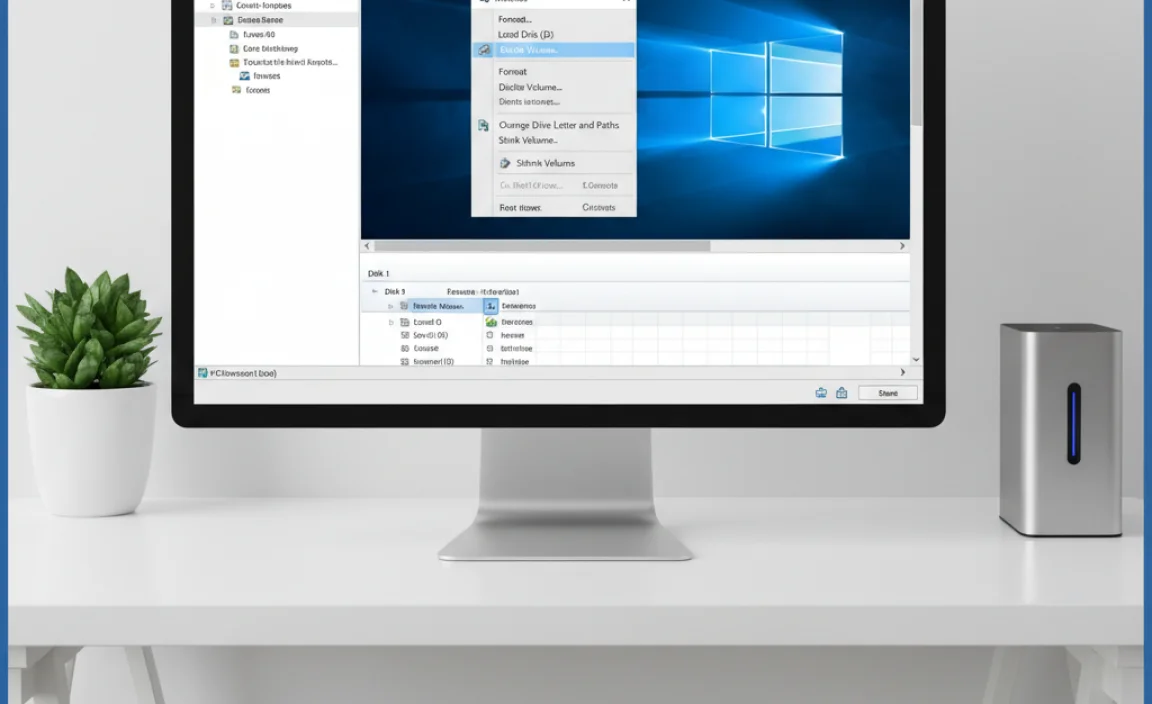
Accessing the Disk Management Tool
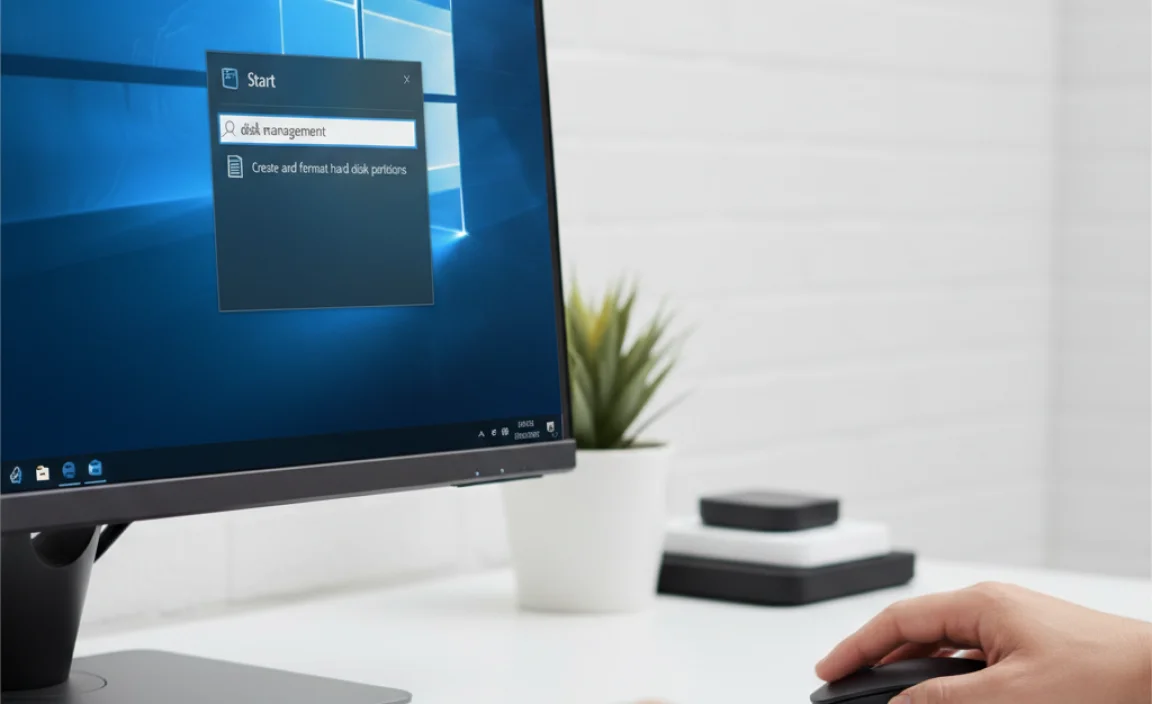
Stepbystep guide to open Disk Management in Windows 10. Understanding the layout and options available in Disk Management.
Ready to dive into the world of Disk Management? First, click on the Start menu. Type “Disk Management” into the search bar and hit Enter. Voilà! You’re in! This tool looks like an art gallery but with disks. You’ll see a handy layout of your drives and options to format, resize, or even delete them. Just remember: formatting is like giving your hard drive a clean slate, not a vacation! Below is a quick overview of the options you’ll find:
| Option | Description |
|---|---|
| Create Volume | Make a new space for your data. |
| Format | Wipe everything clean. Bye-bye, old files! |
| Delete Volume | Erase a drive for good, like a magician! |
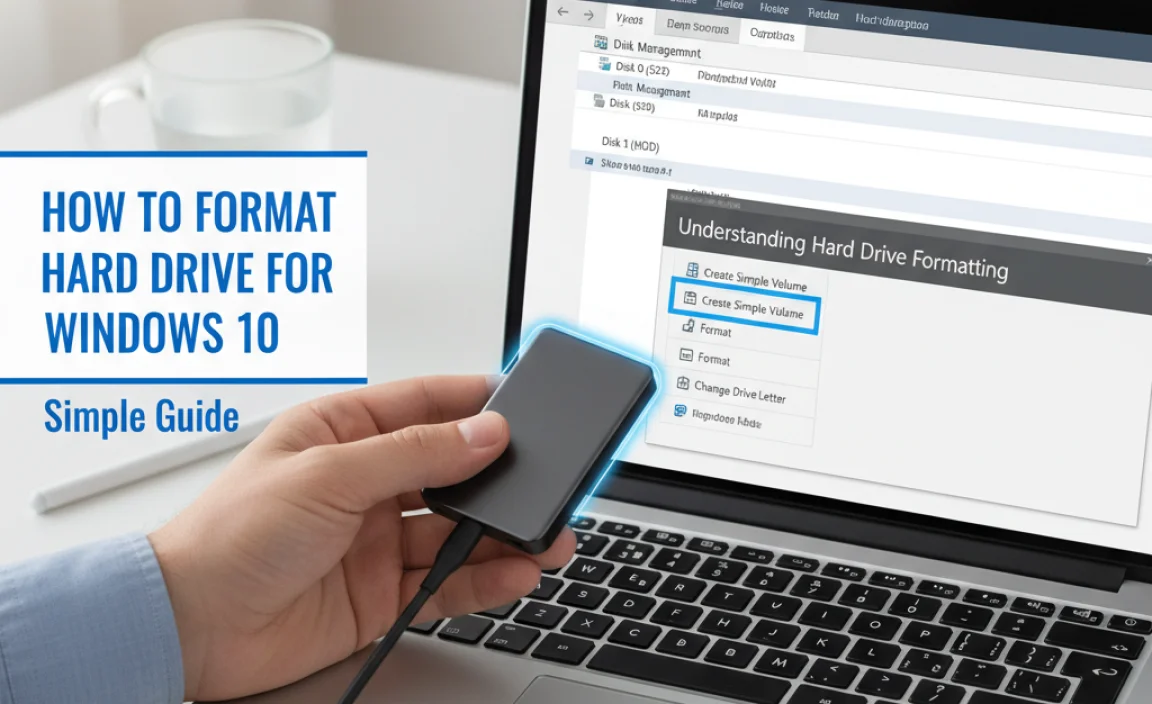
Formatting a Hard Drive Using Disk Management
Detailed steps to format a hard drive using Disk Management. Selecting the correct file system and allocation unit size.
Formatting a hard drive with Disk Management is like giving your computer a fresh haircut—except there’s no hair! First, right-click on the Windows Start menu and select Disk Management. This opens a new window where you can see all your drives. Choose the one you want to format. Right-click it and select Format. Next, pick a file system. If you want to use it with other computers, select NTFS or exFAT for a wider reach. Lastly, deciding on an allocation unit size is like picking slice sizes for pizza—smaller slices can be better for many files. And voila! Your drive is ready to rock and roll!
| File System | Best For |
|---|---|
| NTFS | Windows Only |
| exFAT | Multiple Devices |
| FAT32 | Older Devices |
Formatting a Hard Drive Using Command Prompt
Stepbystep instructions for formatting via Command Prompt. Important commands and syntax to use.
Ready to give your hard drive a fresh start? Let’s format it using the Command Prompt! First, type “cmd” in the search bar and run it as an admin. Next, enter the command diskpart. This opens the disk partition tool. After that, type list disk to see all drives. Find your hard drive number. Then, type select disk X (replace X with your number). Finally, type clean to wipe it. Presto! Your drive is ready for action!
| Command | Function |
|---|---|
| diskpart | Open disk partition tool |
| list disk | Show all drives |
| select disk X | Select your hard drive |
| clean | Erase all data |
Now your drive is as clean as my sock drawer after a spring cleaning! Enjoy your fresh start!
Formatting External Hard Drives or USB Drives
Steps to format external drives through File Explorer. Differences in formatting external devices versus internal drives.
To format an external hard drive or USB drive, follow these steps using File Explorer:
- Open File Explorer.
- Find your drive under This PC.
- Right-click on the drive and select Format.
- Choose a file system like NTFS or FAT32.
- Click Start to begin the formatting process.
Formatting external drives is different from internal drives. External drives can be easily connected and removed. Internal drives hold your main system files. Always back up data before formatting, as it wipes everything clean.
What are the differences in formatting external and internal drives?
External drives are portable and usually formatted for quick access. Meanwhile, internal drives store the operating system and programs, needing careful formatting to avoid issues.
Common Issues and Troubleshooting
Common errors encountered during formatting process. Tips for resolving issues when formatting fails.
Formatting your hard drive can be tricky. Many people run into errors, like not having enough space or using the wrong settings. If your formatting fails, don’t worry! Here are some tips:
- Check for hidden files or viruses.
- Make sure you have backup copies of important data.
- Try a different USB port or computer.
- Use a disk management tool for better options.
Remember, patience is key. It’s normal to face issues, but you can solve them!
What are common formatting problems?
Users may see error messages, like “Drive not found” or “incomplete format.” These often happen due to hardware problems or incorrect choices during the process. Be calm; these can be fixed.
Post-Formatting Tips
Recommendations for setting up the newly formatted drive. Best practices for maintaining hard drive health.
After formatting your hard drive, there are some helpful tips to follow. First, label the drive to know what it’s used for. Regularly back up important files to avoid losing them. Keep your drive clean and organized by deleting what you don’t need. Also, stay updated on your computer’s software. This helps maintain health and performance. Here are some quick tips:
- Defragment your drive every few months.
- Use a surge protector to avoid damage.
- Run disk checks regularly for errors.
How can I keep my hard drive healthy?
To keep your hard drive healthy, use antivirus software. This protects against harmful files. Another way is to avoid overloading your drive. Keep some free space available. Lastly, turn off your computer when not in use to prevent wear and tear.
Conclusion
In conclusion, formatting a hard drive for Windows 10 is a simple process. Start by backing up your data. Then, use the built-in tools to format your drive. This helps keep your computer organized and running well. If you want to learn more, check online guides or watch tutorial videos. You’ve got this! Happy formatting!
FAQs
Sure! Here Are Five Related Questions On The Topic Of Formatting A Hard Drive For Windows 10:
Sure! When you format a hard drive for Windows 10, you clear it off completely. This means you erase everything on it. First, you’ll need to connect the hard drive to your computer. Then, you can use the “Settings” app to choose the drive, click “Format,” and follow the steps. It’s like cleaning a chalkboard so you can write new things!
Sure! Please provide the question you’d like me to answer.
What Are The Steps To Format A Hard Drive Using Windows 10’S Disk Management Tool?
To format a hard drive using Windows 10’s Disk Management tool, first, right-click on the Start menu. Then, click on “Disk Management.” Next, find the drive you want to format. Right-click on it and choose “Format.” Follow the steps on the screen to finish. Remember, formatting will erase everything on that drive!
How Do I Format A Hard Drive Using The Windows Command Prompt?
To format a hard drive using the Windows Command Prompt, first open the Command Prompt. You can do this by searching for “cmd” in the start menu. Next, type “diskpart” and press Enter. This tool helps you manage drives. Then, type “list disk” to see all your drives. Find the number of the drive you want to format. Type “select disk X” (replace X with your drive number) and press Enter. Finally, type “format fs=ntfs quick” and press Enter to start formatting. Remember, this will erase everything on that drive!
What Are The Differences Between A Quick Format And A Full Format In Windows 10?
A quick format erases the files on a drive but doesn’t check for problems. It’s faster and takes only a minute or two. A full format, on the other hand, takes more time because it checks the drive for errors and also erases all files. We use a quick format when we just want to clear things fast, and a full format when we want to make sure everything is okay.
Can I Format A Hard Drive That Has Windows Installed On It, And If So, How?
Yes, you can format a hard drive with Windows on it. First, you need to back up your important files. Then, you can use a Windows installation USB or DVD. Start your computer with it and follow the on-screen steps. Choose to format the hard drive when you see the option. This will erase everything on that drive. After formatting, you can install Windows again or use the drive for something else.
What File Systems Are Recommended For Formatting A Hard Drive In Windows 1And How Do They Differ?
For Windows, the best file systems to use are NTFS and FAT32. NTFS is great for big drives and keeps your files safe. It can handle large files and allows you to share things better. FAT32 works on smaller drives and is easy to use, but it can’t store files bigger than 4 gigabytes. So, pick NTFS for bigger needs and FAT32 for smaller, simpler ones!