
Have you ever thought about how to create a bootable USB for Windows 10? It might sound tricky, but it’s easier than you think!
Imagine needing to reinstall Windows or fix a problem. A bootable USB can save the day. Picture holding a small device that holds the key to your computer’s future. Exciting, isn’t it?
Many people don’t know that creating this helpful tool takes just a few simple steps. You don’t need to be a tech expert. With the right guidance, anyone can do it!
In this article, we will explore how to create a bootable USB for Windows 10. You will learn everything you need to know. Ready to dive in and discover the steps? Let’s get started!
How Do I Create A Bootable Usb For Windows 10 Easily?
Creating a bootable USB for Windows 10 is easier than you think! First, you’ll need a USB flash drive and a Windows 10 ISO file. Did you know that with this setup, you can install Windows on any computer? Simply download the Windows Media Creation Tool. It guides you step-by-step. Once done, just plug in your USB to the computer, and voila! You have a portable Windows installer. Isn’t that cool? This handy skill can save you time and hassle during installations!
Understanding Bootable USBs
Definition and purpose of a bootable USB. Benefits of using a bootable USB for Windows installation.
A bootable USB is a fancy name for a small device that can start up your computer and install Windows. Think of it as a magic key! You can easily carry it around, which makes it super handy. Instead of relying on DVDs that can get scratched, a bootable USB is fast and reliable. Plus, it can hold all the necessary files without taking too much space. Installing Windows? No problem! Just plug it in and let the fun begin. A bootable USB can save time and headaches. It’s like having a pizza ready when you’re hungry—quick and delicious!
| Benefits of Bootable USBs |
|---|
| Easy to carry |
| Faster installation |
| No scratches |
| Holds required files |
Requirements for Creating a Bootable USB
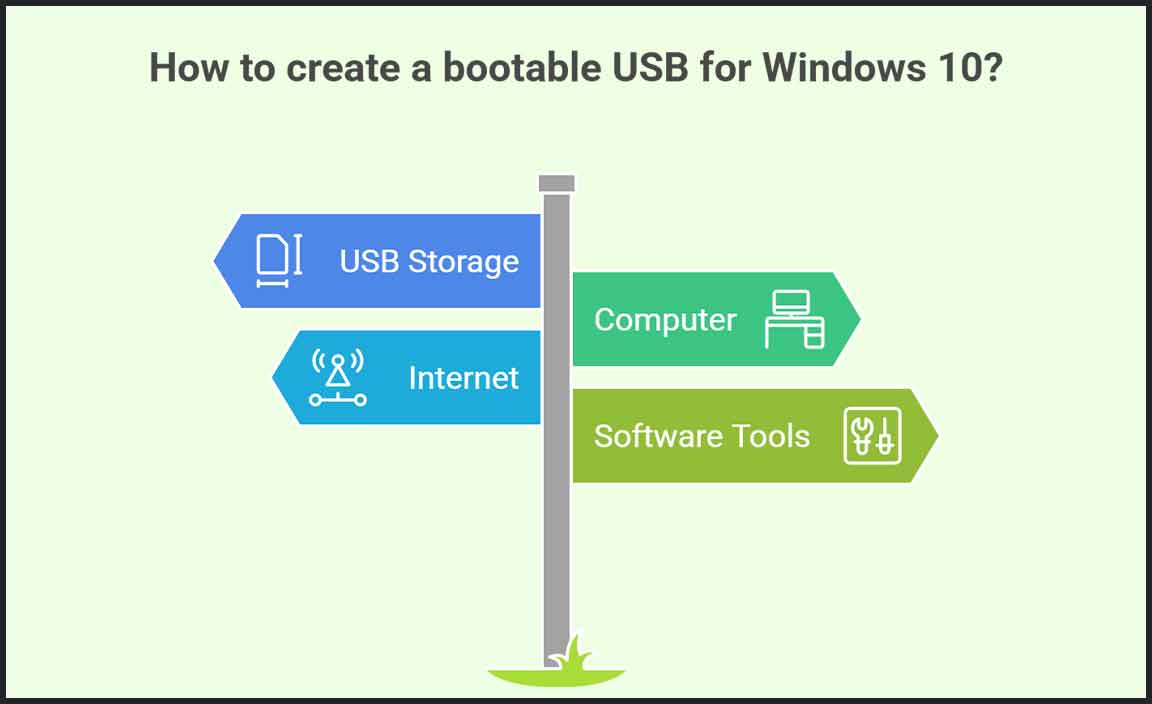
Necessary hardware and software tools. Minimum USB storage capacity needed.
To make a bootable USB for Windows 10, you need a few basic tools and gear. First, grab a USB stick with at least 8 GB of free space. That’s enough to fit the Windows files without needing a magic trick! Now, you’ll need a computer and a reliable internet connection to download the software. Tools like Microsoft’s Media Creation Tool make it a breeze, turning your USB into a tiny lifeguard for your computer. Ready to dive in?
| Requirements | Description |
|---|---|
| USB Storage | Minimum 8 GB for Windows files |
| Computer | A working PC to create the bootable USB |
| Internet | To download necessary software |
| Software | Tools like Media Creation Tool |
Downloading Windows 10 ISO File
Steps to download the official Windows 10 ISO from Microsoft. Verifying the integrity of the downloaded ISO file.
To start, head over to the official Microsoft website. There, you’ll find the option to download the Windows 10 ISO file. Click on it, and pick your preferred edition. Choose wisely! Maybe avoid the one named “Windows 10 Funhouse.” Once it’s downloaded, it’s like opening a treasure chest! But wait—don’t rush off just yet. Check the integrity of your freshly downloaded file. You can do this by comparing it with the official hash values provided on Microsoft’s site. This step ensures your file isn’t a sneaky prank!
| Windows 10 Version | Download Link |
|---|---|
| Windows 10 Home | Download |
| Windows 10 Pro | Download |
Using Windows Media Creation Tool
Stepbystep guide to using the Media Creation Tool. Options for creating a bootable USB through the tool.
To use the Media Creation Tool, follow these simple steps. First, download the tool from the official Microsoft website. Then, open it and select “Create installation media.” Next, choose your language, architecture, and edition. After that, select “USB flash drive” as your media type. Ensure your USB has enough space. Finally, click “Next” and let the tool do its job. In no time, you’ll have a bootable USB!
What are the options for creating a bootable USB?
You can create a bootable USB with various options using the Media Creation Tool:
- Select language and architecture.
- Choose a USB flash drive or ISO file for a DVD.
- Ensure your USB drive is empty or contains data you don’t need.
Formatting the USB Flash Drive
Importance of formatting before creating a bootable USB. How to properly format the USB drive using Windows Explorer.
Before diving into the world of bootable USBs, formatting is key. It clears the drive, making space for new files and ensuring your computer understands what to do with it. Think of it as giving your USB a fresh start! On Windows, simply right-click your drive in Windows Explorer and select Format. In the pop-up, pick FAT32 as the file system. Click Start and voilà! Your USB is ready to roll, like a superhero in disguise!
| Steps | Actions |
|---|---|
| 1. Right-click USB | Select Format |
| 2. Choose FAT32 | Set file system |
| 3. Click Start | Begin formatting |
BIOS Settings for Booting from USB
Accessing BIOS/UEFI settings. Changing boot order to prioritize USB drive.
Getting into your BIOS/UEFI settings is like entering a secret clubhouse. Restart your computer and press the right key—often F2, DEL, or ESC. Once you’re in, don’t go wandering off! Look for the boot menu. You want to change the boot order so your USB drive is the star of the show. Move it to the top of the list. Now, your computer will say, “Hey, I see a USB! Let’s boot from that!”
| Key Steps | Actions |
|---|---|
| Access BIOS/UEFI | Press F2, DEL, or ESC while booting |
| Find Boot Menu | Locate “Boot Order” settings |
| Prioritize USB | Move USB drive to the top |
Now, your computer is ready to boot from the USB. Easy, right? If only finding your missing socks was this simple!
Troubleshooting Common Issues
Common problems faced during bootable USB creation. Solutions and tips to resolve booting issues from USB.
Creating a bootable USB can have some common hiccups. You might face problems like your computer not recognizing the USB or failing to boot. Here are tips to help:
- Check USB ports: Ensure the port works.
- Format the USB: Use FAT32 for best results.
- Use reliable software: Programs like Rufus help.
- Update BIOS settings: Enable USB booting.
Tackling these issues can smoothen the process. Always double-check your steps!
Why won’t my USB boot?
Your USB may not boot due to a misconfigured BIOS, a corrupted file, or connection issues. Make sure the boot order is correct in BIOS settings.
Using the Bootable USB for Installation
Steps to install Windows 10 using the created USB. Postinstallation considerations and settings adjustments.
To install Windows 10 using your USB, follow these simple steps. First, insert the bootable USB into your computer. Next, restart the computer and enter the BIOS menu, usually by pressing F2 or DEL. Change the boot order to have the USB drive first. Save the settings and exit. Choose the language and installation type. Click Next to start the installation process. After installation, set up your preferences like time zone and network.
- Check for Windows updates.
- Install drivers for your hardware.
- Set up antivirus software.
These steps will help you enjoy a smoother experience with Windows 10.
How do I complete installation settings?
Customize your desktop settings and choose a theme. Adjust privacy settings according to your preferences for safety. Connect to Wi-Fi and make sure your device is secure.
Conclusion
In summary, creating a bootable USB for Windows 10 is simple. You need a USB drive and the Media Creation Tool. First, download the tool, then follow the easy steps to set up your USB. Once done, you can install Windows 10 anytime. Try it out and don’t hesitate to explore more guides for detailed help!
FAQs
What Tools Or Software Do I Need To Create A Bootable Usb For Windows 1
To create a bootable USB for Windows, you need a few tools. First, you need a USB flash drive. It should have at least 8 GB of space. Next, download a program called Rufus. This program helps you make the USB ready for Windows. Finally, get a Windows installation file, which is like a setup file. With these, you can start making your bootable USB!
How Do I Download The Windows Iso File For Creating A Bootable Usb?
To download the Windows ISO file, go to the official Microsoft website. Look for the section that says “Download Windows.” Choose the version you want and click on it. Then, follow the instructions to save the file on your computer. Once you have the ISO file, you can use it to make a bootable USB.
What Is The Process For Using The Windows Media Creation Tool To Make A Bootable Usb?
First, you need to download the Windows Media Creation Tool from the Microsoft website. Next, plug in a USB flash drive to your computer. Open the tool and choose “Create installation media.” Then, select your language and version of Windows. Finally, click on “USB flash drive” and follow the instructions to finish creating your bootable USB.
How Can I Ensure That The Usb Drive Is Formatted Correctly Before Creating A Windows Bootable Usb?
To format your USB drive correctly, first, plug it into your computer. Then, open “This PC” or “My Computer.” Right-click on your USB drive and select “Format.” Choose “FAT32” as the file system, then click “Start” to begin. Make sure to back up any important files, as formatting will erase everything on the drive.
What Steps Should I Follow To Boot From The Usb Once It Has Been Created?
To boot from the USB, start by turning off your computer. Next, plug the USB stick into a USB port. Then, turn on your computer again. As it starts up, press a special key, like F12 or Esc, to open the boot menu. Finally, choose the USB from the list, and press Enter. Your computer will now use the USB to start!
Resource:
-
Secure USB Formatting Tips: https://www.kingston.com/en/blog/pc-performance/usb-drive-formatting-tips
-
Understanding File Systems Like FAT32: https://www.howtogeek.com/235596/whats-the-difference-between-fat32-exfat-and-ntfs/
-
Why BIOS Settings Matter: https://www.intel.com/content/www/us/en/support/articles/000025825/processors.html
-
Windows Update & Setup Guide: https://support.microsoft.com/en-us/windows/windows-10-setup-guide-and-updates