
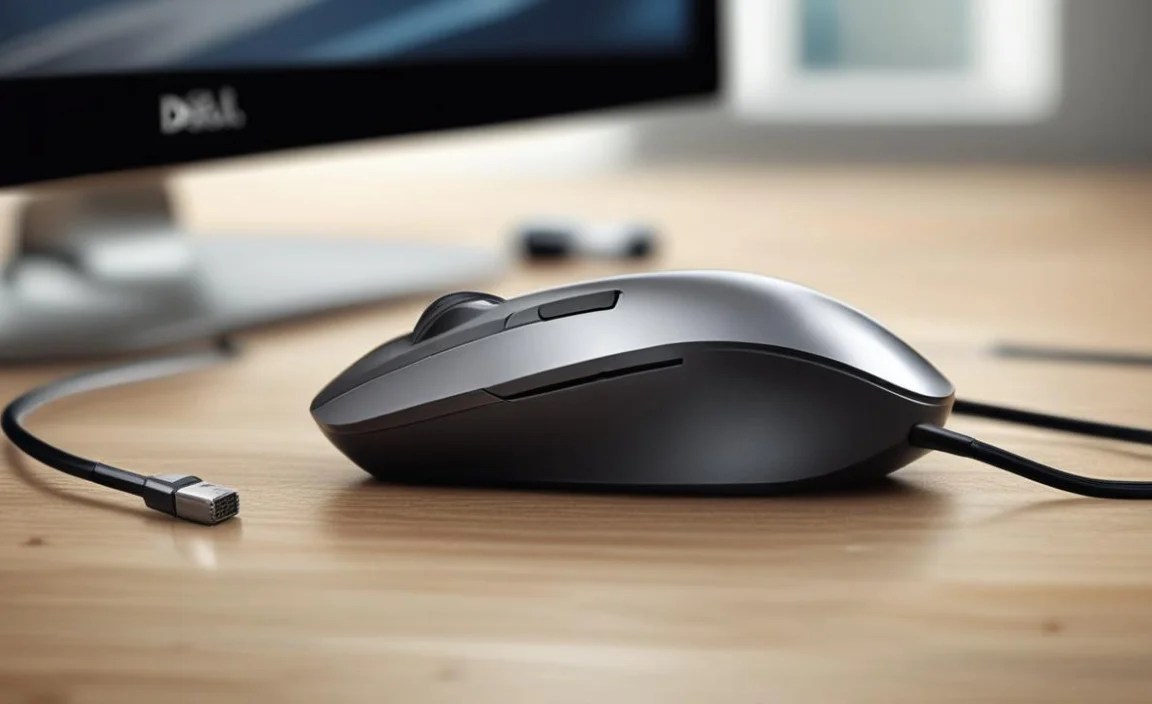
Dell Mouse Driver: Free Windows 7 Install
Locating and installing the correct Dell mouse driver for Windows 7 free is absolutely essential for ensuring your Dell mouse functions optimally on your operating system. While many modern devices come with plug-and-play functionality, requiring no manual driver installation, some older models or those with advanced features might necessitate a specific driver to unlock their full potential. This guide will walk you through the process of finding and installing these drivers, ensuring a smooth and responsive user experience.
For many users, the initial setup of a new Dell mouse on Windows 7 is straightforward. Simply plug the mouse into a USB port, and Windows 7 will often recognize the device and install a generic driver automatically. This allows for basic functionality like cursor movement and clicking. However, this generic driver may not support custom button assignments, scroll wheel acceleration, or other advanced features that your particular Dell mouse model offers. This is where the importance of finding the specific Dell mouse driver for Windows 7 free becomes apparent.
Why You Might Need a Specific Dell Mouse Driver for Windows 7 Free

There are several scenarios where you’ll want to go beyond the basic plug-and-play experience:
Advanced Features: If your Dell mouse boasts programmable buttons, adjustable DPI (dots per inch) settings for cursor speed and sensitivity, or special scroll wheel functionalities, the generic Windows driver won’t be able to access these. A dedicated driver from Dell provides the software necessary to configure and utilize these features.
Troubleshooting: If you’re experiencing erratic cursor behavior, unresponsive clicks, or other issues with your Dell mouse on Windows 7, a driver update or reinstallation can often resolve the problem. Outdated or corrupted drivers are a common cause of hardware malfunctions.
Performance Optimization: Even if your mouse is generally working, the official Dell driver might include performance enhancements or optimizations that improve tracking accuracy and responsiveness, leading to a more fluid user experience.
Compatibility: While Windows 7 has broad compatibility, some specific hardware revisions of Dell mice might have had unique drivers developed for them that aren’t included in the default Windows driver package.
Finding the Right Dell Mouse Driver for Windows 7 Free

The most reliable place to obtain a Dell mouse driver for Windows 7 free is directly from Dell’s official support website. Automating drivers from third-party sites can be risky, potentially leading to malware infections or installing incorrect drivers that could harm your system.
Here’s a step-by-step approach to finding the driver on the Dell website:
1. Identify Your Dell Mouse Model: The first and most crucial step is to know the exact model of your Dell mouse. This information is usually found on the underside of the mouse. Look for a model number or a specific product name. If you can’t find it there, consider where you acquired the mouse. If it came with a Dell computer, you might be able to find its specifications in your system documentation or by checking your Dell system’s service tag on their website.
2. Navigate to Dell Support: Open your web browser and go to the Dell Support website. The exact URL might vary slightly depending on your region, but it’s typically `dell.com/support`.
3. Enter Your Service Tag or Product ID (Optional but Recommended): Dell’s support site allows you to enter your computer’s service tag or product ID. While this is primarily for system-level support, it can sometimes help narrow down peripheral compatibility as well. If you know your computer’s service tag, it’s worth entering it.
4. Search for Your Mouse: Look for a section labeled “Drivers & Downloads” or “Support by Product.” You’ll likely have an option to search by product name or type. Enter your Dell mouse model number here.
5. Select Your Operating System: Crucially, ensure you select “Windows 7” (or the appropriate 32-bit or 64-bit version) from the operating system dropdown menu. This will filter the displayed drivers to only those compatible with your system.
6. Locate the driver: Once the drivers for your model and OS are displayed, look for entries related to “Mouse,” “Input Device,” or “Dell Pointing Device.” The description should clearly indicate if it’s a driver package. Download the latest available version.
7. Download the Driver: Click the download link for the appropriate driver. The file will typically be an executable (.exe) file.
Installing the Dell Mouse Driver on Windows 7
Once you’ve downloaded the driver file, the installation process is usually straightforward:
1. Close Unnecessary Applications: Before running the installer, it’s a good practice to close any other open applications to prevent potential conflicts.
2. Run the Installer: Locate the downloaded .exe file and double-click it to run the installer.
3. Follow On-Screen Prompts: The installer will guide you through the process. This usually involves accepting license agreements, choosing an installation location (the default is usually fine), and confirming the installation.
4. Restart Your Computer: After the installation is complete, the installer will typically prompt you to restart your computer. This is an important step to ensure that all changes take effect properly.
Verifying the Installation
After your computer restarts, your Dell mouse should now be functioning with its dedicated driver. You can verify this in a couple of ways:
Device Manager: Right-click on “Computer” (or “This PC” in later Windows versions), select “Manage,” and then open “Device Manager.” Expand the “Mice and other pointing devices” category. You should see your Dell mouse listed by its correct name, rather than a generic one. If there are any warning symbols (like a yellow exclamation mark), it indicates a problem with the driver.
Dell Software (if applicable): If your mouse came with specific management software (e.g., Dell Peripheral Manager), look for it in your Start Menu. Launching this software and seeing your mouse recognized and configurable is the best confirmation. You should now be able to customize button assignments, adjust pointer speed, and access other advanced features.
In conclusion, while Windows 7 often handles basic mouse functionality automatically, seeking out and installing the specific Dell mouse driver for Windows 7 free from Dell’s official support site is a worthwhile endeavor. It ensures optimal performance, unlocks advanced features, and can resolve compatibility or functionality issues, ultimately leading to a more productive and enjoyable computing experience.


