
Have you ever faced a problem with your Surface Pro 6? Maybe it wouldn’t start or needed a fresh install? If so, you might wonder how to create a bootable USB for Windows 10. This task sounds tricky, but it’s simpler than you think.
Picture this: you are in front of your Surface Pro 6, ready to tackle a challenge. Creating a bootable USB can save your day! It helps you install Windows 10 easily, even if your device is acting up. Plus, having a bootable USB means you’re always ready to fix issues.
Did you know that many people face the same problem? They feel stuck, but they don’t have to be. With the right steps, you can create a bootable USB for Windows 10. Let’s explore how!
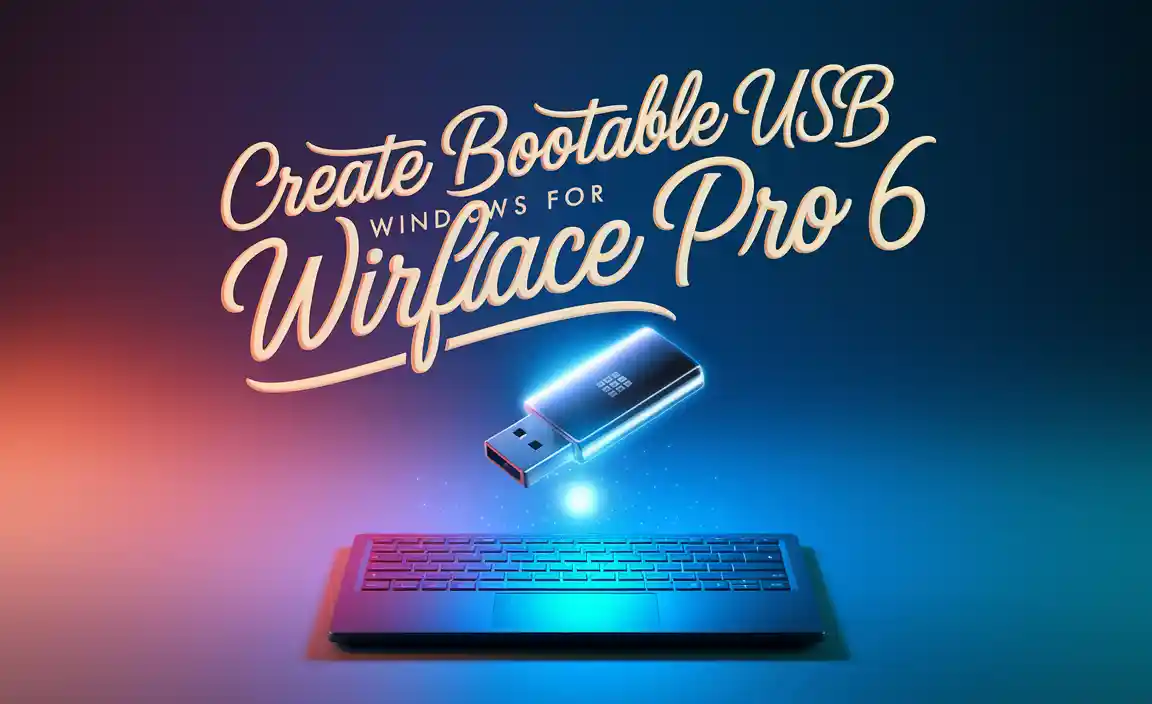
Create Bootable Usb Windows 10 For Surface Pro 6: A Complete Guide
Creating a bootable USB for Windows 10 on a Surface Pro 6 is easy and useful. It allows you to install or repair the operating system quickly. You’ll start by gathering the right tools, like a USB drive and the Windows 10 media creation tool. Did you know that a bootable USB is much faster than using a DVD? Follow simple steps to format the USB and load the Windows files. Soon, you’ll have a handy tool ready to go whenever you need it!
Understanding Bootable USB Drives
Definition of a bootable USB drive. Importance of bootable drives for Surface Pro 6.
A bootable USB drive is like a magic wand for your computer. It lets you start up your device using the USB instead of the hard drive. This is super helpful, especially for the Surface Pro 6. If something goes wrong, you can easily reinstall Windows 10 or fix issues using your handy USB. Think of it as a life-saving tool for your tablet—like a superhero cape, but for tech!
| Advantages of Bootable USB Drives | Why They Matter |
|---|---|
| Easy to Create | Just a few clicks! |
| Portability | Take it anywhere! |
| Quick Recovery | Fix problems fast! |
In today’s tech world, being prepared is essential. A bootable USB drive for your Surface Pro 6 can save you from tech drama. Remember, a little preparation beats a lot of panic!
System Requirements for Windows 10 Installation
Specifications needed for Surface Pro 6. Minimum USB drive capacity and format requirements.
To install Windows 10 on your Surface Pro 6, you need specific system requirements. Your device should have at least 4 GB of RAM and 64 GB of storage. Also, a USB drive is essential. Here are some details:
- USB Drive Capacity: Minimum of 8 GB is needed.
- Format Requirement: It must be formatted to FAT32.
Following these guidelines will make your installation easier. Make sure your device meets these needs before starting the process!
What are the system requirements for Windows 10 on Surface Pro 6?
The requirements include at least 4 GB RAM and 64 GB storage. For USB drives, your flash drive should be 8 GB or larger, formatted to FAT32.
Preparing Your Surface Pro 6
Necessary backup steps before installation. Checking for software updates.
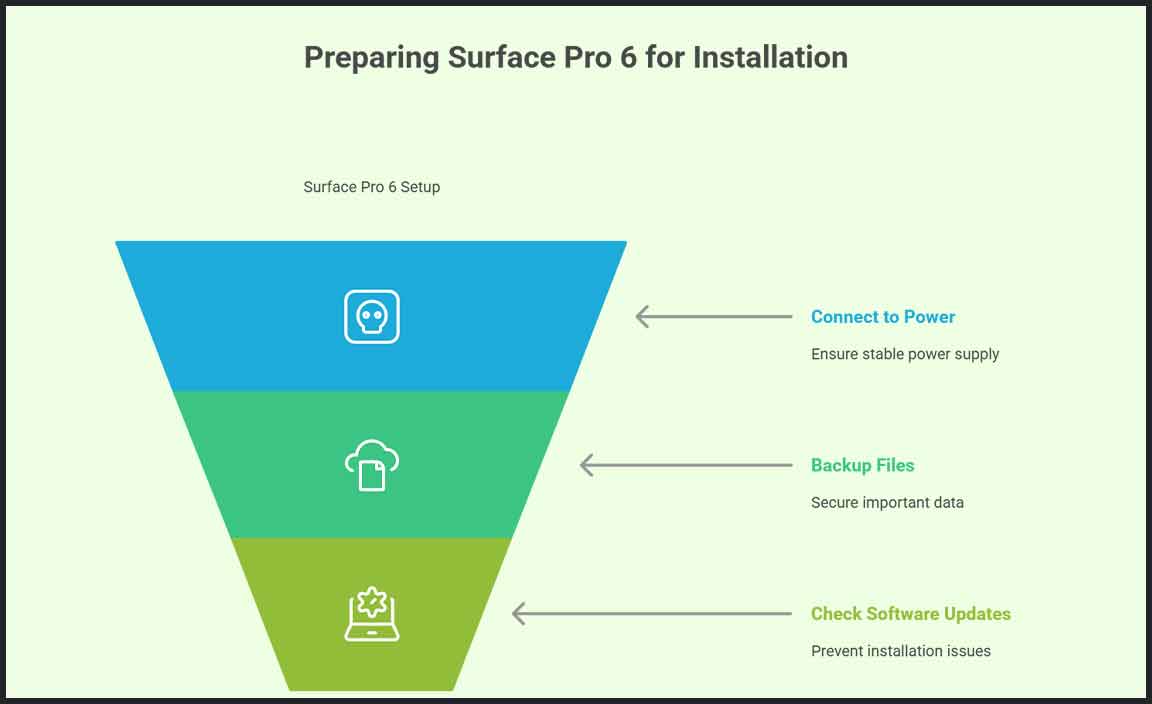
Before diving into the main event, it’s smart to back up your files. Imagine losing all your favorite cat videos! Next, check that your software is up to date. Trust me, doing this prevents pesky problems during installation.
| Backup Steps | Software Update Check |
|---|---|
| 1. Connect your Surface Pro 6 to a power source. | 1. Open settings from the Start menu. |
| 2. Use OneDrive or an external drive to save files. | 2. Click on “Update & Security.” |
| 3. Confirm all important files are backed up. | 3. Hit “Check for updates.” |
Easy peasy, right? After these steps, you’re all set to create your bootable USB. Let’s get this party started!
Downloading Windows 10 ISO File
Official sources for the Windows 10 ISO. Steps to download and verify the ISO file.
To get started on your journey to download Windows 10, you’ll need the right ISO file. The best and safest place to find this is from the official Microsoft website. Why? Because you wouldn’t want a surprise guest at your party—like a virus! First, head to the Microsoft Download page. Click on the “Download now” button for the Windows 10 ISO. After that, make sure to verify your file. This prevents any future drama, like a missing piece of your puzzle!
| Steps | Details |
|---|---|
| Visit Microsoft | Go to the official Microsoft website. |
| Click Download | Select the “Download now” option for Windows 10 ISO. |
| Verify File | Check the file to ensure it’s correct! |
That’s it! Now, you’re one step closer to creating your bootable USB for the Surface Pro 6. Who knew downloading could be this much fun?
Creating the Bootable USB Drive
Detailed instructions using Rufus. Alternative steps using Windows Media Creation Tool.
To create a bootable USB drive, you can use two main tools: Rufus and the Windows Media Creation Tool. Rufus is fast and easy to use.
Here’s how to do it with Rufus:
- Download and start Rufus.
- Insert your USB drive into the computer.
- Choose your USB drive in Rufus.
- Select the Windows 10 ISO file.
- Click “Start” to begin the process.
If you prefer the Windows Media Creation Tool, follow these steps:
- Download the tool from Microsoft’s website.
- Run the tool and choose “Create installation media.”
- Pick the language and edition.
- Select “USB flash drive” and follow the prompts.
Using these methods, you will successfully create a bootable USB drive for your Surface Pro 6.
How to Use Rufus Effectively?
To use Rufus effectively, follow these steps:
- Download the latest version of Rufus.
- Make sure your USB is empty or backed up.
Are there any errors I should watch for?
Yes, common errors include the USB drive not being recognized. Ensure it’s plugged in and formatted correctly. You can also check for updates on Rufus to avoid bugs.
Configuring BIOS/UEFI Settings on Surface Pro 6
How to access BIOS/UEFI on Surface Pro 6. Adjusting boot order to prioritize USB.
To get into the BIOS/UEFI on your Surface Pro 6, you need a quick combination of buttons. Simply hold down the Volume Up button, then press and release the Power button. Soon enough, you’ll land in the setup screen—like magic but without the rabbits! Now, to be the boss of your device, adjust the boot order. Make sure your USB drive is at the front of the line. This will let you boot from that fancy new USB you created.
| Step | Action |
|---|---|
| 1 | Hold the Volume Up button |
| 2 | Press and release the Power button |
| 3 | Navigate to Boot Configuration |
| 4 | Set USB as the priority |
This way, your Surface Pro 6 will check the USB first! No more waiting for it to reach the back of the class. Happy booting!
Installing Windows 10 from Bootable USB
Stepbystep process for installation. Troubleshooting common installation issues.
First, plug your bootable USB into the Surface Pro 6. Turn it on and quickly press the Volume Down and Power buttons together. Release them when the logo appears. This will take you to a special menu. Choose the USB drive to start the installation process. Follow the on-screen instructions, like a treasure hunt, to install Windows 10!
If you hit a snag, don’t worry! Sometimes, the boot order needs a tweak. Go to the BIOS setup, and make sure your USB is first. Another common hiccup: not all USB drives are created equal. If your drive isn’t working, grab a different one!
| Common Issues | Solutions |
|---|---|
| USB not recognized | Check the port, try a different one, or test another USB! |
| Installation fails | Ensure your USB is properly set up. Recreate it if needed. |
Keep calm and follow these steps, and you’ll have Windows 10 up and running in no time!
Post-Installation Steps
Essential configurations after installation. Restoring files and applications from backup.
After installing Windows 10 on your Surface Pro 6, it’s time to get everything ready. You need to configure your settings, so your device works better for you. Restoring files is also essential. Here are important steps you should follow:
- Adjust the display settings for comfort.
- Connect to Wi-Fi and update Windows.
- Restore files from your backup, like documents and photos.
- Reinstall your favorite applications.
This makes your Surface Pro 6 feel like home! Don’t forget to customize the settings to match your style.
How do I restore files after installation?
To restore files, go to your backup service and select the files you want to retrieve. Click on Restore and wait for them to load back onto your device.
FAQs Related to Bootable USB for Surface Pro 6
Common queries and solutions. Additional resources for troubleshooting.
People have many questions about making a bootable USB for their Surface Pro 6. Common queries include, “Can I use any USB?” and “What if it doesn’t work?” Good news! You can use a USB with at least 8GB space. If things go sideways, check if the USB is plugged in securely or try a different port. Troubleshooting can feel like a game of hide and seek, but don’t fret! We’ve got your back.
| Common Query | Solution |
|---|---|
| Can I create a bootable USB on Mac? | Yes! Use software like Boot Camp. |
| What file format should I use? | Use FAT32 for best compatibility. |
For more help, check out online forums or videos. The internet is like a vast treasure map, leading you to the answers!
Best Practices and Tips for Using Bootable USB
Maintenance of USB drives. Recommendations for future installations.
Keeping your USB drives in good shape is important. Treat them like tiny, magical portals to tech-land! Regularly check for scratches and dirt, and give them a clean if they start looking grungy.
For future installations, having a couple of spare drives can save your day. You don’t want to be stuck without a backup while rebooting your Surface Pro 6. Make sure to label each drive, especially if you have more than one. A little humor? Name them after superheroes!
| Tip | Description |
|---|---|
| Regular Cleaning | Wipe off dust and dirt with a soft cloth. |
| Label Your Drives | Use fun labels to remember which is which! |
| Backup Drives | Keep extra USBs on hand for emergencies. |
Finally, format your drives when they start acting out. Look for a friendly computer to do this! Following these tips can make your USB experience smooth and fun. Who knew that keeping technology tidy could bring so much joy?
Conclusion
To create a bootable USB for Windows 10 on your Surface Pro 6, you need a USB drive and the Windows Media Creation Tool. Follow simple steps to download and set up the tool. Once you have your bootable USB, you can troubleshoot or reinstall Windows easily. For more help, check out guides online. Get started today!
FAQs
Here Are Five Related Questions On The Topic Of Creating A Bootable Usb For Windows On A Surface Pro 6:
To create a bootable USB for Windows on a Surface Pro 6, you first need a USB drive. Make sure it has at least 8 gigabytes of space. Next, you will need a program called the Windows Media Creation Tool. It helps you move the Windows setup onto the USB. After that, you can use the USB to install Windows on your Surface.
Sure! Please provide the question you’d like me to answer.
What Software Do I Need To Create A Bootable Usb For Windows On Surface Pro 6?
To create a bootable USB for Windows on your Surface Pro 6, you need a free program called “Rufus.” We can download Rufus from its website. You’ll also need a Windows installation file called an “ISO.” After that, open Rufus, choose the USB drive, and follow the steps to make it bootable. Then, you’re ready to install Windows!
How Do I Properly Format The Usb Drive Before Making It Bootable For Windows Installation?
To format your USB drive, first, plug it into your computer. Next, open “This PC” or “My Computer.” Right-click on the USB drive and choose “Format.” Make sure to select “FAT32” as the file system. Then click “Start” to erase everything and prepare your USB drive for Windows.
What Are The Required Steps To Download The Windows Iso File For Use With A Bootable Usb?
To download the Windows ISO file, you need to follow these steps. First, go to the official Microsoft website. Next, look for the section about downloading Windows. Choose the version you want and click on it. Finally, follow the prompts to save the ISO file on your computer.
How Can I Troubleshoot Common Issues That May Arise When Booting From The Usb Drive On A Surface Pro 6?
To troubleshoot booting issues on your Surface Pro 6 from a USB drive, first check the USB drive. Make sure it has the right files and is working properly. Next, try restarting your Surface Pro 6 and pressing the volume down button while turning it on. This helps you enter the boot menu. If it still doesn’t work, try a different USB port or another USB drive.
What Are The Specific Bios Settings I Need To Adjust On The Surface Pro 6 To Boot From The Usb Drive?
First, turn off your Surface Pro 6. Then, press and hold the volume-up button. While holding it, press the power button and release it. Keep holding the volume button until the Surface logo shows up. Now, you are in the UEFI settings. Choose “Boot configuration” and make sure “USB drive” is listed first. Save your changes and exit. Your Surface will now try to boot from the USB drive.
Resource:
-
USB Drive Care Tips: https://www.kingston.com/en/blog/pc-performance/usb-flash-drive-maintenance
-
Understanding FAT32 Format: https://www.lifewire.com/what-is-fat32-2625900
-
Rufus Official Download Page https://rufus.ie
-
Microsoft Official ISO Download Guide: https://www.microsoft.com/en-us/software-download/windows10