
Have you ever tried changing where your favorite games install on Windows 11? Imagine getting a new game, excited to play, but finding out your computer needs space. What if you could pick any disk to install on?
Switching the install disk for programs on Windows 11 sounds tricky, but it’s like choosing where to keep your toys. If you’ve ever felt stuck with space issues, you’re not alone. Many of us face it. Exploring how to change the install disk can be an adventure that makes gaming easy and keeps your PC running smoothly.
Want to learn how? Let’s dive into the world of install disks and uncover some cool tips! Ready? Let’s go!
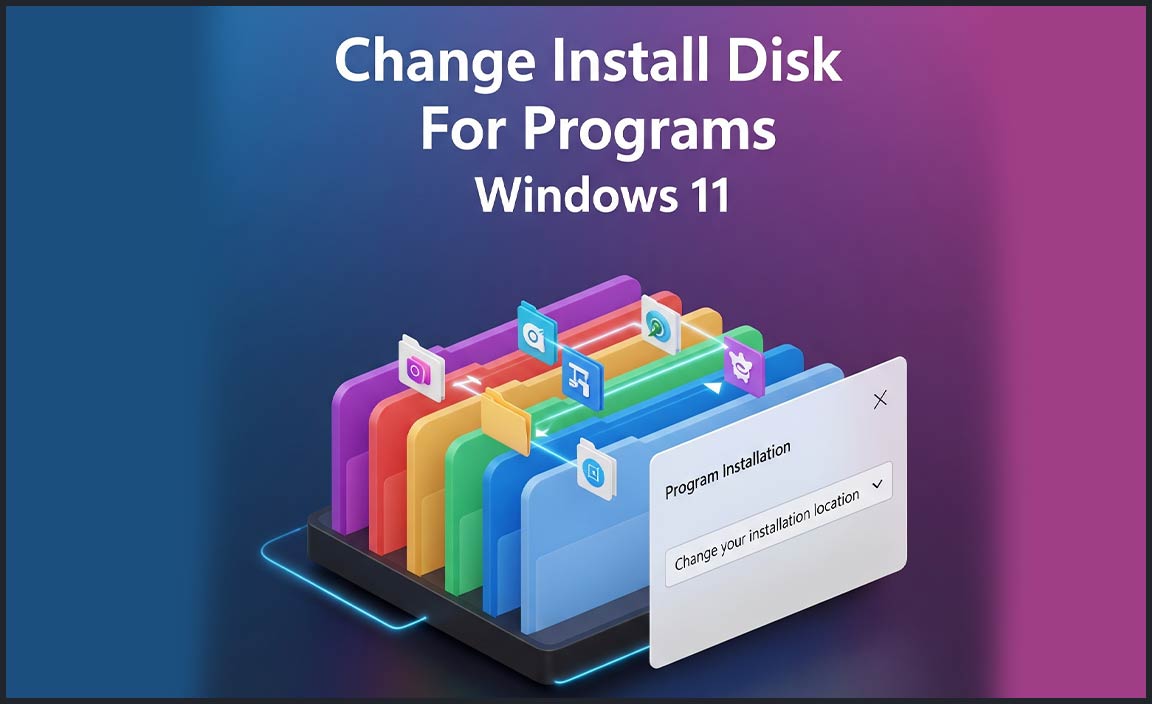
How To Change Install Disk For Programs In Windows 11
Understanding the Default Install Disk in Windows 11
Explanation of default settings for program installations. Reasons for changing the default install disk.
In Windows 11, programs often install on the C: drive. Changing the default install disk can save space. Why change it? Your C: drive might fill up quickly. Don’t want slow computer speed, right? Here’s why moving is smart:
- Free More Space: Shift to another drive and clear room on the C: drive.
- Better Performance: Less clutter means quicker computer actions.
Pick the right disk and enjoy a quicker, smoother PC.
Why is my C: drive full?
Files or programs pile up and take space. Games, videos, and apps often fill drives fast.
Should I move applications to another disk?
Yes! It frees space and speeds up the PC. Ideal if C: drive is crowded.
How to change the default install disk?
You can alter directory settings in Windows apps settings. Just pick a new drive for installs.
Preparing Your System for a Disk Change
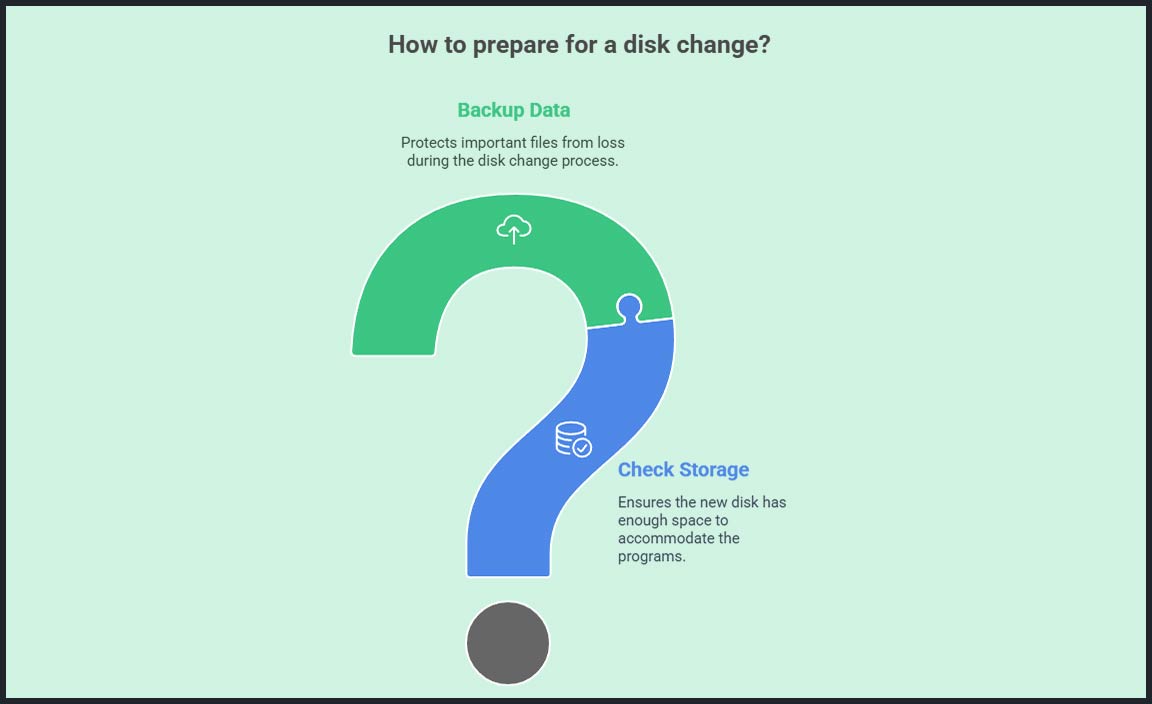
Checking available storage space. Backing up important data.
Before changing the install disk for programs on Windows 11, it’s important to get everything ready. First, check how much storage space is left on your new disk. You can do this by navigating to the “This PC” section on your desktop. Nobody wants to start the move, only to realize there’s no space left; that’d be like trying to fit an elephant into a shoebox! Next, make sure to back up any important data you don’t want to lose in case of a hiccup. Imagine losing your Halloween photos and explanations for odd costumes—not fun! Here’s a simple check list that might help:
| Step | Description |
|---|---|
| Check Storage | Ensure the new disk has enough space. |
| Backup Data | Save important files elsewhere for safety. |
By following these steps, you’ll be ready for a smooth disk change. As Benjamin Franklin might say, “An ounce of preparation is worth a pound of cure.” Happy disk swapping!
Changing the Default Install Disk via Settings
Stepbystep guide to accessing the settings. Adjusting the installation location for new apps.
Want to change where Windows 11 installs new programs? Don’t worry, it’s as easy as pie! Follow these steps and you’ll be a tech pro in no time. First, open the Settings app. You can find it by clicking the Start menu or using a little wizardry known as the ‘Windows + I’ shortcut. Now, navigate to System and then to Storage. Here, you will see an option that says “Change where new content is saved.” Click it.
A magical list of options appears! Adjust the installation location by selecting your desired drive from the dropdown list under “New apps will save to:” Forget the old days of program installation restrictions! Your apps now have a new sweet home. If you ever change your mind, returning to this menu gives you the flexibility to swap disks whenever you want.
| Step | Action |
|---|---|
| 1 | Open Settings using the Start menu or Windows + I shortcut. |
| 2 | Go to System and then Storage. |
| 3 | Click on “Change where new content is saved.” |
| 4 | Select your preferred drive for new apps. |
And there you have it! Adjusting your default install disk is done. You’ll be using your new disk before you can even say, “Microsoft is magical!”
Using Registry Editor to Change Default Install Location
Accessing the Registry Editor safely. Modifying registry values to change install disk.
Are you ready for a wild adventure in the mysterious world of the Registry Editor?
Before diving in, remember to handle it with care, like handling a sleeping dragon! First, press Windows Key + R, type regedit, and click OK. Voilà! The Registry Editor should appear.
Next, channel your inner treasure hunter! Navigate to:
| Step | Path |
|---|---|
| 1 | HKEY_LOCAL_MACHINE\SOFTWARE\Microsoft\Windows\CurrentVersion |
Look for “ProgramFilesDir”, double-click it, and change its value. Be careful not to change anything else, lest a tech monster appears! **This will set the new default install location**. Enjoy your newfound power, young tech wizard!
Configuring Installation Paths for Individual Programs
Customizing installation settings during program setup. Importance of choosing the correct installation path.
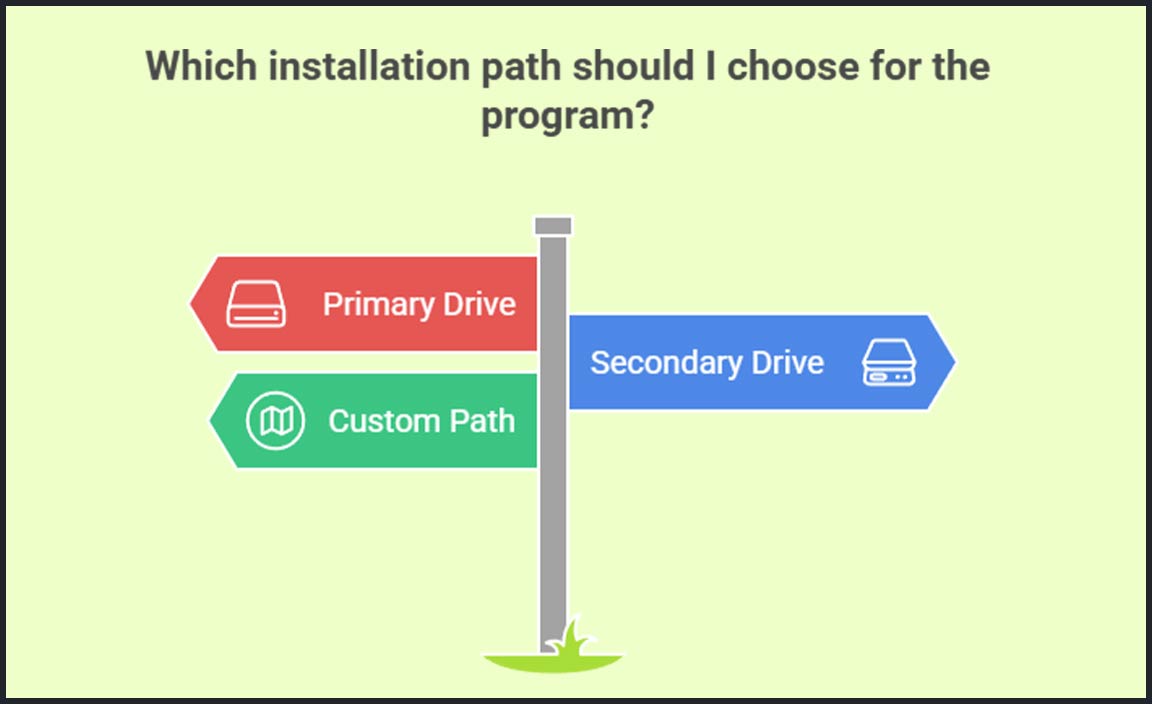
Did you know that deciding where a program lives on your computer is like choosing a new home for your favorite gadget? During program setup, you can customize installation settings, like picking the right path for your application. This matters because the right choice keeps things tidy and might even save space on your primary drive. Imagine living in a world where your program files are scattered like socks! It’s crucial to be organized.
| Step | Action |
|---|---|
| 1 | Open the program setup. |
| 2 | Choose “Custom Install”. |
| 3 | Select your preferred installation path. |
| 4 | Complete the setup. |
Choosing the correct installation path is important! It affects accessibility and performance. Next time you install an app, remember: tidy spaces make happy places!
Troubleshooting Common Issues
Solutions to common errors when changing install disks. How to revert changes if needed.
Oh no! The install disk is being stubborn again! But don’t worry—common issues have common fixes. If programs aren’t cooperating, check for errors like disk space problems or permission hurdles. A little extra space or a permission tweak can work wonders. If you messed things up, don’t fret! Reverting changes is your superhero move. Head to your settings, and find the option to switch the disk back to its original place. It’s like a magic undo button. Here’s a quick guide:
| Problem | Solution |
|---|---|
| Disk Full | Delete some files to make space |
| Permission Issues | Adjust user permissions for file access |
| Undo Changes | Go to settings and switch disks |
Remember, patience and a few clicks can save the day. Bill Gates once said, “Your most unhappy customers are your greatest source of learning,” so embrace these tiny digital disasters! 🛠️✨
Advantages of Using an Alternative Install Disk
Improved performance through optimal storage utilization. Managing storage space effectively.
Changing install disks for programs on Windows 11 can be very beneficial. It boosts performance by using storage in a smart way. Choosing a different disk means less clutter and more space for essential files. This keeps your computer running smoothly and fast!
- Boosts speed by using space better.
- Prevents disks from filling up too fast.
- Keeps your main disk from slowing down.
Overall, it’s like giving your computer a clean room to work in.
How do alternative install disks improve performance?
Alternative install disks optimize storage use, reducing clutter. Programs installed on a separate disk don’t compete with the main disk’s space and speed. This ensures your computer can work faster, without facing slowdowns from too much data.
What is an optimal way to manage storage space?
Use a balance between disks to manage space well. Keep large programs on the alternative disk and important system files on the main disk. This keeps everything organized and ensures both disks have enough room to perform their best.
Maintaining System Health After Changing Install Disks
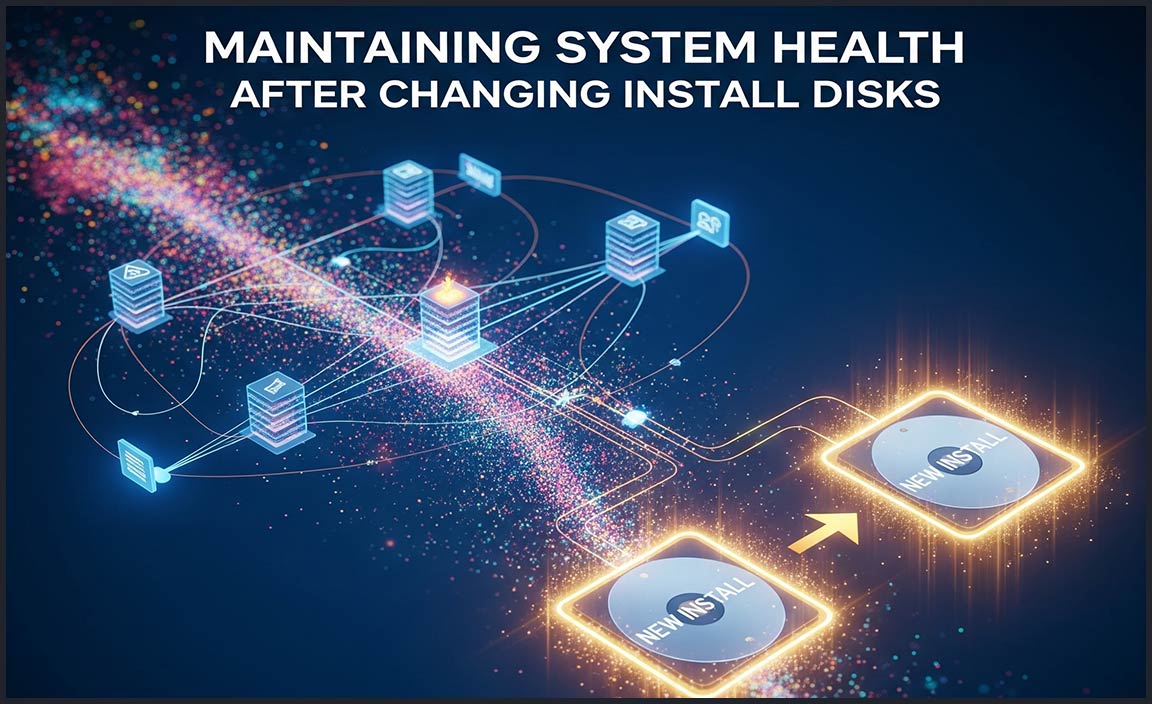
Best practices for disk management. Regular maintenance checks to ensure system efficiency.
One way to keep your system in tip-top shape is by wisely managing your disks. Think of it as organizing your room; you don’t leave your socks in the fridge, right? Regular checks are key. Dust off old files, defrag your disk, and update your software. Did you know? Studies say regular disk checks can boost speed by up to 20%! It’s like giving your computer a morning jog, but without the sweat.
| Best Practices | Benefits |
|---|---|
| Defragment regularly | Boost system speed |
| Delete unused programs | Free up space |
| Check for updates | Increase security |
Always remember the golden rule of tech: Don’t put off till tomorrow, what you can clean today! Keep your files happy, and your computer will thank you—with zero blue screens! Got disk woes? Try a scan and you’ll see the difference.
Conclusion
Changing the install disk for programs in Windows 11 is simple. It frees up storage and organizes files. First, access the settings and select a new default location. This helps manage space better. Always back up important data. For more details and steps, explore online tutorials or Windows support. Stay curious and keep learning!
FAQs
How Can I Change The Default Installation Location For Programs In Windows 11?
To change where new programs go on your Windows 11 computer, follow these steps. First, click on the “Start” button and find the “Settings” gear. Select “System” and then “Storage.” Look for the option labeled “Change where new content is saved.” Choose a different location for apps from the list!
What Are The Steps To Move Already Installed Programs To A Different Drive In Windows 11?
To move programs in Windows 11, follow these steps: First, open Settings by clicking the Start menu. Next, go to “Apps” and choose “Apps & features.” Find the program you want to move and click it. Then, click “Move” and pick the new drive. Finally, hit “Move” again to finish.
Is It Possible To Set A Secondary Drive As The Default Installation Disk In Windows 11?
Yes, you can set a different drive to install programs in Windows 11. First, go to “Settings.” Then, click on “System,” and choose “Storage.” Look for “Change where new content is saved.” There, pick the drive you want to use for new apps and games.
What Are The Implications Of Changing The Install Disk For Programs On System Performance In Windows 11?
When you change where a program is saved on your computer, it can run differently. If you save it on a faster part, like a Solid State Drive (SSD), the program will start quicker and work faster. An older, slower part, like a Hard Disk Drive (HDD), might make the program run slowly. So, where you save it makes a difference in how well the program works.
How Do I Ensure Compatibility And Avoid Errors When Changing The Install Disk For Applications In Windows 11?
To make sure everything works well when changing where apps are stored on your computer, follow these steps. First, check if the app can be moved. You can do this by right-clicking the app icon and looking for a ‘move’ or ‘settings’ option. Next, make sure your new disk has enough space. You should also double-check that the new disk is attached properly. Finally, restart your computer to help it remember the new location.
Resource:
-
Managing Storage on Windows Devices: https://support.microsoft.com/en-us/windows/manage-storage-settings-in-windows-11
-
Understanding SSD vs HDD Performance: https://www.kingston.com/en/blog/pc-performance/ssd-vs-hdd
-
Registry Editor Best Practices: https://www.lifewire.com/how-to-open-registry-editor-2624487
-
How to Back Up Your Files Effectively: https://www.backblaze.com/learn/how-to-back-up-your-computer