
Canon Mouse Driver for Mac: Effortless Install
Setting up your Canon mouse on your macOS device is a straightforward process, and with the right information, you can achieve an “effortless install.” Many users find themselves searching for a straightforward guide when introducing new peripherals to their Apple ecosystem. This article aims to be that guide, demystifying the steps involved in getting your Canon mouse up and running smoothly on your Mac, whether you’re running the latest macOS or an older, but still supported, 64-bit version.
Understanding Your Canon Mouse and Mac Compatibility
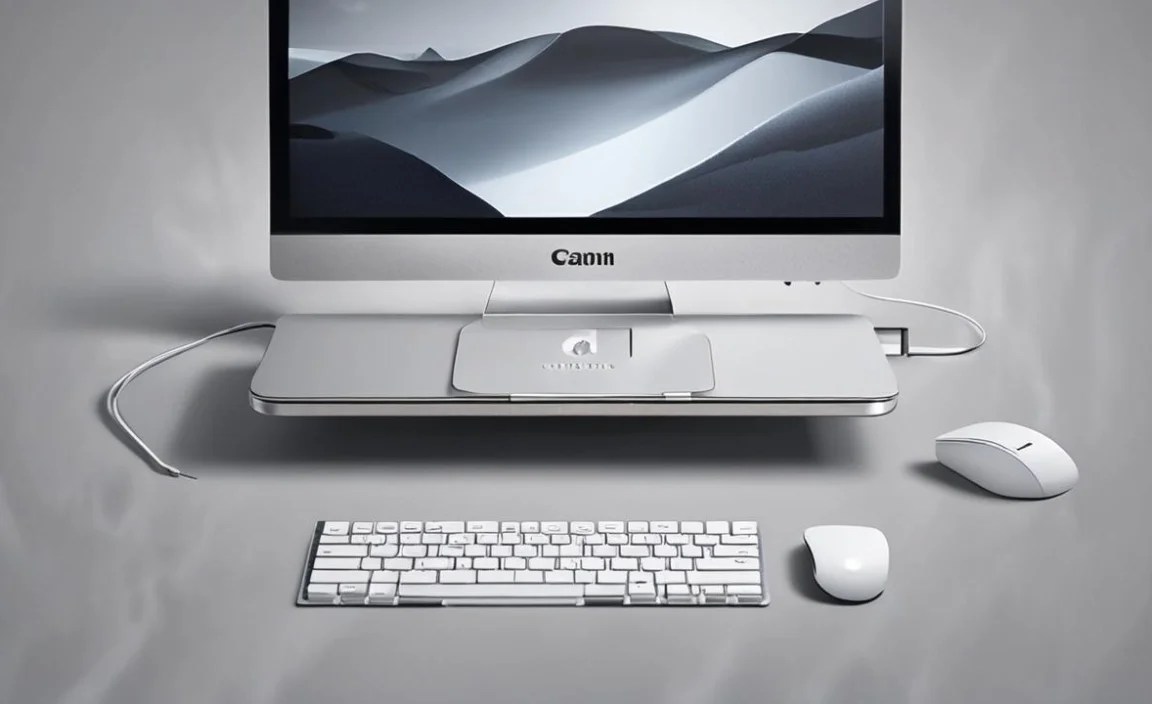
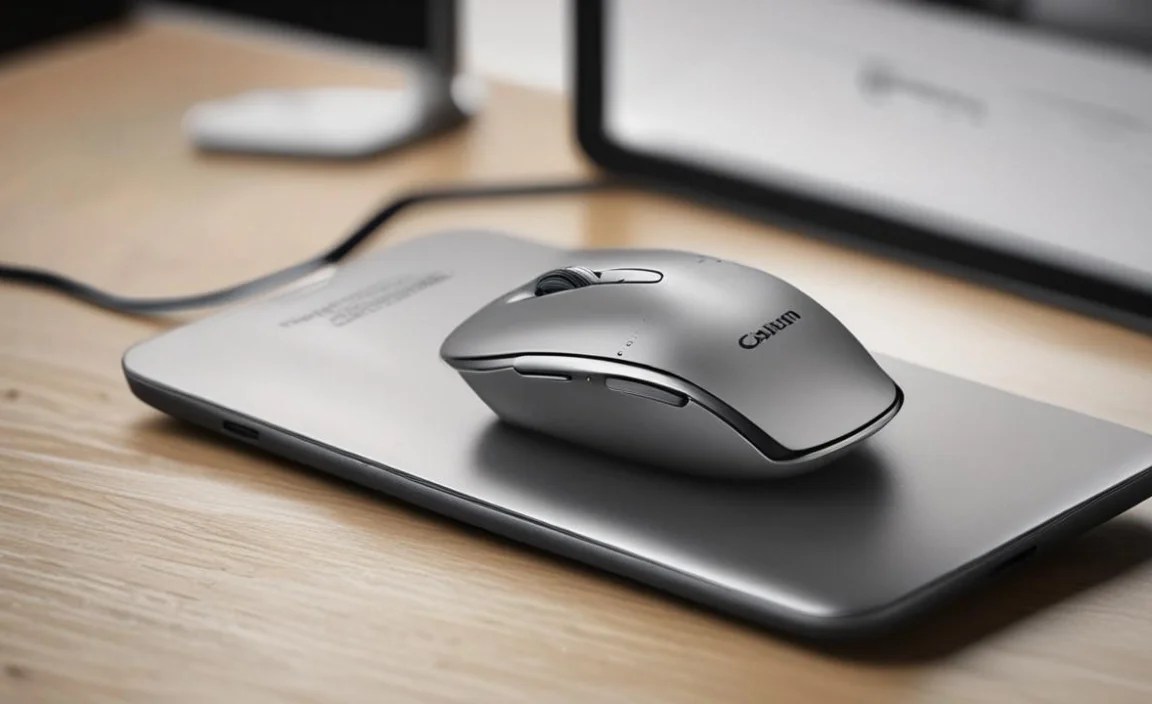
Before diving into the installation process, it’s crucial to understand a few key points. Canon, while renowned for its printers and cameras, also produces a range of computer peripherals, including mice. For the most part, modern Canon mice are designed to be plug-and-play devices, meaning they should function immediately upon connection to your Mac via USB or Bluetooth. However, for advanced features, customization options, or to ensure optimal performance, installing dedicated driver software is often recommended.
The primary consideration when looking for drivers is your macOS version. Apple has been transitioning exclusively to 64-bit architecture for quite some time, with macOS Catalina (10.15) being the first version to drop all 32-bit application support. Therefore, if you’re using Catalina or any subsequent version (Big Sur, Monterey, Ventura, Sonoma, etc.), you’ll inherently be dealing with a 64-bit operating system. Older versions of macOS will also increasingly rely on 64-bit drivers for newer hardware.
Navigating Canon’s Support Website for Drivers
The most reliable place to find the correct “Canon mouse install driver for macOS 64 bit” is directly from the manufacturer’s official website. Canon maintains a comprehensive support portal where you can download the latest software and drivers for their products.
Here’s a general approach to finding the driver:
1. Visit the Canon Support Website: Open your web browser and navigate to the official Canon website for your region (e.g., canon.com for the US, canon.co.uk for the UK, etc.). Look for a “Support,” “Downloads,” or “Service & Support” section.
2. Identify Your Product: You’ll typically need to input your product name or model number. For a Canon mouse, this might be something like “Canon MS-P01” or a similar designation. If you’re unsure of the exact model, it’s usually printed on the underside of the mouse itself.
3. Select Your Operating System: This is a critical step. You’ll be presented with a list of operating systems. Choose “macOS” and then, if applicable, select the specific version of macOS you are running (e.g., macOS Sonoma, macOS Ventura, macOS Monterey, etc.). As mentioned, all these are 64-bit. If you are on a much older macOS version and unsure if it’s 64-bit, it’s generally safe to assume newer drivers will be 64-bit, and older systems may not be compatible with the newest mice anyway.
4. Locate the Driver/Software: Once you’ve selected the correct OS, browse the available downloads. You’re looking for something explicitly labeled as a “driver,” “software,” or “utility” for your mouse. Sometimes, the driver might be bundled with other software, so read the descriptions carefully.
The “Canon Mouse Install Driver for macOS 64 bit” Process
Once you’ve downloaded the relevant driver file (typically a `.dmg` disk image file), the installation is usually quite intuitive.
1. Open the Downloaded File: Locate the downloaded `.dmg` file in your Downloads folder and double-click it. This will mount the disk image, making its contents accessible, much like inserting a physical CD.
2. Run the Installer: Inside the mounted disk image, you’ll find an installer application. It usually has a name like “Install Canon Mouse Driver” or something similar. Double-click this to launch the installation wizard.
3. Follow On-Screen Instructions: The installer will guide you through the process. This typically involves agreeing to license agreements, choosing an installation location (usually the default is fine), and confirming the installation. You may be prompted to enter your Mac’s administrator password to authorize the installation.
4. Restart Your Mac (Recommended): While not always strictly necessary for mouse drivers, it’s good practice to restart your Mac after installing new system-level software. This ensures that all components are loaded correctly and that the driver is fully integrated into your operating system.
Post-Installation: Customization and Troubleshooting

After the installation, your Canon mouse should be fully functional. If the driver came with a dedicated application or utility, launch it from your Applications folder or via Spotlight search. This is where you can often customize button assignments, adjust pointer speed, configure scrolling behavior, and access other advanced settings specific to your Canon mouse model.
If you encounter issues:
Check Connections: Ensure your mouse is securely plugged in or paired via Bluetooth.
Re-download the Driver: Sometimes, download files can get corrupted. Try downloading the driver again.
Verify macOS Version: Double-check that you downloaded the driver for the exact version of macOS you are running.
Contact Canon Support: If problems persist, Canon’s official support channels (website, phone support) are your next best avenue. They can provide model-specific troubleshooting or confirm if your mouse is indeed compatible with your macOS version.
By following these steps, you should achieve an “effortless install” of your Canon mouse driver for your 64-bit macOS system, unlocking all its functionality and ensuring a smooth computing experience.


