
Canon Mouse Driver Setup: Effortless Win 10
Successfully getting your Canon mouse working optimally on your Windows 10 computer often hinges on the correct Canon mouse driver setup for Windows 10 latest version. While many modern peripherals might offer plug-and-play functionality, ensuring you have the latest drivers can unlock enhanced features, improved performance, and crucial compatibility updates. This guide will walk you through the process, making the setup as smooth and effortless as possible.
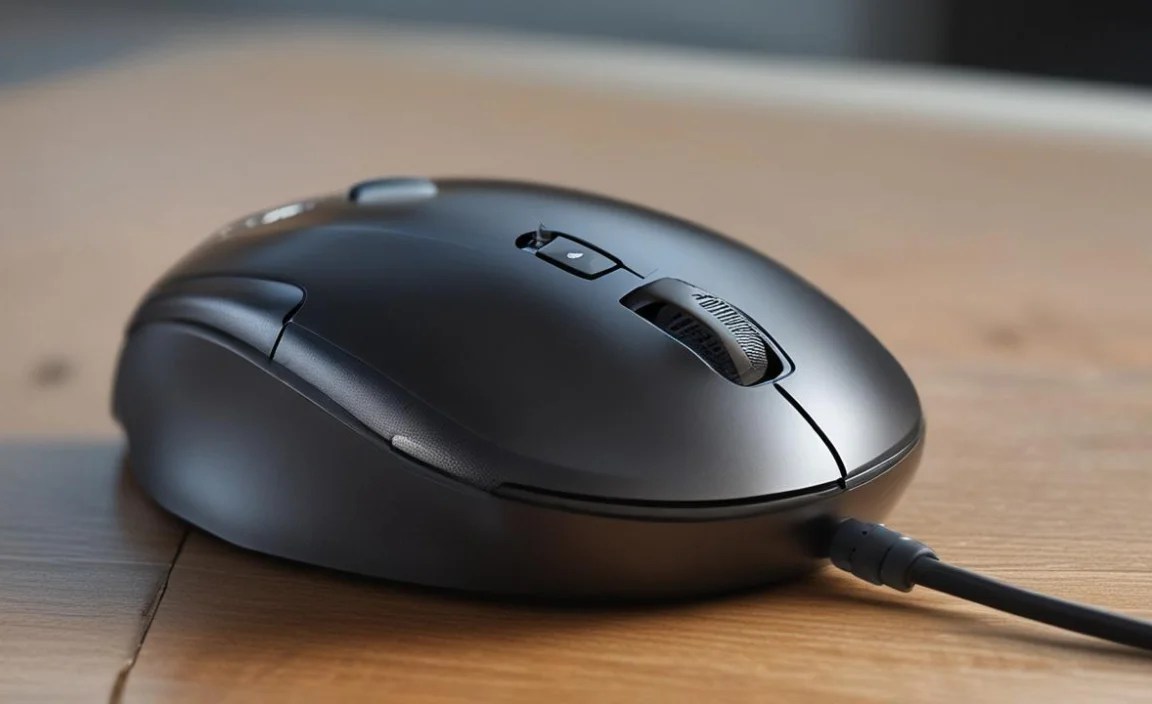
Modern computing relies heavily on seamless interaction, and your mouse is a primary gateway to your digital world. Generic drivers provided by Windows 10 are often sufficient for basic cursor movement, but for a Canon mouse, which may boast specific functionalities like customizable buttons, silent clicking, or advanced scroll wheels, dedicated drivers are key. These specialized drivers allow your operating system to fully understand and communicate with the unique hardware of your Canon device, unlocking its full potential. Moreover, software updates often address security vulnerabilities and improve system stability, making the driver update process a good practice for all computer users.
Why Updating Your Canon Mouse Driver is Important

The primary reason for ensuring you have the Canon mouse driver setup for Windows 10 latest version is to guarantee optimal performance and access to all features. Outdated drivers can lead to:
Lagging or erratic cursor movement: If the driver isn’t communicating effectively, your cursor might jump, freeze, or move inconsistently.
Unresponsive buttons: Specific programmable buttons on your Canon mouse might not work at all or might perform unintended actions.
Compatibility issues: As Windows 10 receives regular updates, older drivers may become incompatible, leading to system glitches or even the mouse not being recognized.
Missed features: Advanced functionalities unique to your Canon mouse model might be inaccessible without the correct, up-to-date driver.
Security risks: Like any software, drivers can have security vulnerabilities. Keeping them updated helps protect your system from potential threats.
Locating the Correct Canon Mouse Driver

The first step in the Canon mouse driver setup for Windows 10 latest version is to accurately identify the specific model of your Canon mouse. This information is typically found on the underside of the mouse itself. Look for a model number or product name printed on a sticker.
Once you have the model information, your best bet for finding the latest driver is directly from the official Canon support website. Canon, like most major hardware manufacturers, offers a comprehensive support portal where you can download drivers, software, and manuals for their products.
Steps to find the driver on the Canon website:
1. Navigate to the Canon support website: Open your web browser and go to your region’s official Canon website (e.g., usa.canon.com, canon-europe.com). Look for a “Support” or “Downloads” section.
2. Search for your product: Use the search bar to enter your mouse’s model name or number. Alternatively, you might be able to browse by product category (e.g., “Computer Peripherals” or “Accessories”).
3. Select your operating system: Crucially, ensure you select “Windows 10” as your operating system. Some websites allow you to auto-detect your OS, but manually selecting it provides an extra layer of certainty. Also, be mindful of whether you are running a 32-bit or 64-bit version of Windows 10. Most modern systems are 64-bit.
4. Download the latest driver: Look for the most recent driver listed for your mouse and Windows 10. It may be labeled as “Driver,” “Software,” or “Utility.” Download the file to a memorable location on your computer, such as your Desktop or Downloads folder.
Performing the Canon Mouse Driver Setup for Windows 10 Latest Version
With the correct driver file in hand, the installation process is usually straightforward.
General Installation Steps:
1. Disconnect the mouse (optional but recommended): Before starting the installation, it’s often a good idea to disconnect your Canon mouse from the USB port. This prevents any potential conflicts during the installation.
2. Run the downloaded installer: Locate the downloaded driver file (it will likely be an executable file, often ending in `.exe`). Double-click on it to launch the installer program.
3. Follow the on-screen prompts: The installer will guide you through the process. This typically involves agreeing to license agreements, choosing an installation location (usually the default is fine), and waiting for the files to be copied and configured.
Beware of bundled software: Some driver installers may attempt to bundle additional software you don’t need. Read each screen carefully and uncheck any optional installations you don’t want.
4. Reboot your computer: After the installation is complete, you will almost always be prompted to restart your computer. This is essential for the new drivers to be loaded correctly and take effect.
5. Reconnect your mouse: Once your computer has restarted, reconnect your Canon mouse to a USB port. Windows 10 should now recognize it with the newly installed drivers.
Verifying the Installation and Accessing Features
After rebooting, it’s wise to quickly confirm that the drivers are installed correctly and that your mouse is functioning as expected.
1. Check Device Manager:
Right-click on the Start button and select “Device Manager.”
Expand the “Mice and other pointing devices” category.
* You should see your Canon mouse listed by its correct model name. If you see a generic “HID-compliant mouse” and a caution symbol, the driver may not have installed correctly.
2. Test basic functionality: Move the cursor around, click, and try scrolling to ensure everything is working smoothly.
3. Explore Canon software (if applicable): If the driver installation included specific Canon software for your mouse, launch it. This is where you’ll typically find options to customize button assignments, adjust DPI settings, fine-tune scrolling behavior, and more. This functionality is the main benefit of performing a proper Canon mouse driver setup for Windows 10 latest version.
If, for any reason, you encounter issues after the installation, you can try uninstalling the driver through Device Manager and then reinstalling it, ensuring you download the latest version again from the Canon website. Troubleshooting might also involve trying a different USB port.
By following these steps, you can ensure your Canon mouse is fully integrated with your Windows 10 system, providing a comfortable, efficient, and feature-rich user experience. Prioritizing the correct Canon mouse driver setup for Windows 10 latest version is a small but significant step towards a more productive computing environment.


