Screen Recorder Windows 10 is an indispensable tool for a wide range of users, from gamers and educators to business professionals and casual users.
Whether you need to capture a complex software tutorial, record a memorable gaming moment, or document a troubleshooting process, having a reliable and user-friendly screen recording solution for your Windows 10 device is crucial.
Fortunately, Windows 10 offers several robust options, both built-in and third-party, to meet these diverse needs. This article will explore the best and most effortless ways to capture your screen on a Windows 10 computer, ensuring you can make the most of your digital interactions.
Understanding Your Screen Recording Needs
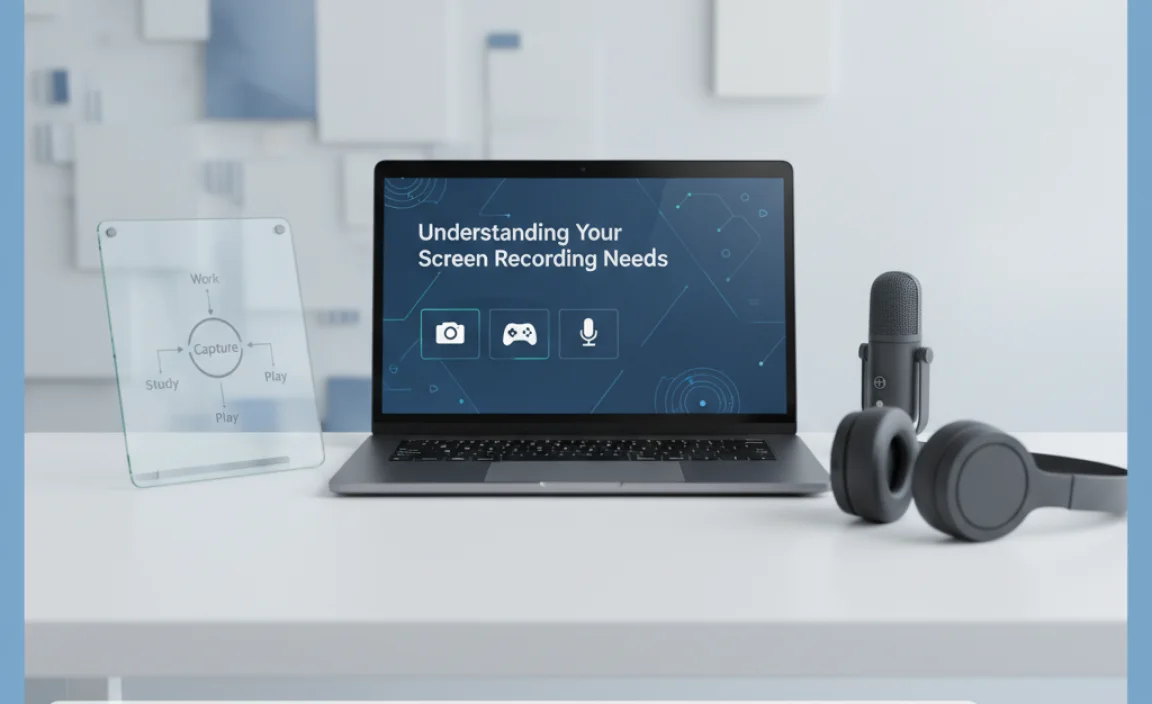
Before diving into specific tools, it’s helpful to consider what you’ll primarily use your screen recorder for. Are you looking for simple video capture of your entire screen or specific windows? Do you need to record audio commentary along with the video?
Features like webcam recording, annotation tools, editing capabilities, and the ability to export in various formats can also significantly impact your choice. Knowing your priorities will help you narrow down the best screen recorder for desktop Windows 10 for your unique workflow.
The Built-In Powerhouse: Xbox Game Bar
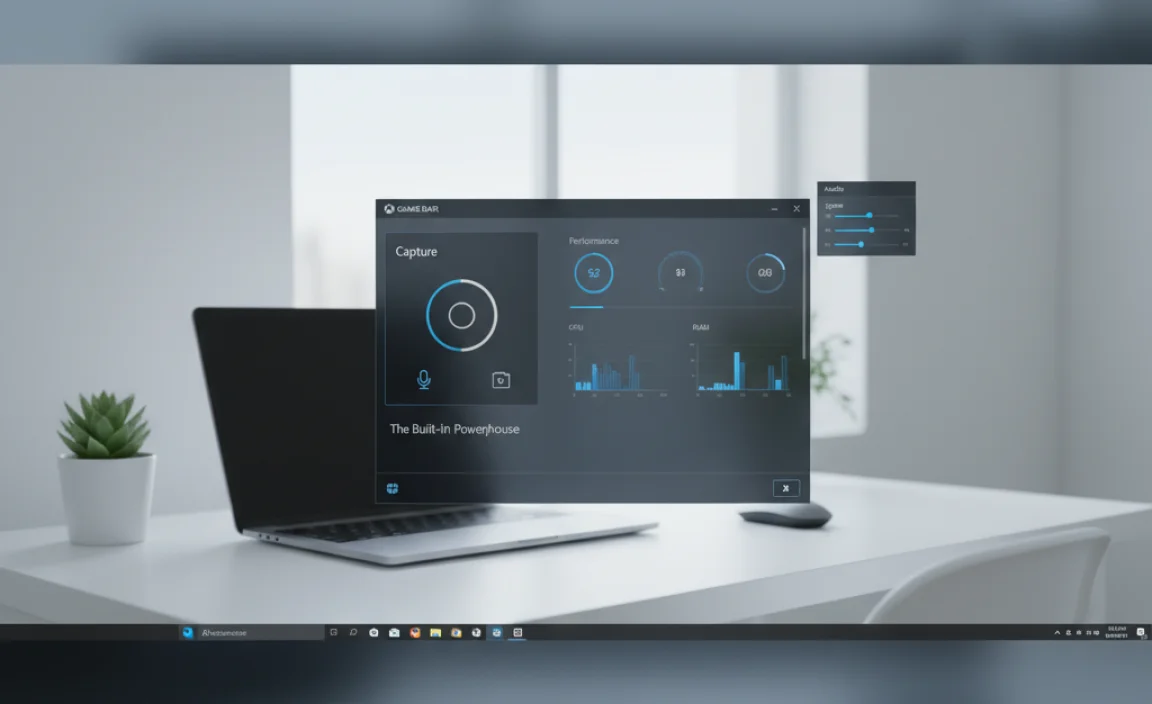
Windows 10 comes with a surprisingly capable, albeit often overlooked, screen recording feature: the Xbox Game Bar. Primarily designed for gamers to capture gameplay, it’s also an excellent and effortless solution for many other screen recording tasks.
How to Access and Use the Xbox Game Bar
To launch the Xbox Game Bar, simply press Windows key + G. This will overlay a series of app windows. The one you’re interested in for recording is the “Capture” widget. If it’s not visible, click the camera icon in the main Game Bar menu.
Within the Capture widget, you’ll find buttons to:
Take a screenshot: A simple camera icon for static images.
Record the last 30 seconds: A circular arrow icon, perfect for capturing immediate action you might have missed.
Start recording: A large circular button to begin capturing your screen.
Toggle microphone audio: A speaker icon to include or exclude your voice commentary.
To start recording: Click the “Start recording” button in the Capture widget, or use the shortcut Windows key + Alt + R. A small recording timer will appear in the top right corner of your screen. To stop recording, press Windows key + Alt + R again or click the stop button on the timer.
Recorded videos are automatically saved to your “Videos/Captures” folder in MP4 format.
Limitations of the Xbox Game Bar
While incredibly convenient, the Xbox Game Bar has some limitations. It’s primarily designed for recording a single application window. You cannot record your desktop background or File Explorer directly with it. Furthermore, the recording options are relatively basic; there are no advanced editing features or extensive customization options for frame rates, resolutions, or output formats. For more complex needs, you’ll want to explore other options.
Powerful Third-Party Screen Recorders

For users who need more flexibility, advanced features, or the ability to record their entire desktop, third-party applications are the way to go. Here are some of the top contenders for the best screen recorder for desktop Windows 10:
OBS Studio: The Free and Feature-Rich Champion
For professionals and power users, OBS Studio (Open Broadcaster Software) is the undisputed king of free screen recording and streaming software. It’s a highly versatile and powerful tool, though it does have a steeper learning curve than simpler options.
Key Features:
Scene Composition: OBS allows you to build complex scenes by combining multiple sources, including screen captures, webcams, images, text, and more.
Extensive Customization: Fine-tune recording settings like resolution, frame rate, bit rate, and output format.
Audio Mixer: Offers advanced audio controls for mixing multiple audio sources with filters.
Cross-Platform: Available not only for Windows but also for macOS and Linux.
Live Streaming: Beyond recording, OBS is a leading choice for live streaming to platforms like Twitch and YouTube.
Getting Started with OBS Studio:
While it might seem intimidating at first, the basics of screen recording in OBS are straightforward.
1. Download and Install: Get OBS Studio from its official website.
2. Create a Scene: In the “Scenes” panel, click the “+” to create a new scene.
3. Add a Source: In the “Sources” panel, click the “+” and select “Display Capture” to record your entire screen, or “Window Capture” to record a specific application.
4. Configure Settings: Go to “File” > “Settings” to adjust output format, recording path, video bitrate, and other preferences.
5. Start Recording: Click “Start Recording” in the “Controls” panel.
OBS Studio is an excellent choice if you need professional-grade features without the hefty price tag.
ShareX: Versatile and Lightweight
If you’re looking for a free, feature-rich, and lightweight tool that excels at more than just screen recording, ShareX is a fantastic option. It’s an open-source program packed with tools for taking screenshots, recording your screen (with audio), and automating workflows.
Key Features:
Multiple Capture Methods: Record full screen, windows, regions, and scrolling windows.
Annotation Tools: Add text, shapes, and highlights to your recordings or screenshots.
Workflow Automation: Automatically upload recordings to cloud services, stitch images together, and more.
High Customization: Extensive options for hotkeys, output formats, and post-capture actions.
ShareX is particularly great for users who frequently need to document processes, create annotated guides, or quickly share annotated content.
Camtasia: Professional Editing Powerhouse
For those who require robust video editing capabilities alongside screen recording, Camtasia is a premium, industry-standard choice. It offers an intuitive interface but delivers professional-grade results.
Key Features:
Integrated Screen Recorder: Easily record your screen, webcam, and audio.
Powerful Video Editor: Includes a comprehensive suite of editing tools, effects, animations, and templates.
Interactive Content: Create quizzes and interactive elements within your videos.
User-Friendly Interface: Despite its power, Camtasia is designed to be accessible to users of all skill levels.
Camtasia is a paid software, but its all-in-one solution makes it ideal for businesses, educators, and content creators who need polished, professional video output.
Choosing the Right Screen Recorder for You
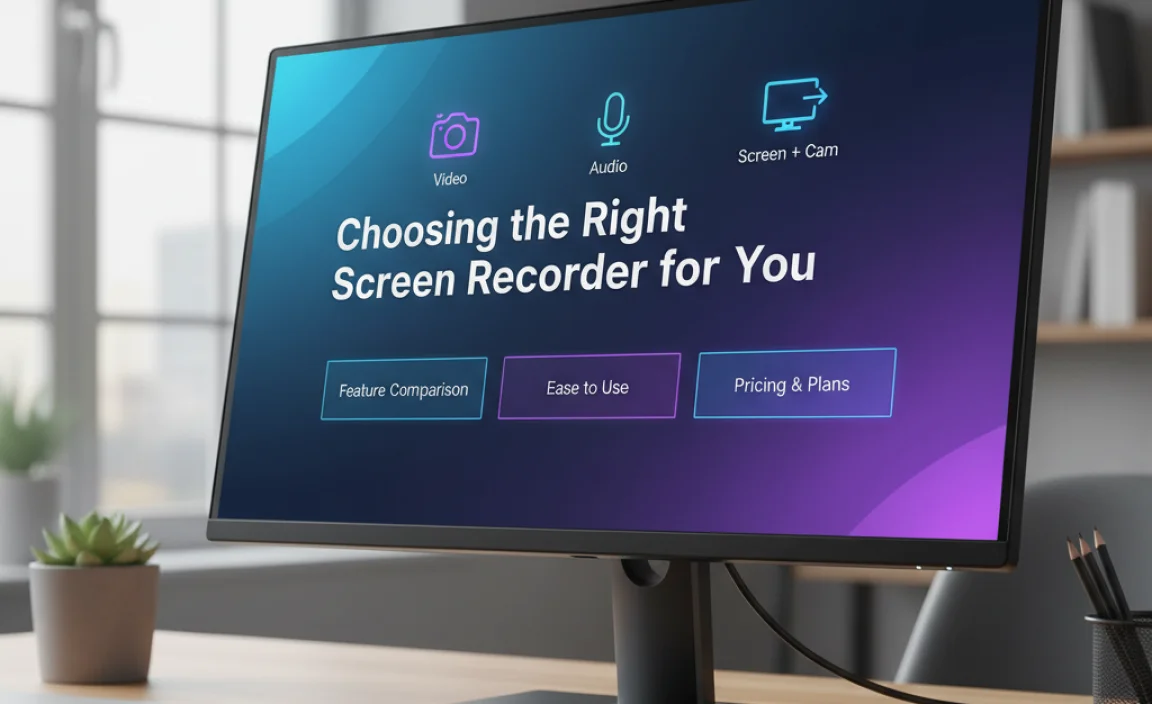
Effectively using a screen recorder for desktop Windows 10 boils down to matching the tool to your specific requirements.
For quick, simple recordings of applications: The Xbox Game Bar is your go-to. It’s built-in, requires no download, and is incredibly easy to use.
For free, advanced features, and professional quality: OBS Studio is unparalleled. It’s the ultimate tool for users who don’t mind a bit of a learning curve to unlock immense power.
For a versatile free tool with annotation and automation: ShareX provides a great balance of features and ease of use for documentation and sharing.
* For polished, professional videos with integrated editing: Camtasia is the premium option that streamlines the entire process from recording to final export.
By understanding the capabilities of each option and considering your own needs, you can confidently select the best screen recorder for desktop Windows 10 to enhance your productivity, creativity, and communication.