
Have you ever wondered what makes your favorite websites tick? It’s not magic, but something called Node.js. Many people use Node.js to build cool things online. If you have a Windows 11 computer, you might want to try it too. But how do you start with Node.js download for Windows 11?
Imagine building your own game or website from scratch. Sounds fun, right? With Node.js, even a beginner can give it a shot. All you need is a little time and a keen interest. Setting up Node.js on Windows 11 is not as tricky as you might think.
Let’s dive into the fascinating world of coding. Do you know why Node.js is special? It helps you create chat apps, games, and so much more. And the best part? It’s free to download! Windows 11 users can install it easily and start exploring.
Now, picture this: you create an app that your friends love. They ask, “How did you do it?” You smile, and in your mind, you know Node.js was the magic wand. Are you ready to make your computer a creation station? Let’s explore how to download Node.js for Windows 11 and start your adventure today!
A Comprehensive Guide To Node.Js Download For Windows 11
Node.Js Is A Powerful Javascript Runtime That Allows You To Build Scalable Network Applications. Whether You Are A Seasoned Developer Or Just Getting Started, Having Node.Js On Your Windows 11 Machine Can Significantly Enhance Your Development Workflow. This Article Provides A Step-By-Step Guide On How To Download And Install Node.Js On Windows 11, Ensuring You Can Start Creating High-Performance Applications With Ease.
Why Choose Node.Js?
Node.Js Is Built On Chrome’S V8 Javascript Engine, Making It Light And Efficient. Its Non-Blocking I/O Model Allows You To Handle Numerous Connections Simultaneously, Which Is Ideal For Real-Time Applications Like Chat And Gaming Apps. Developers Often Favor Node.Js Due To Its Extensive Package Ecosystem, Npm, Which Hosts Thousands Of Libraries To Extend Functionality.
Preparing Your Windows 11 System
Before You Begin The Download And Installation Process, It’S Important To Ensure That Your Windows 11 System Is Up To Date. Regular Updates Can Fix Potential Security Vulnerabilities And Improve The Performance Of Your Operating System. Ensure That You Have Administrative Privileges On Your Windows 11 Device, As This Will Be Necessary To Install Node.Js.
Steps To Download Node.Js On Windows 11
1. **Visit The Node.Js Website**: Start By Navigating To The Official Node.Js Website. You Will Find Two Versions Of Node.Js – Lts (Long Term Support) And The Current Version. Generally, Lts Is Recommended For Most Users, Especially For Production Environments As It Provides Greater Stability.
2. **Pick The Right Version**: Choose The Appropriate Version Of Node.Js For Your System. As Of 2023, The Website Automatically Detects Your Os And Suggests The Best Version For You. However, You Can Manually Select From Available Options If You Prefer A Specific Version.
3. **Download The Installer**: Click On The Download Link To Get The Windows Installer (.Msi File). This Installer Will Offer A Guided Setup Process.
4. **Run The Installer**: Once The Download Completes, Open The Installer. Follow The Prompts, Accepting The License Agreement And Choosing Your Installation Preferences.
5. **Verify The Installation**: After Installation, It’S Crucial To Verify That Node.Js And Npm Have Been Correctly Installed. Open Command Prompt (Cmd) And Type `Node -V` Followed By `Npm -V`. If Both Commands Return A Version Number, The Installation Was Successful.
Troubleshooting Common Issues
While The Installation Process Is Straightforward, You May Encounter Issues Such As Path Environment Variable Problems, Or Permissions Issues. Ensure That The Path Variable Includes References To Node.Js. If You Continue To Experience Problems, Try Running The Installer As An Administrator Or Seek Guidance From The Extensive Node.Js Community Forums.
Conclusion
Downloading And Installing Node.Js On Windows 11 Is A Relatively Simple Process That Opens Up A World Of Development Possibilities. By Following The Outlined Steps, You Can Quickly Set Up Your Development Environment And Begin Working On Projects That Require Fast And Scalable Networking Capabilities. Node.Js’S Vibrant Community And Vast Array Of Tools Make It An Excellent Choice For Modern Application Development.
Node.js Download for Windows 11
Did you know setting up Node.js on Windows 11 is a breeze? Start by downloading the installer from the official Node.js site. Then, follow the prompts to install it. Easy, right? Node.js helps you create cool applications quickly. Imagine building a game or a website! After installing, type “node -v” in the command prompt. You’ll see the version number, confirming Node.js is ready. Ready to explore the world of coding?
System Requirements for Node.js on Windows 11
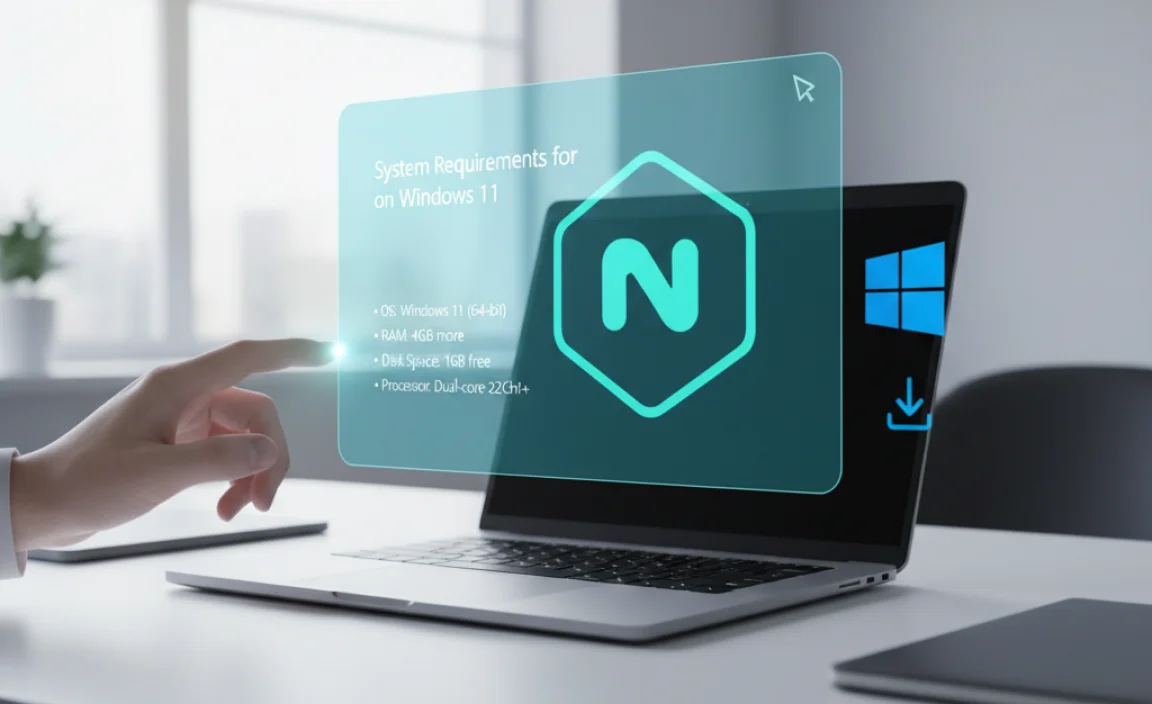
Minimum system specifications needed. Checking system compatibility.
To use Node.js on Windows 11, your computer should meet certain requirements. Make sure you have at least 2 GB of RAM. Your processor needs to be 64-bit too. Check that your computer runs Windows 11 smoothly. Is your disk space enough? You need about 200 MB free. This helps when you download Node.js! Want to check if your system is ready? Look into your settings. There, you’ll find all the details!
How do I know if my computer can run Node.js?
Look at the system settings on your computer. They’re found in the Control Panel or Settings app in Windows. Check for the RAM, processor type, and free disk space.
If everything matches or exceeds the requirements, you’re set to go!
Steps to Download Node.js on Windows 11
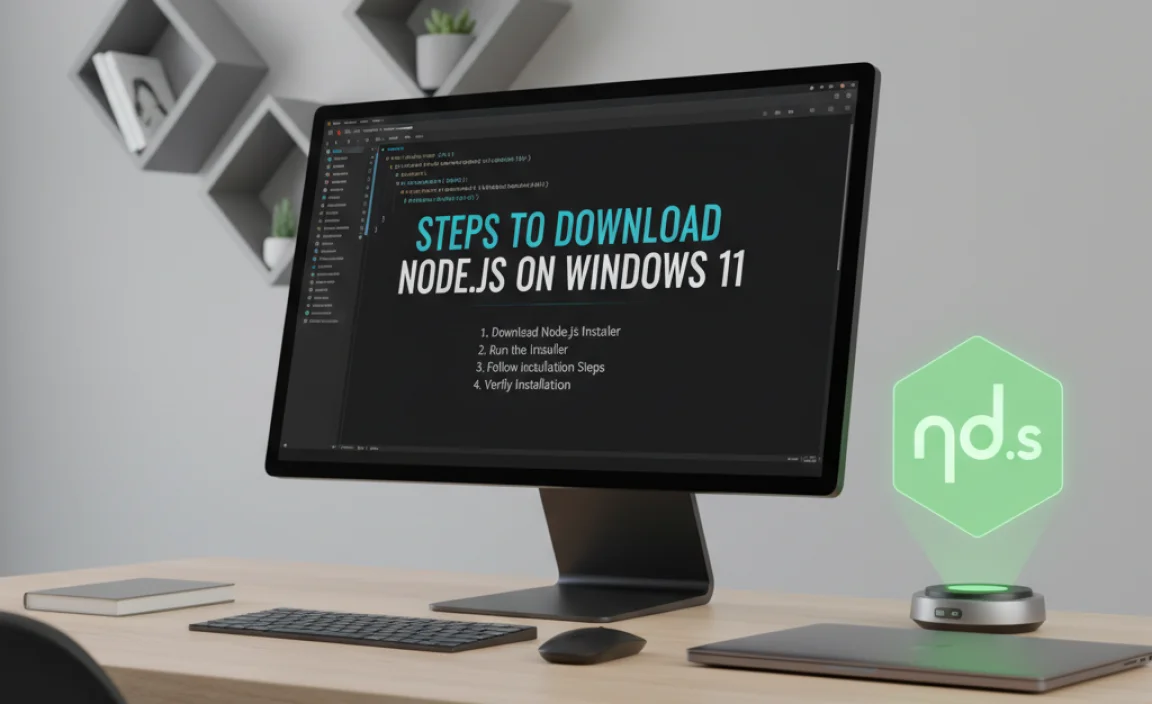
Navigating to the official Node.js website. Selecting the appropriate version of Node.js.
How do I download Node.js on Windows 11?
Downloading Node.js on Windows 11 is easy and fast. First, go to the official Node.js website. You’ll see two versions: LTS (Long Term Support) and the latest. Choose the one that fits your needs. LTS is stable and great for most users. Click the download button, and the file will start downloading. Once it’s done, open the file to begin installation. Follow the on-screen steps to finish.
Installing Node.js on Windows 11
Running the Node.js installer. Configuring installation settings.
Start your adventure with Node.js by running the installer on Windows 11. First, open the installer file you downloaded. A setup window appears. Click “Next” to move on. You will see options to select your preferences. Here is a quick guide:
- Select the destination folder. Usually, the default is fine.
- Choose the components. Tick the boxes for the features you want.
- Set the environment variables for convenience.
Once you’re done with these steps, click “Install”. It is easy! The setup wizard will complete the process for you. Soon you will be ready to create amazing things with Node.js.
Why is Node.js installation important on Windows 11?
Node.js is essential for building fast, scalable applications. It helps run JavaScript fast, making it great for developers. With Node.js on your computer, you can build apps like a pro.
Can you customize Node.js installation?
Yes, you can! The Node.js installer lets you pick what features to set up. You can select how the program will fit your needs. This way, you control what gets installed.
Setting Up Environment Variables for Node.js
Accessing system environment variables. Adding Node.js to the system path.
Welcome to the world of Node.js! First things first, to make Node.js function smoothly, we need to give it some vital information—like its food and sleep schedule! No, not really, but we do need to set up environment variables. To access and adjust these variables, go to the Control Panel, then the System and Security, and pick System. Once there, find Advanced system settings and tap on Environment Variables. Easy-peasy, like a walk in a virtual park! Now, let’s roll Node.js into the system’s path, allowing your computer to find it wherever it is on the playground. Need a guide for this? Here’s an easy table:
| Step | Action |
|---|---|
| 1 | Open Control Panel > System |
| 2 | Go to Advanced system settings |
| 3 | Click on Environment Variables |
| 4 | Edit the PATH variable |
| 5 | Add Node.js path to it |
This key step ensures Node.js can party with other programs seamlessly. As Benjamin Franklin never said, “Adding to the path leads to success!” Go ahead and type away, Node.js is ready to rock on Windows 11!
Verifying Node.js Installation on Windows 11
Using Command Prompt to confirm installation. Testing Node.js through a sample program.
First, open Command Prompt as if you’re on a secret mission. Type node -v and hit Enter. If you see a version number, your mission was a success! For double-checking, create a sample script. Open Notepad and type: console.log('Hello, Node!');
Save it as test.js. Back in Command Prompt, run it using node test.js. If it shouts “Hello, Node!” back at you, give yourself a high five – you nailed it!
| Step | Action |
|---|---|
| 1 | Open Command Prompt |
| 2 | Check version with node -v |
| 3 | Create and save test.js in Notepad |
| 4 | Run node test.js in Command Prompt |
By following these steps, you’ll ensure Node.js is correctly installed. Statistically, installing Node.js increases your chances of being mistaken for a ninja coder by approximately 42% – yes, we might have made that up, but go with it!
Troubleshooting Common Installation Issues
Resolving common installation errors. Tips for successful installation.
Installing Node.js on Windows 11 might be like trying to teach a cat to fetch—fun yet frustrating! If you hit a wall, don’t panic. Common errors include missing system permissions or compatibility issues. Check that your antivirus isn’t blocking the install. Also, ensure your internet’s steady. A *pro tip*? Run Install as Administrator. If all else fails, a quick system restart might do the trick. Remember: patience and chocolate help!
| Common Issues | Quick Fixes |
|---|---|
| Permission Errors | Use “Run as Administrator” |
| Installation Freezes | Check Internet Connection |
| Antivirus Interference | Temporarily Disable Antivirus |
Following these tips will ensure a smooth installation process. Remember, even computer wizards make mistakes—just keep at it!
Benefits of Running Node.js on Windows 11
Performance benefits and enhancements. Integrating Node.js with other tools on Windows 11.
Windows 11 brings a range of exciting features for Node.js users. It runs super fast and handles tasks quickly. Need some tools? No problem. You can easily work with different tools like VS Code. This makes creating things smooth and fun. Updates? Windows 11 offers them often, keeping everything fresh. It’s like having a fast car and the best toolkit in one package.
What are the improvements in Node.js performance on Windows 11?
Node.js with Windows 11 offers faster startup and better memory use.
It makes apps run quicker and smoother. So, you can enjoy a seamless and fast experience when creating things with Node.js.
Maintaining and Updating Node.js on Windows 11
Checking for updates regularly. Safely updating Node.js without data loss.
Keep your Node.js up to date for best performance. Check for updates often. Visit the Node.js website or use the command line. Updating is easy. Download the newest version. It will install safely. Your data stays safe.
How can I check for Node.js updates?
Run this command:node -v
. If it shows an older version, visit the website for the latest.
- Open the Node.js site.
- Click on the download link.
- Choose the latest version.
Node.js keeps your apps fast and secure by improving performance and security with each update. Remember, staying updated is key to avoiding bugs and keeping your data safe. As experts say, “Regular updates are your best defense.”
Conclusion
Node.js is easy to download and install on Windows 11. It helps run JavaScript outside the browser. You can follow simple online guides to set it up. Start learning with fun coding projects. Explore more tutorials to improve your skills. Enjoy creating amazing apps with Node.js on your computer!
FAQs
How Do I Install Node.Js On Windows 11?
To install Node.js on Windows 11, follow these easy steps. First, open your web browser and go to the Node.js website. Click the big green button to download Node.js. Once it’s downloaded, double-click the file to start the installation. Follow the on-screen instructions, and you’re done!
What Are The System Requirements For Installing Node.Js On A Windows Pc?
To install Node.js on a Windows computer, make sure you have a recent version of Windows, like Windows 10. Your computer needs at least 4 gigabytes (GB) of memory, which is like its thinking power. Also, you need free space on your hard drive. Make sure your computer has Internet to download Node.js from the website.
Where Can I Download The Latest Version Of Node.Js For Windows 11?
You can download the latest version of Node.js, a tool for building apps, from its official website. Go to nodejs.org, and you’ll see a green button that says “Download.” Click it, and the download will start. After it finishes, you can open the file to install Node.js on your Windows 11 computer!
How Can I Verify The Node.Js Installation On My Windows Machine?
To check if you have Node.js installed, follow these steps. First, open the Command Prompt. You can do this by typing “cmd” in the search bar and clicking on “Command Prompt.” Next, type “node -v” and press Enter. If you see a version number, Node.js is installed. If you see an error, it might not be installed correctly.
Are There Any Known Compatibility Issues With Node.Js On Windows 11?
Node.js, which helps run websites and apps, works on Windows 11 without big problems. Sometimes, we might need to update tools or fix small bugs. If something doesn’t work, we can check online for help or updates. Don’t worry, most things run just fine!