Epson printer driver setup for Linux 2025 has never been more crucial for users seeking seamless integration between their robust printing hardware and the powerful open-source operating system. For many, Linux offers a stable, customizable, and often more cost-effective computing environment.
However, ensuring peripherals like printers work flawlessly can sometimes present a unique challenge. Fortunately, Epson has made significant strides in improving its Linux driver support, making the setup process more streamlined and user-friendly than ever before. This guide will walk you through the essential steps, from identifying your printer to resolving common issues, ensuring you can print with confidence in 2025.
Understanding the Epson Linux Driver Landscape
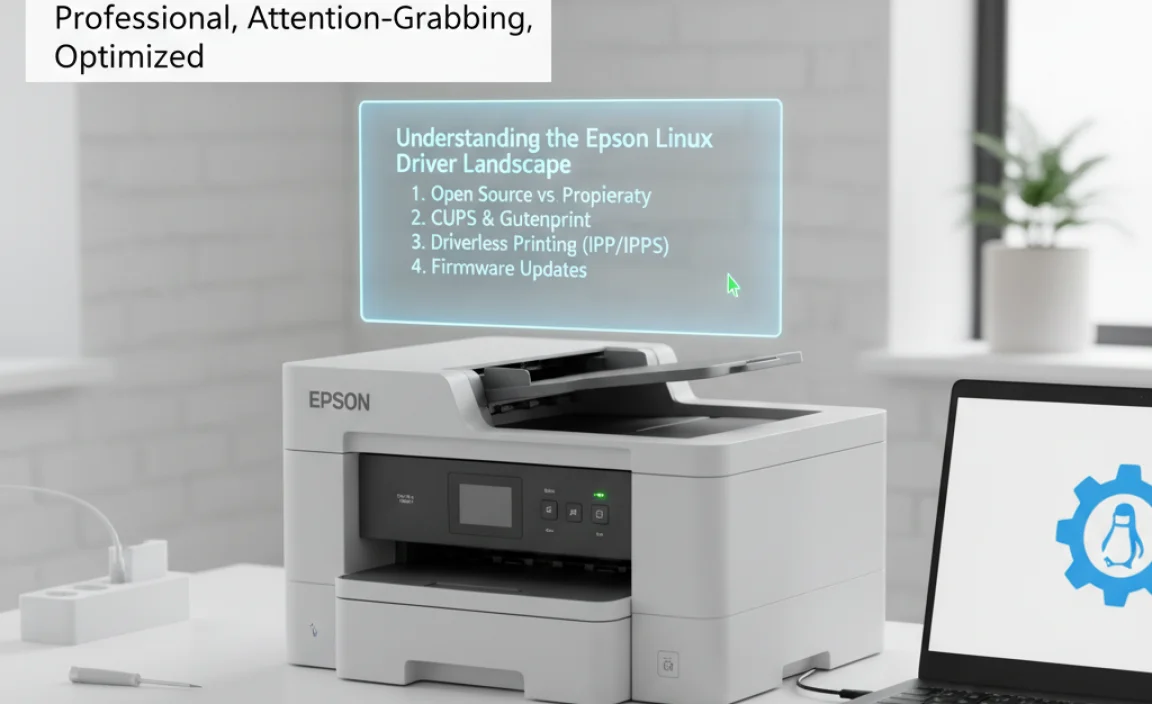
Before diving into the setup process, it’s important to understand how Linux handles printer drivers. Unlike Windows or macOS, where drivers are often proprietary and automatically installed, Linux typically relies on a combination of the CUPS (Common Unix Printing System) printing system and specific printer drivers. CUPS acts as the intermediary, managing print jobs and communicating with the printer.
The drivers themselves tell CUPS how to interpret different printer commands and features. Epson provides a range of drivers, some of which are community-supported, while others are officially released by Epson for Linux. For 2025, the focus remains on utilizing these official drivers for the best compatibility and feature access.
Prelude to Installation: Preparation is Key
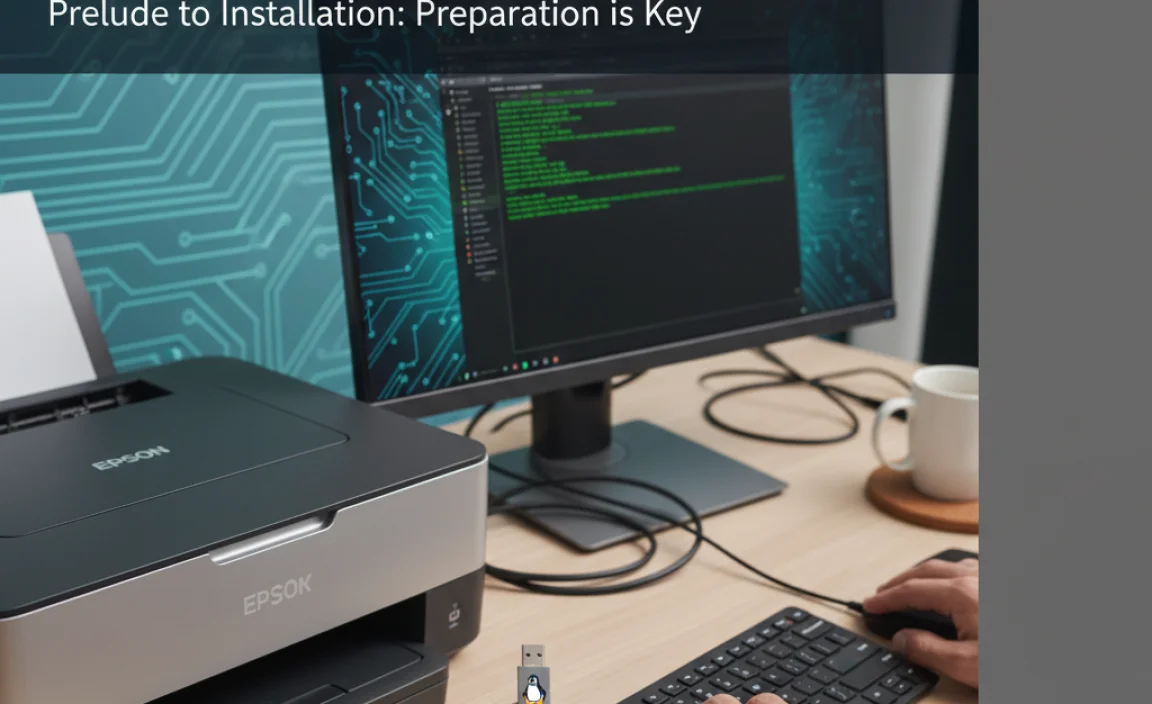
Before you even begin the driver installation, a few preparatory steps will significantly smooth the process.
Identify Your Epson Printer Model
The first and most critical step is accurately identifying your specific Epson printer model. This information is usually found on the printer itself, often on the front, top, or back panel. Note down the exact model number. This will be essential when searching for the correct driver.
Check Your Linux Distribution and Version
While most modern Linux distributions share a common core, there can be minor differences in how packages are managed and installed. Knowing whether you’re running Ubuntu, Fedora, Debian, Arch Linux, or another distribution, along with its specific version, can be helpful. This information can often be found in your system’s settings or by running commands like `lsb_release -a` in the terminal.
Connect Your Printer
Ensure your Epson printer is physically connected to your computer. This can be via USB cable or, for network-enabled printers, by ensuring it’s connected to your local network (Wi-Fi or Ethernet).
Obtaining the Correct Epson Drivers
Epson offers its drivers through a dedicated Linux Driver Download Center on their website. For the 2025 landscape, it’s highly recommended to use these official sources.
Navigating the Epson Download Site
1. Visit the Epson Website: Go to your regional Epson support website.
2. Locate the Downloads Section: Look for a “Support,” “Downloads,” or “Drivers” section.
3. Enter Your Printer Model: Use the search bar to enter the exact model number of your printer.
4. Select Linux as the Operating System: Crucially, choose “Linux” from the operating system dropdown menu. If your specific distribution and version aren’t listed, select the closest general Linux option, as generic drivers often work well.
5. Download the Driver Package: You will typically find a file named something like “Epson Printer Driver [Model Number] [Version].tar.gz” or similar. Download this package. You might also see separate packages for scanning functions if your device is an All-in-One.
Step-by-Step Epson Printer Driver Setup for Linux 2025
Once you have downloaded the driver package, it’s time to install it. The process usually involves extracting the archive and running an installation script.
Installing the Printer Driver
1. Extract the Downloaded Archive: Open your terminal and navigate to the directory where you downloaded the driver file (e.g., `cd ~/Downloads`). Then, extract the archive. If it’s a `.tar.gz` file, use the command:
“`bash
tar -xvzf ..tar.gz
“`
Replace “ with the actual name of the downloaded file. This will create a new directory containing the driver files.
2. Navigate to the Extracted Directory: Change your directory to the newly created folder:
“`bash
cd EpsonPrinterDriver
“`
(The folder name might vary depending on the driver package.)
3. Run the Installation Script: Inside this directory, you’ll usually find an installation script, often named `install.sh` or similar. Execute it with root privileges:
“`bash
sudo ./install.sh
“`
The script will guide you through the installation. It might ask confirmation for certain steps or prompt you to accept a license agreement. It typically installs the necessary PPD (PostScript Printer Description) files and other components required by CUPS.
Adding Your Printer to CUPS
After the driver installation script has completed, you need to tell CUPS about your printer.
1. Open CUPS Web Interface: In most Linux distributions, CUPS can be managed through a web-based interface. Open your web browser and navigate to `http://localhost:631`.
2. Go to Administration: Click on the “Administration” tab.
3. Add Printer: Click on the “Add Printer” button. You might be prompted to enter your system username and password.
4. Select Your Printer: CUPS will scan for connected printers.
Local Printers: If you’re using USB, your printer should appear under “Local Printers.” Select it and click “Continue.”
Network Printers: For network printers, CUPS might discover them automatically under “Discovered Printers.” If not, you might need to manually enter the printer’s network address (e.g., using protocols like IPP, LPD, or socket).
5. Provide Printer Information:
Name: Give your printer a descriptive name (e.g., “MyEpsonOffice”).
Description: Add an optional description.
Location: Specify the printer’s location if relevant.
Click “Continue.”
6. Select the Driver: This is a crucial step.
CUPS will present a list of available drivers. Look for your specific Epson model under the “Make” dropdown and then the corresponding model under the “Model” dropdown.
If your exact model isn’t listed, try selecting “Generic Epson Stylus CXXX PCL” or a similar generic driver if available. The driver you installed earlier should have populated these options.
Click “Add Printer.”
7. Set Default Options: On the next screen, you can set default paper size, print quality, and other preferences. Click “Set Default Options.”
Testing Your Printer
To ensure everything is working correctly, print a test page. You can typically do this from your printer settings in your desktop environment or directly from the CUPS web interface by going to the printer’s page and selecting “Print Test Page.”
Troubleshooting Common Epson Driver Issues for Linux
While the process is generally straightforward, some issues can arise.
Printer Not Detected
USB Connection: Ensure the USB cable is securely connected at both ends and that the printer is powered on. Try a different USB port.
Network Connection: Verify the printer is connected to the network and has an IP address. Ensure your Linux machine is on the same network.
Permissions: Sometimes, user permissions can prevent access. Ensure your user is part of the `lpadmin` group if applicable.
Driver Not Installing Correctly
Incorrect Driver: Double-check that you downloaded the driver for the exact Epson model and that you selected Linux as the OS.
Dependencies: Some older drivers might have unmet dependencies. Check the documentation that came with the driver for any required packages.
Corrupted Download: Try re-downloading the driver package.
Printing Issues (Garbled Text, Incorrect Colors)
Wrong Driver Selected in CUPS: Go back to the CUPS web interface (`http://localhost:631`), select your printer, and under “Administration,” choose “Modify Printer.” Re-select the correct driver from the dropdown.
* Driver Configuration: Some advanced features or specific media types might require custom PPD file modifications, though this is less common with modern Epson drivers.
Conclusion: Printing with Ease in 2025
The Epson printer driver setup for Linux 2025 has evolved to be a more accessible process. By following these steps, understanding the role of CUPS, and utilizing the official Epson driver resources, you can successfully integrate your Epson printer into your Linux environment.
Remember to stay patient, double-check your printer model and Linux version, and consult the specific README files that often accompany driver downloads for any distribution-specific instructions. With a little effort, you’ll be enjoying reliable printing from your Linux desktop in no time.