
Dell Scanner Driver Win 7: Easy Download
Dell Scanner Driver Win 7: Easy Download
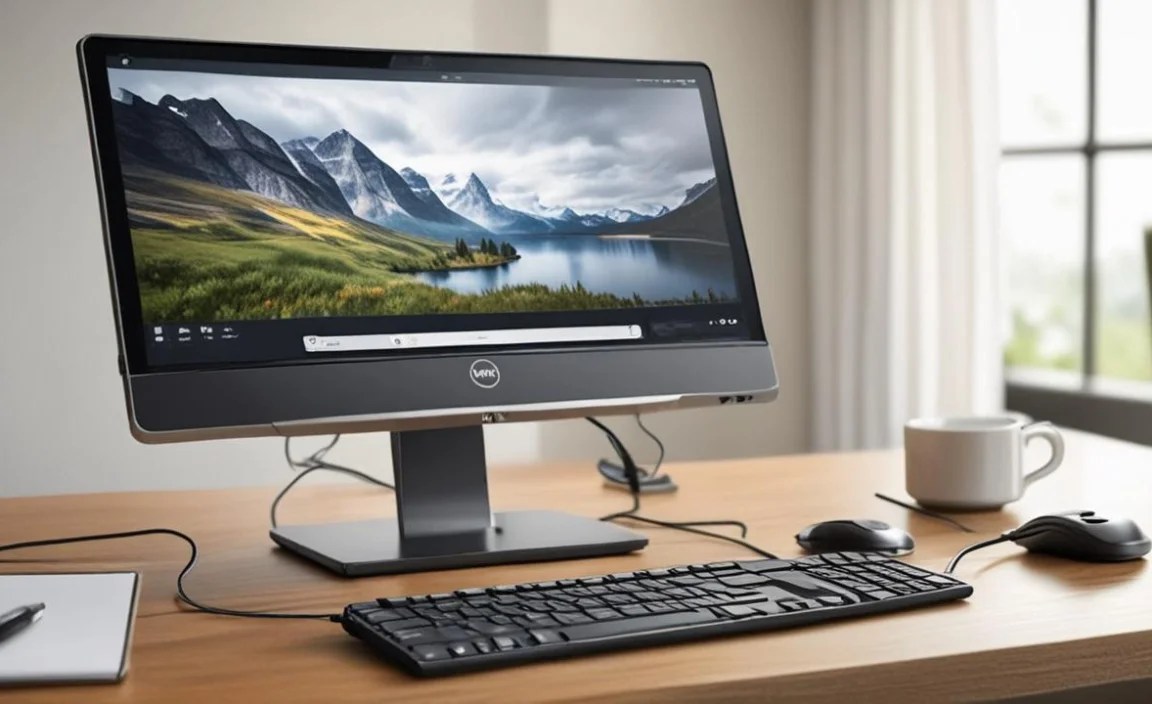
Encountering issues with your Dell scanner on Windows 7 can be a frustrating experience, especially when you need to digitize important documents or capture cherished memories. The good news is that obtaining the correct Dell scanner driver download for Windows 7 2025 is usually a straightforward process, often requiring just a few clicks. While Windows 7 is an older operating system, many manufacturers still provide support for their legacy hardware. This guide will walk you through the most effective methods to locate and install the necessary drivers for your Dell scanner, ensuring it works seamlessly with your Windows 7 machine.
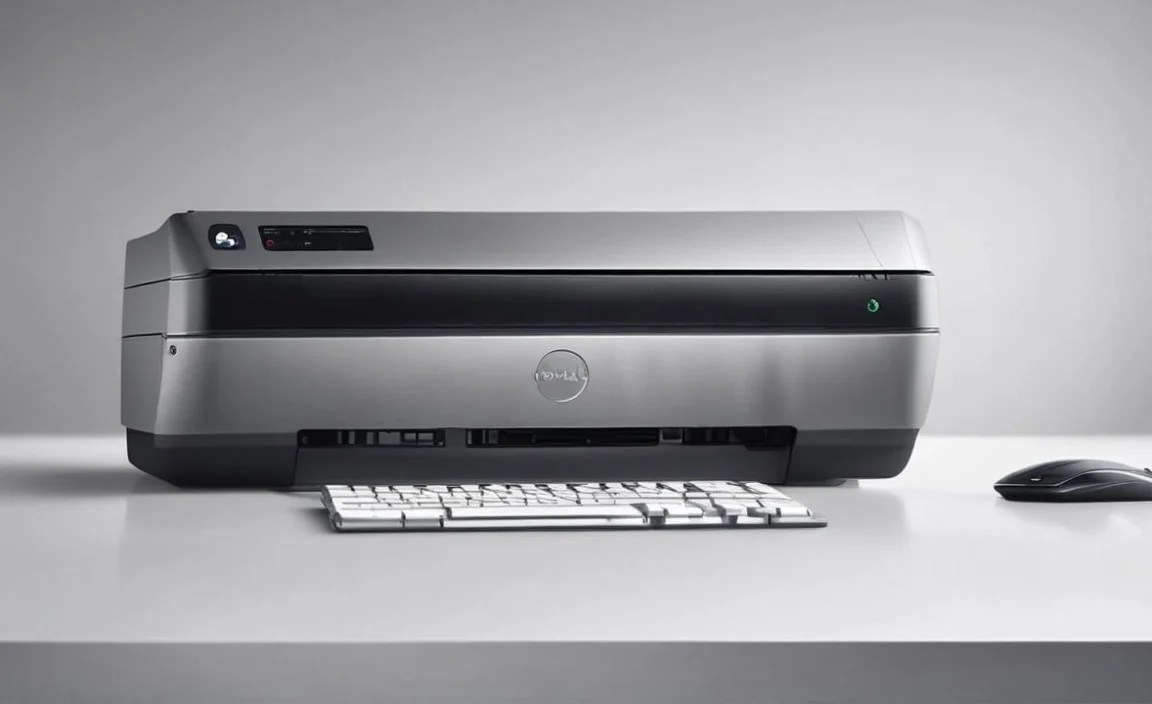
The first step in resolving any scanner issue is to accurately identify your Dell scanner model. This information is usually found on a sticker on the bottom or back of the scanner itself. Look for a model number or product name. Once identified, you can proceed with the driver search.
Locating Your Dell Scanner Driver for Windows 7
The most reliable place to find drivers is directly from the manufacturer’s website. Dell, like most reputable hardware companies, maintains a comprehensive support section on their website where you can download drivers for a wide range of their products.
1. Visit the Dell Support Website: Open your web browser and navigate to the official Dell support page. You can usually find this by searching for “Dell Support” or by going directly to support.dell.com.
2. Identify Your Product: On the Dell support page, you’ll typically find an option to “Detect Product” or to manually enter your Service Tag, Express Service Code, or product model. If you know your scanner’s model number, this is the easiest way to proceed. Alternatively, you might need to browse through their product categories.
3. Navigate to Drivers & Downloads: Once your product is identified, look for a section labeled “Drivers & Downloads,” “Software & Drivers,” or something similar. This is where you’ll find all the available software and driver updates for your specific device.
4. Select Your Operating System: It’s crucial to select the correct operating system. Even though you’re on Windows 7, you might see options for different versions (e.g., Windows 7 32-bit or Windows 7 64-bit). If you’re unsure which version you have, you can usually find this information by right-clicking ‘Computer’ (or ‘My Computer’) on your desktop and selecting ‘Properties’. Look for the “System type” field.
5. Find the Scanner Driver: Browse through the list of available downloads. Look for drivers specifically labeled for your scanner model and Windows 7. You might see drivers listed under categories like “Scanners,” “Imaging,” or “Input Devices.” Pay attention to driver versions and release dates.
Download and Installation Process
Once you’ve located the correct Dell scanner driver download for Windows 7 2025 (or more accurately, the latest available for Windows 7), the download and installation are usually straightforward.
1. Download the Driver: Click the download link for the appropriate driver. The file will typically be an executable (.exe) file. Save it to a location you can easily access, such as your Desktop or Downloads folder.
2. Disconnect the Scanner (Optional but Recommended): Before installing, it’s often a good practice to disconnect your scanner from your computer via the USB cable. This prevents potential conflicts during the installation process.
3. Run the Installer: Locate the downloaded driver file and double-click it to run the installer. You may need administrator privileges to proceed. Follow the on-screen prompts. The installer will guide you through the installation process, which may include accepting license agreements, choosing an installation location, and configuring settings.
4. Connect the Scanner: Once the software installation is complete, you will likely be prompted to connect your scanner to the computer. Follow the instructions precisely. Windows 7 should then detect the scanner and finalize the driver installation.
5. Restart Your Computer: After the installation is finished, it’s always a good idea to restart your computer. This ensures that all changes are properly applied.
Troubleshooting Common Issues
If your scanner still isn’t working after following these steps, here are a few common troubleshooting tips:
Check the USB Connection: Ensure the USB cable is securely plugged into both the scanner and your computer. Try using a different USB port to rule out a faulty port.
Verify Scanner Power: Make sure the scanner is powered on and that there are no error lights illuminated on the device itself.
Device Manager Check: Open Device Manager in Windows 7 (search for it in the Start menu). Look for your scanner under “Imaging devices” or “Other devices.” If there’s a yellow exclamation mark, it indicates a driver issue. You can try right-clicking the device and selecting “Update Driver Software,” then choosing to search automatically or browse for files on your computer if you downloaded them manually.
Reinstall Drivers: Sometimes, a clean reinstallation can resolve problems. Uninstall any existing scanner software from “Programs and Features” in the Control Panel, restart your computer, and then try installing the driver again.
* Consider a Compatible Software: If you’re struggling to find a specific driver for your older Dell scanner on Windows 7, you might find that general TWAIN or WIA drivers provided by Windows itself can offer basic scanning functionality, though advanced features might be missing.
By following these steps, you should be able to successfully find and install the necessary Dell scanner driver download for Windows 7 2025, bringing your scanner back to life and allowing you to continue your digital workflow without interruption. Remember to always download drivers from official sources to avoid malware and ensure compatibility.


