Dell Mouse Driver Mac: Easy Install Guide
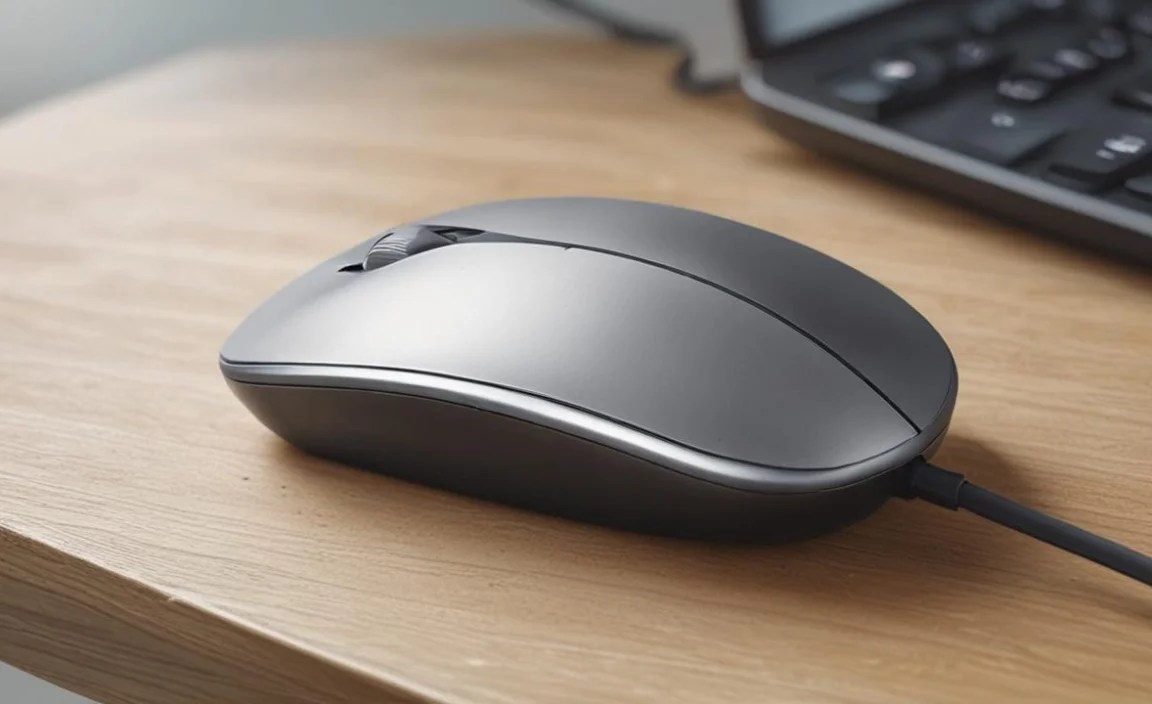
Embarking on the journey to connect your Dell mouse to your macOS device might initially seem like navigating uncharted territory, especially if you’re looking for a hassle-free installation experience without a physical CD. Fortunately, for most modern Dell mice, the process is remarkably straightforward, often requiring no additional driver installation at all. Apple’s robust operating system is designed to recognize and support a vast array of peripherals right out of the box, and Dell mice are frequently among them. This means that in many cases, you can simply plug in your Dell mouse, either via USB or through its wireless receiver, and begin using it immediately.
However, there are instances where a little extra configuration might be necessary to unlock the full functionality of your Dell mouse, particularly if it boasts advanced features like programmable buttons, scroll wheel adjustments, or specific gesture controls. This is where understanding the ins and outs of driver installation, or confirming when it’s truly unnecessary, becomes crucial. This guide aims to demystify the process, ensuring that whether your Dell mouse is plug-and-play or requires a bit of attention, you can have it up and running on your Mac with minimal fuss.
Understanding macOS Peripheral Recognition
macOS has a sophisticated system for recognizing and managing hardware. When you connect a USB device, or a wireless receiver, the operating system scans the device’s identification information and attempts to find compatible drivers. For standard mice, this information is often enough for macOS to assign generic mouse functionalities. This includes basic cursor movement, left-click, and right-click. This is why, for many users, a Dell mouse will work seamlessly without any intervention. The operating system acts as a universal translator, understanding the fundamental language of mouse input.
If you’ve connected your Dell mouse and it’s not functioning at all, or if basic functions are erratic, the first step is to try a different USB port. Sometimes, a port might be faulty, or the power delivery to the port might be inconsistent, especially with older or unpowered USB hubs. Restarting your Mac after connecting the mouse is also a good troubleshooting step, as it allows the operating system to re-initialize hardware detection processes.
Dell Mouse Install Driver for macOS Without CD: When is it Needed?

While macOS is excellent at recognizing peripherals, proprietary software and drivers are often released for devices that offer advanced features beyond the standard left-click, right-click, and scroll. If your Dell mouse has extra buttons for forward/back navigation, DPI adjustment buttons, or specific scroll wheel behaviors, you might need to install Dell’s specific software to customize these functions. This is where the concept of finding a Dell mouse install driver for macOS without CD becomes relevant.
Fortunately, Dell, like most major peripheral manufacturers, provides digital downloads for their drivers and software. You won’t need to hunt for an old CD-ROM. The most common reason to seek out specific drivers is to:
Program Extra Buttons: Assign custom functions to side buttons or other programmable buttons.
Adjust Sensitivity (DPI): Fine-tune the mouse’s movement speed and accuracy.
Configure Scroll Wheel Behavior: Customize scroll speed, acceleration, or even enable advanced features like hyper-fast scrolling for some models.
Enable Gestures: Some advanced mice allow for gesture-based commands.
If your Dell mouse is functioning perfectly for basic navigation, but you want to leverage these advanced features, searching for the specific driver or software utility for your model is the next logical step.
Finding and Installing the Driver on Your Mac

The process of finding and installing a Dell mouse driver for your Mac without a CD is primarily an online endeavor. Here’s a step-by-step approach:
1. Identify Your Dell Mouse Model: This is the most critical step. Look for the model number on the underside of your mouse. It might be a series of numbers and letters, often near the barcode or regulatory information.
2. Visit the Dell Support Website: Navigate to the official Dell Support website (dell.com/support).
3. Enter Your Service Tag or Product ID (Optional but Recommended): If you know your Mac’s service tag or product ID, entering it can help Dell’s website directly identify your computer and suggest compatible drivers. However, for mouse drivers, searching by product type is usually sufficient.
4. Navigate to the Drivers & Downloads Section: From the support homepage, look for a section labeled “Drivers & Downloads,” “Support,” or “Downloads.”
5. Search for Your Mouse Model: Use the search bar provided to enter the model number of your Dell mouse. You might need to select “Drivers & Downloads” before searching.
6. Filter by Operating System: Crucially, ensure you select “macOS” from the operating system dropdown menu. This will filter the results to show only compatible drivers and software.
7. Download the Software: Look for a driver or utility specifically designed for your mouse model and macOS. The file will likely be an installer package (.pkg). Click the download link.
8. Run the Installer: Once the download is complete, locate the .pkg file (usually in your Downloads folder) and double-click it.
9. Follow On-Screen Instructions: The installer will guide you through the installation process. This typically involves agreeing to license agreements and choosing an installation location.
10. Restart Your Mac (If Prompted): Some installers may require a system restart to finalize the installation.
11. Configure Your Mouse: After installation, you should find a new application or preference pane related to your Dell mouse. Open this application to customize button assignments, scroll settings, and other features according to your preferences.
Troubleshooting Common Issues
Even with straightforward installations, you might encounter minor hiccups. Here are a few common issues and their solutions:
Driver Not Found for Your Specific Model: While less common now, older Dell mice might not have dedicated macOS drivers. In such cases, you’ll rely on macOS’s built-in generic support. If specific features are essential, you might need to consider a different mouse.
Software Doesn’t Launch After Installation: Ensure you downloaded the correct version for your macOS. You might also need to grant the application specific permissions in your Mac’s System Settings (e.g., Accessibility or Input Monitoring). Restarting your Mac can also resolve this.
Wireless Mouse Not Connecting: For wireless Dell mice, ensure the receiver is securely plugged in, and the mouse has fresh batteries. Try re-pairing the mouse and receiver if your model supports it (refer to the mouse’s manual for pairing instructions).
Generic Driver Only Allows Basic Functions: This is expected if no specific driver is available or installed. The mouse will still function as a standard pointing device.
By following these steps, you should be able to successfully install and configure your Dell mouse on your Mac, enhancing your computing experience with personalized control and functionality. The key takeaway is that while basic functionality is often plug-and-play, accessing advanced features usually involves a simple online download and installation process, making the “Dell mouse install driver for macOS without CD” a common and achievable task.