Dell Monitor Driver for Chromebook: Easy Install
For many users, connecting an external display to their Chromebook offers a significant productivity boost, allowing for more screen real estate and a more comfortable working environment. If you’ve recently acquired a Dell monitor and are looking to integrate it seamlessly with your ChromeOS device, you might be wondering about the process. The good news is that for most modern Dell monitors, Dell monitor install driver for Chromebook is often a straightforward affair, frequently requiring little to no manual intervention thanks to the sophisticated nature of ChromeOS. This guide will walk you through the process, covering common scenarios and troubleshooting tips.
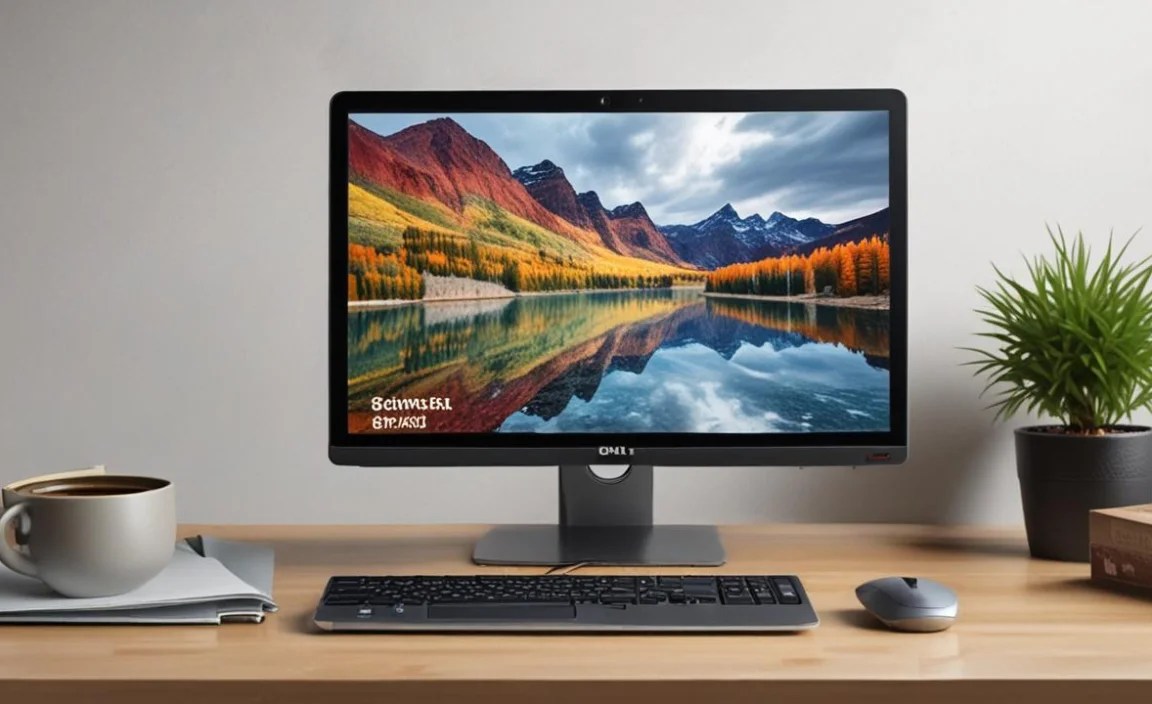
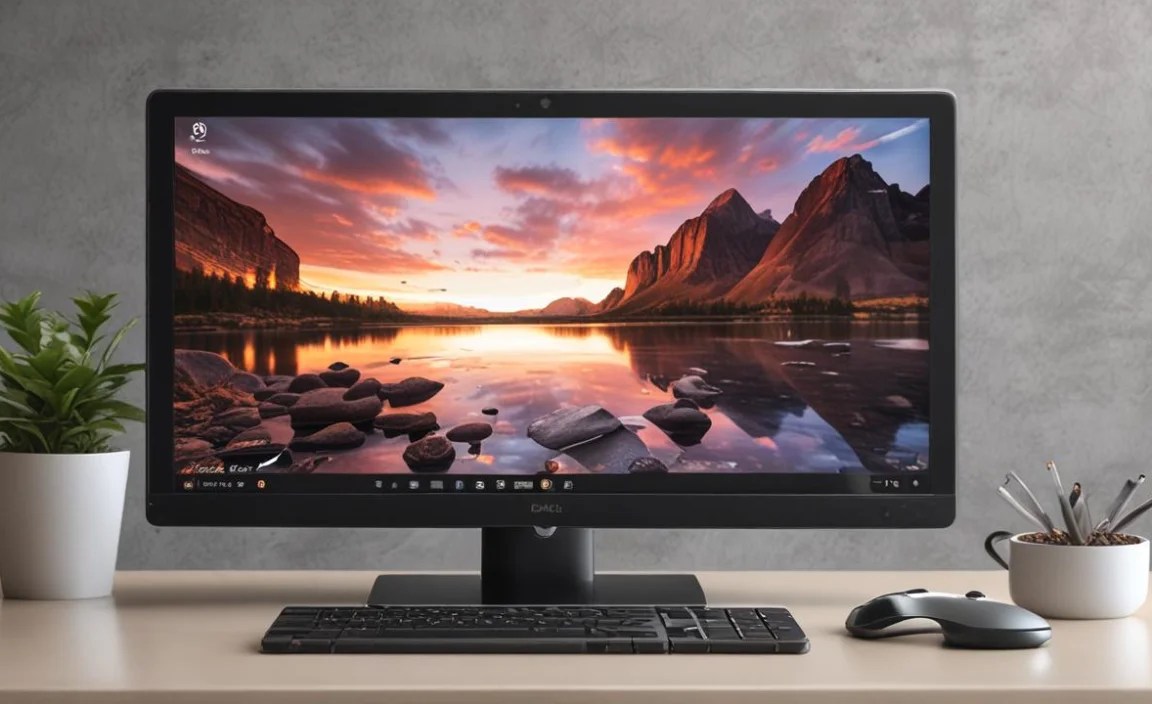
ChromeOS is designed with simplicity and security in mind. Unlike traditional operating systems that require specific drivers for almost every piece of hardware, ChromeOS often handles external peripherals, including monitors, through its built-in support. This means that in many cases, the moment you plug in your Dell monitor via HDMI, DisplayPort, or USB-C, ChromeOS will automatically detect it and configure it for use. This plug-and-play functionality is a cornerstone of the Chromebook experience.
Understanding Chromebook Driver Architecture
Before diving into specific steps, it’s crucial to understand how ChromeOS manages device drivers. ChromeOS leverages a Linux kernel, which itself has vast built-in driver support for a wide range of hardware. When you connect a device, ChromeOS checks its identification information and attempts to find a compatible driver within its own kernel or by accessing a secure, curated set of drivers. This approach minimizes the need for users to hunt for and manually install drivers, a common pain point with other operating systems. For the vast majority of Dell monitors, especially those released in the last several years, ChromeOS will likely have the necessary generic drivers pre-installed.
Connecting Your Dell Monitor: The Basic Steps

1. Gather Your Cables: Ensure you have the correct cable for your Dell monitor and your Chromebook. Common connections include HDMI, DisplayPort, and USB-C (which can often carry video signals in DisplayPort Alternate Mode).
2. Power On Your Devices: Turn on both your Dell monitor and your Chromebook.
3. Connect the Cable: Connect one end of your chosen video cable to your Dell monitor and the other end to the appropriate port on your Chromebook.
4. Automatic Detection: Your Chromebook should automatically detect the external display. You might see a notification or the screen might simply extend or mirror the built-in display.
Adjusting Display Settings in ChromeOS
Once your Dell monitor is connected, you’ll likely want to adjust the display settings to your preference.
1. Access Display Settings: Click on the clock in the bottom-right corner of your Chromebook screen to open the Quick Settings panel. Then click on the “Settings” cogwheel.
2. Navigate to “Device”: In the Settings menu, scroll down and click on “Device.”
3. Select “Displays”: You should see an option for “Displays.” Click on it.
4. Configure Your Displays: Here, you can:
Arrange Displays: Drag and drop the rectangles representing your displays to match their physical placement. This is crucial for smooth mouse cursor movement between screens.
Set Display Mode: Choose between “Mirror” (both screens show the same content) or “Extend” (each screen shows different content, providing more workspace).
Adjust Resolution and Refresh Rate: Select the optimal resolution and refresh rate for your Dell monitor.
Set Display Orientation: Rotate the display if needed.
Adjust Brightness: Control the brightness of each display.
When Might You Need a Specific Driver?
While ChromeOS is excellent at automatic driver detection, there are rare instances where you might encounter issues or desire advanced functionality that requires specific driver considerations.
Older Monitors: Very old Dell monitors (pre-dating widespread USB-C video or advanced DisplayPort features) might occasionally require a more specific driver, though this is increasingly uncommon.
Specialty Features: If your Dell monitor has unique features like advanced built-in webcams, KVM switches, or specific USB hub functionalities that aren’t being recognized, a driver might be beneficial.
Troubleshooting Display Issues: If you’re experiencing flickering, incorrect resolutions, or other anomalies, it’s worth investigating whether a driver update could resolve the problem.
Dell Monitor Install Driver for Chromebook 32-bit Considerations

When it comes to operating systems, the term “32-bit” usually refers to older architectures. However, modern Chromebooks exclusively run on 64-bit processors and the ChromeOS itself is overwhelmingly 64-bit. Therefore, the concept of a “dell monitor install driver for chromebook 32 bit” is largely a relic of the past and not applicable to current Chromebook hardware and software. If you’re encountering a situation where you believe you need a 32-bit driver for your Chromebook, it’s highly probable there’s a misunderstanding about the system’s architecture or the nature of the problem. ChromeOS drivers are integrated into the operating system or downloaded securely and are designed to work with the 64-bit architecture of the Chromebook.
The Role of Manufacturer Websites (and why it’s usually not needed for basic display)

Some users might instinctively go to the Dell support website to download drivers. While Dell’s website is an excellent resource for drivers for Windows and macOS, it’s generally not where you’ll find specific ChromeOS drivers for basic monitor functionality. ChromeOS is designed to be a self-contained ecosystem.
However, if your Dell monitor has advanced features that ChromeOS isn’t fully supporting out-of-the-box, there’s a small chance Dell might offer a ChromeOS-specific utility or firmware update for that particular monitor, which you’d typically access through Chrome Web Store extensions or direct downloads to your Chromebook. For standard video output, this is almost never necessary.
Troubleshooting Common Connection Issues
No Display Detected:
Check Cables: Ensure all cables are securely plugged in at both ends.
Try a Different Port: If your Chromebook and monitor have multiple ports, try a different connection type.
Restart Devices: Power cycle your Chromebook and monitor.
Test Monitor: Connect the monitor to another computer to verify it’s functioning correctly.
Incorrect Resolution or Display Quality:
Adjust Settings: Go back into the ChromeOS Display Settings as described above and select the highest supported resolution and refresh rate.
Try a Different Cable: A faulty cable can sometimes limit resolution or refresh rate.
Screen Flickering:
Check Cables: Loose connections are a common cause.
Reduce Refresh Rate: Temporarily try a lower refresh rate in Display Settings to see if it resolves the issue.
Update ChromeOS: Ensure your Chromebook is running the latest version of ChromeOS. Go to Settings > About ChromeOS > Check for updates.
Conclusion
For the vast majority of Dell monitor users, the process of connecting and getting your display to work with a Chromebook is inherently simple. The plug-and-play nature of ChromeOS, combined with robust built-in driver support, means that you’ll likely be up and running with your expanded workspace in minutes. While manual driver installation is a staple of other operating systems, it’s rarely the case for basic monitor functionality on Chromebooks. Focus on ensuring your cables are secure, your devices are powered on, and then leverage the intuitive display settings within ChromeOS to tailor your multi-monitor setup to perfection.