Have you ever wanted to install or reinstall Windows 10 on your computer? It can seem tricky, but it doesn’t have to be. You can create installation media for Windows 10 with just a few simple steps.
Imagine having a USB drive that helps you set up your computer like new. That’s the power of installation media. You can easily fix problems or start fresh. It’s like having a magic key that unlocks new possibilities for your device.
But where do you start? First, gather a USB drive with enough space. Then, you’ll need a few tools from Microsoft’s website. Sounds easy, right? You might be surprised how quickly you can create installation media for Windows 10.
In the following sections, we’ll walk you through each step. Let’s make sure you’re ready to tackle Windows 10 installation with confidence!
How To Create Installation Media For Windows 10: A Step-By-Step Guide

Create Installation Media for Windows 10
Creating installation media for Windows 10
is simple and important. Have you ever wanted to reinstall your system or upgrade it? You can make a USB drive or DVD that has everything needed to install Windows 10. Start by downloading the Media Creation Tool from Microsoft’s website. Follow the steps to choose the right version for your device. With this, you can fix issues or upgrade. It’s like having a magic key for your PC!
Understanding Windows 10 Installation Media
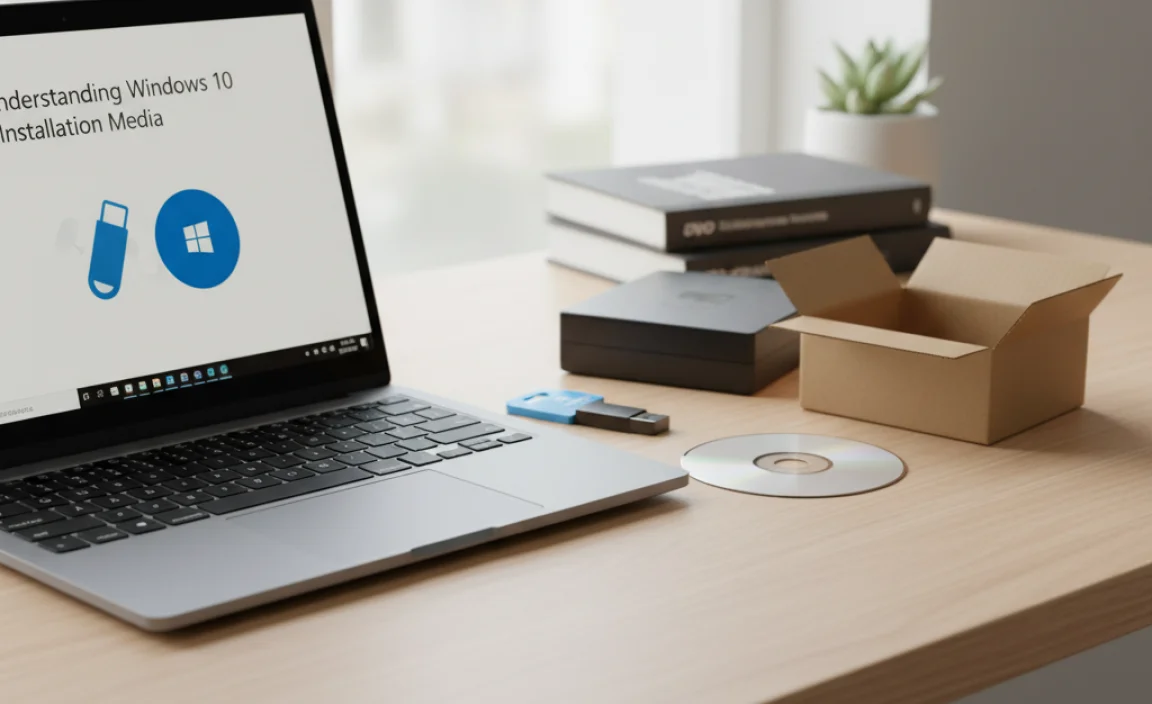
Definition and purpose of installation media. Importance of having installation media for troubleshooting and upgrades.
Installation media is a special tool to help you set up or repair Windows 10. It usually comes on a USB drive or a DVD. This media is vital for fixing problems or upgrading your system. Having it ready saves time and hassle. Without it, fixing issues can be tough, and your computer might not work right. It’s like keeping a first-aid kit for your computer!
Why is installation media important?
With installation media, you can:
- Repair your system quickly.
- Upgrade to the latest version easily.
- Restore your computer if it crashes.
System Requirements for Creating Installation Media
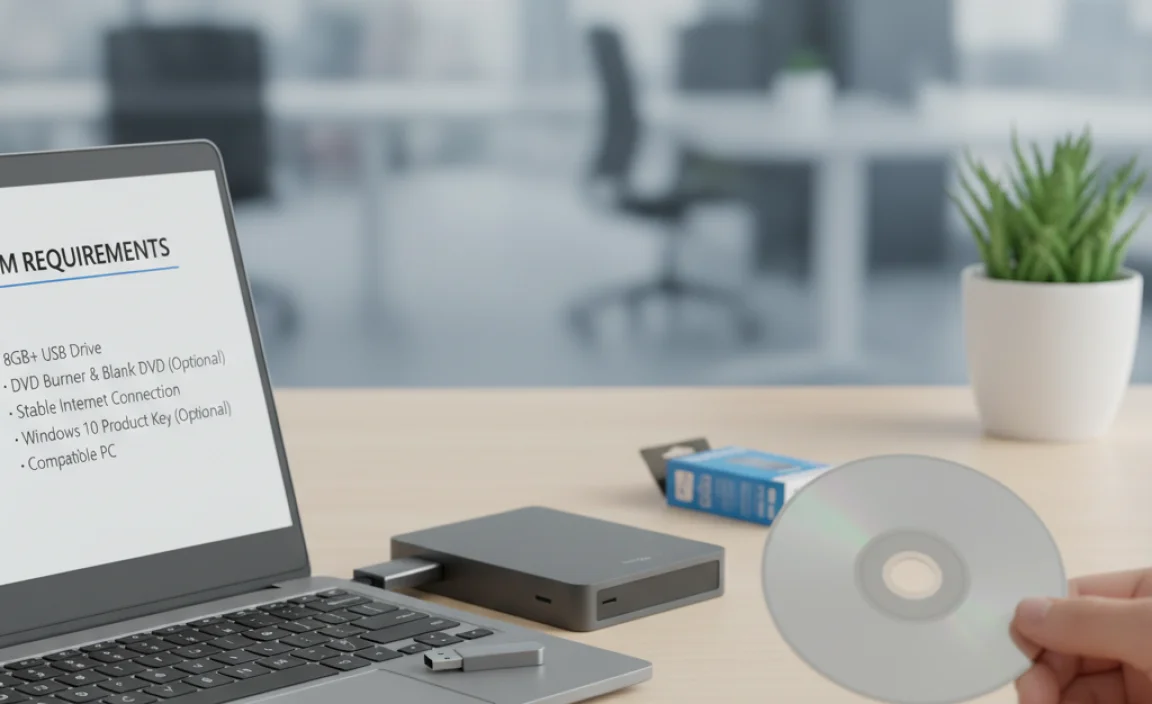
Minimum PC requirements for Windows 10. Storage and USB drive specifications.
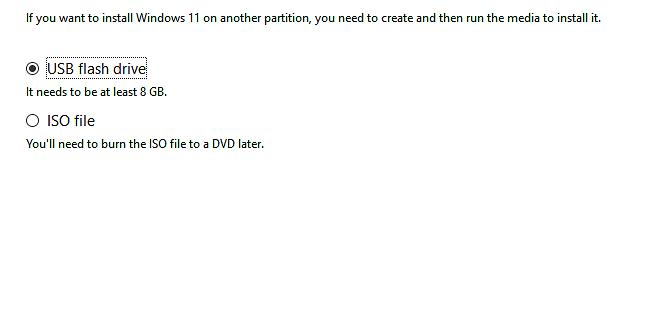
Before you dive into creating installation media for Windows 10, check your PC’s minimum specs. You’ll need at least a 1 GHz processor, 1 GB RAM for 32-bit or 2 GB for 64-bit, and 16 GB of free storage. And don’t forget that USB drive! It should be at least 8 GB. Your PC should be ready to party with Windows 10. So, make sure it’s up to snuff before you get to work!
| Requirement | Details |
|---|---|
| Processor | 1 GHz or faster |
| RAM | 1 GB (32-bit) or 2 GB (64-bit) |
| Storage | At least 16 GB |
| USB Drive | Minimum 8 GB |
Downloading the Windows 10 Media Creation Tool
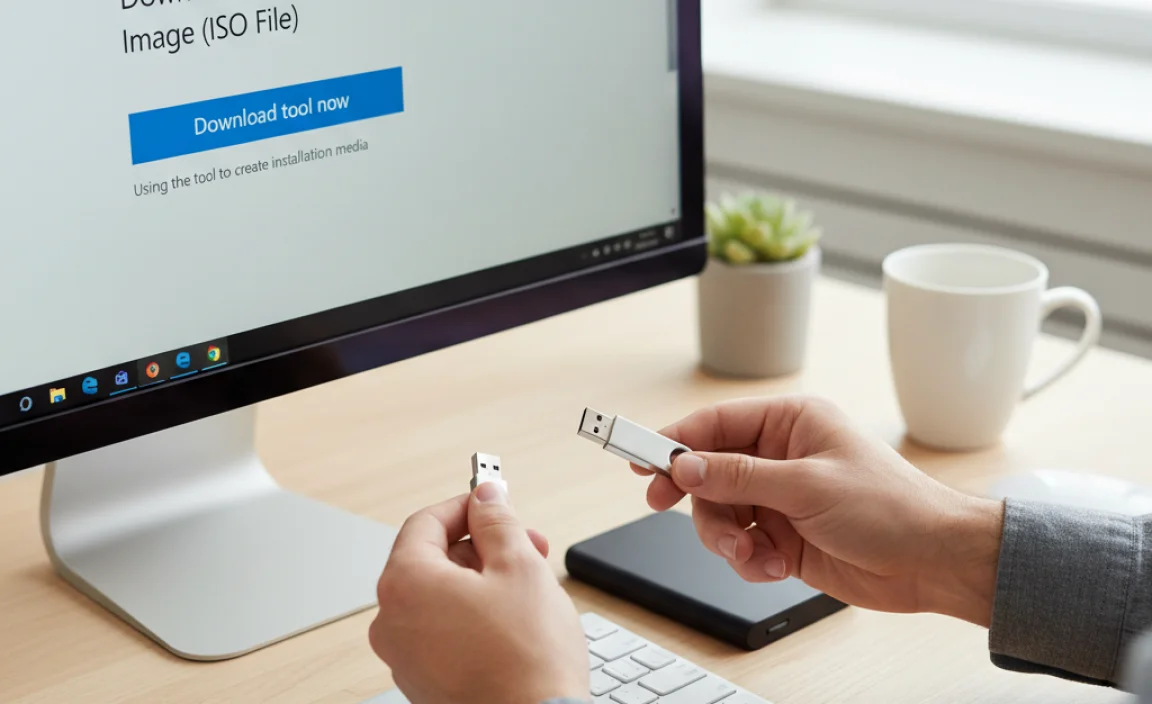
Stepbystep guide to downloading the tool. Compatibility and supported versions of Windows.
First, go to the Microsoft website to download the media creation tool. Look for the link that says “Download tool now.” Click on it, and the download will start. Make sure your computer is running a compatible version of Windows. The tool works for these versions:
- Windows 7
- Windows 8.1
- Windows 10
Once it finishes downloading, find the file and double-click it to start.
What is the Windows 10 media creation tool?
The Windows 10 media creation tool helps you easily create installation media or upgrade your system.
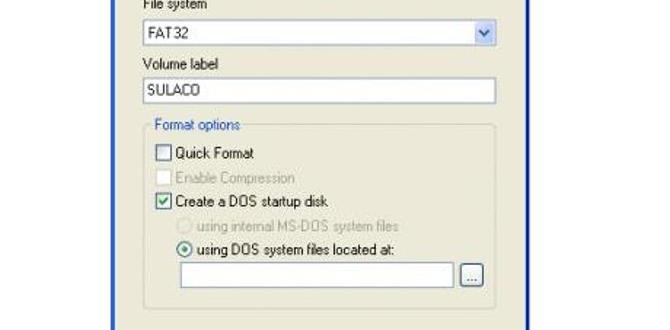
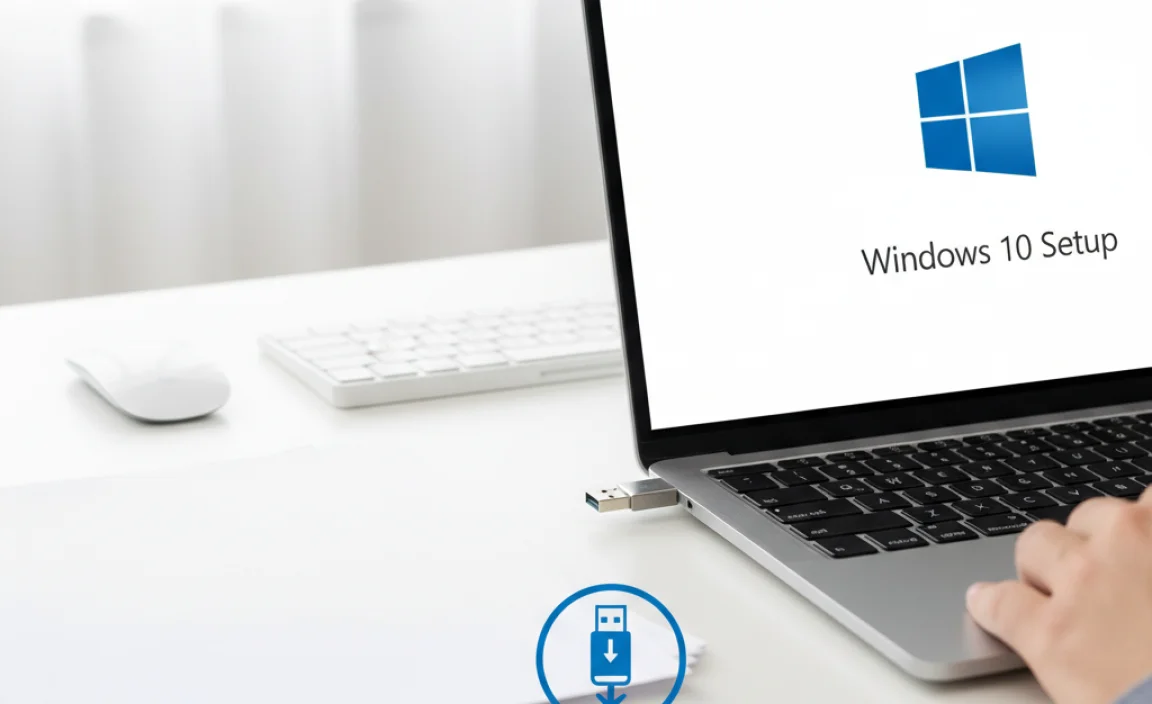
Creating Installation Media Using a USB Drive
Detailed steps for using the Media Creation Tool to create a USB installation. Troubleshooting common USB drive issues.
To make your USB drive a superhero for Windows 10 installation, start by grabbing the Media Creation Tool from Microsoft’s website. Run it, and choose the option to create installation media. Next, select your USB drive and let the magic happen! Don’t worry if your USB decides to play hide and seek; check if it’s plugged in properly or try another port if it’s acting up. It’s like a stubborn cat—sometimes a little coaxing does the trick!
| Common USB Issues | Quick Fixes |
|---|---|
| USB not recognized | Replug your USB or try a different USB port. |
| USB drive is full | Clear some files or use a larger USB drive. |
| Error during installation | Check if the USB was created correctly and restart the process. |
Creating Installation Media Using a DVD
Instructions for burning a DVD installation from the ISO file. Required software and hardware for DVD burning.
Burning a DVD from an ISO file is a fun little project! First, make sure you have a DVD burner and some blank DVDs. Don’t go looking for a floppy disk; those are long gone, like your last pair of socks that vanished in the laundry! You’ll need software like ImgBurn or CDBurnerXP. These tools are user-friendly and make burning simple. Just insert the blank DVD, open the software, and choose the ISO file. Hit ‘burn’ and watch that magic happen!
| Required Hardware | Required Software |
|---|---|
| DVD Burner | ImgBurn |
| Blank DVDs | CDBurnerXP |
In no time, you’ll have a shiny DVD ready for installation. Now, go ahead and show off your tech skills. Just remember, if your puppy steals the DVD, it might not work very well!
Using ISO Files for Installation Media
How to download and use ISO files directly. Advantages of using ISO files over USB or DVD.
Downloading an ISO file for installation is like finding treasure. First, visit the official Microsoft website to grab it. Save it on your computer, and you’re ready to go!
Using ISO files has some cool perks. You can easily keep them on your hard drive. No need for pesky USB drives or DVDs. Plus, you can make as many copies as you want without wasting a single disk.
Check out the handy table below to see how they stack up against USB and DVD:
| Method | Advantages |
|---|---|
| ISO Files | Easy storage, unlimited copies |
| USB | Portable, faster installation |
| DVD | Readable on older machines |
So, why stress over other options? ISO files are like having your cake and eating it, too!
Booting from Installation Media
Steps to boot from USB drive or DVD. Changes needed in BIOS settings.
Ready to kickstart your Windows 10 adventure? First, plug in that USB drive or insert the DVD with the installation media. Your computer needs to know where to look! To give it a nudge, head to the BIOS settings. Don’t be alarmed—it’s easier than it sounds. Simply restart your computer and mash that specific key (usually F2, F12, or DEL) until you see the magical BIOS screen. Then set your USB or DVD as the first boot option. Voilà!
| Step | Action |
|---|---|
| 1 | Insert USB/DVD |
| 2 | Restart your computer |
| 3 | Enter BIOS settings |
| 4 | Select USB/DVD as boot device |
| 5 | Save and exit |
Follow these steps, and you’ll be on your way to a snazzy new Windows 10 setup. Easy peasy, right? If your computer doesn’t want to cooperate, remember: it’s not personal; it’s just tech being techy!
Common Issues and Fixes When Creating Installation Media
List of common problems users face during the creation process. Solutions and tips for a successful setup.
Creating installation media can be tricky. Many users face common problems. Here are some issues you might encounter and quick fixes:
- Insufficient Space: Make sure your USB drive has enough free space for the installation files.
- Download Errors: Ensure your internet connection is stable to avoid incomplete downloads.
- Compatibility Issues: Check if your computer meets Windows 10 requirements before starting.
- Setup Errors: Restart the process if you face any errors during installation.
For success, always follow instructions carefully. Keep your device charged, and don’t skip steps. This will help you create a smooth installation media experience!
What are some common problems when creating installation media for Windows 10?
Users often experience issues like insufficient space on the USB drive, download errors, and compatibility problems. Make sure to check your drive’s capacity, your internet connection, and your device’s requirements.
Best Practices for Using Windows 10 Installation Media
Recommendations for storing installation media. Periodic updates and maintenance of installation media.
Keeping your Windows 10 installation media in good shape is important. First, store it in a safe place. Use a USB drive and label it clearly. Check the media every so often to ensure it still works. Update it regularly with the latest Windows features. This way, you’re always ready when you need it. Also, remember to create a backup to avoid losing it. Follow these tips to maximize your installation media’s usefulness!
How to keep your installation media updated?
Regular updates are essential for your installation media. They can prevent errors and include the newest features. Make sure to check for updates every few months.
Best storage practices:
- Use a high-quality USB drive.
- Label it clearly for easy access.
- Check it for errors every six months.
- Create a backup copy as a safety net.
Conclusion
In conclusion, creating installation media for Windows 10 is easy and helpful. You can use a USB drive or download an ISO file. This process allows you to repair or upgrade your system. We encourage you to follow step-by-step guides online or check Microsoft’s site for detailed instructions. Try it out and enhance your computer experience today!
FAQs
Sure! Here Are Five Related Questions On The Topic Of Creating Installation Media For Windows 10:
To create installation media for Windows 10, you need a USB drive. First, download the Windows 10 tool from Microsoft’s website. Next, plug in your USB drive and run the tool. It will help you make the installation media. Finally, you can use it to install or fix Windows 10 on your computer.
Sure! Please provide the question you’d like me to answer.
What Tools Do I Need To Create Windows Installation Media?
To create Windows installation media, you need a few tools. First, you’ll need a computer with internet access. Next, get a USB flash drive with at least 8 gigabytes of space. Finally, download the Windows Media Creation Tool from the Microsoft website. This tool helps you make the installation media easily.
How Do I Download The Windows Iso File For Creating Installation Media?
To download the Windows ISO file, go to the Microsoft website. Look for the option to download Windows. You will see a button that says “Download now.” Click it, and follow the steps on the screen. Once it finishes, you can use the file to make installation media.
What Are The Steps To Create A Bootable Usb Drive For Windows Installation?
To create a bootable USB drive for Windows, first, you need a USB drive with enough space. Next, download the Windows installation tool from the Microsoft website. Then, open the tool and follow the steps to select your USB drive. Finally, click “Create” to start. Wait for it to finish, and your USB drive is ready to use!
Can I Use The Installation Media To Upgrade My Existing Windows Operating System To Windows 10?
Yes, you can use the installation media to upgrade your Windows. This means you can use a USB drive or DVD with Windows 10 on it. Just place it in your computer and follow the steps to upgrade. Make sure to save your important files first! It’s like getting a new version of your favorite game.
What Should I Do If The Installation Media Fails To Boot On My Computer?
If the installation media doesn’t boot, try checking the connections first. Make sure it’s plugged in tight. Then, restart your computer and look for a key like F12 or Esc. This key helps you choose where to boot from. If that doesn’t work, you might need to create the installation media again.
{“@context”:”https://schema.org”,”@type”: “FAQPage”,”mainEntity”:[{“@type”: “Question”,”name”: “Sure! Here Are Five Related Questions On The Topic Of Creating Installation Media For Windows 10:”,”acceptedAnswer”: {“@type”: “Answer”,”text”: “To create installation media for Windows 10, you need a USB drive. First, download the Windows 10 tool from Microsoft’s website. Next, plug in your USB drive and run the tool. It will help you make the installation media. Finally, you can use it to install or fix Windows 10 on your computer.”}},{“@type”: “Question”,”name”: “”,”acceptedAnswer”: {“@type”: “Answer”,”text”: “Sure! Please provide the question you’d like me to answer.”}},{“@type”: “Question”,”name”: “What Tools Do I Need To Create Windows Installation Media?”,”acceptedAnswer”: {“@type”: “Answer”,”text”: “To create Windows installation media, you need a few tools. First, you’ll need a computer with internet access. Next, get a USB flash drive with at least 8 gigabytes of space. Finally, download the Windows Media Creation Tool from the Microsoft website. This tool helps you make the installation media easily.”}},{“@type”: “Question”,”name”: “How Do I Download The Windows Iso File For Creating Installation Media?”,”acceptedAnswer”: {“@type”: “Answer”,”text”: “To download the Windows ISO file, go to the Microsoft website. Look for the option to download Windows. You will see a button that says Download now. Click it, and follow the steps on the screen. Once it finishes, you can use the file to make installation media.”}},{“@type”: “Question”,”name”: “What Are The Steps To Create A Bootable Usb Drive For Windows Installation?”,”acceptedAnswer”: {“@type”: “Answer”,”text”: “To create a bootable USB drive for Windows, first, you need a USB drive with enough space. Next, download the Windows installation tool from the Microsoft website. Then, open the tool and follow the steps to select your USB drive. Finally, click Create to start. Wait for it to finish, and your USB drive is ready to use!”}},{“@type”: “Question”,”name”: “Can I Use The Installation Media To Upgrade My Existing Windows Operating System To Windows 10?”,”acceptedAnswer”: {“@type”: “Answer”,”text”: “Yes, you can use the installation media to upgrade your Windows. This means you can use a USB drive or DVD with Windows 10 on it. Just place it in your computer and follow the steps to upgrade. Make sure to save your important files first! It’s like getting a new version of your favorite game.”}},{“@type”: “Question”,”name”: “What Should I Do If The Installation Media Fails To Boot On My Computer?”,”acceptedAnswer”: {“@type”: “Answer”,”text”: “If the installation media doesn’t boot, try checking the connections first. Make sure it’s plugged in tight. Then, restart your computer and look for a key like F12 or Esc. This key helps you choose where to boot from. If that doesn’t work, you might need to create the installation media again.”}}]}
.lwrp.link-whisper-related-posts{
margin-top: 40px;
margin-bottom: 30px;
}
.lwrp .lwrp-title{
}.lwrp .lwrp-description{
}
.lwrp .lwrp-list-container{
}
.lwrp .lwrp-list-multi-container{
display: flex;
}
.lwrp .lwrp-list-double{
width: 48%;
}
.lwrp .lwrp-list-triple{
width: 32%;
}
.lwrp .lwrp-list-row-container{
display: flex;
justify-content: space-between;
}
.lwrp .lwrp-list-row-container .lwrp-list-item{
width: calc(25% – 20px);
}
.lwrp .lwrp-list-item:not(.lwrp-no-posts-message-item){
max-width: 150px;
}
.lwrp .lwrp-list-item img{
max-width: 100%;
height: auto;
object-fit: cover;
aspect-ratio: 1 / 1;
}
.lwrp .lwrp-list-item.lwrp-empty-list-item{
background: initial !important;
}
.lwrp .lwrp-list-item .lwrp-list-link .lwrp-list-link-title-text,
.lwrp .lwrp-list-item .lwrp-list-no-posts-message{
}@media screen and (max-width: 480px) {
.lwrp.link-whisper-related-posts{
}
.lwrp .lwrp-title{
}.lwrp .lwrp-description{
}
.lwrp .lwrp-list-multi-container{
flex-direction: column;
}
.lwrp .lwrp-list-multi-container ul.lwrp-list{
margin-top: 0px;
margin-bottom: 0px;
padding-top: 0px;
padding-bottom: 0px;
}
.lwrp .lwrp-list-double,
.lwrp .lwrp-list-triple{
width: 100%;
}
.lwrp .lwrp-list-row-container{
justify-content: initial;
flex-direction: column;
}
.lwrp .lwrp-list-row-container .lwrp-list-item{
width: 100%;
}
.lwrp .lwrp-list-item:not(.lwrp-no-posts-message-item){
max-width: initial;
}
.lwrp .lwrp-list-item .lwrp-list-link .lwrp-list-link-title-text,
.lwrp .lwrp-list-item .lwrp-list-no-posts-message{
};
}