
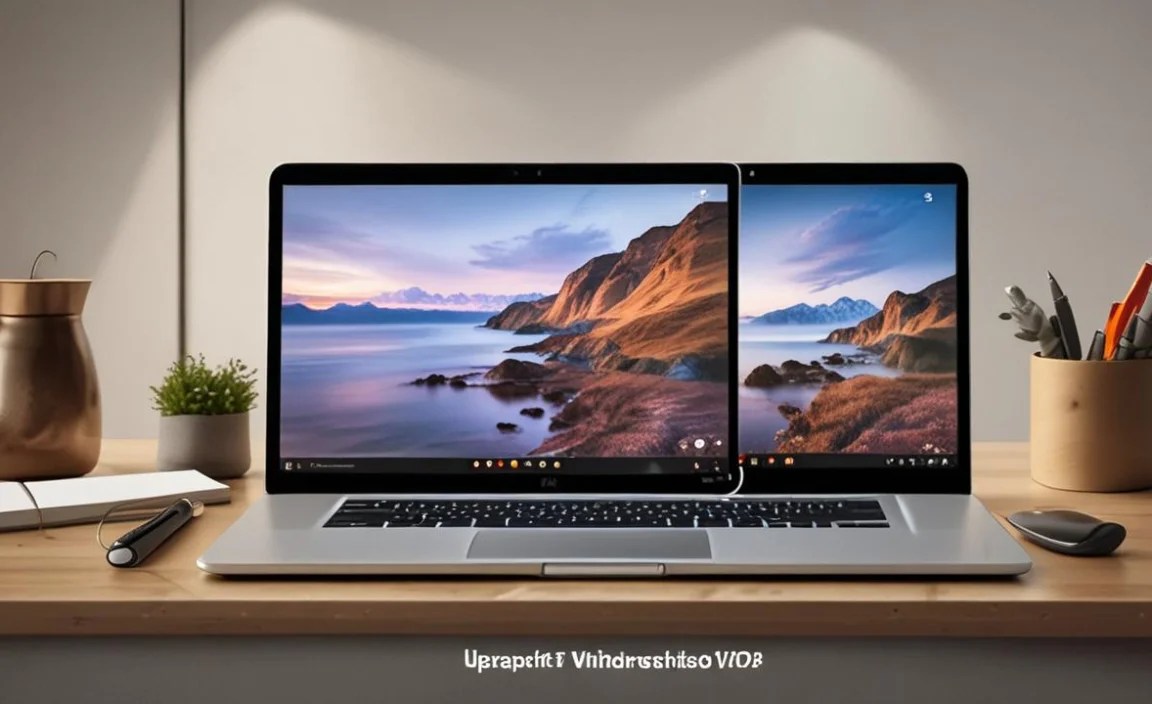
Upgrade Checklist for Windows 10: Effortless
Preparing for a Windows 10 upgrade can feel like navigating a minefield of potential issues. However, with a systematic approach and a solid checklist for Windows 10, the entire process can become remarkably effortless. This guide aims to demystify the upgrade journey, breaking it down into manageable steps that ensure a smooth transition and a stable, functional operating system. By following this checklist, you can proactively address common pitfalls, protect your data, and unlock the latest features and security enhancements that Windows 10 offers.
Before You Begin: The Crucial Pre-Upgrade Assessment

The foundation of an effortless upgrade lies in thorough preparation. Rushing this stage is the most common culprit behind upgrade headaches.
1. System Compatibility Check
Not all computers are created equal, and some older hardware might struggle with the demands of Windows 10. Microsoft provides a tool to assess your system’s readiness, but a quick manual check is also wise. Ensure your processor meets the minimum speed requirements (typically 1 GHz), you have sufficient RAM (at least 2 GB for 32-bit and 4 GB for 64-bit), and enough free storage space (around 16 GB for 32-bit OS and 20 GB for 64-bit OS). Don’t forget your graphics card and display to ensure they support the DirectX 9 or later with WDDM 1.0 driver. Checking the manufacturer’s website for specific Windows 10 drivers for your hardware is also highly recommended.
2. Essential Data Backup
This is arguably the single most critical step. While Windows upgrades are generally robust, unforeseen circumstances can lead to data loss. Back up all your important documents, photos, videos, and any other critical files to an external hard drive, cloud storage service (like OneDrive, Google Drive, or Dropbox), or a network-attached storage (NAS) device. Consider using dedicated backup software for a more comprehensive solution that can also back up your entire system image.
3. Application and Driver Inventory

Think about the software you rely on daily. Are all your applications compatible with Windows 10? Check websites of your primary software providers for compatibility statements or updated versions. Similarly, research essential hardware drivers. While Windows Update often handles driver updates seamlessly, some specialized peripherals might require specific drivers downloaded directly from the manufacturer. Make a list of all your key applications and their current versions, noting any that might be problematic.
4. Windows Update: The First Line of Defense

Before initiating a major upgrade, ensure your current Windows installation is fully up-to-date. Navigate to Settings > Update & Security > Windows Update and click “Check for updates.” Install all available cumulative updates, feature updates, and driver updates. A clean, fully patched current system presents a much more stable platform for the upgrade process.
The Upgrade Process: Navigating the Path to Windows 10

With your ducks in a row, it’s time to embark on the upgrade itself.
5. Choosing Your Upgrade Method
Microsoft offers several pathways to Windows 10. The most common and often the easiest is using the Media Creation Tool. Download this official tool from Microsoft’s website. You can choose to upgrade your current PC directly or create installation media (USB drive or DVD) to install on another machine or for a clean installation. For most users seeking an effortless upgrade, the direct upgrade option via the Media Creation Tool is recommended.
6. Running the Upgrade Tool
Once downloaded, launch the Media Creation Tool. Carefully read and accept the license terms. Select “Upgrade this PC now.” The tool will download the necessary Windows 10 files. This process can take a while depending on your internet speed. Once downloaded, it will proceed with the installation. You’ll have a chance to keep your files and applications, or perform a clean install. For an effortless upgrade that preserves your existing setup, choose to “Keep personal files and apps.
7. The Installation and Restart Cycle
The actual installation process involves several restarts. This is perfectly normal. Resist the urge to power off your computer during these phases. The system will partition your drive, install the new operating system, and configure settings. This can take anywhere from 30 minutes to a couple of hours, depending on your hardware.
Post-Upgrade Essentials: Fine-Tuning Your New System
The upgrade isn’t quite finished when you see the Windows 10 desktop. A few post-upgrade steps ensure everything runs smoothly.
8. Verify Windows Activation

After the upgrade, Windows 10 should automatically activate using your existing digital license. You can check this by going to Settings > Update & Security > Activation. If for any reason it’s not activated, ensure you’re connected to the internet and try troubleshooting.
9. Run Windows Update Again
Even after the upgrade, it’s wise to run Windows Update one more time. This will catch any remaining updates or drivers that might have been missed during the initial upgrade phase.
10. Reinstall Problematic Applications
If you identified any applications that were flagged as potentially incompatible, this is the time to reinstall them with their Windows 10-compatible versions. Test each crucial application to ensure it functions as expected.
11. Driver Health Check

While Windows Update is excellent, it’s a good practice to visit the manufacturers’ websites for your critical hardware components (graphics card, motherboard, network adapter, etc.) and download the latest Windows 10 drivers directly. This can sometimes resolve minor performance issues or minor display glitches.
12. Remove Old Windows Files (Optional but Recommended)
Once you are completely satisfied that your Windows 10 upgrade is stable and everything is working, you can reclaim disk space by removing the old Windows installation files. You can do this through Disk Cleanup: search for “Disk Cleanup” in the Start menu, select your C: drive, click “Clean up system files,” and then select “Previous Windows installation(s)” and other temporary files. Be cautious with this step; once deleted, you won’t be able to easily roll back to your previous version.
By meticulously following this comprehensive checklist for Windows 10, the process of upgrading to the latest operating system can transform from a daunting task into an effortless and successful endeavor. This preparation and post-upgrade diligence minimizes risks, maximizes stability, and ensures you can enjoy all the benefits of Windows 10 without unnecessary complications.


