
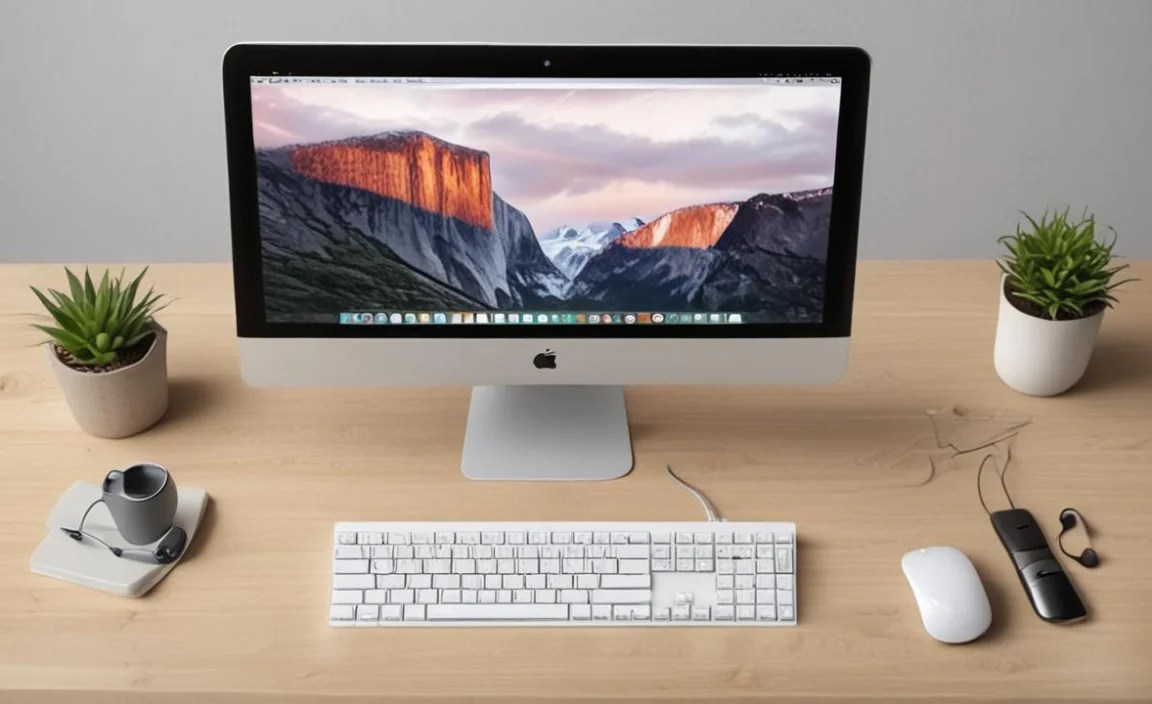
Canon Mouse Mac Driver Install: Effortless
Getting your Canon mouse up and running on your macOS device should be a straightforward process, and thankfully, for most users, the Canon mouse install driver for macOS without CD is indeed an effortless undertaking. Gone are the days when proprietary hardware almost always necessitated the inclusion of a physical disc. Modern operating systems and hardware manufacturers have streamlined the installation process, making it more accessible and environmentally friendly. This guide will walk you through the steps to ensure your Canon mouse functions perfectly with your Mac, even without the original packaging.
Why a Driver is Necessary (and How to Get It)

While many modern peripherals are plug-and-play, meaning they are recognized and function immediately upon connection, some devices, especially those with advanced features or from specific manufacturers like Canon, might benefit from or even require dedicated drivers. These drivers act as a translator between your operating system and the hardware, enabling all of the mouse’s functionalities to be recognized and utilized. For a Canon mouse, this could translate to smoother tracking, access to customizable button assignments, or specific energy-saving features.
The good news is that the era of needing a physical CD for these drivers is largely behind us. Most manufacturers, including Canon, provide readily available driver downloads directly from their official support websites. This not only eliminates the need for a CD drive (which many modern Macs lack) but also ensures you’re always downloading the most up-to-date and compatible software for your specific mouse model and macOS version.
Finding Your Canon Mouse Driver Online
The first and most crucial step in performing a Canon mouse install driver for macOS without CD is locating the correct driver file. This process is typically uncomplicated:
1. Identify Your Mouse Model: Before you begin, it’s essential to know the exact model number of your Canon mouse. This is usually found on the underside of the mouse itself, often near the battery compartment or sensor.
2. Visit the Canon Support Website: Navigate to your regional Canon support website. You can usually find this by searching “Canon Support [your country]” in your preferred search engine.
3. Navigate to the Downloads Section: Look for a “Support,” “Downloads,” “Drivers & Software,” or similar section on the website.
4. Enter Your Product Name/Number: Use the search bar provided to enter your Canon mouse model number. The website should then present you with a list of available software and drivers for that product.
5. Select Your Operating System: Crucially, ensure you select “macOS” as your operating system. The website will likely ask you to choose a specific macOS version (e.g., macOS Ventura, Monterey, Big Sur). If you’re unsure of your macOS version, you can find it by clicking the Apple logo in the top-left corner of your screen and selecting “About This Mac.”
6. Download the Driver: Once you’ve identified the correct driver, click the download button. The file will typically be a disk image (.dmg) file.
Installing the Driver on Your Mac
With the driver file downloaded, the actual installation process is usually very intuitive:
1. Open the Downloaded File: Locate the downloaded .dmg file (usually in your “Downloads” folder) and double-click it. This will “mount” the disk image, appearing as a new drive on your desktop or in Finder.
2. Run the Installer: Inside the mounted disk image, you’ll typically find an installer application (often ending in “.pkg”). Double-click this installer to launch it.
3. Follow the On-Screen Prompts: The installer will guide you through the necessary steps. This usually involves agreeing to license agreements, choosing an installation location (the default is almost always fine), and authenticating with your macOS administrator password.
4. Restart Your Mac (If Prompted): Some driver installations may require a system restart to take full effect. If the installer prompts you to restart, do so.
Post-Installation Checks and Troubleshooting
After the installation is complete, it’s time to verify that your Canon mouse is working as expected.
Basic Functionality: Test the left-click, right-click, and scroll wheel functions. Ensure smooth cursor movement.
Advanced Features: If your mouse has programmable buttons or other special features, check whether these are now active. You may need to open a dedicated Canon software utility that was installed alongside the driver to configure these settings. This utility might appear in your “Applications” folder or as a preference pane in your System Settings/Preferences.
Troubleshooting Common Issues:
Mouse Not Recognized: If the mouse isn’t working at all, try disconnecting and reconnecting it to a different USB port. Ensure the USB cable is securely attached.
Driver Not Installing: Double-check that you downloaded the correct driver for your specific mouse model and macOS version. Sometimes, older drivers might not be compatible with the latest macOS updates. Conversely, extremely new macOS versions might not yet have a compatible driver from the manufacturer, in which case you might need to wait for an update.
Features Not Working: If basic functionality is fine but advanced features are inaccessible, ensure the Canon utility software is running and properly configured. Sometimes, security settings in macOS might prevent third-party software from accessing certain system functions; you might need to grant permissions in “System Settings” > “Privacy & Security.”
By following these steps, the Canon mouse install driver for macOS without CD becomes a remarkably simple and efficient process, allowing you to enjoy the full capabilities of your Canon mouse with minimal fuss. The accessibility of online downloads has transformed hardware setup, making it more convenient and often more reliable than relying on outdated physical media.


