Have you ever wanted to make your documents pop with cool new fonts? Installing fonts can seem tricky, especially if you don’t have a USB drive. But guess what? You can easily install fonts on Windows without using a USB! It’s simpler than you think.
Imagine you’re working on a school project. You find the perfect font online. How do you get it onto your computer? Many people feel stuck at this point. But you can be different! In this article, we’ll show you step-by-step how to install fonts on Windows without USB.
Did you know that using unique fonts can make your work stand out? A fun fact: This small change can actually capture people’s attention better. So, if you’re ready to give your projects a fresh look, keep reading. Let’s dive into the world of fonts and make your ideas come alive!
How To Install Fonts On Windows Without Usb: A Step-By-Step Guide

To install fonts on Windows without using a USB, simply download the desired font file from the internet. Once it’s saved on your computer, locate the file and right-click on it. Choose “Install” from the menu. This easy method allows you to personalize your documents and designs with unique fonts without any extra devices. Did you know that using different fonts can make your work stand out? Give it a try today!
Understanding Font Formats

Explanation of common font formats (TTF, OTF, WOFF). Importance of font compatibility with Windows.
There are different types of font formats. Common ones include TTF, OTF, and WOFF. TTF stands for TrueType Font. It works well on most systems. OTF, or OpenType Font, offers advanced features. It’s great for creative designs. WOFF, or Web Open Font Format, is mainly used online. Choosing the right format is important for Windows compatibility. Using the wrong format can cause display issues. Always check if your font works on Windows to avoid problems.
What are the common font formats?
Common font formats include:
- TTF – TrueType Font, widely used.
- OTF – OpenType Font, offers advanced styles.
- WOFF – Web Open Font Format, ideal for websites.
Locating and Downloading Fonts Online

Top websites for free and paid fonts. Tips for ensuring font safety and license compliance.
Finding cool fonts online is easy! There are great websites where you can get free and paid fonts. Some popular ones are:
- Google Fonts: A huge collection of free fonts for everyone.
- Adobe Fonts: Offers many styles, great for design projects.
- Font Squirrel: Free fonts that are safe for personal and commercial use.
- Creative Market: Offers unique paid fonts created by artists.
Before downloading, always check the font license. This ensures you can use it safely. Read reviews and avoid shady sites to keep your computer safe from harm.
Where can I find safe fonts to download?
You can find safe fonts on trusted websites like Google Fonts and Adobe Fonts. They provide clear information about usage and permissions!
Installing Fonts through Windows Settings
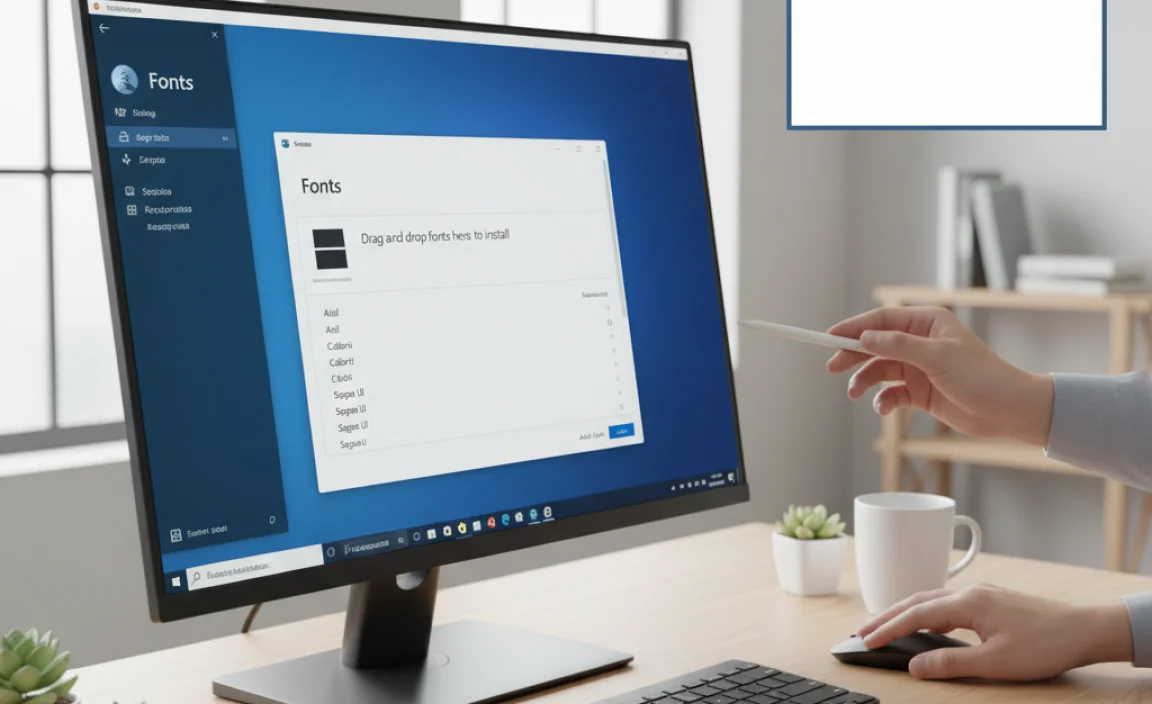
Stepbystep guide to installing fonts via the Settings app. Troubleshooting common issues during installation.
To install fonts on your Windows computer using the Settings app, follow these easy steps! Open Settings and click on “Personalization.” Next, choose “Fonts” from the menu. You’ll see a list of installed fonts. Drag and drop your new font file here, or click “Add font.” If you run into hiccups, check if the font file is compatible. Remember, not all fonts work on Windows; they can be pickier than a cat choosing a nap spot!
| Troubleshooting Tips | Solution |
|---|---|
| Font not showing up? | Restart your computer. |
| Installation error? | Check the font file type. |
| Font looks weird? | Try a different font file. |
Installing Fonts via the Fonts Folder
Detailed instructions on accessing the Fonts folder directly. How to manually copy font files to the Fonts folder.
Did you know installing fonts can be as easy as pie? To start, simply open the “Fonts” folder on your Windows computer. You can find it by typing “Fonts” in the search bar. Easy, right?
Next, take your font files (they often end in .ttf or .otf) and drag them into the Fonts folder. Ta-da! They’re installed! Just like a magic trick, but without needing a top hat.
| Font File Type | Description |
|---|---|
| .ttf | TrueType font. |
| .otf | OpenType font. |
Remember, a good font can make your work shine! So go ahead, get creative, and enjoy your fresh new styles!
Verifying Font Installation
Methods to check if fonts are successfully installed. Using the Fonts panel to manage and view installed fonts.
After you install your new fonts, it’s important to check if they worked. Here are some simple ways to verify your fonts:
- Open the Fonts panel. You can find it in the Control Panel. If your font appears there, it is successfully installed.
- Test the font in a program, like Word or Notepad. Select your font to see if it shows up.
- Look for any issues. Sometimes fonts might not display correctly. If so, reinstall them.
Remember, checking is key to having fun with your new fonts!
How can you check your fonts after installation?
You can check fonts using the Fonts panel or by testing them in a text program.
Removing Fonts from Windows
Steps to uninstall fonts that are no longer needed. Importance of removing corrupted or unwanted fonts.
Uninstalling fonts you no longer need is simple. Follow these steps:
- Open the Control Panel.
- Click on “Fonts.”
- Choose the font you want to remove.
- Right-click and select “Delete.”
Removing unwanted fonts helps keep your computer tidy. It also fixes problems with corrupted fonts that can slow down your system. A clear font list makes it easier to find your favorites.
Why is it important to remove unwanted fonts?
Clearing out old fonts improves performance. It helps your computer run smoother. Too many fonts can make your software slow. Keeping only what you use is always a smart choice.
Troubleshooting Font Installation Issues
Common installation errors and their solutions. How to reset font settings to resolve conflicts.
Font installation can sometimes be tricky. Users may see errors that stop the fonts from working. Here are common problems and how to fix them:
- Missing files: Check if the font file is complete.
- Wrong format: Make sure the font is in .ttf or .otf format.
- Permission issues: Run your installer as an administrator.
If fonts still don’t work, reset your font settings. Here’s how:
- Open Control Panel.
- Go to Fonts and select “Font settings.”
- Click on “Restore default font settings.”
This will help remove any conflicts and allow you to install new fonts smoothly.
What should I do if my font installation fails?
Try checking the font files, ensuring they are in the correct format, and running your installer as an administrator.
Conclusion
In conclusion, installing fonts on Windows without a USB is simple. You can download fonts directly from websites and install them through Windows settings. Just unzip the files and drag them into the Fonts folder. Now you can enjoy new styles in your documents! Explore more online to find more fonts and keep customizing your computer. Happy font hunting!
FAQs
What Are The Steps To Download And Install Fonts Directly From The Internet On Windows?
To download and install fonts on Windows, first, you need to find a font you like online. Click the download button for that font. Once it’s downloaded, go to your Downloads folder and double-click the file. A new window will pop up, and you should click “Install.” After that, the font will be ready to use!
How Can I Install Fonts Using The Windows Font Viewer?
To install fonts using the Windows Font Viewer, first, find a font you like online. Download the font file to your computer. Then, double-click the font file to open it. A window will pop up showing the font. Click the “Install” button in that window, and the font will be ready to use!
Is There A Way To Install Multiple Fonts At Once On Windows Without Using Usb?
Yes, you can install multiple fonts at once on Windows without using a USB. First, find the fonts you want to download. You can save them in a folder on your computer. Then, select all the font files you want to use. Finally, right-click and choose “Install” to add them all at once. It’s quick and easy!
Can I Use Font Management Software To Simplify The Process Of Installing Fonts On Windows?
Yes, you can use font management software to help install fonts on Windows. This software makes it easier to find and organize your fonts. Instead of doing everything by hand, it lets you click a few buttons. It saves you time and helps keep your computer neat. This way, you can enjoy using new fonts without any hassle!
What File Formats Are Compatible For Font Installation On Windows, And How Do I Handle Them?
You can install fonts on Windows using TTF (TrueType Font), OTF (OpenType Font), and FON (Font File). To install them, first, download the font file. Then, right-click on the file and choose “Install.” The font will then be ready to use in your programs!