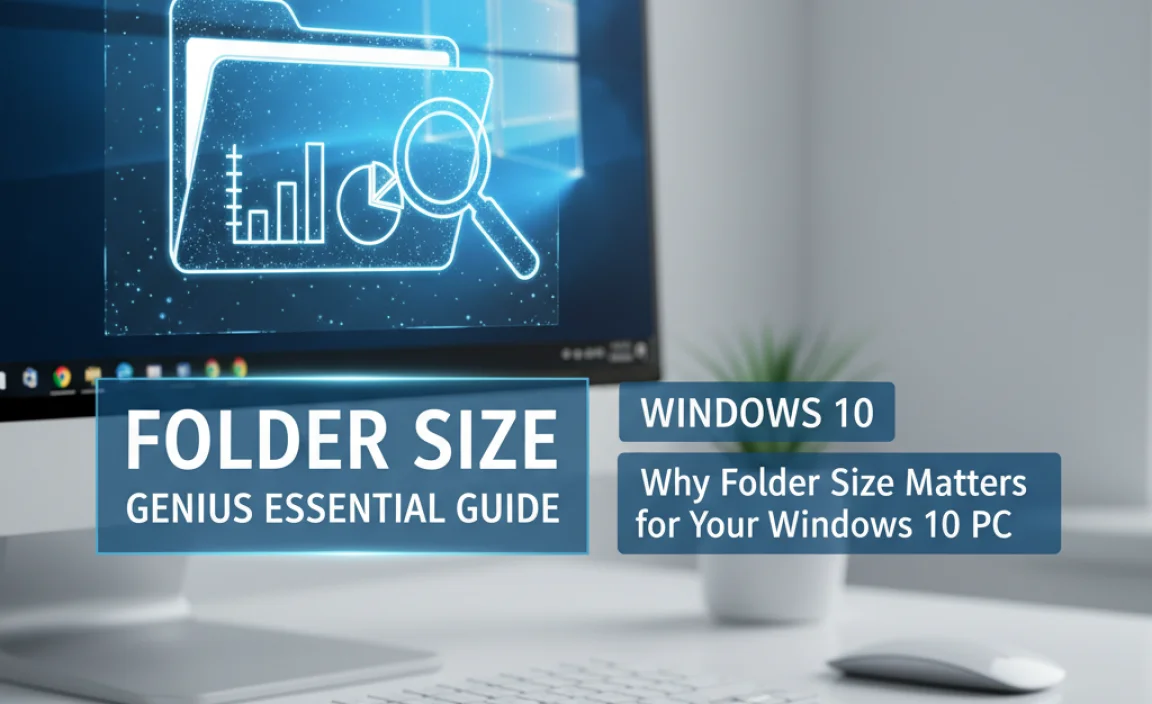
Running out of space on your Windows 10 computer? Don’t sweat it! This guide shows you exactly how to find and manage folder sizes, so you can reclaim precious gigabytes.
We’ll walk through everything, from easy built-in tools to handy third-party apps. Get ready to see exactly where your storage is going and how to tidy it up. Let’s dive in and make your PC happy again!
Why Folder Size Matters for Your Windows 10 PC
Is your Windows 10 computer feeling sluggish? One of the most common culprits is a full hard drive. When your storage is packed, your operating system and applications don’t have enough room to work efficiently. This can lead to slow performance, annoying error messages, and even the inability to install important updates.
Understanding what’s taking up all that space – specifically, the size of your folders – is the first and most crucial step to solving this problem. It’s like decluttering your physical desk; you need to see what’s there before you can decide what to keep or toss.
Many Windows users stumble when it comes to figuring out which folders are the biggest offenders. The default File Explorer view often doesn’t give you this vital information at a glance. You might see individual file sizes, but it’s harder to grasp the total storage footprint of an entire folder and its contents. This is especially true for hidden folders or system-related directories that can grow surprisingly large over time.
Don’t worry, though! This guide is designed to be your go-to resource. We’ll break down exactly how to see folder sizes in Windows 10, giving you the power to identify what’s eating up your disk space. We’ll cover simple tricks you might not know about, and we’ll also look at some fantastic tools that make this process even easier. By the end of this article, you’ll be a pro at finding large folders and know exactly how to manage them to keep your Windows 10 PC running smoothly and efficiently. Ready to take control of your storage?
Understanding Folder Size in Windows 10: The Basics
Before we jump into the advanced techniques, let’s cover the fundamental ways Windows 10 allows you to check folder sizes. These built-in methods are often overlooked but can be surprisingly effective for many users.
Method 1: Using File Explorer’s Properties Window
This is the most straightforward method, accessible to everyone with Windows 10. It might take a few clicks per folder, but it provides accurate information.
Follow these steps:
- Open File Explorer: You can do this by clicking the yellow folder icon on your taskbar, or by pressing the Windows key + E on your keyboard.
- Navigate to the Folder: Browse through your drives and folders until you find the one you want to check.
- Right-Click the Folder: Once you’ve located the folder, right-click on it.
- Select “Properties”: In the context menu that appears, click on “Properties” at the very bottom.
- View the Size: A new window will pop up. Look for the “Size” and “Size on disk” information on the “General” tab.
What’s the difference between “Size” and “Size on disk”?
- Size: This is the actual amount of data contained within the folder and its subfolders.
- Size on disk: This is how much physical space the folder occupies on your hard drive. Due to how hard drives store data in clusters, the “Size on disk” can sometimes be slightly larger than the “Size.”
Pro Tip: This method is great for checking individual folders, but if you need to find the largest folders across your entire system, it can become tedious. That’s where other methods come in handy.
Method 2: Enabling Folder Size in File Explorer’s Details View
Windows 10’s File Explorer can be customized to show folder sizes directly in the view, making it much quicker to scan and compare multiple folders at once. However, this feature is not enabled by default and doesn’t show sizes for all folders instantly.
Here’s how to set it up:
- Open File Explorer (Windows key + E).
- Navigate to the parent directory where the folders you want to check reside. For example, to check folders in your Documents, go to `C:UsersYourUsernameDocuments`.
- Switch to the “Details” view: Click the “View” tab at the top of the File Explorer window. In the “Layout” section, select “Details.”
- Add the “Size” column: With the “View” tab still active, look for the “Current view” section. Click on “Add columns.” From the dropdown menu, select “Size.”
- Observe the Folder Sizes: You should now see a “Size” column. However, you’ll notice that many folders show “File folder” or a dash (-) instead of an actual size. This is because Windows doesn’t calculate the size of subfolders in real-time for performance reasons. To force a calculation, you need to open each folder individually or use a more advanced tool.
Why doesn’t it show all sizes?
Windows doesn’t dynamically calculate the size of every folder and its contents as you browse. Doing so would be very resource-intensive, especially on large drives with thousands of folders, and would make File Explorer incredibly slow. Instead, it often relies on pre-calculated information which might be outdated or requires a refresh. The “Properties” window is where you get the most accurate, up-to-date calculation for a single folder.
Essential Tools for Viewing Folder Sizes in Windows 10
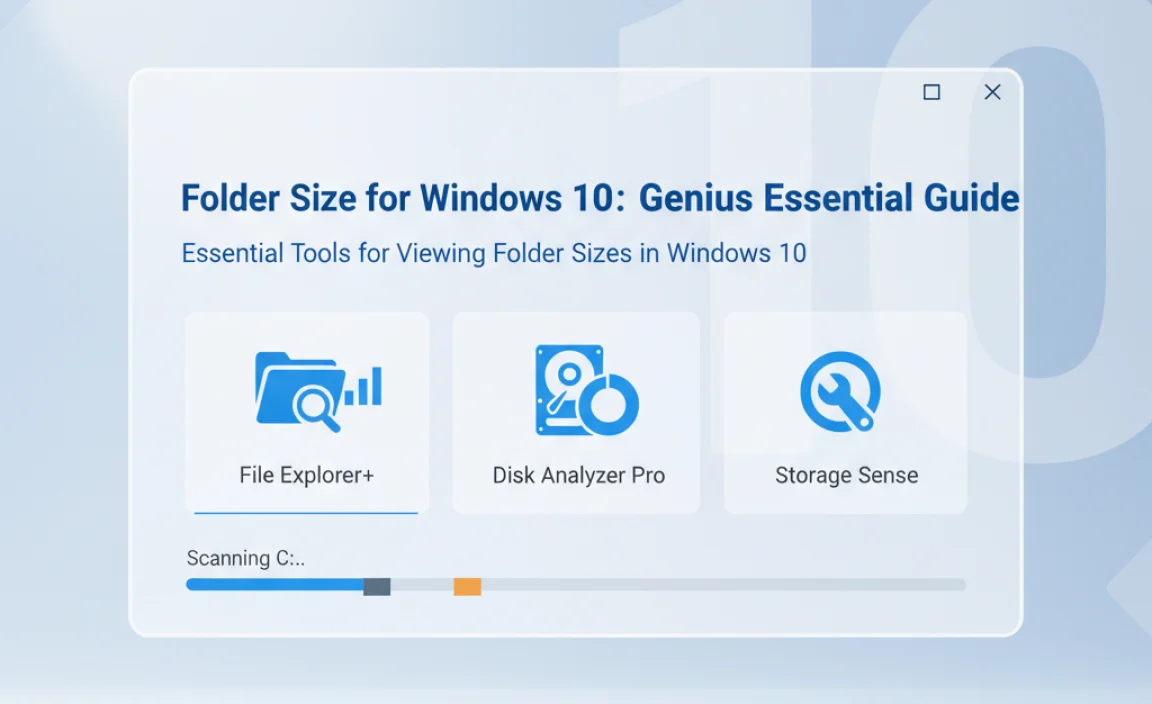
While Windows 10 has built-in ways to check folder sizes, they can be time-consuming for a comprehensive scan. Fortunately, there are excellent free third-party tools designed specifically for this task. These applications scan your hard drive much more efficiently and present the information in an easy-to-understand visual format.
Tool 1: WinDirStat – The Classic Choice
WinDirStat is a popular, free, and open-source disk usage utility for Windows. It scans your entire drive and then displays the size of folders and files in three useful views: a directory list, a treemap, and a block list. The treemap view is particularly insightful, as it visually represents the size of each file and folder as a colored rectangle. Larger rectangles mean larger files or folders.
Where to get it: You can download WinDirStat from its official website (search for “WinDirStat official”). Make sure to download from a trusted source to avoid bundled unwanted software.
How to use WinDirStat:
- Download and Install: Get the installer and run it. Follow the on-screen prompts.
- Launch WinDirStat: Open the application.
- Select Drive(s) to Scan: A window will pop up asking which drives you want to scan. Select your C: drive or any other drive you suspect is full. Check the “Everything” box if you want to scan all accessible local drives.
- Start Scan: Click “OK.” WinDirStat will begin scanning. This can take some time depending on the size of your drive and the number of files.
- Analyze the Results: Once the scan is complete, you’ll see three panes:
- Directory List: Similar to File Explorer, it shows folders sorted by size.
- Treemap: A visual representation of your disk space. Each rectangle is a file or folder. The bigger the rectangle, the bigger the item.
- Block List: A detailed list of files, also sorted by size.
- Identify Large Folders: In the “Directory List” or “Treemap,” you can easily spot the largest folders. Clicking on an item in one pane highlights it in the others.
- Take Action: From WinDirStat, you can right-click on any item to open it in File Explorer, delete it, or access its properties, allowing you to quickly clean up unneeded files.
Security Note: Be cautious when deleting files directly from WinDirStat, especially if you’re unsure what they are. It’s often safer to open the item in File Explorer and then delete it, ensuring you’re aware of what you’re removing.
Tool 2: TreeSize Free – Fast and Informative
TreeSize Free is another excellent utility for visualizing disk space usage. It provides a simple, hierarchical view of your folders and their sizes, similar to the Directory List in WinDirStat but often faster to scan and with a more modern interface. It also shows duplicate files.
Where to get it: Search for “TreeSize Free” from Jam Software. Again, download from the official source.
How to use TreeSize Free:
- Download and Install: Get the installer and follow the setup instructions.
- Launch TreeSize Free: Open the application.
- Select Drive: TreeSize Free usually defaults to scanning your C: drive. You can select other drives from the “Scan” menu or by clicking the “Select Directory” button.
- Start Scan: Click the “Scan” button. The scan is often quicker than WinDirStat.
- Analyze Results: TreeSize Free displays folders in a clear, expandable tree structure. The sizes are shown next to each folder, sorted from largest to smallest. You can expand folders to see their subfolders’ sizes.
- Identify Large Folders: The top folders in the list are your biggest space consumers.
- Take Action: Right-click on any folder or file to open it in File Explorer, delete it, or perform other actions.
Tip: TreeSize Free has a paid version with more advanced features, but the free version is more than sufficient for most users needing to find large folders.
Tool 3: Settings App (Windows 10) – For Built-in Apps and Temporary Files
While not a direct “folder size” tool in the traditional sense, the Windows 10 Settings app can help you identify which categories of data are consuming the most space, particularly built-in applications and temporary files.
How to use the Settings App for Storage:
- Open Settings: Click the Start button and select the gear icon, or press Windows key + I.
- Go to System: Click on “System.”
- Select Storage: In the left-hand menu, click on “Storage.”
- Analyze Your Drive: Windows 10 will scan your C: drive (or other selected drives) and show you a breakdown of what’s taking up space. This includes Apps & features, Temporary files, Documents, Pictures, Music, Videos, Other, and more.
- Drill Down: Click on each category to see more details. For “Apps & features,” you can see individual application sizes and uninstall them. For “Temporary files,” you can select and remove various system temporary files, including old Windows update files, direct download files, and the Recycle Bin.
Why this is useful: This method is great for quickly identifying large applications you no longer use or for safely clearing out temporary system files that can accumulate over time without needing a third-party app.
Common Culprits for Large Folders in Windows 10
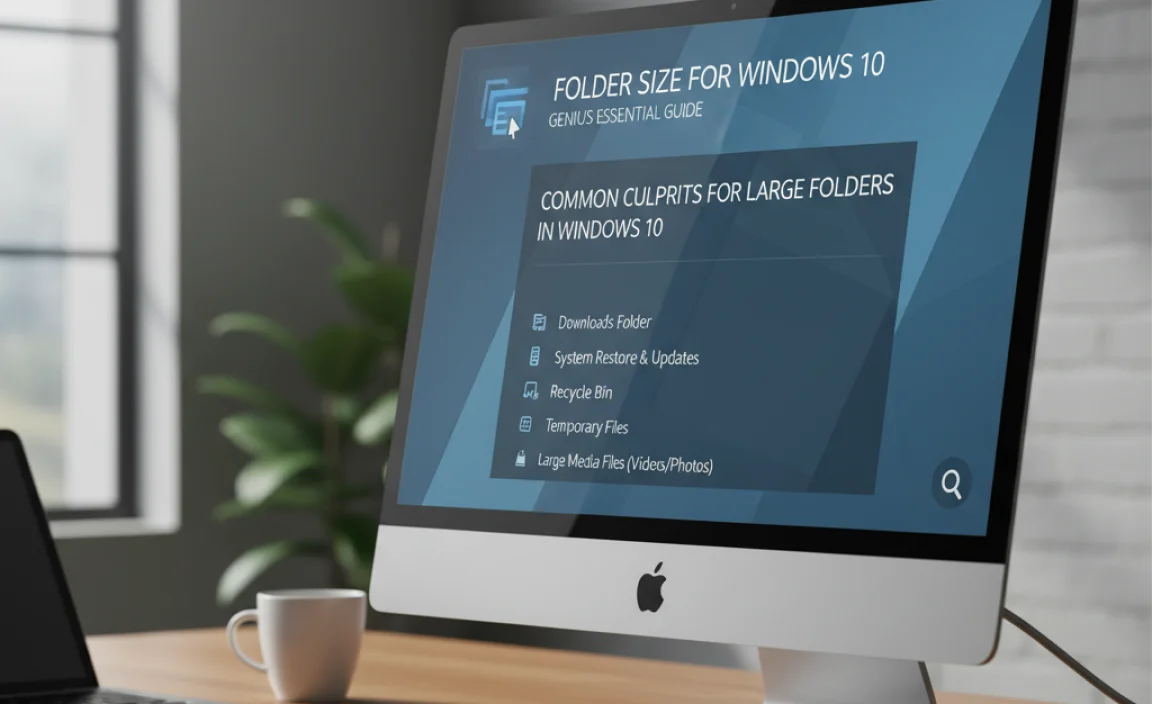
Once you start using these tools, you’ll likely see a pattern in which types of folders tend to grow the largest. Knowing these common culprits can help you proactively manage your disk space.
1. Downloads Folder
This is arguably the most common place for runaway disk space. We download installers, documents, videos, and software, and then forget about them. Over time, this folder can become a digital graveyard for gigabytes of unneeded data.
Fix: Regularly sort your Downloads folder by date and size. Delete anything you don’t need. Consider moving important files to dedicated folders (like Documents or Pictures) and then emptying your Downloads folder.
2. Recycle Bin
When you delete files, they don’t disappear immediately; they go to the Recycle Bin. If you don’t empty it, these deleted files continue to take up space. Large deleted files can significantly impact your available storage.
Fix: Right-click the Recycle Bin icon on your desktop and select “Empty Recycle Bin.” You can also configure the Recycle Bin to automatically empty after a certain period or to have a maximum size limit.
3. Temporary Files & System Files
Windows and various applications create temporary files for various operations. While necessary, these can sometimes fail to be cleaned up properly, especially after system crashes or incomplete shutdowns. This includes:
- Windows Update Cleanup: Old Windows update files that are no longer needed.
- Temporary Internet Files: Cache files from your web browsers.
- Prefetch Files for faster application loading.
- System Restore Points that are very old or excessively large.
Fix: Use the Windows 10 Settings app (Storage > Temporary files) or Disk Cleanup tool to safely remove these. Be cautious with System Restore points; only delete older ones if you are certain your system is stable. You can manage System Restore points under System Properties > System Protection.
4. Application Data & Cache Folders
Many applications store their data, settings, and cache files in hidden folders within your user profile or the ProgramData folder. Games, media players, design software, and even web browsers can accumulate large amounts of cached data that isn’t always automatically cleared.
- Example: Game installations (like Steam libraries), Adobe Creative Suite caches, browser caches.
Fix:
- For games, check if the game platform (Steam, Epic Games) has options to manage game installation locations or delete local content.
- For browsers, clear their cache and cookies through the browser’s settings.
- For other applications, look for options within the application itself to clear cache or manage data storage. Be very careful when manually deleting files from AppData or ProgramData folders, as you could break applications.
5. User Profile Folders (Documents, Pictures, Videos, Music)
This is your personal digital hoard. Large video files, extensive photo libraries, or massive music collections stored in your user profile folders (Documents, Pictures, Videos, Music) are often the largest legitimate space consumers.
Fix:
- External Storage/Cloud: Move large media libraries to an external hard drive or cloud storage services like OneDrive, Google Drive, or Dropbox.
- Delete Unneeded Files: Regularly review these folders and delete what you no longer need or want.
- Duplicate Finders: Consider using duplicate file finder tools to locate and remove multiple copies of the same files.
6. System Restore Points
System Restore creates snapshots of your system files and configuration, allowing you to revert to a previous state if something goes wrong. However, these can consume significant disk space, especially if you have many restore points or if they are configured to use a large percentage of your drive.
Fix: You can manage System Restore space by going to System Properties > System Protection. Select your drive, click “Configure,” and then choose to reduce the maximum disk space usage or delete all restore points except the most recent one. Only do this if you are confident your system is stable.
Security & Reliability Note: While it’s tempting to delete everything to free up space, be extremely careful when dealing with system-related folders or application data. Deleting the wrong file can cause system instability or application malfunctions. Stick to known safe methods like emptying the Recycle Bin, clearing temporary files via Settings or Disk Cleanup, or uninstalling unused programs.
Authoritative Resource: For official guidance on managing disk space and system files, consult Microsoft’s support pages. Search for “Disk Cleanup utility” or “Manage disk space Windows 10” on the Microsoft website.
Step-by-Step: How to Clean Up Large Folders
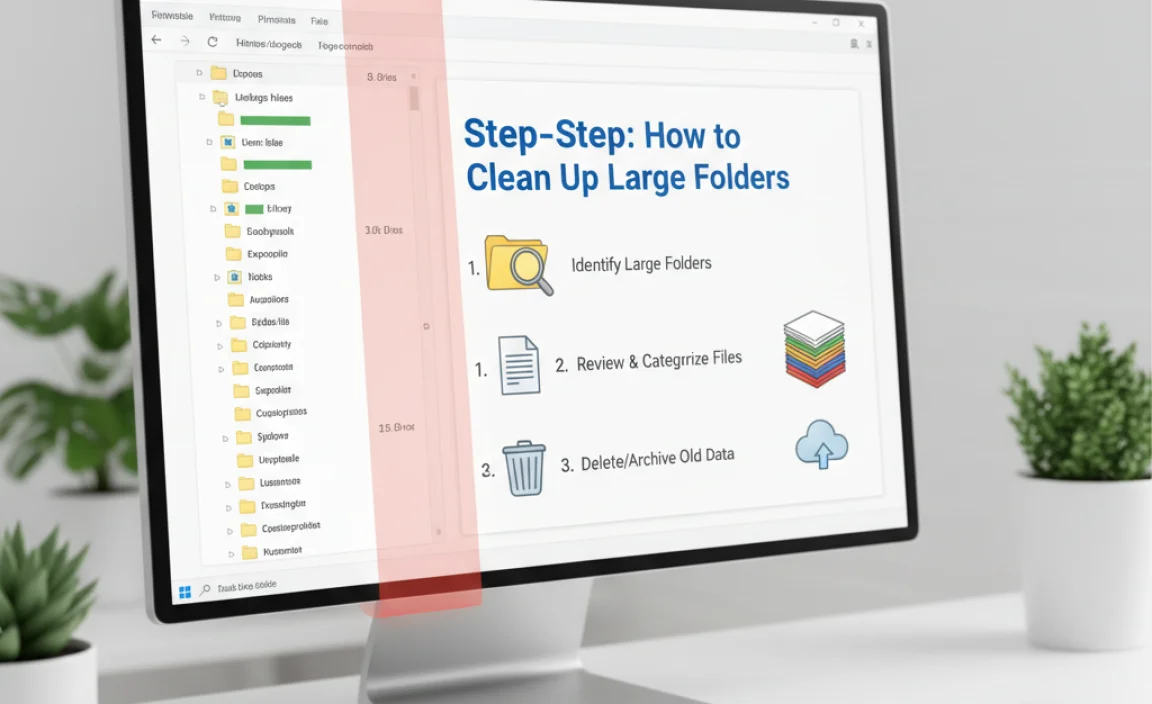
Now that you know where to look and what tools to use, let’s put it all together into a practical cleanup plan.
Step 1: Identify the Biggest Offenders
- Choose your tool: Start with the Windows 10 Settings app > Storage for a quick overview of categories.
- Use a dedicated app: For a detailed scan, run WinDirStat or TreeSize Free.
- Scan your primary drive (C:): Pay close attention to the top 5-10 largest folders identified by these tools.
Step 2: Prioritize Target Folders
Based on your scan, you’ll likely see:
Category A: Safe to Clean (High Priority)
- Downloads Folder
- Recycle Bin
- Temporary Files (via Settings or Disk Cleanup)
- Browser Cache (via browser settings)
Category B: Potentially Cleanable (Medium Priority)
- Old application caches (look within application settings first)
- Old Windows Update files (use Windows Update Cleanup in Disk Cleanup)
Category C: Personal Data (User Decision Needed)
- Large video/photo/music files in Documents, Pictures, Videos, Music
- Game installation folders
Category D: System Folders (Extreme Caution Advised)
- Prefetch, WinSxS (Windows Component Store), hibernation file (hiberfil.sys), pagefile.sys. Generally, do NOT manually delete files from these folders unless following very specific, trusted guides for advanced cleanup.
Step 3: Execute the Cleanup (Category A First)
Empty your Downloads folder:
- Open File Explorer.
- Navigate to your Downloads folder.
- Sort by “Date modified” or “Size.”
- Select groups of old or large files you don’t need.
- Press the Delete key or right-click and select “Delete.”
- Empty the Recycle Bin (right-click desktop icon).
Clean Temporary Files:
- Open Settings > System > Storage.
- Click “Temporary files.”
- Check the boxes for files you want to remove (e.g., “Downloads,” “Temporary Internet Files,” “Windows Update Cleanup,” “Recycle Bin”).
- Click “Remove files.”
Step 4: Address Category C (Personal Data)
For Large Personal Files:
- Use File Explorer or your chosen disk analysis tool to locate specific large video, photo, or music files.
- Option 1 (Delete): If you no longer need them, delete them (and empty the Recycle Bin!).
- Option 2 (Relocate): Attach an external hard drive or use a cloud service. Copy the large files to the external storage/cloud and then delete them from your PC’s internal drive.
For Game Installations:
- Open your game launcher (Steam, Epic Games, etc.).
- Go to your game library.
- Look for options to uninstall games you don’t play, or to relocate game installations to a different drive (if you have one).
Step 5: Advanced Cleanup (Use with Care)
Disk Cleanup Tool (More Options):
- Search for “Disk Cleanup” in the Windows search bar and open it.
- Select your C: drive.
- It will calculate files to clean. Click “Clean up system files” to scan for more options, including old Windows installations or updates that can occupy many gigabytes.
- Review the list carefully and select items to remove.
System Restore:
- Search for “Create a restore point” and open it.
- Select your C: drive and click “Configure.”
- You can reduce the “Max Usage” slider or click “Delete” to remove all restore points except the most recent one. Ensure your system is stable before doing this.
Tips for Maintaining Free Space in Windows 10
Cleaning up is great, but keeping your drive space clear is even better! Here are some proactive tips:
- Regularly Empty Recycle Bin: Make it a weekly habit.
- Manage Downloads: Don’t let your Downloads folder become a black hole. Tidy it up at least once a month.
- Schedule Disk Cleanup: Use the built-in Windows tools periodically (Disk Cleanup or Storage Sense).
- Use Storage Sense: Found in Settings > System > Storage, Storage Sense can automatically free up space by deleting temporary files and emptying the Recycle Bin. Configure it to run regularly.
- Uninstall Unused Programs: Go to Settings > Apps > Apps & features. Sort by size and uninstall anything you haven’t used in months.
- Cloud Storage for Media: Sync your important photos, videos, and documents to OneDrive, Google Drive, or Dropbox. You can often configure these services to keep files online-only, saving local space until you need them.
- External Drives for Archives: For very large files (e.g., raw video footage, large project archives), an external hard drive is often the most cost-effective solution.
- Be Mindful of Installation Sizes: When installing new software or games, pay attention to their size. If storage is tight, prioritize smaller applications or games.
Windows 10 vs. Windows 11: Folder Size Differences
For the most part, the core methods for checking folder sizes remain very similar between Windows 10 and Windows 11. Microsoft aims for continuity in basic file management tasks.
Key Similarities:
- File Explorer Properties: Right-clicking a folder and selecting “Properties” to see its size works identically in both operating systems.
- Third-Party Tools: WinDirStat, TreeSize Free, and other popular disk space analyzers are compatible with both Windows 10 and Windows 11.
Key Differences (Minor):
- Settings App Interface: Windows 11 has a refreshed Settings app. The “Storage” section can be found under “System > Storage.” The functionality is largely the same, but the visual layout is updated.
- Storage Sense: Storage Sense is more prominent in Windows 11’s Storage settings and offers a slightly more streamlined setup process for automation.
Here’s a quick comparison:
| Feature | Windows 10 | Windows 11 | Notes |
|---|---|---|---|
| Properties Window | File Explorer -> Right-click Folder -> Properties | File Explorer -> Right-click Folder -> Properties | Identical functionality. |
| Built-in Storage Analysis | Settings -> System -> Storage | Settings -> System -> Storage | Interface is updated in Windows 11, but core functionality is the same. |
| Storage Sense Automation | Exists, configurable in Storage settings | More prominent, easier to configure a schedule in Storage settings | Recommended for automatic cleanup. |
| Third-Party Analyzers (WinDirStat, TreeSize) | Fully compatible | Fully compatible | Best for in-depth analysis. |
Whether you’re on Windows 10 or 11, the principles and tools for managing folder sizes are fundamentally the same. The goal is always to identify large, unneeded files and folders to free up your precious disk space.
Troubleshooting Common Folder Size Issues
Sometimes, even after cleaning, you might encounter strange folder sizes or persistent issues.
Problem: Folder Size Seems Incorrect or Too Small
Cause: As mentioned, File Explorer’s “Details” view might not update folder sizes dynamically. Hidden files and folders might not be counted by default.
Fix: Always use the folder’s “Properties” window for an accurate, up-to-date size. Ensure “Show hidden files, folders, and drives” is enabled in File Explorer’s “View” options if you suspect hidden data is the issue.
Problem: Can’t Find a Specific Large Folder Identified by a Tool
Cause: The folder might be hidden, located in a system directory you don’t normally access, or it might be a virtual folder.
Fix: Use the “Open Containing Folder” or “Open in Explorer” option within your disk analysis tool (like WinDirStat or TreeSize). Ensure hidden items are visible in File Explorer. Be extremely careful when navigating and deleting from system folders (like C:Windows, C:ProgramData, C:UsersYourUsernameAppData).
Problem: Deleting Files Doesn’t Free Up Space
Cause: The files might be in use by an application, part of a system process, or still residing in the Recycle Bin.
Fix:
- Check Task Manager: Press Ctrl+Shift+Esc. Look for applications that might be using the files. Close them.
- Empty Recycle Bin: Always the first step after deleting!
- Restart your PC: Sometimes, files are locked until a system restart.
- System Files: You cannot delete essential system files. If a large folder is identified within C:Windows, it’s likely a core system component, and attempting to delete it could damage your OS.
Problem: “Other” Category is Huge in Storage Settings
Cause: The “Other” category in Windows Storage settings can be a catch-all for various file types that Windows doesn’t categorize neatly, including some system files, temporary files, old update components, or even some application data not recognized by the Settings app.
Fix: This is where a dedicated tool like WinDirStat or TreeSize Free becomes invaluable. They can pinpoint exactly what’s inside that “Other” category in a way the Settings app cannot.
Folder Size for Windows 10: Frequently Asked Questions
Q1: Do I really need to know folder sizes?
A1: Yes! Knowing your folder sizes is the fastest way to understand what’s filling up your hard drive. It allows you to pinpoint exactly where to start cleaning and reclaim valuable space, leading to a faster, more responsive PC.
Q2: Are there any risks to checking folder sizes?
A2: No, just checking folder sizes is perfectly safe. The only risk comes if you delete files carelessly. Always be certain you know what a file or folder is before deleting it, especially if it’s in a system directory.
Q3: Can I see folder sizes in Command Prompt?
A3: Yes, you can use commands like `dir /s` to list files and directories with their sizes, or more advanced PowerShell commands. However, for most beginners, graphical tools like File Explorer, WinDirStat, or TreeSize Free are much more user-friendly.
Q4: How often should I check my folder sizes?
A4: For most users, a monthly check is a good idea. If you frequently download large files or install many applications, you might want to check every couple of weeks. Automated tools like Storage Sense can handle regular cleanup for you.
Q5: What’s the difference between “Size” and “Size on disk” in folder properties?
A5: “Size” is the actual data size, while “Size on disk” is the space the folder takes up on your hard drive. Due to file allocation units (clusters) on your disk, “Size on disk” is often slightly larger.
Q6: My computer is still slow after freeing up space. What else could be wrong?
A6: While a full hard drive is a common cause of slowness, other factors include too many startup programs, fragmented hard drives (less common with SSDs), outdated drivers, malware, or insufficient RAM. You’ve taken a great step by clearing space, but performance issues can have multiple causes.
Conclusion: Take Control of Your Windows 10 Storage
You’ve now got the knowledge and the tools to conquer your Windows 10 storage woes! Understanding how to check and manage folder sizes is a fundamental skill for any PC user. By using File Explorer’s properties, the handy Settings app, or powerful free utilities like WinDirStat and TreeSize Free, you can easily identify what’s hogging your disk space.
Remember to prioritize safe cleanup by starting with your Downloads folder, Recycle Bin, and temporary files. For personal data, make informed decisions about what to keep, delete, or move to external storage. Always proceed with caution when dealing with system folders.
Taking these steps not only frees up gigabytes of space but also contributes to a faster, more reliable, and less frustrating computing experience. You’ve demonstrated that you can handle these common PC tasks yourself, building confidence in your ability to manage your Windows system effectively. Keep these techniques in mind, perform regular cleanups, and your Windows 10 machine will thank you with improved performance and stability. Happy decluttering!