
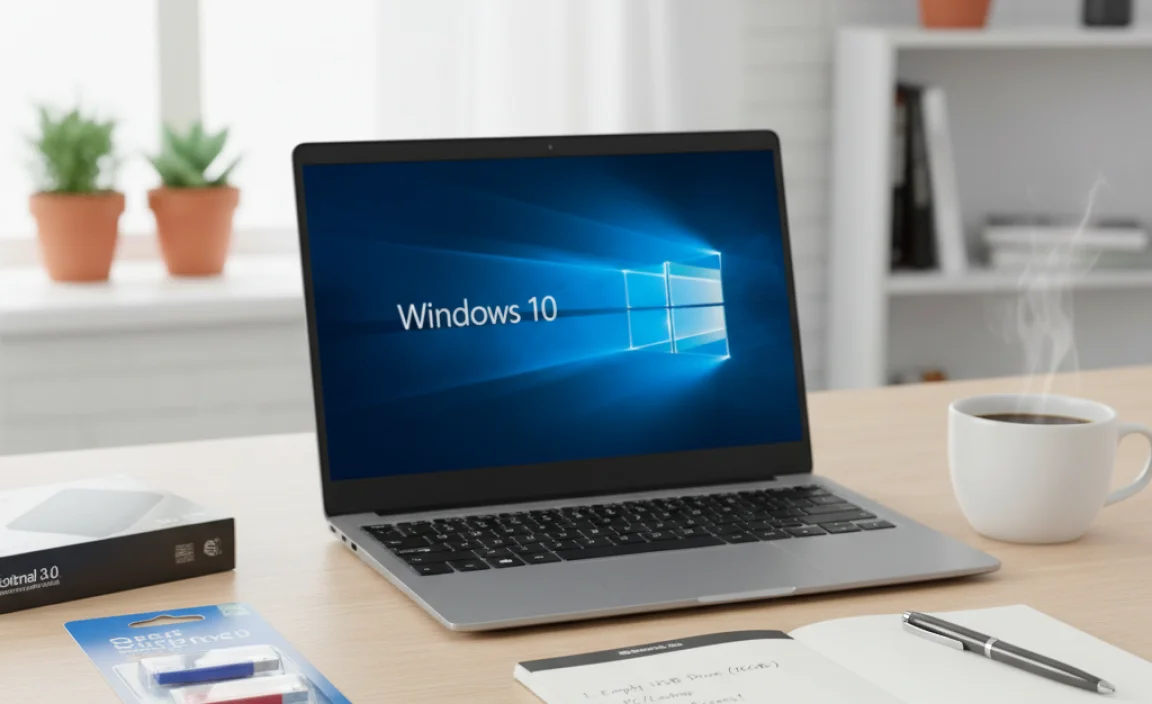
Creating a recovery drive for Windows 10 is an essential step to ensure you can fix common boot problems without needing installation media. This guide provides a simple, step-by-step process to empower you to secure your system and regain control, even if Windows won’t start.
Hey there, fellow Windows users! Mike Bentley here. Ever stared at a blank screen when trying to start your Windows 10 PC, feeling that familiar pang of panic? We’ve all been there. Sometimes, things go wrong – a bad update, a stubborn driver, or just one of those mysterious glitches can prevent your computer from booting up.
When that happens, the thought of needing an installation disk or complex repair tools can be overwhelming. But what if I told you there’s a straightforward, built-in way to prepare for these moments? Creating a recovery drive for Windows 10 is your secret weapon, a powerful yet simple tool that can save the day. This guide will walk you through it, step by step, making it easy and stress-free. Let’s get your PC ready for anything!
Why Creating a Recovery Drive is a Win-Win
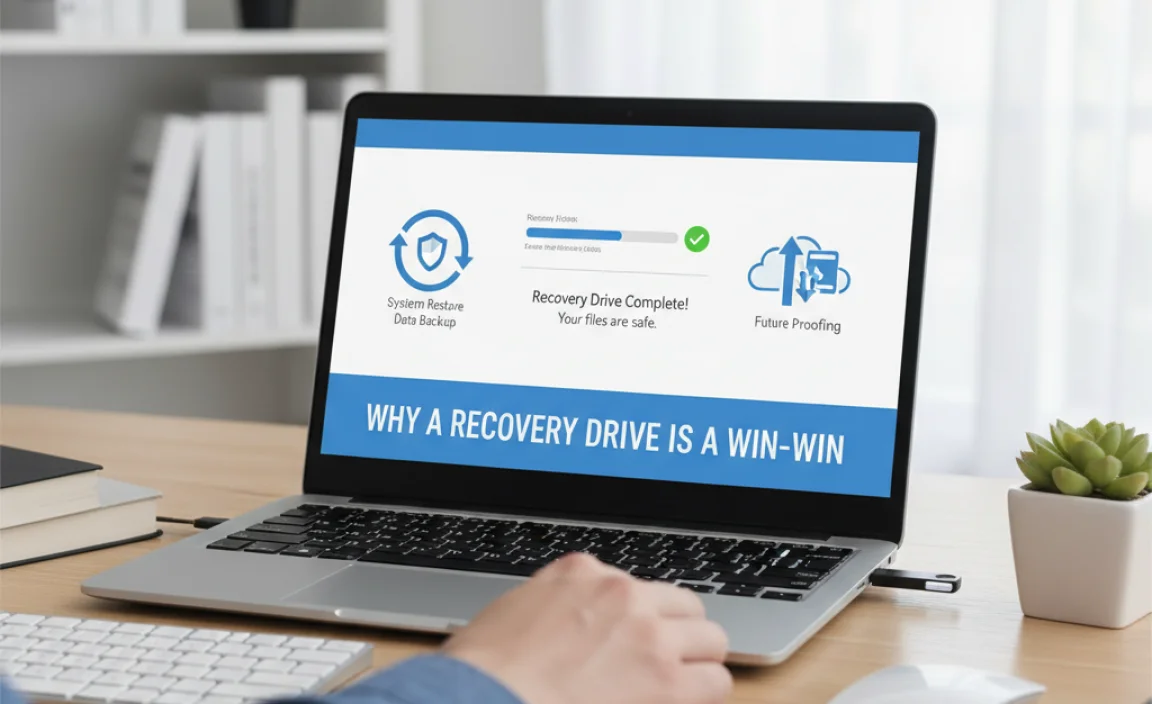
Think of a recovery drive as a small, portable troubleshooter for your computer. It’s a USB flash drive that contains essential files needed to start your PC and run recovery tools. This means if your computer encounters serious problems and won’t boot normally, you can use this drive to access troubleshooting options, repair startup issues, reset your PC, or even reinstall Windows. It’s like having a built-in IT support team on a stick, ready to go when you need it most!
Here’s why every Windows 10 user should have one:
- Effortless Troubleshooting: It bypasses the need for an installation DVD or complex command-line tricks.
- Peace of Mind: Knowing you have a backup plan for boot failures reduces stress significantly.
- Cost-Effective: It’s a free tool provided by Windows, saving you potential repair costs.
- Data Protection (in a way): While it doesn’t back up your personal files, it enables repair and reset options that can often save your data from being lost completely during a system failure.
Windows 10 vs. Windows 11 Recovery Drives
Before we dive into the “how-to,” it’s worth mentioning that the process is very similar for both Windows 10 and Windows 11. Microsoft aims for a consistent user experience across its operating systems. The core functionality and the steps involved in creating a recovery drive remain largely the same. This guide, while focused on Windows 10, will work just as well if you’re using Windows 11. The main difference you might notice is in the visual design and slight variations in menu layouts, but the essential pathway to creating your drive is consistent.
What You’ll Need Before You Start
Before we begin the process of creating your recovery drive, there are a couple of simple things you’ll need to have ready. Don’t worry, it’s nothing complicated!
- A USB Flash Drive: This is the most crucial item. You’ll need a USB flash drive with at least 16 GB of storage. It’s important to note that all data on this USB drive will be erased during the process, so make sure it doesn’t contain anything important, or use a brand-new drive.
- Your Windows 10 PC: The computer you want to create the recovery drive for. It needs to be running Windows 10 and powered on.
- An Internet Connection: While the recovery drive itself can help you fix problems offline, the creation process might download some necessary files from Microsoft, so a stable internet connection is recommended.
Choosing the Right USB Drive
When selecting your USB flash drive, keep the size requirement in mind. 16 GB is the minimum recommended by Microsoft. While some smaller drives might seem to work, you risk encountering errors or incomplete creation. It’s always better to go a bit larger than the minimum if possible, just to be safe. A reliable brand is also a good idea, as a faulty USB drive can cause the process to fail midway. You can find decent 16 GB or 32 GB USB drives at most electronics stores or online retailers.
Step-by-Step Guide to Creating Your Windows 10 Recovery Drive
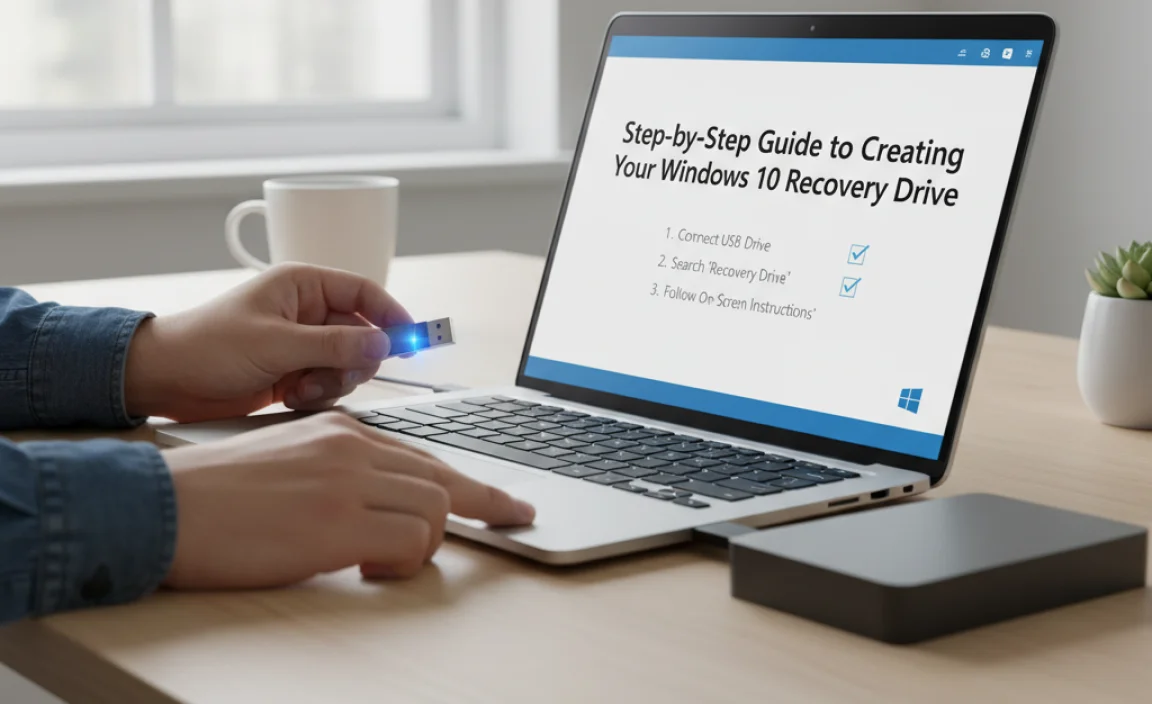
Alright, let’s get down to business! This process is designed to be super simple, and I’ll guide you through each click. You’ll be done in hardly any time at all!
- Access the Recovery Drive Tool:The easiest way to find the tool is by using the Windows search bar. Click the search icon on your taskbar (or the Start button) and type “create a recovery drive.” You should see the “Create a recovery drive” option appear. Click on it to open the wizard.
- The Recovery Drive Wizard Opens:When the wizard opens, you’ll see a welcome screen. There’s an option that says “Back up system files to the recovery drive.” It’s generally a good idea to keep this checked. This will include more files on your recovery drive, making it more capable of fixing a wider range of issues without needing to download files from the internet later. Click “Next” to proceed.
- Select Your USB Drive:Now, connect your USB flash drive to your computer if you haven’t already. The wizard will scan for available drives. Select the USB drive you want to use from the list. Remember, all data on it will be erased. Double-check that you’ve selected the correct drive!Important Note: If your USB drive doesn’t appear, double-check that it’s properly plugged in. You might also need to try a different USB port. If it’s still not showing up, ensure it’s formatted correctly (usually FAT32 or NTFS works fine, but Windows will handle this). There may be an issue with the drive itself.
- The Wizard Prepares and Copies Files:Click “Next.” The tool will now prepare your USB drive. This involves formatting it and copying all the necessary system files. This step can take a while – anywhere from 15 minutes to over an hour, depending on the speed of your USB drive and your computer.You’ll see a progress bar indicating how far along the process is. It’s best to let this run without interruption. Don’t unplug the USB drive or shut down your computer.
- Completion of the Process:Once the files have been copied, you’ll see a confirmation screen that says “The recovery drive is ready.” Congratulations, you’ve successfully created your Windows 10 recovery drive!You might also see an option to “Delete recovery partition.” This is usually related to the factory recovery partition that came with your PC, and often you can safely delete it to save disk space if you have successfully created your USB recovery drive. However, for maximum safety, especially if you are unsure, you can skip this option.
- Finish Up:Click the “Finish” button. Your USB drive is now ready to be used as a recovery tool should you ever need it. It’s a good idea to label your USB drive with a marker, perhaps saying “Windows 10 Recovery Drive,” so you can easily identify it later.
What If I Don’t Have Enough Space on My USB?
If you encounter an error message stating that there isn’t enough space on your USB drive, you’ll need to use a larger one. As mentioned, 16 GB is the minimum. If you have a flash drive smaller than that, it simply won’t hold all the necessary files. Try a 32 GB or even a 64 GB drive to be on the safe side. Ensure no other important data is on the drive you choose, as it will be erased.
How to Use Your Recovery Drive When Windows Won’t Start
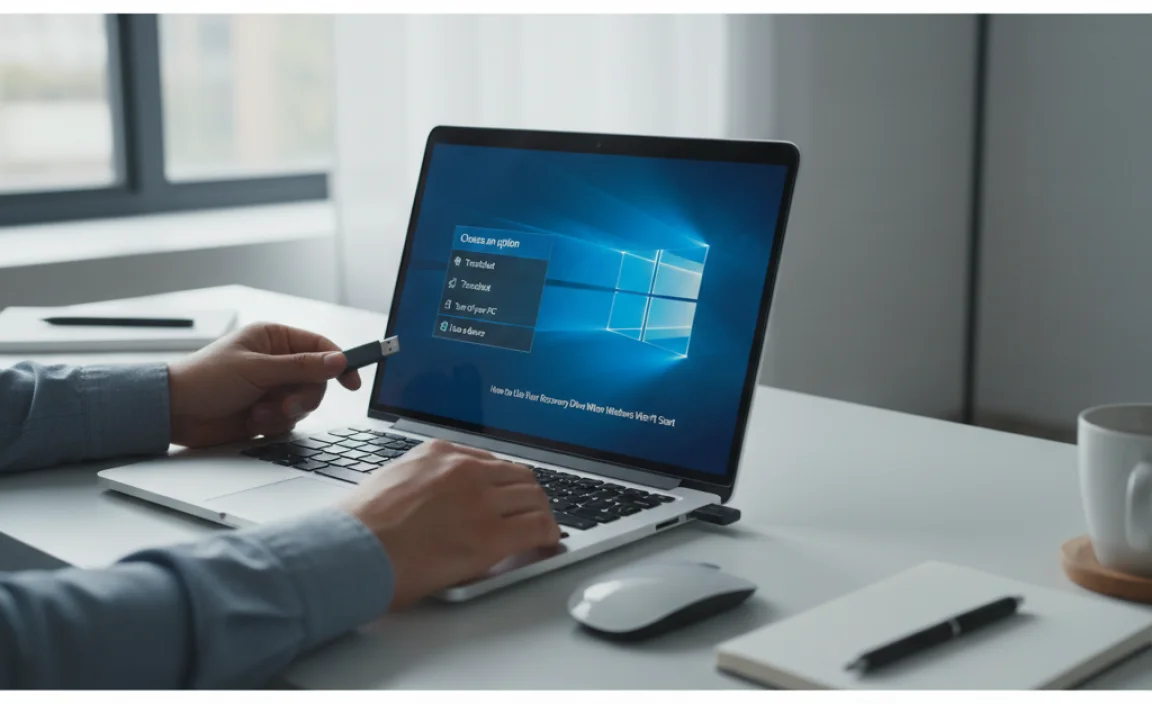
Creating the drive is only half the battle; knowing how to use it is key. If your Windows 10 PC refuses to boot normally, here’s how to use your new recovery drive:
- Plug in Your Recovery Drive:Connect your newly created recovery drive to a USB port on your computer. If your computer is already turned on, shut it down completely.
- Boot from the USB Drive:Turn on your computer. As soon as it starts to boot, you need to press a specific key to enter your computer’s BIOS or UEFI settings, or its Boot Menu. This key varies by manufacturer but is commonly one of these: F2, F10, F12, DEL, or ESC. Watch your screen closely during startup; it often flashes a message like “Press [Key] to enter Setup” or “Press [Key] for Boot Options.”Once you’re in the BIOS/UEFI or Boot Menu, you’ll need to change the boot order so that your computer tries to start from the USB drive before the internal hard drive. Look for a “Boot” or “Boot Order” section, and move your USB drive to the top of the list. Save your changes and exit the BIOS/UEFI.Tip: If you can access the Boot Menu directly (often F12), you can often just select your USB drive from the list without changing the permanent boot order.
- Follow the Prompts:Your computer should now boot from the USB drive. You might see a prompt asking you to “Press any key to boot from USB.” Do so.Next, you may need to select your keyboard layout and language settings. After that, you should see a screen saying “Choose an option.”
- Navigate to Troubleshooting ToolsFrom the “Choose an option” screen, select Troubleshoot.On the next screen, you’ll see several options:
- Reset this PC: This option reinstalls Windows 10. You can choose to keep your files or remove everything.
- Advanced options: This is where you’ll find tools like Startup Repair, System Restore, Command Prompt, UEFI Firmware Settings, and the option to “Create a recovery drive” (though you’ve already done that!).
- Select the Right Tool:For most startup issues, Startup Repair is the first thing to try. If that doesn’t work, or if you need to undo recent changes, System Restore can be very helpful. If you’re comfortable with more advanced steps, the Command Prompt can be used for manual repairs.If all else fails, or if your system is severely corrupted, you can use the Reset this PC option. Remember this will reinstall Windows, so decide whether to keep your files or perform a clean removal.
Creating a Recovery Drive vs. A System Image
It’s easy to confuse a recovery drive with a system image, but they serve different purposes. Understanding the difference helps you choose the right tool for your backup and recovery strategy.
| Feature | Recovery Drive | System Image |
|---|---|---|
| Purpose | Booting your PC to access recovery tools and reinstall Windows. | A complete snapshot of your entire drive (Windows, settings, programs, files). |
| What it contains | Essential Windows recovery files and tools. | An exact copy of your system partition(s) as they were when the image was created. |
| Size Requirement | Typically 16 GB+ USB drive. | Much larger, usually requiring an external hard drive or multiple DVDs. |
| Usage Scenario | When Windows won’t boot, or you need to access advanced repair options. | Restoring your system to a previous state after a major failure, hardware change, or corruption. |
| Ease of Creation | Very easy, built-in Windows tool. | Slightly more complex, also a built-in tool, but requires more storage. |
While a recovery drive helps you get your system running again by providing an environment to perform repairs or reinstall Windows, a system image is like a full backup. If you want a complete restore point, a system image is better. However, the recovery drive is essential for boot failures and is much simpler to create and store.
Security Considerations for Your Recovery Drive
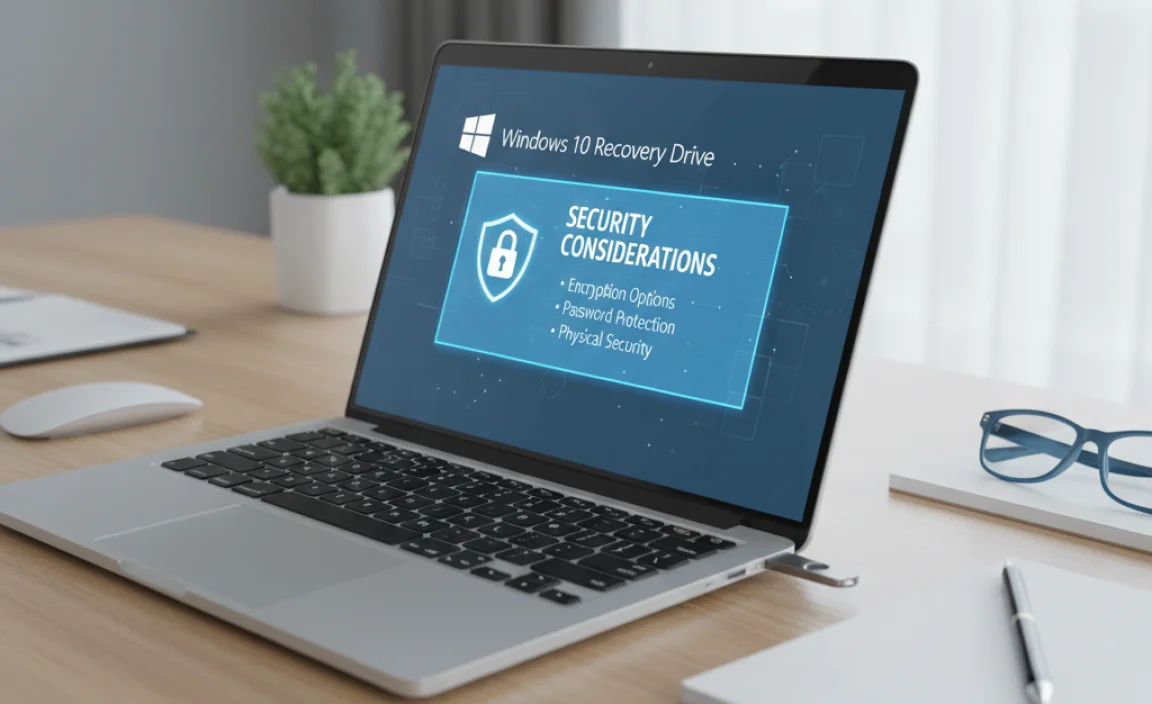
Your recovery drive is not a place to store sensitive personal data. It contains bootable system files. When you create it, Windows ensures these files are legitimate and from Microsoft. Treat it like any other piece of computer hardware that you store.
- Physical Security: Keep your recovery drive in a safe place where it won’t be lost or damaged. If it falls into the wrong hands, someone could potentially use it to attempt to boot from your PC and access recovery options.
- No Personal Data: Never save your personal documents, photos, or sensitive files onto the recovery drive. It’s designed for system recovery only.
- Regular Updates: While the recovery drive itself doesn’t typically need “updating” in the way software does, Microsoft periodically releases updates for Windows 10. If you encounter significant system problems after major Windows updates, it’s a good idea to consider re-creating your recovery drive to ensure it contains the latest recovery files. You can do this by following the same steps outlined above.
Microsoft’s Support for Recovery Tools
Microsoft provides excellent documentation for all its tools, including recovery drives. If you ever need more detailed information or run into specific error codes, their official support pages are the best place to look. For instance, you can find comprehensive troubleshooting guides on the Microsoft Support website. These resources are invaluable!
Tips for Managing Your Recovery Drive
Keeping your recovery drive in good shape is simple with a few habits:
- Label Clearly: As mentioned, a clear label helps you identify it.
- Test It (Carefully): You can technically boot from it and access the recovery menu to see if it works. However, be careful not to perform any actions that might alter your system if your PC is currently working fine.
- Recreate if Necessary: If you’ve recently performed a major Windows update or significant system changes, consider creating a new recovery drive to ensure it’s up-to-date.
- Store it Safely: Keep it in a drawer, a safe place, or with other important computer accessories.
Common Driver and System Issues a Recovery Drive Can Help With
Here are some scenarios where your recovery drive can be a lifesaver:
Boot Failures: Windows fails to start, showing errors like “Bootmgr is missing” or a black screen.
Driver Conflicts: A recently updated or installed driver causes Windows to crash or fail to boot.
Windows Update Problems: A failed or corrupted Windows update leaves your system in an unbootable state.
Malware Infections: In severe cases, malware can corrupt critical system files, preventing Windows from starting.
* Hard Drive Errors: While not a direct fix for hardware failure, it can help if a corrupt file system on the hard drive is preventing boot-up.
Frequently Asked Questions
Q: How often should I recreate my recovery drive?
A: You don’t need to recreate it daily! It’s a good idea to create a new one after significant Windows feature updates (like moving from Windows 10 21H2 to 22H2) or if you start experiencing persistent system issues that suggest your existing recovery media might be outdated. Otherwise, the drive remains valid for a long time.
Q: Can I use my recovery drive on another computer?
A: Generally, no. Recovery drives are typically tied to the specific version and build of Windows installed on the computer for which they were created. They support the hardware drivers and system files for that particular machine. Trying to use it on a different PC may not work or could lead to unexpected problems.
Q: Does creating a recovery drive back up my files?
A: No, it does not back up your personal files (documents, photos, etc.). It only contains the necessary files to boot into the recovery environment to troubleshoot, repair, or reinstall Windows. For file backup, you should use other methods like File History, cloud storage, or creating a full system image.
Q: What happens if my USB drive gets corrupted?
A: If your USB drive becomes corrupted, it won’t be detectable or usable by the recovery tool. You’ll need to reformat it (if possible) or get a new USB drive and create a fresh recovery drive following the steps in this guide.
Q: Is it worth it to include system files on the recovery drive?
A: Yes, absolutely! Checking the box to “Back up system files to the recovery drive” creates a more robust tool. It means your recovery drive can help reinstall Windows without needing to download files from Microsoft’s servers, which is a huge advantage if you’re troubleshooting a PC with no internet access.
Q: Can I make a recovery drive if my Windows 10 is already broken?
A: You can only create a recovery drive from a working Windows 10 installation. If your Windows 10 is already broken and not booting, you will need to use a different working computer to create the recovery drive and then use that drive on the broken computer.
Conclusion: Your PC is Now More Resilient!
You’ve done it! By following these simple steps, you’ve successfully created a recovery drive for your Windows 10 PC. This isn’t just a technical task; it’s a proactive step toward ensuring your digital life remains as smooth as possible. Knowing you have this tool at your disposal can give you a real sense of confidence and control over your computer.
Remember, technology can be unpredictable, but being prepared can turn a potentially stressful situation into a manageable one. Your new recovery drive is your safety net, ready to help you tackle those frustrating boot issues and get your system back on track. So, store it safely, and rest easy knowing you’ve taken a smart step to protect your Windows 10 experience. Happy computing!
.lwrp.link-whisper-related-posts{
margin-top: 40px;
margin-bottom: 30px;
}
.lwrp .lwrp-title{
}.lwrp .lwrp-description{
}
.lwrp .lwrp-list-container{
}
.lwrp .lwrp-list-multi-container{
display: flex;
}
.lwrp .lwrp-list-double{
width: 48%;
}
.lwrp .lwrp-list-triple{
width: 32%;
}
.lwrp .lwrp-list-row-container{
display: flex;
justify-content: space-between;
}
.lwrp .lwrp-list-row-container .lwrp-list-item{
width: calc(25% – 20px);
}
.lwrp .lwrp-list-item:not(.lwrp-no-posts-message-item){
max-width: 150px;
}
.lwrp .lwrp-list-item img{
max-width: 100%;
height: auto;
object-fit: cover;
aspect-ratio: 1 / 1;
}
.lwrp .lwrp-list-item.lwrp-empty-list-item{
background: initial !important;
}
.lwrp .lwrp-list-item .lwrp-list-link .lwrp-list-link-title-text,
.lwrp .lwrp-list-item .lwrp-list-no-posts-message{
}@media screen and (max-width: 480px) {
.lwrp.link-whisper-related-posts{
}
.lwrp .lwrp-title{
}.lwrp .lwrp-description{
}
.lwrp .lwrp-list-multi-container{
flex-direction: column;
}
.lwrp .lwrp-list-multi-container ul.lwrp-list{
margin-top: 0px;
margin-bottom: 0px;
padding-top: 0px;
padding-bottom: 0px;
}
.lwrp .lwrp-list-double,
.lwrp .lwrp-list-triple{
width: 100%;
}
.lwrp .lwrp-list-row-container{
justify-content: initial;
flex-direction: column;
}
.lwrp .lwrp-list-row-container .lwrp-list-item{
width: 100%;
}
.lwrp .lwrp-list-item:not(.lwrp-no-posts-message-item){
max-width: initial;
}
.lwrp .lwrp-list-item .lwrp-list-link .lwrp-list-link-title-text,
.lwrp .lwrp-list-item .lwrp-list-no-posts-message{
};
}
Related Posts
Touch Monitors for Windows 10: Best Buy- Shortcut Key for Full Screen in Windows 10: Amazing Tips
- Download Google Chrome For Windows 10: Proven Steps
- Free Download of DVD Player for Windows 10: Essential Guide

Ubuntu Broadcom Webcam Driver: Effortless Fix
Canon Audio Driver: Offline Chromebook
Free Windows 10? Get Yours Now!- Download Asus WiFi Latest Driver for Ubuntu 32-Bit