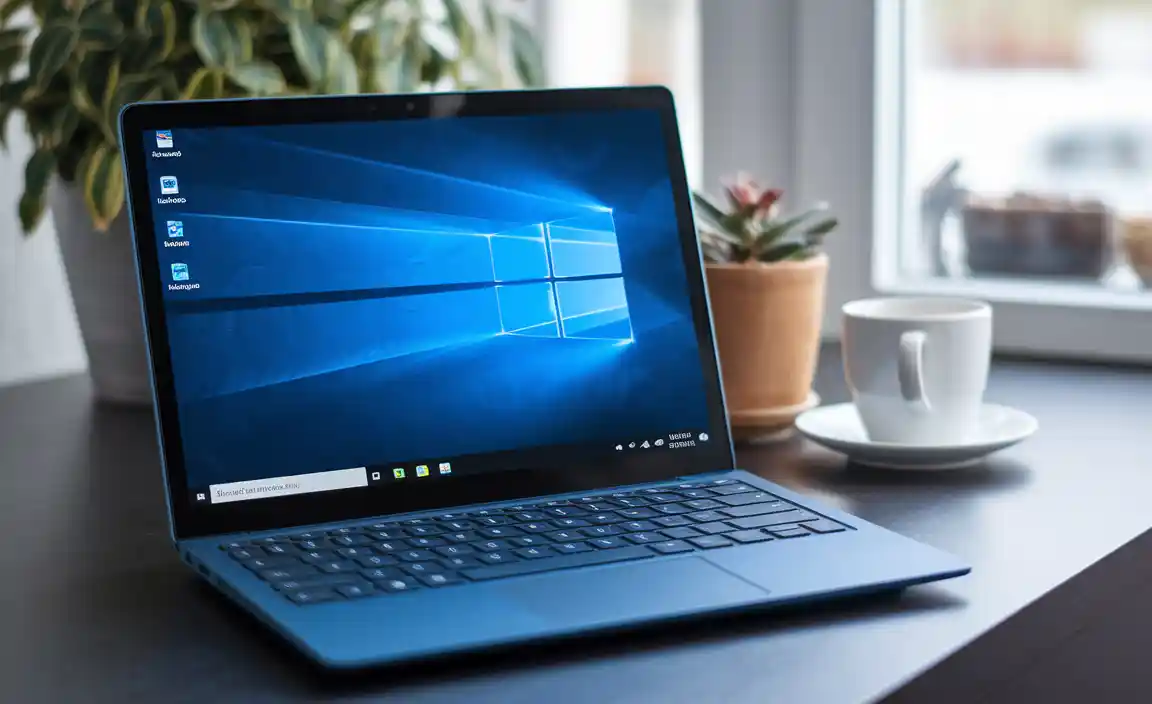
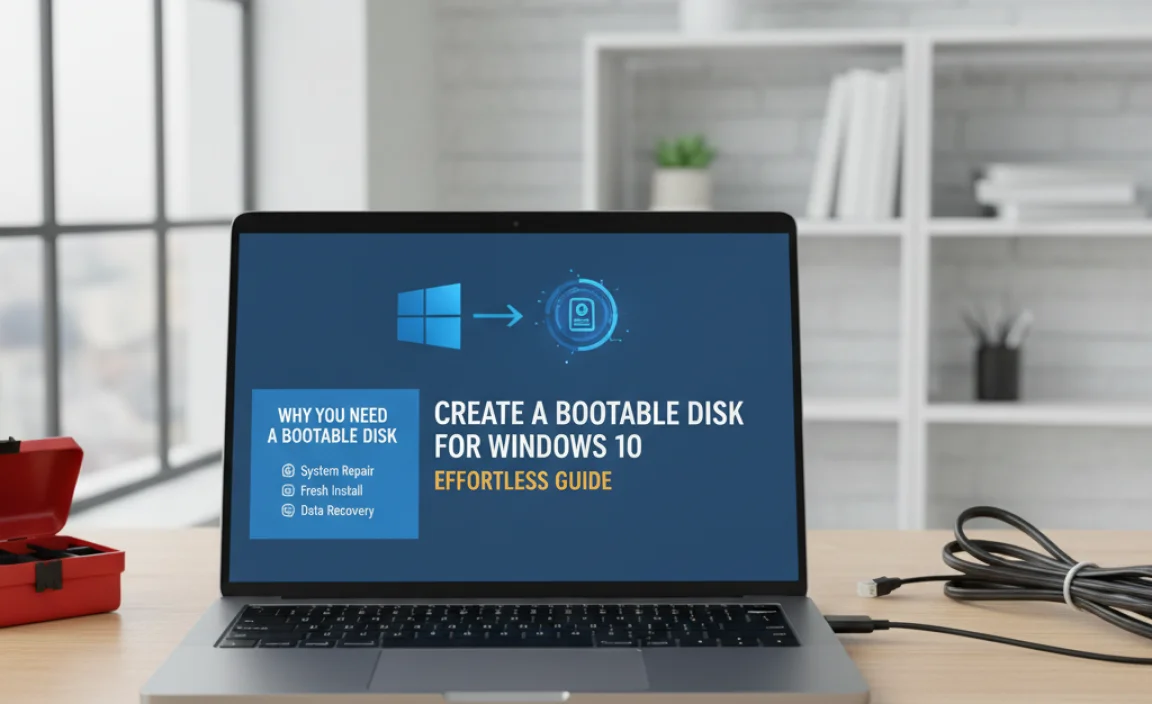
Creating a bootable disk for Windows 10 is straightforward. You’ll need a USB drive and Microsoft’s Media Creation Tool. This guide walks you through the simple process step-by-step, ensuring you can install or repair Windows 10 with confidence, even if you’re new to technology.
Ever faced a computer problem that meant you needed to reinstall Windows 10? It can sound daunting, right? Many folks get anxious just thinking about it. The good news is that creating your own Windows 10 bootable disk isn’t nearly as tricky as it sounds. It’s a super handy tool to have in your tech toolbox.
It helps you fix stubborn issues, start fresh with a clean installation, or even upgrade your system. This article will break down exactly how to do it, step-by-step. No confusing tech talk, just clear instructions so you can get your PC back in shape.
Why You Need a Windows 10 Bootable Disk
Think of a bootable disk as a digital Swiss Army knife for your computer. It’s a USB drive or DVD (though USB is much more common and faster nowadays) that contains all the necessary files to start your computer and install or repair Windows 10. You might need one for several reasons:
- Installing Windows 10 on a new PC: If you’ve built your own computer or bought one without an operating system, a bootable disk is your ticket to getting Windows up and running.
- Reinstalling Windows 10: If your current Windows installation is bogged down with errors, viruses, or just running too slowly, a clean install can breathe new life into your PC. A bootable disk makes this process possible.
- Repairing a problematic Windows 10 installation: Sometimes, Windows 10 can get into a state where it won’t start up correctly. A bootable disk offers advanced startup options to help diagnose and fix these issues without a full reinstallation.
- Upgrading to a newer version: While Windows 10 often updates automatically, a bootable disk can be useful for performing a major feature update or moving from an older Windows version.
Having this tool ready means you’re prepared for almost any Windows 10 emergency. It empowers you to take control and fix things yourself, saving you time and potential repair costs.
What You’ll Need
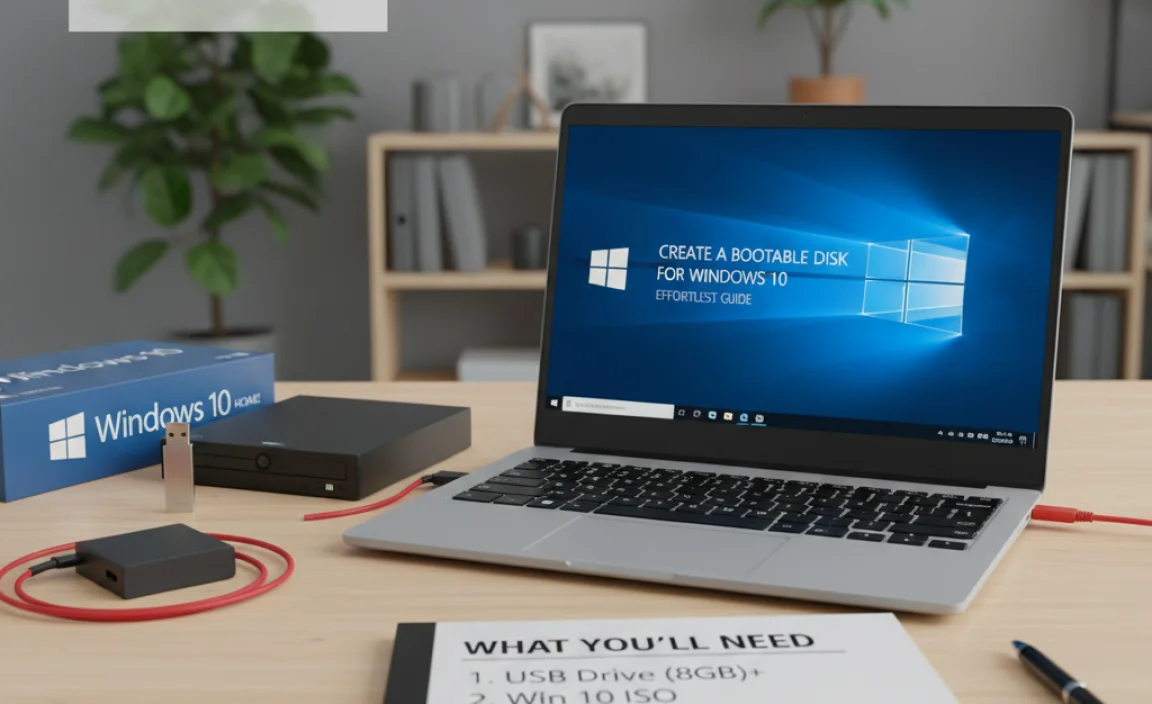
Before you can create your bootable disk, gather these essential items:
- A USB flash drive: This is the most common and recommended method. Make sure it has at least 8GB of storage. IMPORTANT: Any data currently on the USB drive will be erased during the process, so back up anything important from it first!
- A reliable internet connection: You’ll need to download the Windows 10 installation files from Microsoft.
- A working Windows PC: You’ll use this PC to download the tool and create the bootable USB drive.
That’s it! You don’t need any special software beyond what Microsoft provides for free.
Step-by-Step Guide: Creating Your Bootable USB Drive

Microsoft makes this process incredibly simple with their official tool. Here’s how to do it:
Step 1: Download the Media Creation Tool
First, head over to the official Microsoft website to download the Windows 10 Media Creation Tool. You can usually find it by searching for “Download Windows 10” on your preferred search engine, or by going directly to the Microsoft download page for Windows 10. Look for the “Download tool now” button under the “Create Windows 10 installation media” section.
Official Microsoft Download Page for Windows 10
Once you click the button, a file named something like MediaCreationToolXXXX.exe (where XXXX represents the version number) will start downloading.
Step 2: Run the Media Creation Tool
Locate the downloaded file on your computer (usually in your Downloads folder) and double-click it to run it. You might see a User Account Control (UAC) prompt asking if you allow the app to make changes to your device; click “Yes” to proceed.
The tool will then take a moment to get things ready. You’ll need to accept the Microsoft license terms. Read them through (or at least scroll to the bottom!) and click “Accept” if you agree.
Step 3: Choose What You Want to Do
You’ll be presented with a choice: “Upgrade this PC now” or “Create installation media (USB flash drive, DVD, or ISO file) for another PC.” Since we want to create a bootable disk for future use on any PC, select the second option: “Create installation media (USB flash drive, DVD, or ISO file) for another PC” and click “Next”.
Step 4: Select Language, Edition, and Architecture
The tool will now ask you to choose your language, edition, and architecture for Windows 10. By default, it will recommend options based on the PC you’re currently using. If you’re creating the bootable media for the same type of installation (e.g., upgrading the same PC later), you can leave the “Use the recommended options for this PC” box checked.
However, if you need to create media for a different setup (e.g., a 32-bit version on a 64-bit PC, or a different language), uncheck that box. Then, select your desired:
- Language
- Edition (usually “Windows 10” which includes Home and Pro editions)
- Architecture (64-bit is standard for most modern computers; 32-bit is for older machines or specific use cases).
Click “Next” when you’re done.
Step 5: Choose Your Media Type
Now, you’ll choose what kind of media you want to create. You have two main options:
- USB flash drive: This is highly recommended. It’s fast, reusable, and the most common way to install Windows.
- ISO file: This option downloads an ISO image file. You would then need to use a separate tool (like Rufus, or even some burning software) to burn this ISO onto a DVD or another USB. For simplicity, we’ll focus on the USB flash drive.
Select “USB flash drive” and click “Next”.
Step 6: Select Your USB Drive
Plug your USB flash drive (remember, at least 8GB and backed up!) into your computer. The Media Creation Tool will list all the removable drives it detects. Select the correct USB drive from the list. Double-check that you’ve chosen the right one, as all data on it will be erased in the next step.
Click “Next”.
Step 7: Downloading and Creating
This is where the tool does the heavy lifting. It will now download the latest Windows 10 installation files from Microsoft’s servers and automatically write them to your USB drive, making it bootable. This process can take a while, depending on your internet speed and the speed of your USB drive. You’ll see a progress percentage.
Be patient! Don’t close the tool or unplug your USB drive. Once it’s finished, you’ll see a message stating, “Your USB flash drive is ready.”
Click “Finish”.
And there you have it! You’ve successfully created a bootable Windows 10 USB drive.
Using Your Bootable USB Drive
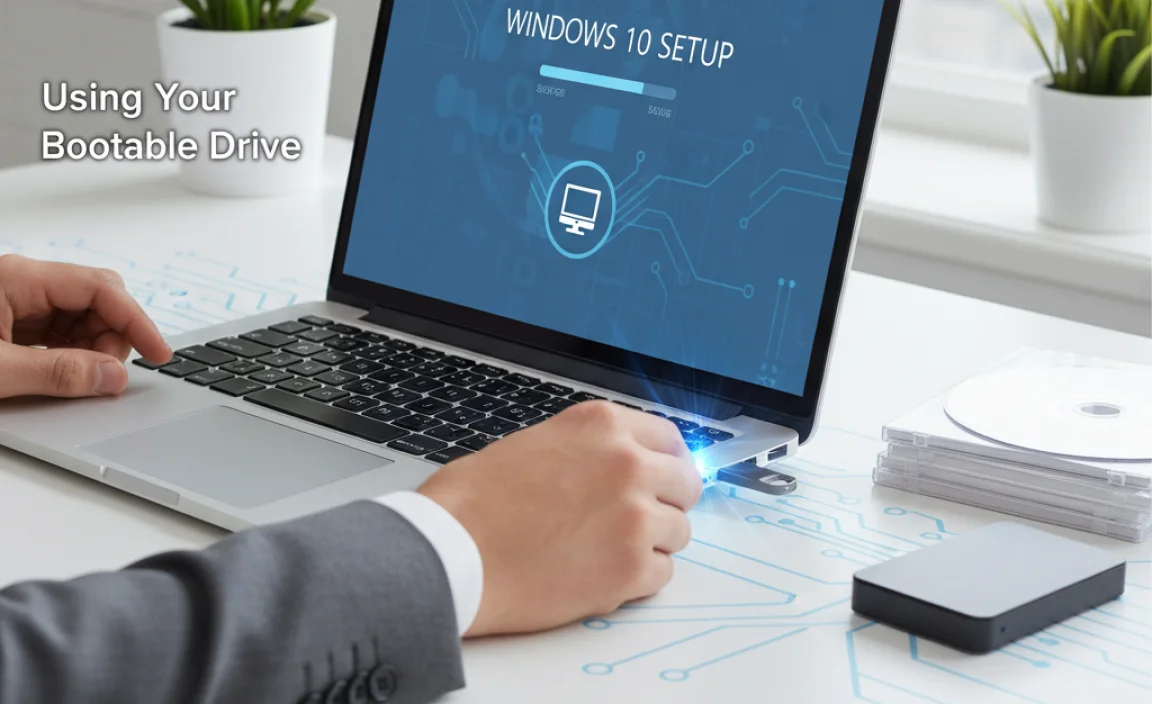
Now that you have your bootable USB drive, how do you actually use it? This involves telling your computer to start (or “boot”) from the USB drive instead of its regular hard drive.
Step 1: Accessing Your BIOS/UEFI Settings
This is the trickiest part for many beginners, as the key to press varies between computer manufacturers. Most computers show a brief message on the screen when you first turn them on, indicating which key to press to enter Setup, BIOS, or UEFI settings. Common keys include:
- Delete (Del)
- F2
- F10
- F12
- Esc
You’ll need to press this key repeatedly as soon as you power on your PC, before the Windows logo appears.
Tip: If you miss the window, restart your computer and try again. You can also search online for “[Your Computer Brand/Model] BIOS key” or “[Your Motherboard Brand/Model] BIOS key” if you’re building your own PC.
Step 2: Changing the Boot Order
Once you’re in the BIOS/UEFI settings, look for a section related to “Boot,” “Boot Order,” “Boot Priority,” or “Boot Device.” The exact wording and layout vary significantly.
You’ll see a list of devices your computer can boot from (e.g., Hard Drive, CD/DVD Drive, USB Drive). Use your keyboard arrow keys (and sometimes Page Up/Page Down keys) to move the “USB Drive” (it might be listed by its brand name, or as “USB-HDD,” “Removable Device,” etc.) to the top of the list. This tells your computer to try booting from the USB drive first.
Important Note for Newer PCs (UEFI): Some newer PCs use UEFI instead of traditional BIOS. In UEFI settings, you might find an explicit “Boot Manager” or a list of boot options where you can select your USB drive. Some UEFI systems also have a “Secure Boot” feature that might need to be temporarily disabled if you encounter issues booting from certain USBs, though usually it’s not necessary for a Microsoft-created drive.
Step 3: Save and Exit
After changing the boot order, find the option to “Save Changes and Exit” (often mapped to the F10 key, but check your screen’s legend). Confirm that you want to save the changes.
Your computer will restart. If you’ve set the boot order correctly, it should now boot from your Windows 10 USB drive. You might see a message like “Press any key to boot from USB…” – if you do, press any key quickly.
The Windows 10 Setup Process
Once your computer boots from the USB drive, you’ll see the Windows Setup screen. This is where you’ll choose your language, time format, and keyboard input. Click “Next.”
On the next screen, you’ll see two primary options:
- “Install now”: Click this to begin a clean installation or upgrade.
- “Repair your computer”: Click this if you’re trying to fix an existing Windows installation. This will take you to the Windows Recovery Environment (WinRE), where you can access tools like Startup Repair, System Restore, Command Prompt, and more.
Performing a Clean Installation
If you choose “Install now,” you’ll be prompted to enter your Windows product key. If you’re reinstalling Windows 10 on a computer that was previously activated, you can often click “I don’t have a product key,” and Windows will activate automatically later by linking to your hardware.
Next, select the edition of Windows 10 you want to install (e.g., Windows 10 Home, Windows 10 Pro). Make sure it matches the edition you previously had or the license you own.
You’ll then need to accept the license terms.
The most crucial step for a clean install is choosing the installation type. You’ll see:
- Upgrade: Install Windows and keep files, settings, and applications. (This option is only available if you’re running the setup from within an existing Windows installation, not when booting from the USB.)
- Custom: Install Windows only (advanced). This is the option you want for a clean install.
Click “Custom.”
You’ll then see a list of all the drives and partitions on your computer. This is where you’ll select where to install Windows 10. For a true clean install, you’ll typically want to:
- Select your primary Windows partition (usually labeled “Primary” and the largest one where your current Windows is installed).
- Click “Delete” to remove that partition. (Repeat for any related system partitions if prompted, but be cautious and make sure you’re deleting the correct ones!).
- Select the unallocated space that appears where those partitions used to be.
- Click “Next.” Windows will create the necessary partitions for you and begin the installation.
WARNING: Deleting partitions will erase ALL data on them. Make ABSOLUTELY sure you have backed up any important files from your computer before proceeding with this step if you intend to perform a clean install that involves deleting partitions.
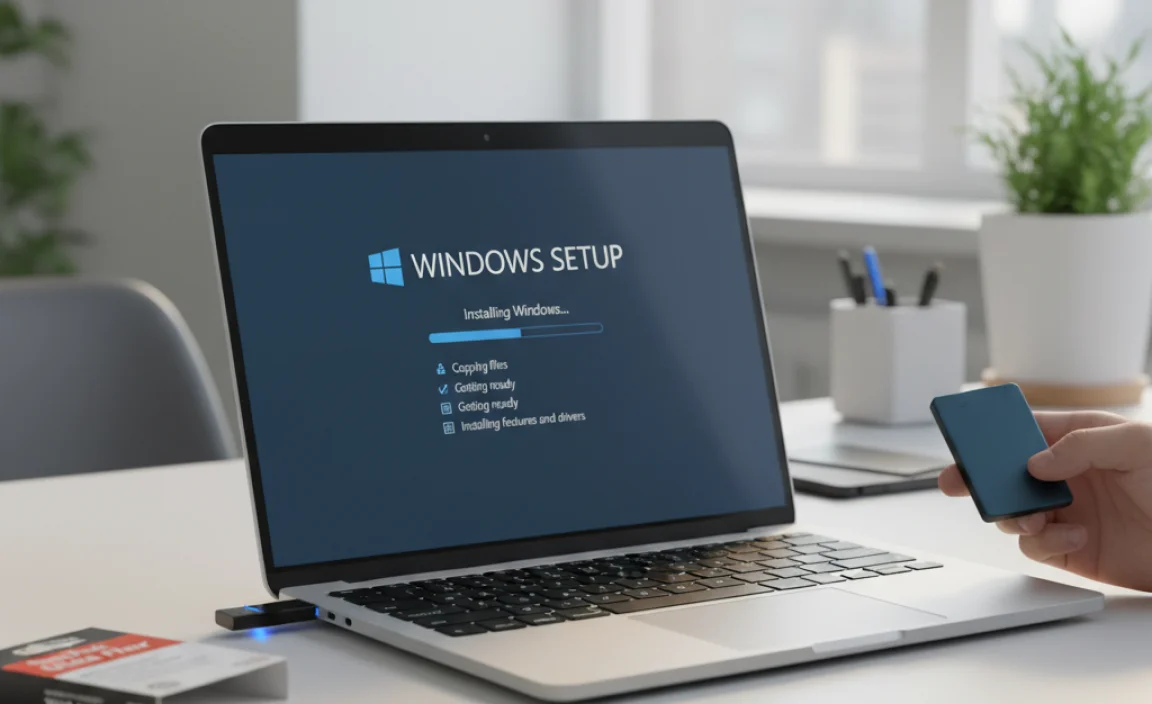
Windows will now install. Your computer will restart several times during this process. When prompted, remove the USB drive so the computer boots from the hard drive again to complete the setup.
Using Repair Options
If you clicked “Repair your computer” from the initial setup screen, you’ll enter the Windows Recovery Environment (WinRE). This is a powerful set of tools:
- Startup Repair: Attempts to automatically fix common problems that prevent Windows from starting.
- System Restore: Lets you revert your PC’s system files to an earlier point in time when things were working correctly (requires restore points to have been created).
- Command Prompt: For advanced users to run commands, check disk errors (using `chkdsk`), or manually troubleshoot.
- Uninstall Updates: If a recent Windows update is causing problems, you can try uninstalling the latest Quality or Feature update.
- Reset this PC: Similar to a clean install, but can be initiated from WinRE. You can choose to keep your files or remove everything.
These repair options can often save you from a full reinstallation, so it’s always worth trying them first if your PC isn’t booting properly.
Troubleshooting Common Issues
While the Media Creation Tool is reliable, sometimes things don’t go as planned. Here are a few common hiccups and how to fix them:
| Problem | Possible Solution |
|---|---|
| USB drive not detected by Media Creation Tool | Ensure the USB drive is properly plugged in. Try a different USB port. Try a different USB drive (ensure it’s 8GB+). Restart your PC and run the tool again. |
| “We couldn’t create a bootable USB” error | This can happen due to a faulty USB drive, insufficient space (though 8GB is usually enough), or a temporary download issue. Try re-downloading the tool. Use a different USB drive. Ensure your internet connection is stable. If using an ISO, try a tool like Rufus for more control. |
| Computer won’t boot from USB (BIOS/UEFI issue) | Double-check your BIOS/UEFI settings carefully. Ensure USB booting is enabled. Try setting it as the first boot device. For UEFI systems, ensure Secure Boot isn’t interfering (though usually not an issue with official media). Some older systems might require specific USB boot settings to be enabled. Try a different USB drive if one seems problematic. |
| “Missing operating system” or similar error after booting from USB | This often indicates the USB drive wasn’t created correctly or the BIOS/UEFI settings aren’t quite right for booting from it. Recreate the bootable USB. Re-verify your BIOS/UEFI boot order. For MBR vs GPT issues, certain BIOS settings might influence this. |
| Installation stuck or errors during Windows setup | Ensure your USB drive is healthy and the download was complete. Check if your system meets the minimum hardware requirements for Windows 10. If you’re installing on an older PC, ensure drivers for your SATA/NVMe controller are available (though Windows setup usually handles this). Try re-creating the bootable USB. Ensure your PC’s internal storage (SSD/HDD) is in good health. You can even try booting into WinRE from the USB and running `chkdsk` on the target drive. |
For more specific troubleshooting, Microsoft’s support pages are an excellent resource. You can often find articles detailing error codes or common setup problems.
Driver Management After Installation
Once Windows 10 is installed, your system needs its drivers to communicate with hardware like your graphics card, sound card, network adapter, and more. Windows Update usually installs many basic drivers automatically, which is often sufficient for everyday use.
How Windows Update Helps
Windows Update is a key component for driver management. After a clean install:
- Connect your PC to the internet (preferably via Ethernet cable if Wi-Fi drivers aren’t installed yet).
- Go to Settings > Update & Security > Windows Update.
- Click “Check for updates.”
Windows will download and install available driver updates, along with Windows updates. This is the most straightforward and secure way to get drivers for most users.
When to Get Drivers from the Manufacturer
Sometimes, Windows Update misses critical or the latest drivers, especially for graphics cards, chipsets, or specialized hardware (like gaming peripherals or printers). In these cases, it’s best to visit the manufacturer’s website directly:
- Graphics Cards: NVIDIA, AMD, Intel.
- Motherboards: Check your motherboard manufacturer’s support page (e.g., ASUS, Gigabyte, MSI, ASRock).
- Laptops: Visit the laptop manufacturer’s support page (e.g., Dell, HP, Lenovo, Acer). They often have specific driver packages for your exact model.
- Other Peripherals: Check the website for the manufacturer of your specific device.
Security Tip: Only download drivers from official manufacturer websites. Avoid third-party driver update tools, as they can sometimes install incorrect or even malicious drivers, putting your system at risk.
Security Considerations
When you’re reinstalling or repairing your system, keeping security in mind is crucial. Here are some best practices:
- Download from Official Sources: As stressed before, always get the Media Creation Tool and any drivers directly from Microsoft or hardware manufacturers’ official websites.
- Use a Firewall: Windows Firewall is enabled by default and is quite effective. Ensure it’s active.
- Strong Antivirus Software: If you’re doing a clean install, install your preferred antivirus software right after Windows setup is complete, before browsing or logging into sensitive accounts.
- Regular Windows Updates: After installation, keep Windows Update running. Microsoft regularly releases security patches that protect against new threats. According to CISA (Cybersecurity & Infrastructure Security Agency), staying updated is a key defense.
- Be Wary of Suspicious Links/Downloads: Even after a clean install, the same online threats exist. Think before you click any links or download files from unknown sources.
A new, clean installation can be a great opportunity to ensure your system is secure from the ground up.
Frequently Asked Questions (FAQ)
Q1: Can I use the same bootable USB for Windows 10 and Windows 11?
A1: No, the Media Creation Tool creates a bootable USB for the specific version you select (Windows 10 in this case). If you want to install Windows 11, you’ll need to download the Windows 11 Media Creation Tool separately.
Q2: How long does the process of creating a bootable USB take?
A2: It depends heavily on your internet speed for downloading the files and the speed of your USB drive. Downloading can take anywhere from 20 minutes to over an hour. The writing process to the USB is usually faster, perhaps 10-30 minutes.
Q3: I don’t have a product key. Can I still create and install Windows 10?
A3: Yes, if you’re reinstalling Windows 10 on a PC that was previously activated, you can select “I don’t have a product key” during setup. Windows will automatically activate online by recognizing your hardware. If it’s a brand new PC or you’re installing a different edition, you will need a valid product key.
Q4: What’s the difference between a USB flash drive and an ISO file in the Media Creation Tool?
A4: The USB flash drive option directly formats and copies the Windows files onto your USB, making it bootable. An ISO file is a single disc image file of the installation media. You’d then need to use another program (like Rufus or third-party DVD burning software) to create a bootable USB or DVD from that ISO file.
Q5: Will creating a bootable USB wipe my current operating system and files?
A5: Creating the bootable USB itself (using the Media Creation Tool) only erases data on the USB drive. However, the installation process using that USB drive can wipe your computer’s internal drive and all its data if you choose to do a clean install and delete partitions. Always back up your data!
Q6: Can I use this bootable USB to upgrade my current Windows 10 to a newer version?
A6: You can use it for major version upgrades. If you run the setup from within your current Windows 10, you’ll see an “Upgrade” option. If you boot from the USB (which is generally for clean installs or repairs), you’d typically choose “Custom” to install Windows 10, which overwrites the existing system.
Conclusion
Creating a bootable USB for Windows 10 is an incredibly useful skill that puts you in charge of your computer’s well-being. With Microsoft’s free Media Creation Tool and this straightforward guide, you can prepare your installation media with confidence. Whether you’re performing a fresh install to speed up an aging PC, recovering from a frustrating error, or setting up a new machine, having this tool ready means you’re prepared.
Remember to always back up your essential data before any major installation or repair, and prioritize downloading software and drivers only from official, trusted sources. By following these steps, you’re not just creating a tool; you’re gaining the power to manage your Windows experience more effectively, securely, and confidently. You’ve got this!
.lwrp.link-whisper-related-posts{
margin-top: 40px;
margin-bottom: 30px;
}
.lwrp .lwrp-title{
}.lwrp .lwrp-description{
}
.lwrp .lwrp-list-container{
}
.lwrp .lwrp-list-multi-container{
display: flex;
}
.lwrp .lwrp-list-double{
width: 48%;
}
.lwrp .lwrp-list-triple{
width: 32%;
}
.lwrp .lwrp-list-row-container{
display: flex;
justify-content: space-between;
}
.lwrp .lwrp-list-row-container .lwrp-list-item{
width: calc(25% – 20px);
}
.lwrp .lwrp-list-item:not(.lwrp-no-posts-message-item){
max-width: 150px;
}
.lwrp .lwrp-list-item img{
max-width: 100%;
height: auto;
object-fit: cover;
aspect-ratio: 1 / 1;
}
.lwrp .lwrp-list-item.lwrp-empty-list-item{
background: initial !important;
}
.lwrp .lwrp-list-item .lwrp-list-link .lwrp-list-link-title-text,
.lwrp .lwrp-list-item .lwrp-list-no-posts-message{
}@media screen and (max-width: 480px) {
.lwrp.link-whisper-related-posts{
}
.lwrp .lwrp-title{
}.lwrp .lwrp-description{
}
.lwrp .lwrp-list-multi-container{
flex-direction: column;
}
.lwrp .lwrp-list-multi-container ul.lwrp-list{
margin-top: 0px;
margin-bottom: 0px;
padding-top: 0px;
padding-bottom: 0px;
}
.lwrp .lwrp-list-double,
.lwrp .lwrp-list-triple{
width: 100%;
}
.lwrp .lwrp-list-row-container{
justify-content: initial;
flex-direction: column;
}
.lwrp .lwrp-list-row-container .lwrp-list-item{
width: 100%;
}
.lwrp .lwrp-list-item:not(.lwrp-no-posts-message-item){
max-width: initial;
}
.lwrp .lwrp-list-item .lwrp-list-link .lwrp-list-link-title-text,
.lwrp .lwrp-list-item .lwrp-list-no-posts-message{
};
}