Have you ever wanted to run different operating systems on your computer? If so, you might be interested in VMware. It allows you to create and manage virtual machines easily. But what is VMware, and how can you get it? This article will guide you through the steps to download VMware for Windows 10.
Imagine being able to test new software or apps without changing your main system. With VMware, this is possible! You can safely explore other systems without any risk. Isn’t that cool?
Now, let’s share a fun fact. VMware was founded in 1998, and it has changed the way we use computers since then. Think about it: millions of people use virtualization today! What if you could join them?
In the following sections, we will explore how to download VMware for Windows 10. Get ready to transform your computer experience!
Vmware Download For Windows 10: Step-By-Step Guide

Discover VMware Download for Windows 10
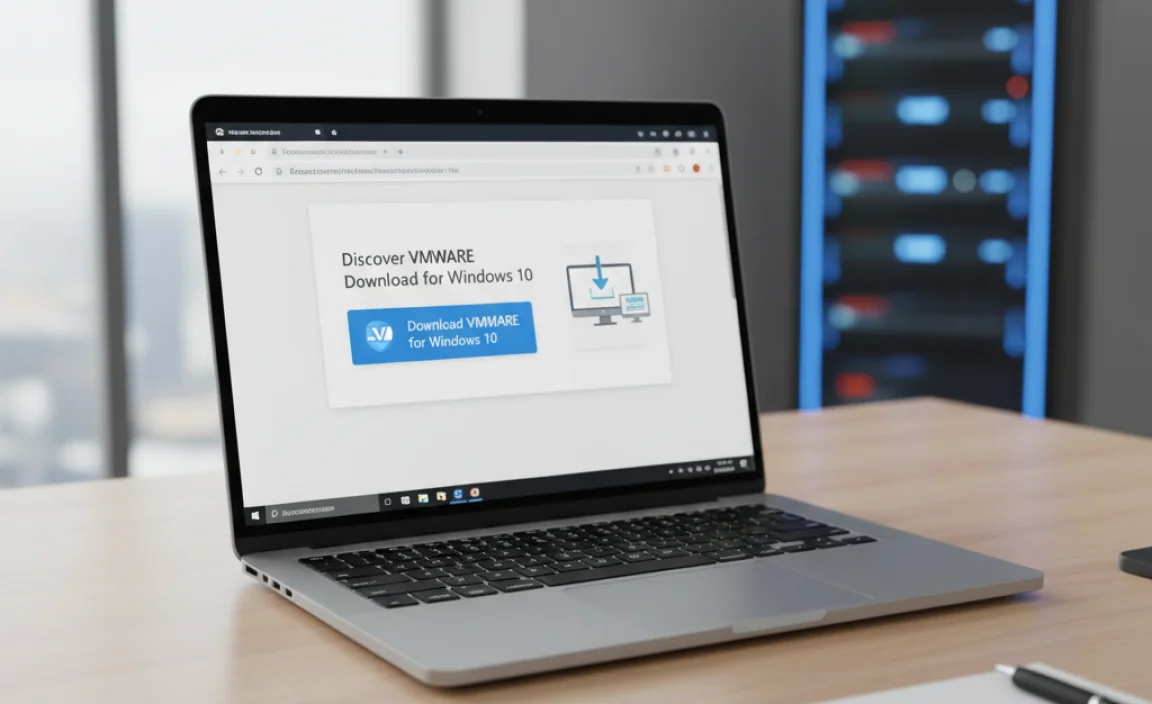
VMware offers a powerful tool for Windows 10 users who want to run different operating systems on their computers. With this software, you can easily create virtual machines to test apps or run Linux. The download process is simple and user-friendly. Imagine trying out a new program without changing your main system! Many users love how VMware helps them explore new tech safely. Plus, it’s great for developers and tech enthusiasts alike. Are you ready to dive into the world of virtualization?
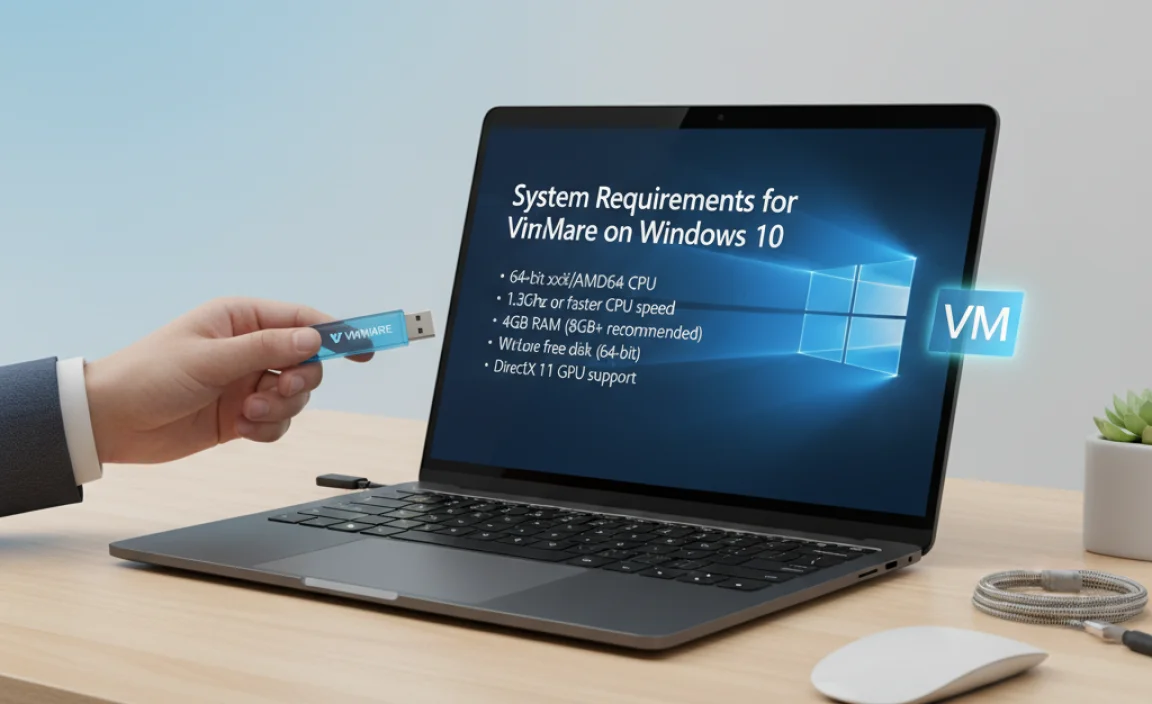
System Requirements for VMware on Windows 10
Minimum and recommended hardware specifications.. Compatibility considerations for different Windows 10 versions..
Before you dive into the exciting world of VMware, let’s check your computer’s gear first. The minimum hardware requirements include a 64-bit processor and at least 4GB of RAM. For a smoother ride, aim for the recommended specs of at least 8GB RAM and a multi-core processor. Reference tables make it easier, so here’s a quick look:
| Specification | Minimum | Recommended |
|---|---|---|
| Processor | 64-bit | Multi-core |
| RAM | 4GB | 8GB |
Also, check your Windows 10 version. VMware runs best on Pro, Enterprise, or Education editions. If you have a home version, you might want to upgrade. Think of it as upgrading from a tricycle to a shiny bike!
How to Download VMware for Windows 10
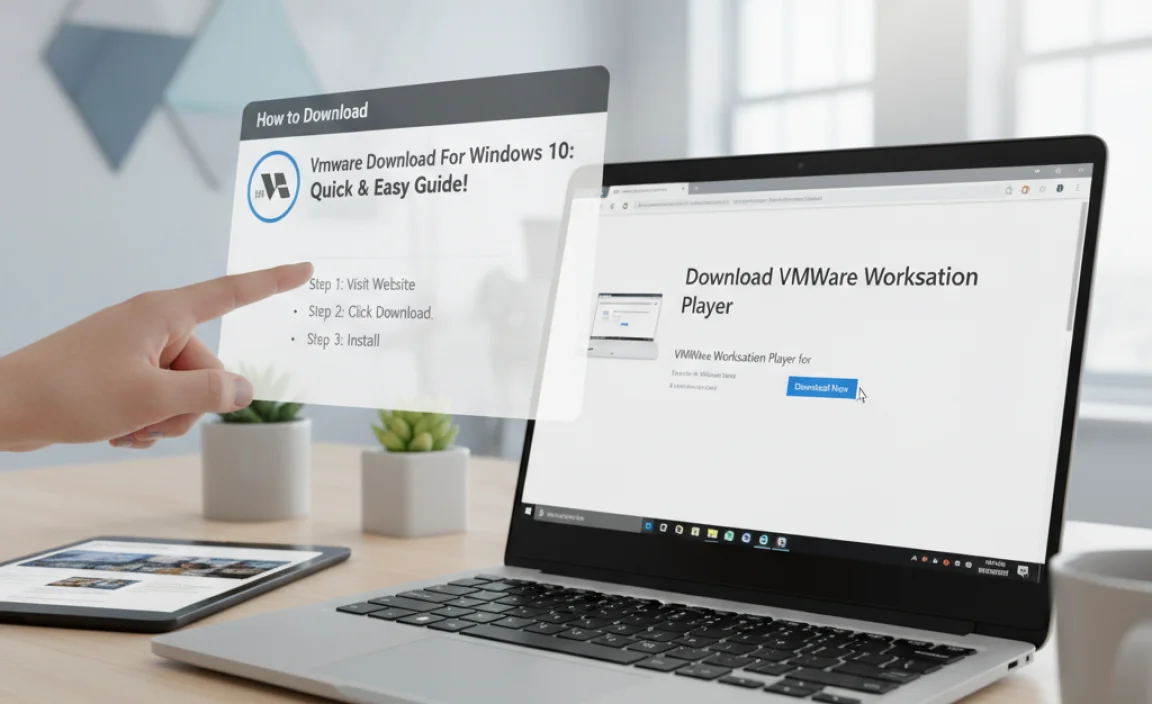
Stepbystep instructions for accessing the official VMware website.. Detailed guide on selecting the appropriate version for download..
To get VMware on your Windows 10, first, hop onto the official VMware website. No secret handshakes needed! Look for the *Downloads* section. From there, choose the version that fits your computer like a glove. Don’t pick the top option if you’re not a superhero! Check the system requirements to avoid surprises. Once you’ve found your match, click the download button—it’s as easy as pie! And who doesn’t like pie?
| VMware Version | System Requirements |
|---|---|
| VMware Workstation Pro | 64-bit Windows 10 |
| VMware Workstation Player | 64-bit Windows 10 |
Finally, once the download completes, you can start the install. It’s like opening a gift, but better! Just follow the prompts, and you’ll be all set. Now go ahead and enjoy the power of virtual machines!
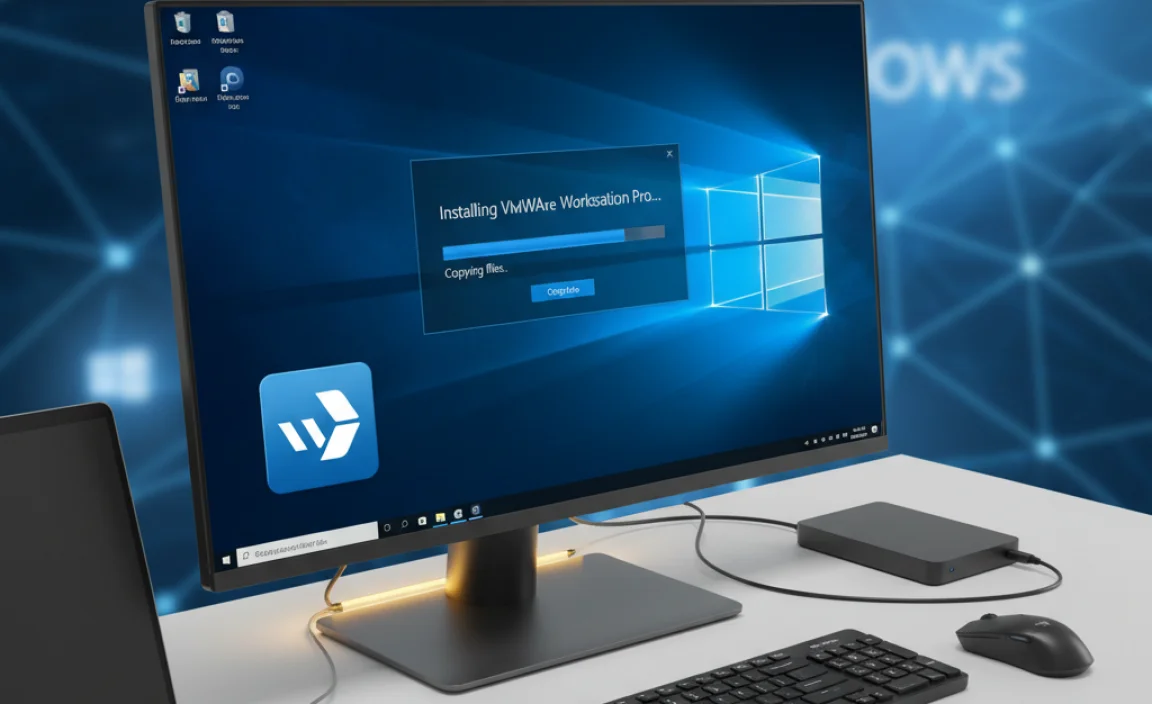
Installing VMware on Windows 10
Preinstallation checks and best practices.. A walkthrough of the installation process with screenshots..
Before you start, check these important things:
- Your computer should have at least 4 GB of RAM.
- Make sure you have enough free space, at least 20 GB.
- Use Windows 10 for smooth installation.
Next, follow these easy steps to install VMware:
- Download the VMware installer from the official site.
- Run the installer by double-clicking the file.
- Follow the on-screen instructions to complete the setup.
Each step is simple, and you’ll see helpful screenshots during installation.
What do I need to install VMware on Windows 10?
You need a computer with Windows 10, at least 4 GB of RAM, and 20 GB free space.
Configuring VMware After Installation
Steps to set up your first virtual machine.. Tips for optimizing VMware settings for better performance..
After installing VMware, you can create your first virtual machine with these steps:
- Open VMware and click “Create a New Virtual Machine.”
- Choose the installation type (typical is easiest).
- Select the operating system you want to install.
- Follow the prompts to finish creating your virtual machine.
To optimize performance:
- Allocate enough RAM for the virtual machine, but not all of your system’s RAM.
- Use a solid-state drive (SSD) for faster loading times.
- Adjust the CPU settings to match your needs.
These steps help ensure a smooth experience.
How do I set up my first virtual machine in VMware?
You can set up your first virtual machine by creating it in the VMware interface, choosing your OS, and following the prompts.
Troubleshooting Common VMware Issues on Windows 10
List of frequent problems users encounter during installation or use.. Solutions and resources for resolving these issues..
Many users face problems with VMware on Windows 10. Here are some common issues and quick fixes:
- Installation errors: Check your system requirements.
- Performance lag: Try adjusting the virtual machine settings.
- No network connection: Make sure your firewall allows VMware access.
- Licensing problems: Verify that you have a valid license.
For further help, you can visit VMware’s official support page. They provide detailed guides and forums for users to share solutions.
What should I do if VMware fails to install on Windows 10?
Ensure your Windows 10 is updated and meets all requirements before trying again.
How can I improve performance issues in VMware?
- Increase the memory allocated to your virtual machine.
- Close unnecessary applications on your host machine.
These steps can help speed up your VMware experience.
Comparison with Other Virtualization Software
Sidebyside comparison of VMware with alternatives like VirtualBox and HyperV.. Pros and cons based on user needs and scenarios..
Many use virtualization software, choosing between options like VMware, VirtualBox, and Hyper-V. Each has unique benefits and drawbacks. VMware is often praised for its user-friendly interface and strong performance. However, it can be pricier. VirtualBox is free and flexible, making it great for students. Hyper-V is solid for businesses but mainly works on Windows. Here’s a quick comparison:
- VMware: Great performance, but it costs more.
- VirtualBox: Free and easy, but may lack some advanced features.
- Hyper-V: Best for Windows users, but limited on non-Windows systems.
What is the best choice for beginners?
For beginners, VirtualBox is often the best choice. It’s free, easy to learn, and works on different operating systems. This makes it perfect for trying out virtualization without spending money.
Resources for Learning VMware
Recommended tutorials, courses, and certifications.. Community forums and support channels for VMware users..
Learning VMware can be fun and exciting! Here are some great resources to help you get started:
- Tutorials: Check out video tutorials on YouTube. They explain things simply.
- Courses: Websites like Coursera and Udemy offer courses. Some are free!
- Certifications: VMware offers certifications. They show you are a pro!
You can also join community forums. These are places to ask questions and find friends. Check out VMware’s official forums or Reddit. You can get answers quickly. Remember, learning is easier with support!
How can I get help with VMware?
For help with VMware, visit the forums or use support channels. These resources connect you with experts. It’s a great way to find answers. You’ll never be alone on your learning path!
Conclusion
In conclusion, downloading VMware for Windows 10 lets you create virtual machines easily. You can run different operating systems on your computer without trouble. It’s a great way to test new software or learn new skills. To get started, visit the VMware website for the latest version. Explore their tutorials to make the most out of your download!
FAQs
Here Are Five Related Questions About Downloading Vmware For Windows 10:
To download VMware for Windows 10, first go to the VMware website. Find the section for downloads. Click on the link for the version you need. Then, follow the instructions to save the file. Once it’s downloaded, click on it to start the installation.
Sure! Please provide the question you want me to answer.
What Are The System Requirements For Installing Vmware On Windows 10?
To install VMware on Windows 10, your computer needs to meet some requirements. First, you should have at least 4 GB of RAM, but more is better. You also need a 64-bit processor, which is like the brain of your computer, and at least 1.5 GB of free space on your hard drive. Lastly, make sure your Windows 10 is updated to the latest version to avoid problems.
How Do I Download The Latest Version Of Vmware Workstation Player For Windows 10?
To download VMware Workstation Player for Windows 10, go to the VMware website. Click on the “Download” section. Find the version for Windows and click the download link. Wait for the file to download, then open it to install. Now you can use VMware Workstation Player!
Are There Any Free Alternatives To Vmware That I Can Use On Windows 10?
Yes, there are free alternatives to VMware for Windows 10. One good choice is VirtualBox. It helps you run different operating systems on your computer. Another option is QEMU, which is also free and works well. You can try these to see which one you like best!
How Can I Troubleshoot Installation Issues When Downloading Vmware On Windows 10?
If you have trouble installing VMware on Windows 10, try a few things. First, check if your computer has enough space. Make sure you are using the correct version for Windows 10. If it doesn’t work, restart your computer and try again. You can also turn off your antivirus software, as it might block the install. If problems continue, visit VMware’s support page for more help.
What Is The Difference Between Vmware Workstation Pro And Vmware Workstation Player For Windows 10?
VMware Workstation Pro and VMware Workstation Player are both programs for running virtual machines, which are like mini-computers inside your computer. Workstation Pro has more features, so you can create and manage many virtual machines easily. It allows you to do advanced things like linking virtual machines together. Workstation Player is simpler and great for basic tasks. You can use it for free, but it doesn’t have all the cool options of Pro.
Related Posts
- Download Windows 11 Iso For Mac 1.1: Easy Guide
Create A Bootable Usb For Windows 10 Iso Easily!
Should I Upgrade to Windows 11 for Gaming: Is It Worth It?
[Fix] Why Does My Windows 11 Voice Activate Randomly (100% Working)