Have you ever wanted to take a quick screenshot on your Windows 10 computer? Maybe you found a funny meme or a great lesson. You want to share it with your friends instantly, right? The snipping tool can help! But did you know there’s a shortcut for the snipping tool on Windows 10?
Using keyboard shortcuts can make your life easier. Instead of searching through menus, you can grab a screenshot in seconds. Imagine catching that perfect moment in a game or saving a recipe from a website with just a few clicks. How cool is that?
Let’s explore how to use this fantastic shortcut and make your screenshot experiences smoother. You’ll be amazed at how simple it is to snap and share your screen! Get ready to master the snipping tool like a pro!
Helpful Shortcut For Snipping Tool Windows 10 Users

Shortcut for Snipping Tool Windows 10
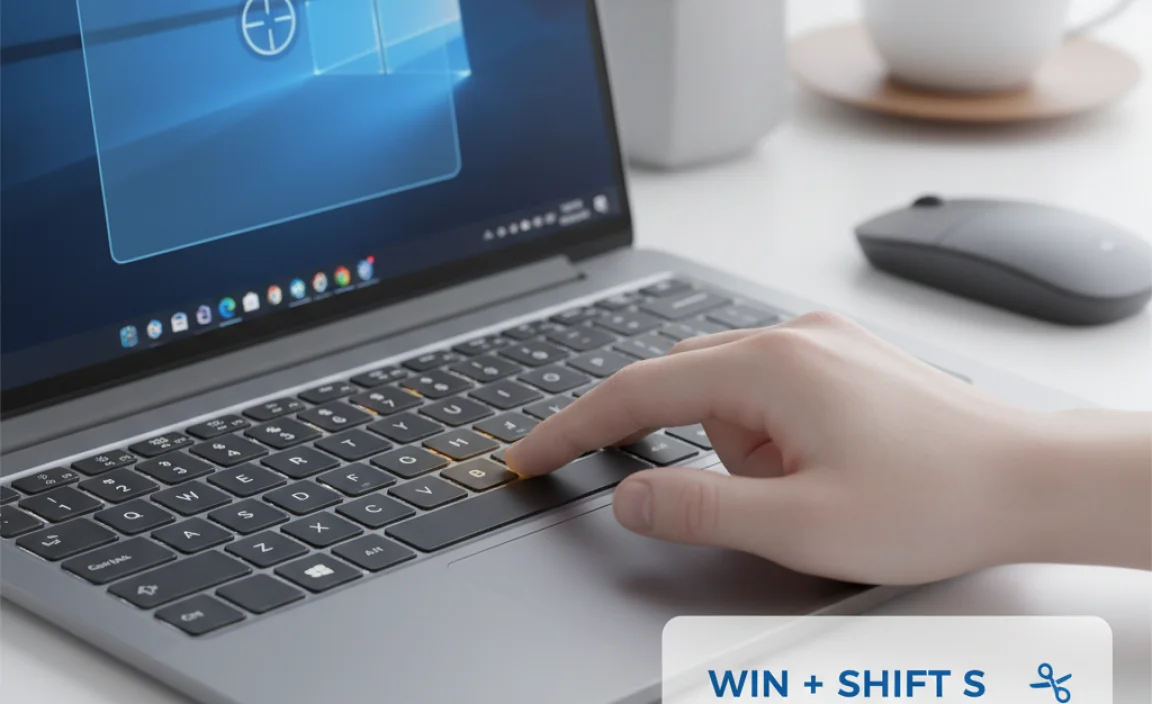
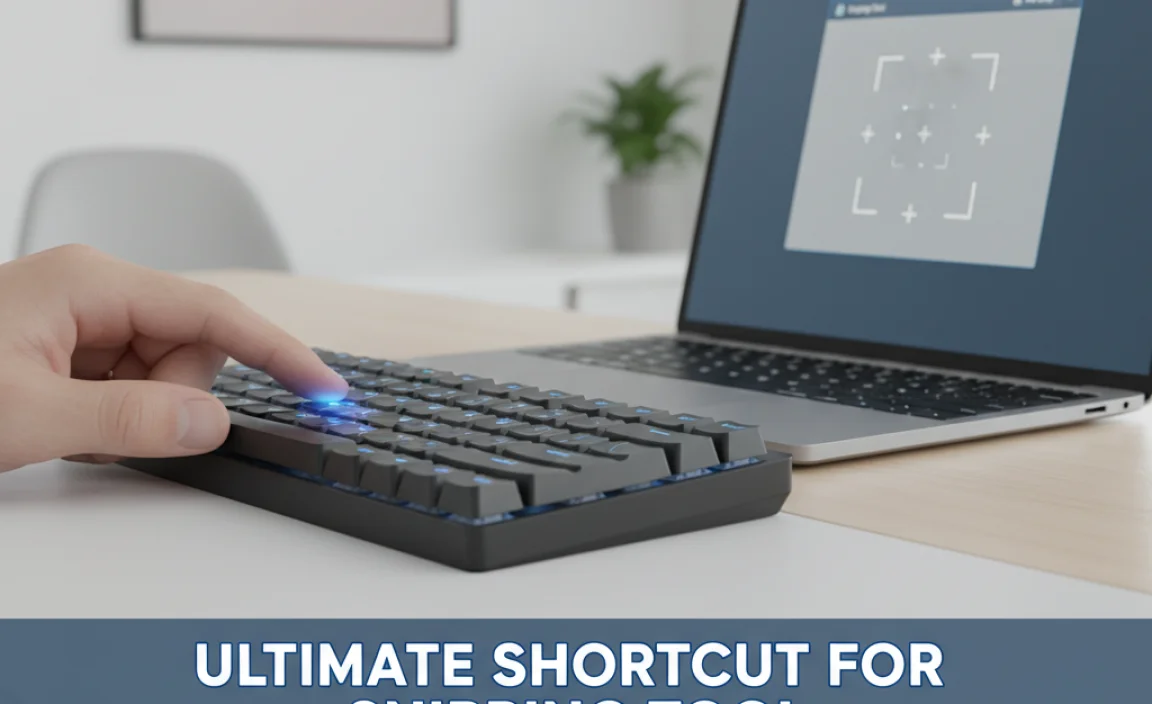
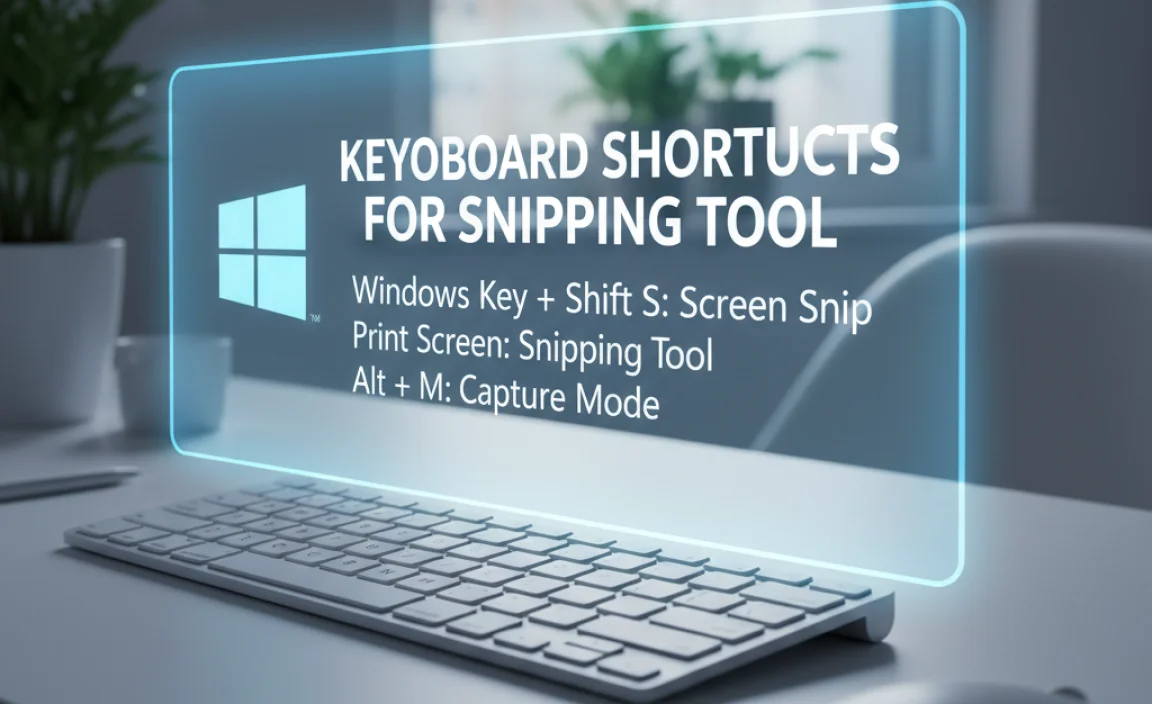
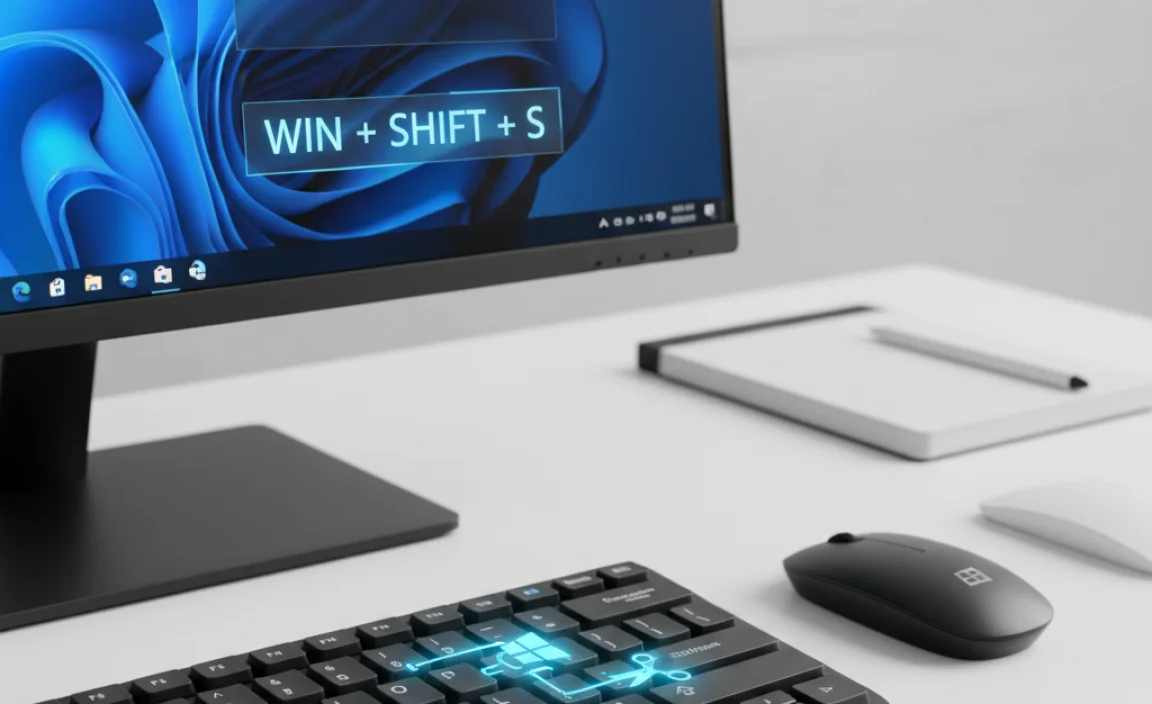
Did you know you can quickly capture your screen in Windows 10? The snipping tool has a handy shortcut that makes this easy. Simply press the “Windows” key + “Shift” + “S.” This opens a small toolbar for taking different types of screenshots. You can choose between free-form, rectangular, window, or full-screen snips. No need to search through menus anymore! Master this shortcut, and you’ll save time while sharing or saving information easily.
How to Access the Snipping Tool
Stepbystep instructions for locating the Snipping Tool in Windows 10. Alternative methods to open the Snipping Tool, including search and shortcut keys.
Finding the Snipping Tool in Windows 10 is easy-peasy! Follow these steps: First, click on the Start menu at the bottom-left corner. Type “Snipping Tool” in the search box. Click on the app when it pops up. Voila! You’re ready to snip away! For a quicker route, press the Windows key + Shift + S. This will let you take a screenshot faster than you can say “cheese!”
| Method | Instructions |
|---|---|
| Start Menu | Click on Start, type “Snipping Tool,” and hit enter. |
| Search Box | Type “Snipping Tool” in the search bar next to the Start menu. |
| Shortcut Keys | Press Windows + Shift + S for a quick snip! |
Now you can capture anything on your screen! Try it out and snip like a pro!
Keyboard Shortcuts for Snipping Tool
Detailed list of keyboard shortcuts, including default combinations. Explanation of different snip types (rectangular, freeform, window, fullscreen) and associated shortcuts.
Learning keyboard shortcuts for the snipping tool in Windows 10 can make your work quick and easy. Here are the key combinations:
- Rectangular Snip: Press Windows + Shift + S to make a rectangle selection.
- Freeform Snip: Use the same shortcut for a freehand selection.
- Window Snip: Choose a window with the snipping tool shortcut.
- Fullscreen Snip: Capture your entire screen with Print Screen.
These shortcuts help you capture exactly what you need. Snipping is fast and fun!
What are the keyboard shortcuts for different snip types?
Here are the main shortcuts:
- Rectangular Snip: Windows + Shift + S
- Freeform Snip: Windows + Shift + S
- Window Snip: Alt + N (after opening the tool)
- Fullscreen Snip: Print Screen
Customizing Snipping Tool Shortcuts
Instructions on redefining Snipping Tool keyboard shortcuts. Tips for optimizing shortcut settings for frequent use.
Do you want to make your snipping tool faster? You can change its keyboard shortcuts! Here’s how:
- Open the Snipping Tool.
- Go to Settings (the gear icon).
- Select “Keyboard shortcuts.”
- Choose a shortcut that works best for you.
Use short and easy shortcuts. This makes capturing your screen quick! Remember, practice makes perfect. Set your favorites to get snipping done in no time!
How can I optimize Snipping Tool shortcuts?
Organize your shortcuts for daily tasks and pair them with easy-to-remember keys. This will speed up your work and make the tool fun to use!
Using Snipping Tool Efficiently
Best practices for taking effective screenshots. Tips on editing and annotating snips immediately after capturing.
Capturing great screenshots can be fun and easy! First, aim for clarity when using the snipping tool. Focus on just what you need: avoid those pesky distractions! After snipping, use quick editing options for clarity. Highlight important points or draw arrows. You can even add funny faces—everyone loves a good laugh! Check out the table below for handy tips! Remember, a picture is worth a thousand “oops!”
| Tip | Action |
|---|---|
| Choose your snip type | Rectangular or Free-form |
| Annotate right away | Use pen or highlighter tools |
| Save your work | Use shortcuts like Ctrl + S |
Troubleshooting Common Snipping Tool Issues
Solutions for when the Snipping Tool doesn’t open or respond. Addressing shortcutrelated issues and error messages.
If the Snipping Tool won’t open or slow to respond, it’s time for troubleshooting. Check for updates or restart your computer. Sometimes the tool may freeze, and a quick restart helps. If you see error messages, make sure the shortcut is set up correctly. Here are some tips:
- Try running the Snipping Tool as an administrator.
- Check your keyboard shortcuts; they should match.
- Reset the Snipping Tool in settings if it’s not responding.
These solutions can help the Snipping Tool work smoothly again!
What should I do if Snipping Tool doesn’t launch?
Restart your computer or check for updates. This often fixes the issue quickly.
What can cause errors in the Snipping Tool?
Incorrect settings or system glitches may lead to errors. Double-check your settings.
Conclusion
In summary, the shortcut for the Snipping Tool in Windows 10 is a quick way to capture screenshots. You can easily use Windows + Shift + S to start snipping right away. We encourage you to try it out yourself! For more tips on making your computer tasks easier, check out other helpful guides online. Happy snipping!
FAQs
What Is The Keyboard Shortcut To Open The Snipping Tool In Windows 1
To open the Snipping Tool in Windows, press the “Windows” key and “Shift” key together, and then press “S.” This will let you take a snapshot of your screen. It’s a quick way to grab pictures of what you see. Give it a try!
How Can I Quickly Take A Screenshot Using The Snipping Tool Without Using The Mouse?
To quickly take a screenshot with the Snipping Tool, first, press the “Windows” key and “Shift” key at the same time, along with the “S” key. This will darken the screen and let you choose what to capture. You can use the arrow keys to select the area you want to snip. Once you finish, the screenshot will be copied, and you can paste it where you need it by pressing “Ctrl” and “V”.
Are There Any Alternative Keyboard Shortcuts To Capture Specific Areas Or Windows With Snipping Tool In Windows 1
Yes! You can use keyboard shortcuts with the Snipping Tool to capture things on your screen. Press “Windows key + Shift + S” to open a snip. Then, you can click and drag to select the area you want to capture. If you want to take a picture of a window, just select the window after pressing the shortcut. It’s easy and quick!
What Are The Steps To Customize Keyboard Shortcuts For The Snipping Tool In Windows 1
To customize keyboard shortcuts for the Snipping Tool, first, open the Start menu. Then, find the Snipping Tool and right-click on it. Choose “Open file location” to see the shortcut. Right-click the shortcut, select “Properties,” and then click on the “Shortcut key” box. Here, you can type your new shortcut and click “OK” to save it!
How Does The Snipping Tool Differ From The Snip & Sketch Feature In Terms Of Shortcuts And Functionality?
The Snipping Tool lets you take screenshots quickly, but it has fewer options. You can press “Windows + Shift + S” for Snip & Sketch, which gives you more ways to edit your pictures. Snip & Sketch also saves your screenshots automatically. So, Snip & Sketch is a bit better for drawing or writing on your pictures.