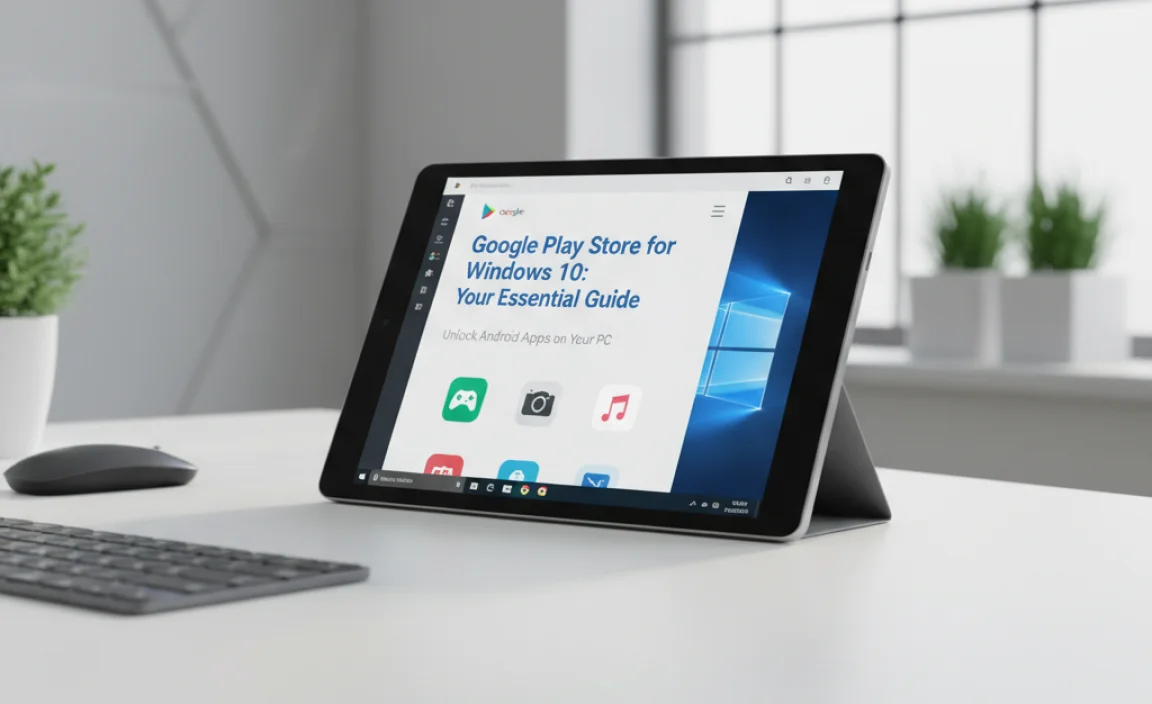
Getting the Google Play Store on Windows 10 is possible now, letting you run Android apps. While not officially supported by Google for all Windows 10 PCs in a simple download, you can use the Windows Subsystem for Android (WSA) or third-party emulators. This guide walks you through the easiest and safest ways.
Google Play Store for Windows 10: Your Essential Guide
Ever wished you could use your favorite Android apps right on your Windows 10 computer? Maybe it’s a handy productivity app, a fun game, or a social media tool. It can be super frustrating when the apps you love are locked to your phone.
The good news is, you don’t always need to switch devices! Thanks to some clever technology, bringing the Google Play Store experience to Windows 10 is more achievable than you might think. This guide will show you exactly how to do it, step-by-step, making it easy for anyone to enjoy Android apps on their PC. Let’s get started and unlock a whole new world of apps for your Windows desktop!
Understanding the Possibilities: Google Play Store on Windows 10
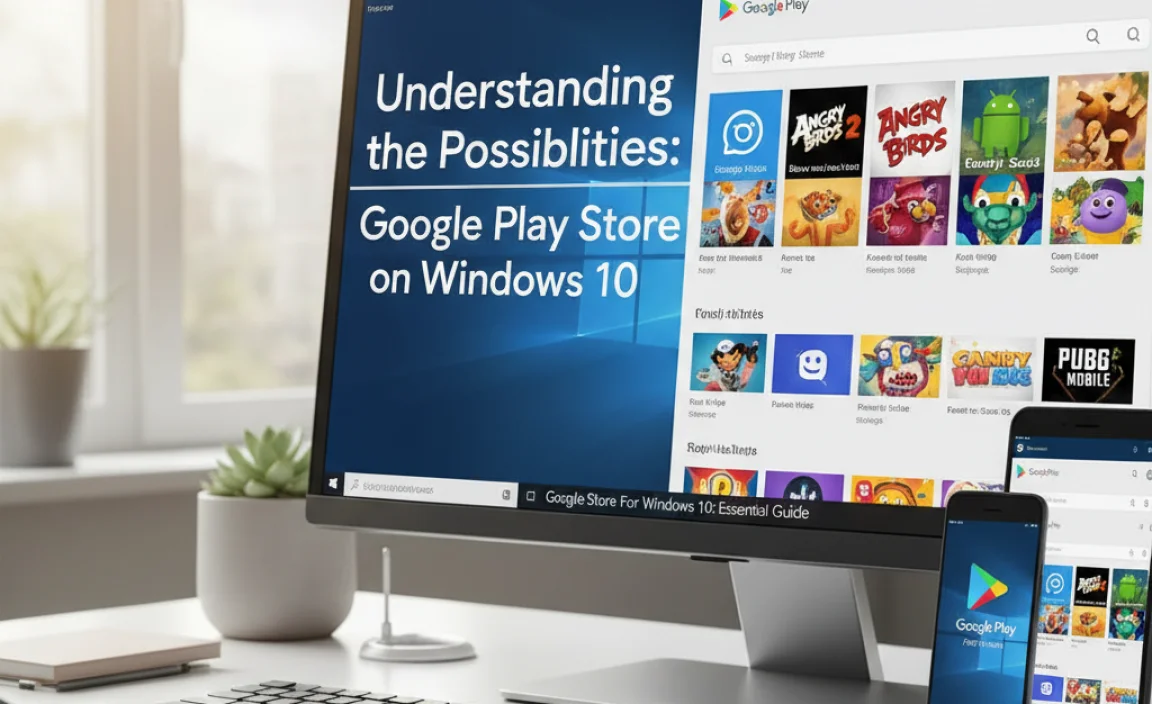
For a long time, running Android apps on Windows felt like a distant dream. Now, with advancements like the Windows Subsystem for Android (WSA), this dream is becoming a reality for many. It’s important to know that Microsoft and Amazon have partnered to bring an Android experience to Windows 11, and while Windows 10 doesn’t have this integrated directly, there are still ways to get it working. We’ll explore these methods, focusing on the most reliable and beginner-friendly approaches.
Method 1: Using the Windows Subsystem for Android (WSA)
The Windows Subsystem for Android (WSA) is a groundbreaking feature that allows Windows to run Android applications. While it’s a core part of Windows 11, there are methods to install it unofficially on Windows 10. This method is generally considered the most integrated and potentially stable, as it uses Microsoft’s own framework.
What is the Windows Subsystem for Android (WSA)?
WSA is a compatibility layer that allows Android applications to run directly on Windows. It simulates an Android environment, enabling apps to interact with your Windows system, keyboard, mouse, and even files.
Is WSA Officially Available for Windows 10?
No, WSA is officially designed for Windows 11. However, the community has developed workarounds to install and run WSA on Windows 10. This usually involves downloading specific package files and using command-line tools. While effective, these methods require careful following of instructions.
Steps to Install WSA on Windows 10 (Unofficial Method)
This process involves several steps and might seem a bit technical, but by following carefully, you can succeed. You’ll need to download Amazon Appstore or manually install Google Play Store via WSA.
- Enable Virtualization:First, you need to make sure virtualization is enabled in your computer’s BIOS/UEFI settings. This is crucial for WSA to function.
- Restart your PC.
- As it boots up, press the key indicated on the screen to enter BIOS/UEFI setup (common keys are Del, F2, F10, F12, or Esc).
- Navigate to the CPU configuration or Advanced settings menu.
- Look for an option like ‘Intel VT-x’ or ‘AMD-V’ and set it to ‘Enabled’.
- Save changes and exit BIOS/UEFI.
- Download WSA Package:You’ll need to find a reliable source for the WSA installer. Many tech websites and forums share these packages. Search for “Windows Subsystem for Android installer for Windows 10.” Be very careful about where you download from to avoid malware.
- Open PowerShell:Open PowerShell as an administrator. To do this, search for “PowerShell” in the Windows search bar, right-click it, and select “Run as administrator.”
- Navigate to the Download Folder:Use the `cd` command to navigate to the folder where you downloaded the WSA installation files. For example, if you downloaded it to your Downloads folder, you might type:
cd C:UsersYourUsernameDownloads(Replace “YourUsername” with your actual username).
- Install WSA:Run the installation script. The exact command will depend on the package you downloaded, but it often looks something like this:
.Add-AppxPackage.ps1 -Path "PathToWSAInstaller.msixbundle"Or, if you have a pre-made PowerShell script designed to install WSA and the Google Play Store, you would run that script.
Important Note: Installing from untrusted sources can be risky. Always verify the source of any executable files or scripts.
- Install Google Play Store (if not included):Some WSA installers automatically include the Amazon Appstore. If you want the Google Play Store, you’ll need to install it separately, often using another set of scripts provided by the community. Search for “install Google Play Store WSA Windows 10” for detailed guides on this part.
- Configure WSA:Once installed, search for “Windows Subsystem for Android” in your Start menu and open it. You might need to troubleshoot settings or let it set up.
- Install Apps:If you’ve successfully installed the Google Play Store within WSA, you can now open it and sign in with your Google account to download Android apps.
Troubleshooting Common WSA Issues
Even with careful installation, you might encounter issues. Here are a few common ones:
- WSA not starting: Ensure virtualization is enabled and that you have the latest Windows updates for your version of Windows 10.
- Apps crashing: Check the WSA settings. Sometimes adjusting the Android version or allocating more memory can help.
- Installation errors: Double-check that you ran PowerShell as administrator and that the paths in your commands are correct.
Method 2: Using Third-Party Android Emulators
Before WSA became a possibility, Android emulators were the primary way to run Android apps on Windows. These are dedicated software programs that create a virtual Android device on your PC. They are generally easier to set up than unofficial WSA installations.
What are Android Emulators?
Emulators are software that mimic the hardware and software of an Android device, allowing you to install and run Android apps as if you were using an actual smartphone or tablet. They come with their own app stores, or you can often sideload APK files (Android application package files).
Popular and Reliable Android Emulators
Several emulators are well-regarded for their performance, features, and ease of use on Windows 10. Here are a few top choices:
| Emulator | Pros | Cons | Best For |
|---|---|---|---|
| BlueStacks | Very user-friendly interface, good performance, large community, pre-installed Google Play Store. | Can be resource-intensive, contains ads. | Gamers, general app users. |
| NoxPlayer | Good performance, extensive customization options, free. | Interface can be a bit busy, some users report occasional bugs. | Gamers who like tweaking settings. |
| LDPlayer | Optimized for gaming, fast startup, includes many gaming-specific features. | Less focus on general productivity apps, some ads. | Mobile gamers looking for high frame rates. |
| MEmu Play | Strong performance, good for both gaming and general apps, supports various Android versions. | Some bundled software during installation (be careful), can consume significant resources. | Versatile users wanting good performance across app types. |
How to Install an Android Emulator (Using BlueStacks as an Example)
We’ll use BlueStacks as an example because it’s one of the most popular and straightforward emulators for Windows 10 users.
- Download BlueStacks:Go to the official BlueStacks website (bluestacks.com) and download the latest installer for Windows.
- Run the Installer:Locate the downloaded file and double-click it to start the installation process. Follow the on-screen prompts. During installation, you might get options to customize the installation path or other settings. Stick to the recommended settings if you’re unsure.
- Launch BlueStacks:Once installed, launch BlueStacks from your Start menu or desktop shortcut. The first launch might take a few minutes as it sets up the Android environment.
- Set Up Your Google Account:When BlueStacks opens, you’ll see an interface that looks similar to an Android device. You’ll be prompted to sign in with your Google account. This is essential to access the pre-installed Google Play Store.
Enter your Google email address and password. If you have two-factor authentication enabled, you’ll need to verify your identity.
- Access the Google Play Store:After signing in, you’ll find the Google Play Store icon on the BlueStacks home screen. Click it to open the store.
- Download and Install Apps:You can now search for any Android app or game directly within the Google Play Store and install it just like you would on an Android phone. The app will appear on your BlueStacks home screen.
Sideloading Apps (APK Files)
Sometimes, an app might not be available on the Google Play Store, or you might have an older version of an app. In these cases, you can install apps using their APK files. Most emulators have a built-in feature for this. You’d typically drag and drop the APK file into the emulator window or use an “Install APK” button.
Security Tip: Only download APK files from trusted sources. Unofficial APKs can sometimes contain malware.
Comparing WSA and Emulators for Windows 10
Both methods have their advantages. Your choice might depend on your technical comfort level and what you want to achieve.
| Feature | Windows Subsystem for Android (WSA) – Unofficial | Third-Party Emulators (e.g., BlueStacks) |
|---|---|---|
| Official Support on Windows 10 | No (unofficial methods required) | Yes (designed for various Windows versions) |
| Integration with Windows | Potentially higher (runs more natively) | Lower (runs as a separate application) |
| Ease of Installation | More complex, requires command-line knowledge and careful sourcing of files. | Generally simpler, guided installers. |
| Performance | Can be very good, depends on hardware and implementation. | Good, but can be resource-intensive; optimized for gaming. |
| App Compatibility | Good, especially for apps designed for newer Android versions via Amazon Appstore/Google Play Store. | Very good, wide range of apps and Android versions supported. |
| Resource Usage | Can be moderate to high. | Can be high, especially for demanding apps/games. |
| Security Risk | Depends heavily on the source of the installation files; potential for malware if not careful. | Generally safe when downloaded from official websites; potential for bundled software if not paying attention. |
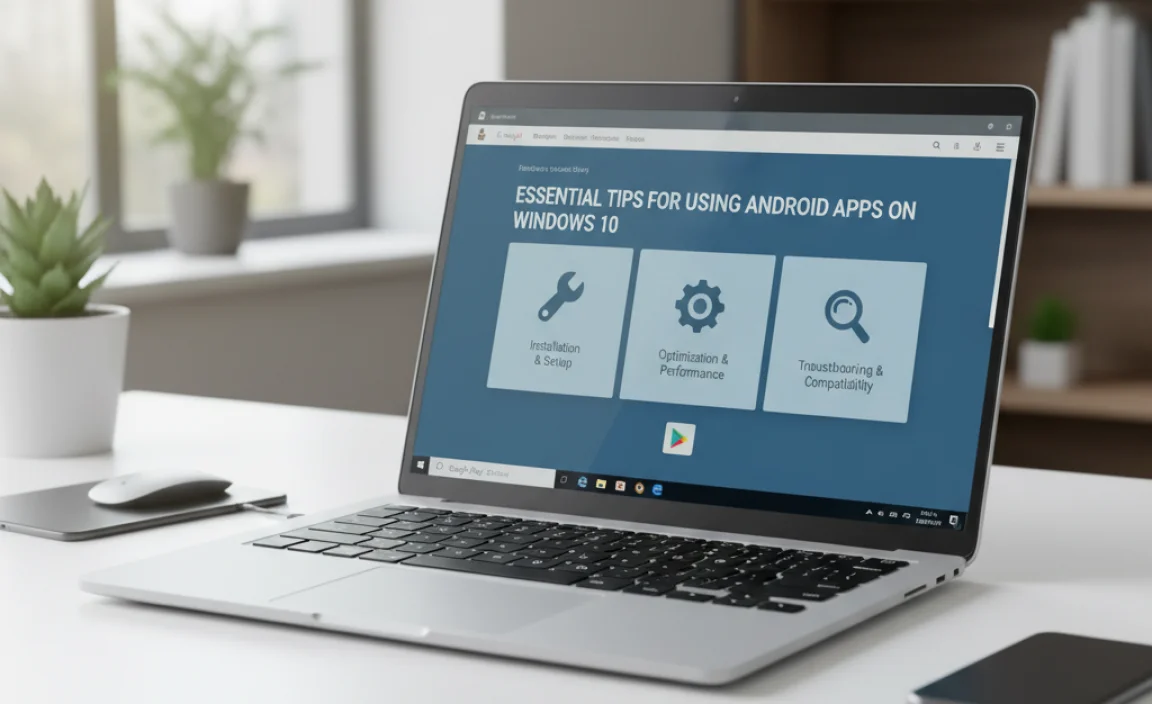
Essential Tips for Using Android Apps on Windows 10
Once you have the Google Play Store or an emulator set up, here are some tips to make the experience smooth and secure:
- Start with Trusted Apps: When you first set up, try installing a few well-known and secure apps from the Google Play Store. This helps confirm everything is working correctly.
- Manage Resources: Android apps, especially games, can consume a lot of CPU and RAM. Keep an eye on your Task Manager (Ctrl+Shift+Esc) to see how much resources your emulator or WSA is using. Close unnecessary Windows applications to free up resources.
- Update Regularly: Ensure your Windows 10 is up-to-date. Also, keep your emulator or WSA updated, as well as the Android apps themselves, for the latest features and security patches.
- Backup Your Data: If you accumulate a lot of data within your Android apps (e.g., game progress, notes), check if the apps offer cloud backup options. For emulators, some might have backup features for the entire virtual environment.
- Be Mindful of Permissions: Android apps ask for permissions to access your phone’s features. Be cautious about granting permissions to apps you don’t fully trust, especially those that need access to your microphone, camera, or location.
- Keyboard and Mouse Mapping: Many emulators offer tools to map your keyboard keys and mouse movements to touch controls within apps, which is a huge advantage for gaming and productivity. Explore these settings for a better experience.
- Screen Resolution and Scaling: Adjust the emulator’s display settings to match your monitor’s resolution for the best visual clarity.
Security Considerations

Running Android apps on your PC introduces a new layer of security to consider. It’s crucial to be informed.
Potential Security Risks
- Malware: Just like on any operating system, malware can exist within Android apps. Downloading apps from unofficial sources or even from the Play Store if an app has been compromised can be dangerous.
- Data Privacy: Android apps collect data. Be aware of what information an app is requesting and how it might be used.
- Emulator Vulnerabilities: While generally safe when downloaded from official sources, emulators are complex software. Any bug or vulnerability could potentially be exploited.
- Unofficial WSA Installs: As mentioned, installing WSA on Windows 10 unofficially carries a higher risk if the downloaded files are not from a verified, trustworthy source.
How to Stay Safe
- Download from Official Sources ONLY:
- For emulators, always download from the official website (e.g., bluestacks.com, noxplayer.com).
- For WSA, if you’re going the unofficial route, rely on well-vetted community guides and downloads from reputable tech sites or GitHub repositories known for this purpose.
- Use Google Play Store: Whenever possible, install apps directly from the Google Play Store. Google has security measures in place to detect and remove malicious apps.
- Check App Permissions: Before installing or when prompted by an app, review the permissions it’s requesting. If an app asks for access to something that doesn’t seem necessary for its function, think twice before granting it.
- Keep Everything Updated:
- Ensure your Windows 10 is fully updated with the latest security patches from Microsoft. Learn more about Windows updates here.
- Update your Android emulator or WSA whenever new versions are released.
- Keep your installed Android apps updated through the Play Store.
- Use Antivirus Software: Keep a reputable antivirus program installed and running on your Windows 10 machine. This can help protect against malware that might try to infiltrate your system through apps or emulators. Consider solutions like Microsoft Defender, which is built into Windows 10.
- Be Cautious with Sideloaded APKs: Only download APK files from extremely trusted sources. If you are unsure, it’s best to avoid installing it.
Frequently Asked Questions (FAQ)
Here are some common questions about using the Google Play Store on Windows 10:
Q1: Can I install the Google Play Store directly on Windows 10 with a simple download?
A1: No, Google does not offer a direct, simple download for the Google Play Store on Windows 10 like you would find on an Android device. You need to use methods like the Windows Subsystem for Android (unofficially) or third-party emulators.
Q2: Is it safe to use third-party Android emulators?
A2: Yes, it is generally safe to use well-known and reputable emulators like BlueStacks, NoxPlayer, or LDPlayer, as long as you download them ONLY from their official websites. Always be cautious and avoid downloading from unofficial or suspicious links.
Q3: Will running Android apps slow down my computer?
A3: Yes, running Android apps, especially through emulators or WSA, can consume significant system resources (CPU and RAM). The impact depends on your PC’s hardware and the demands of the apps you’re running. Closing other Windows programs can help.
Q4: Can I use my Google account to sign into the Play Store on an emulator?
A4: Absolutely! Signing in with your Google account is necessary to access the Google Play Store and download apps. You can use your existing account, and your app purchases and data should sync across devices where you’re logged in.
Q5: Are there any official Google apps that don’t work well on Windows 10 emulators?
A5: While most apps work well, some apps heavily reliant on specific hardware features (like advanced sensor data) or with very strict Google Play Protect requirements might sometimes have issues or not function as perfectly as on a dedicated Android device. However, for most common apps, compatibility is very good.
Q6: What’s the difference between WSA and an emulator for running Android apps?
A6: WSA is a Windows feature that allows Android apps to integrate more deeply with your Windows system. Emulators are separate programs that create a full virtual Android device environment. WSA is unofficial on Windows 10, whereas emulators are designed to work across various Windows versions.
Conclusion
Bringing the Google Play Store to your Windows 10 PC opens up a fantastic world of apps and games right on your desktop. Whether you choose the more integrated but unofficially installed Windows Subsystem for Android or a user-friendly third-party emulator like BlueStacks, the steps are manageable with a little patience. Remember to always prioritize security by downloading from official sources, keeping your software updated, and being mindful of app permissions.
You now have the knowledge to enhance your Windows 10 experience with the vast library of Android applications. Don’t hesitate to explore, experiment, and enjoy the flexibility these tools offer. With these steps, you’ve taken control of your PC’s capabilities, ensuring it’s both functional and secure. You’ve got this!