
Have you ever wanted to capture a game, a tutorial, or a video call on your computer? If you use Windows 10, you’re in luck! There are some amazing screen recorders just for you. A good screen recorder for Windows 10 lets you save those special moments with ease.
Imagine sharing your skills with friends or showing off your high score. With the right tool, that dream can be a reality. Some recorders let you add your voice while filming, making it even more fun and personal.
But with so many options, how do you choose the best one? Many people think all screen recorders are the same. However, that isn’t true. Some are easy to use, while others can be confusing. Picking the right one can make all the difference in your recording experience.
In this article, we will explore the best screen recorders for Windows 10. You’ll discover their unique features and find one that suits your needs perfectly. Get ready to bring your screen to life!
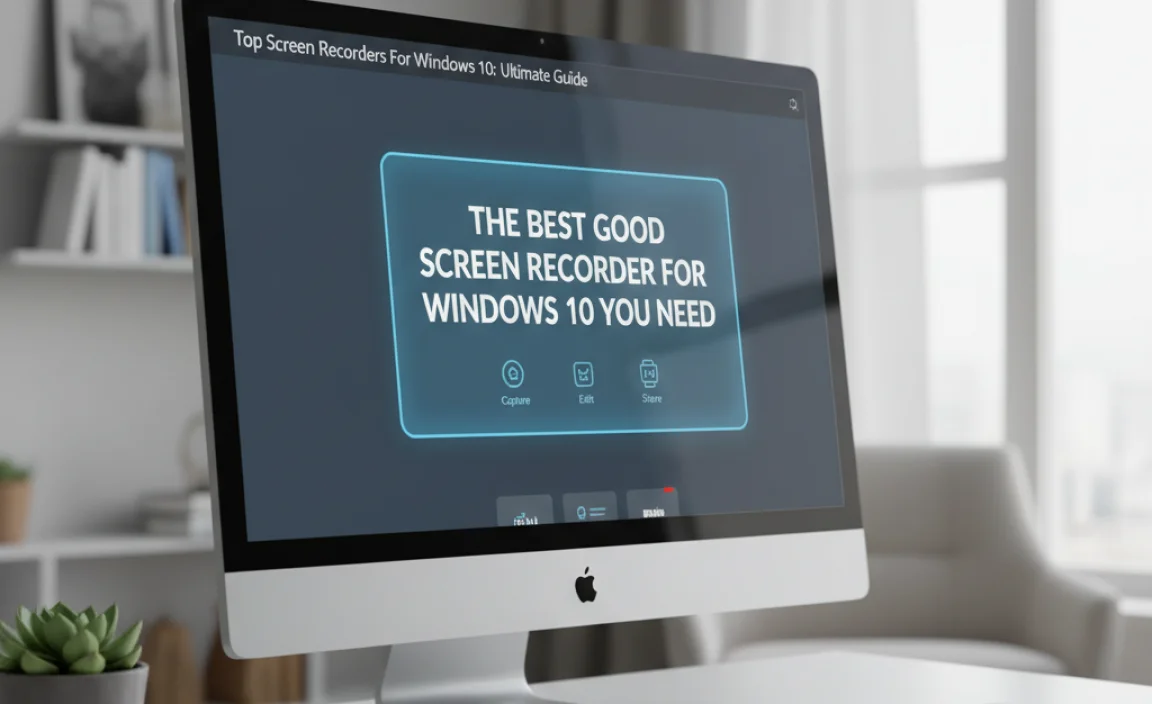
The Best Good Screen Recorder For Windows 10 You Need
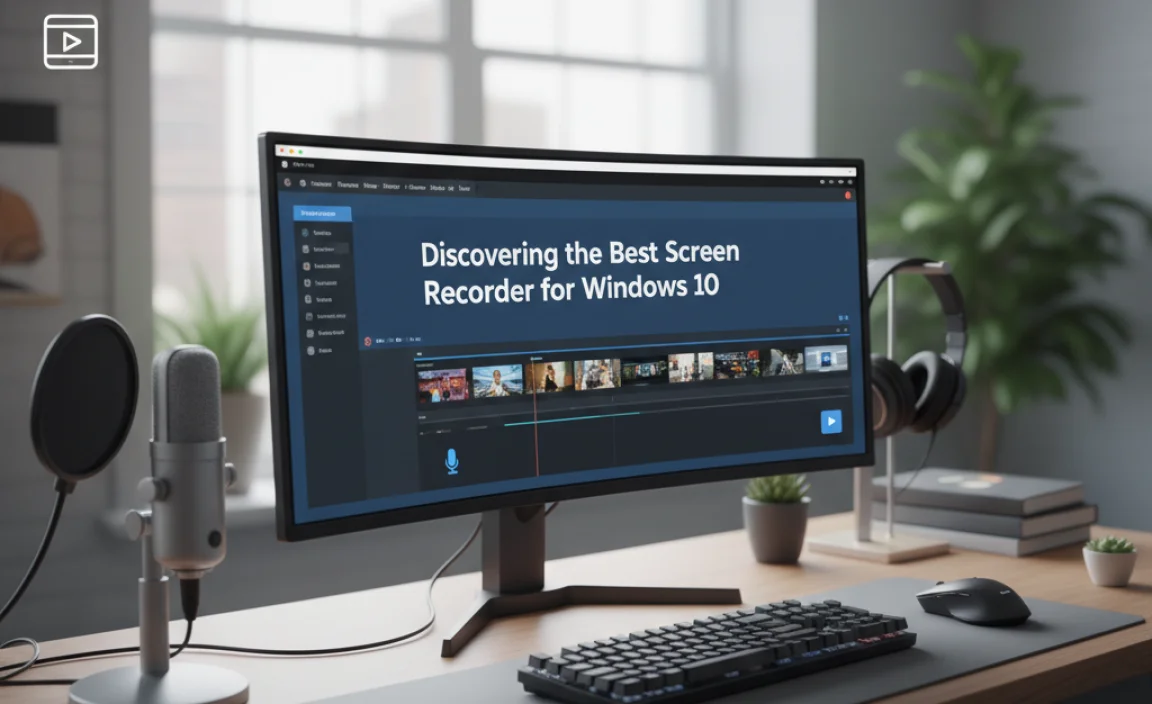
Discovering the Best Screen Recorder for Windows 10
Looking for a good screen recorder for Windows 10? The right tool can make a big difference. You can easily capture videos, tutorials, or gameplay. Some features to consider include easy navigation, editing options, and good video quality. Imagine recording a fun gaming session or making a useful tutorial for your friends. Choosing the best screen recorder helps you share your ideas effectively and impressively!
Key Features to Look for in a Screen Recorder

Musthave functionalities for efficient recording. Importance of audio capture and editing options.
Choosing the right screen recorder can make a big difference. Here are some key features to consider:
- Easy-to-Use Interface: A simple design helps you start recording quickly.
- Audio Capture: Good recorders should capture clear sound. This is important for tutorials and presentations.
- Editing Tools: Having options to cut, trim, or add effects makes your videos stand out.
- High-Quality Video: Look for recorders that offer full HD or 4K resolution.
Remember, the right screen recorder should have these essential functions. It ensures you create helpful and interesting videos!
What is the importance of audio in screen recording?
Audio is crucial. It adds clarity and engagement to your recordings. Without good audio, viewers may lose interest.
What features help with editing options?
- Simple Editing Tools: These let you fix mistakes easily.
- Effects and Annotations: Add fun touches to your videos.
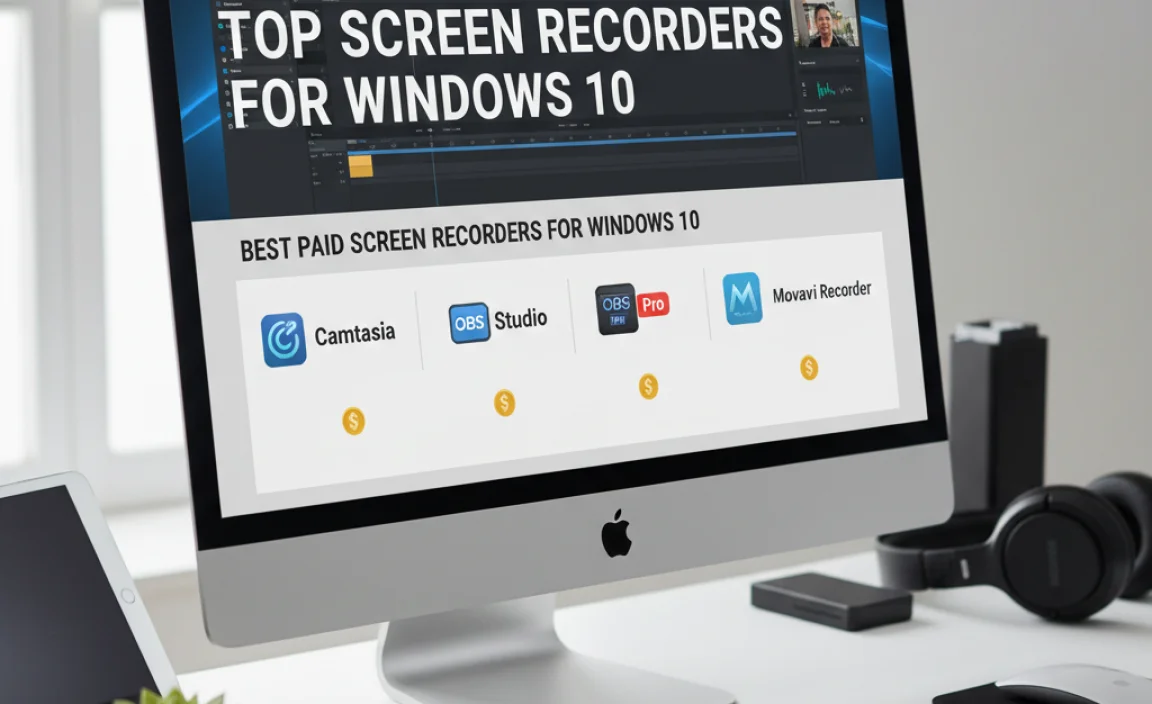
Best Paid Screen Recorders for Windows 10
Comparison of leading paid screen recording software. Unique features that justify the cost.
Many paid screen recorders for Windows 10 offer cool features that make them worth the price. Here’s a quick look at some leading options:
- Camtasia: Great for editing videos. It has fun effects and is easy to use.
- Bandicam: Records high-quality videos. It’s perfect for gamers who want to share their gameplay.
- Snagit: Focuses on screenshots, but it also records nice videos. Users love its simple interface.
Each tool brings something special to the table, making them valuable for different needs.
What Features Make Paid Screen Recorders Worth It?
Paid screen recorders often include advanced editing tools, custom settings, and support that free ones lack. Users appreciate these extras. They help create high-quality videos quickly and easily.
How to Choose the Right Screen Recorder for Your Needs
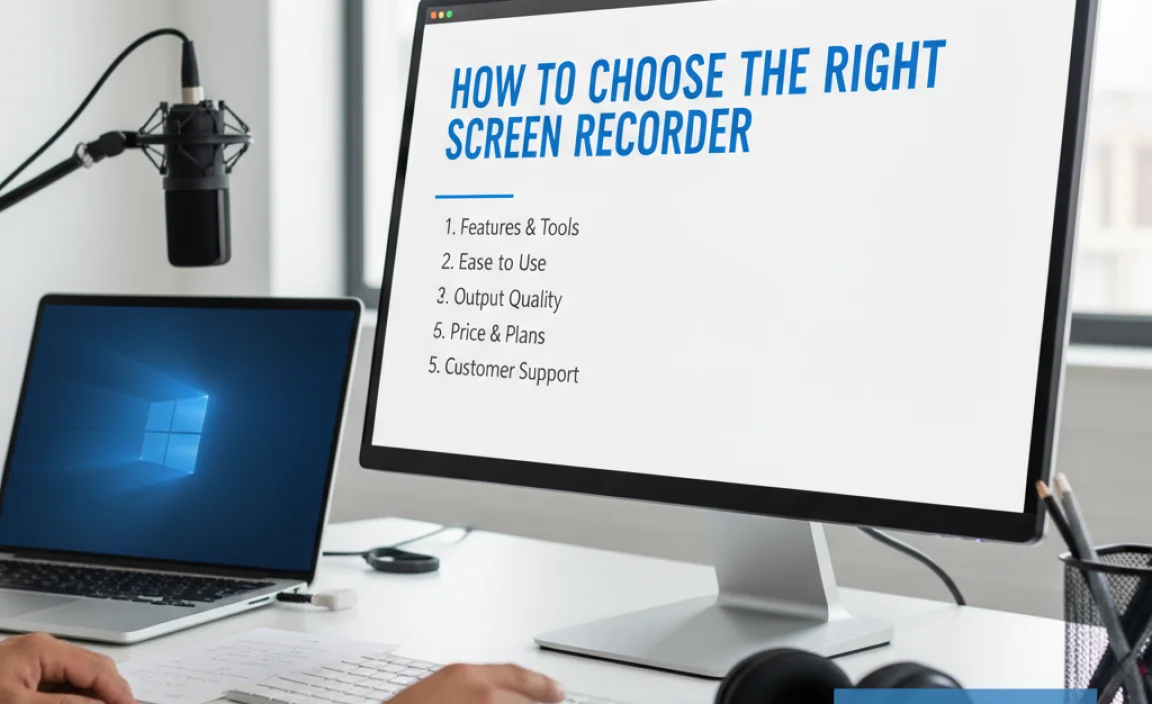
Identifying use cases: Gaming, tutorials, presentations. Evaluating software based on user skill level and requirements.
Choosing the right screen recorder can feel like picking your favorite ice cream flavor—there are so many options, and it can get messy! First, think about what you need it for. Are you a gamer ready to take the top score, an educator making tutorials, or a professional giving a presentation? Each use calls for different features.
Next, match the software to your skills. Some programs are as easy as pie, while others might have a steeper learning curve. If you’re a tech wizard, you might want something advanced. But if pressing buttons makes you sweat, stick with something simple.
| Use Case | Recommended Features | User Skill Level |
|---|---|---|
| Gaming | High FPS, Game Capture | Intermediate+ |
| Tutorials | Editing Tools, Annotations | Beginner+ |
| Presentations | Recording, Screen Sharing | All Levels |
So, look for the features that match your needs, and remember: even the best screen recorder won’t save a poorly made video. Choose wisely, and let the magic begin!
Step-by-Step Guide to Using a Screen Recorder on Windows 10
Detailed instructions for installation and setup. Tips for optimizing recording settings.
Installing a screen recorder on Windows 10 is as easy as pie! First, download your chosen software from its website. Once downloaded, double-click the file and follow the prompts. It’s almost like following a treasure map! After installation, open the software. To optimize your recording, check the settings. Choose the correct resolution and frame rate—like picking the best toppings for your pizza!
| Setting | Recommended Value |
|---|---|
| Resolution | 1920 x 1080 |
| Frame Rate | 30 FPS |
Don’t forget to pick a good microphone to keep your audio crisp and clear! Happy recording, and may your videos sparkle with awesomeness!
Common Problems and Troubleshooting Tips
Frequently encountered issues and their solutions. Ensuring highquality recordings and performance tips.
Recording your screen can be fun, but problems may pop up. Sometimes, your video might look shaky, or the sound might be bad. There are easy fixes for these issues:
- Check your device’s storage. Low space can lessen quality.
- Close any unnecessary programs. This helps your recorder run smoothly.
- Use a stable internet connection. A weak signal can cause lag.
- Make sure your drivers are updated. Outdated software may cause errors.
These tips can help you enjoy high-quality recordings on your good screen recorder for Windows 10!
What should I do if my screen recording is not saving?
If your screen recording isn’t saving, try checking your storage space. Make sure there is enough room on your device. If it’s full, you can delete some files. Also, check your program settings for the save location.
How can I improve recording quality?
- Lower the resolution to reduce file size.
- Use a good microphone for clear sound.
- Ensure proper lighting for video clarity.
User Reviews and Testimonials
Summary of user experiences with various screen recorders. Highlighting realworld use cases and feedback.
Many users have shared their experiences with different screen recorders for Windows 10. They’ve found that some work better than others. For instance, one user said, “It was like magic! I recorded my game, and it looked amazing.” Others use these tools for online classes or creating tutorials. A hint? Always check the audio quality! Here’s a quick summary of feedback:
| Screen Recorder | User Feedback |
|---|---|
| Recorder A | Easy to use, great for beginners! |
| Recorder B | Poor audio, but the video was crystal clear. |
| Recorder C | Perfect for gaming; captures every moment! |
Overall, users love how these tools help them share moments. Remember, a good screen recorder can turn your screen time into “wow” time!
Future Trends in Screen Recording Software
Emerging technologies and their impact on screen recording. Predictions for future upgrades and features in screen recording tools.
New screen recording tech is popping up like popcorn in a microwave! With AI and cloud features, recording will soon become super easy. Imagine quickly sharing video lessons or game highlights without a hitch. Experts believe future tools will include voice commands, real-time editing, and even virtual backgrounds. What’s next? How about capturing moments in 4K with just a wink? The future looks bright for screen recorders!
| Feature | Impact |
|---|---|
| AI Integration | Automates tasks and enhances editing. |
| Cloud Storage | Stores videos securely and easily. |
| Voice Commands | Hands-free recording and control. |
Conclusion
In conclusion, finding a good screen recorder for Windows 10 is easy. Look for features like recording quality, audio options, and user-friendliness. Popular choices include OBS Studio and Camtasia. Test a few options to see which works best for you. Start recording today, and check out online tutorials for more tips on enhancing your videos!
FAQs
What Are The Best Free Screen Recording Software Options Available For Windows 1
Some of the best free screen recording software for Windows are OBS Studio, ShareX, and FlashBack Express. OBS Studio is great for live streaming and recording. ShareX is super easy to use and lets you capture pictures too. FlashBack Express has a simple design, perfect for beginners. You can try any of these to record your screen easily!
How Can I Record My Screen On Windows Without Installing Additional Software?
You can record your screen on Windows using the built-in Xbox Game Bar. First, press the Windows key and the letter “G” together. A window will pop up with options. Click on the “Record” button, which looks like a circle. When you’re done, click “Stop” to save your video.
What Features Should I Look For In A Screen Recorder For Windows 1
When you look for a screen recorder for Windows, check for easy recording options. You want a program that lets you capture the whole screen or just parts of it. It’s great if you can add sounds and your voice. Look for one that is simple to use. Finally, make sure it can save your videos in a common format, so you can share them easily.
Are There Any Screen Recording Tools For Windows That Support Hd Video And Audio?
Yes, there are many screen recording tools for Windows that let you record in HD, which means high definition. Some popular ones are OBS Studio, Bandicam, and Camtasia. These tools also record audio so you can hear sounds too. You can easily download them and start recording your screen.
How Do I Edit My Screen Recordings On Windows After Capturing Them?
To edit your screen recordings on Windows, you can use an app called Photos. First, open Photos and find your recording. Click on it, then press “Edit.” You can trim the video to cut out parts or adjust the colors. When you’re done, click “Save a copy” to keep your changes. That’s it!