Unlock superior audio with an equalizer for Windows 10! This guide helps you find and use the best tools to tailor your sound, from built-in options to powerful third-party software, ensuring crystal-clear audio for music, games, and more. It’s an essential masterpiece for any Windows 10 user.
Equaliser for Windows 10: Your Essential Masterpiece for Superior Sound
Ever feel like your computer’s sound is just… okay? Maybe your music lacks punch, your games don’t have that immersive rumble, or the dialogue in your movies is hard to hear. You’re not alone! Many Windows 10 users find the default audio settings a bit bland. It’s frustrating when you know your speakers or headphones can do better, but the sound just isn’t hitting the mark. But don’t worry!
Getting fantastic audio on your Windows 10 PC is totally achievable, and it’s simpler than you might think. We’re going to explore the world of equalizers, turning your PC’s sound from “meh” to “masterpiece.” Get ready to unlock a whole new level of listening pleasure without needing to be a tech whiz!
Why a Windows 10 Equalizer is a Game-Changer
An equalizer, often called an EQ, is like a sound-sculpting tool for your audio. Instead of just having one volume knob, an EQ lets you boost or cut specific frequencies – the different pitches that make up sound. Think of it like adjusting the bass (low frequencies), treble (high frequencies), and everything in between. Why is this so important for your Windows 10 experience?
- Personalized Listening: Everyone hears differently, and every set of speakers or headphones has its own unique sound profile. An EQ allows you to tailor the audio to your exact preferences and your specific hardware.
- Enhance Specific Content: Music genres sound best with different EQ settings. A classical music piece might benefit from clearer highs, while electronic music might need a bigger bass boost. Gaming audio can become more immersive with adjusted soundscapes.
- Fix Common Audio Issues: Sometimes, audio can sound muddy, tinny, or hollow. An EQ can help correct these imperfections, making dialogue clearer or improving the overall balance.
- Unlock Your Hardware’s Potential: Even budget headphones or speakers can sound significantly better when you fine-tune their output with an equalizer. You’re helping them perform at their best.
Finding Your Sound: Built-In Options on Windows 10
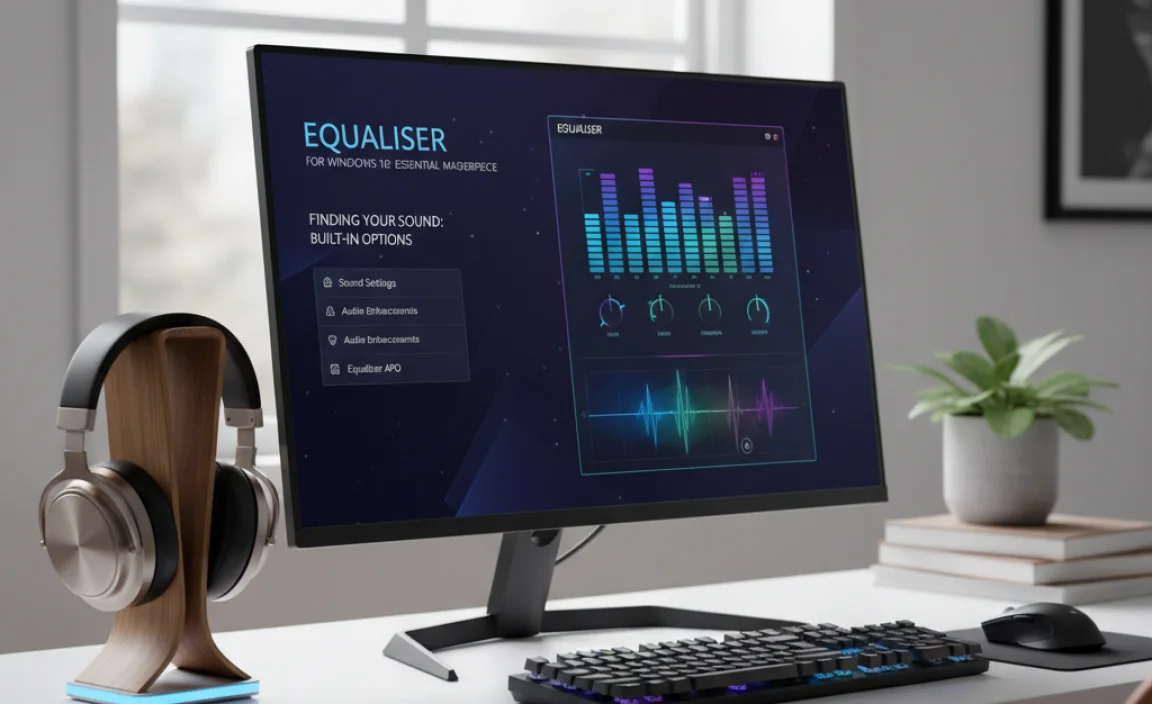
Before we dive into third-party software, it’s good to know what Windows 10 offers right out of the box. You might be surprised at the control you already have!
Accessing the Windows Audio Enhancements
Most of these settings are hiding within the “Sound” control panel. Here’s how to get there:
- Right-click on the speaker icon in your system tray (usually at the bottom right of your screen).
- Select “Sounds” from the context menu.
- In the “Sound” window that pops up, click on the “Playback” tab.
- Right-click on your default audio device (the one with the green checkmark, like ” Speakers” or your headphones).
- Select “Properties”.
- Look for a tab named “Enhancements” or “Advanced”. The exact name can vary slightly depending on your audio drivers, but “Enhancements” is common.
Within this “Enhancements” tab, you’ll find a list of audio effects. One of the most important is the “Equalizer” option.
Using the Built-in Windows 10 Equalizer
If your audio driver supports it, you’ll see an “Equalizer” option here. Tick the box to enable it. Most often, clicking the “Equalizer” option next to it will open a rather basic graphic equalizer window.
This built-in EQ typically offers several preset settings (like “Pop,” “Rock,” “Jazz,” “Classical,” “Bass Boost,” etc.) and a slider for each frequency band. You can select a preset to start with or adjust each slider manually to create your own custom sound profile.
Pro Tip: While this built-in equalizer is a great starting point, it’s often quite limited. For more detailed control and advanced features, external software is usually the way to go.
Other Useful Audio Enhancements
While you’re exploring the Enhancements tab, you might also find features like:
- Bass Boost: Amplifies low-frequency sounds.
- Virtual Surround: Attempts to simulate a surround sound experience from stereo speakers.
- Loudness Equalization: Adjusts volume levels automatically to compensate for quiet and loud passages.
- Room Correction: (Less common on basic drivers) Tries to adjust audio based on your room’s acoustics.
Experiment with these, but remember that the true mastery of sound often lies in granular control offered by a dedicated equalizer.
DIY Sound: Third-Party Equalizer Software for Windows 10
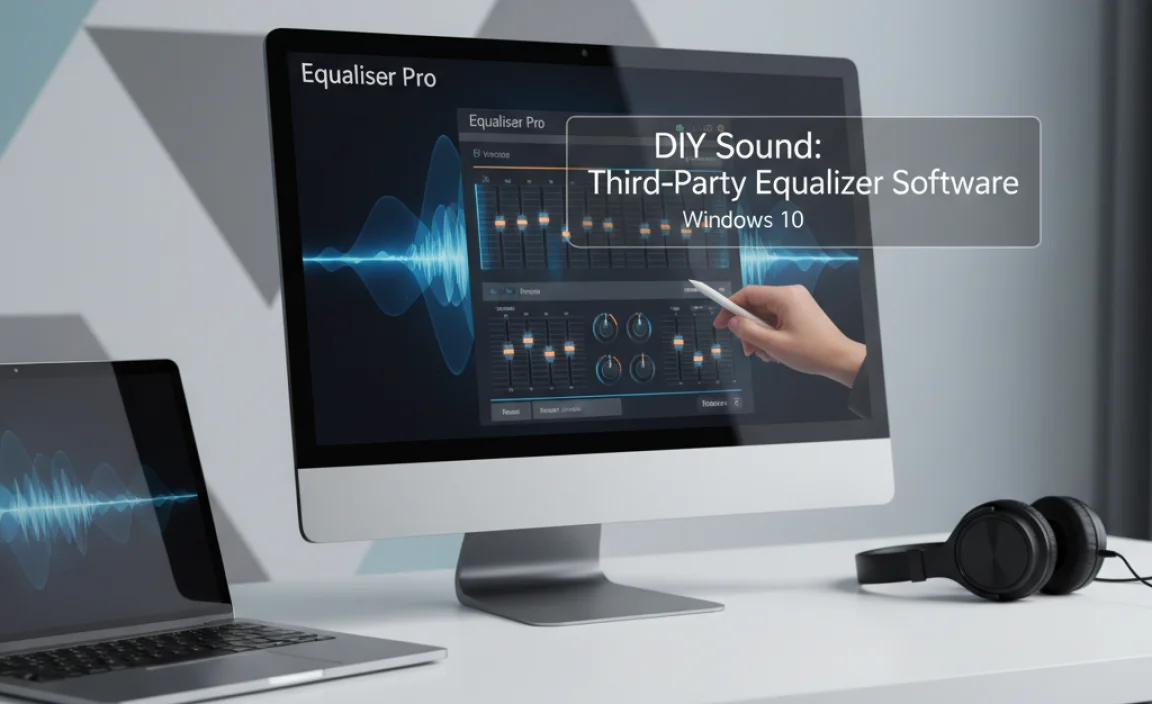
The built-in Windows equalizer is functional, but for true audiophiles or those with specific needs, third-party software offers a much more powerful and flexible experience. These applications often provide more bands on the EQ, advanced filtering, presets, and system-wide audio control.
Our Top Picks for Windows 10 Equalizers
Here are some of the most popular and effective third-party equalizers that work seamlessly with Windows 10 and Windows 11:
1. Equalizer APO (with Peace GUI)
What it is: Equalizer APO is a powerful, royalty-free parametric equalizer for Windows. It’s incredibly effective but has a steep learning curve because it’s primarily configured through text files. That’s where Peace GUI comes in.
Peace GUI: This is a graphical user interface (GUI) that makes Equalizer APO incredibly easy to use. It turns the complex configuration into a user-friendly visual experience.
Why it’s essential:
- System-wide: Works on all applications, not just specific media players.
- Highly Customizable: Offers numerous filter types (low-shelf, high-shelf, bandpass, etc.) and an unlimited number of bands.
- Free and Open-Source: No cost to use, and it’s actively developed by the community.
- Lightweight: Minimal impact on system performance.
How to set it up (simplified):
- Download Equalizer APO: Visit its official SourceForge page or a trusted download site.
- Install Equalizer APO: During installation, you’ll be prompted to select the audio devices you want to apply the EQ to. Choose your main speakers and/or headphones.
- Download Peace GUI: Find the latest Peace GUI release on GitHub or its dedicated website.
- Install Peace GUI: It usually installs alongside Equalizer APO or requires configuration to link to it. Follow the on-screen instructions carefully.
- Launch Peace GUI: Open Peace GUI. You’ll see a visual equalizer. You can now select presets, create your own, and adjust sliders.
- Configure Channels and Device: In Peace, make sure you select the correct output device and channel configuration under the “Config” or “Options” menu.
Where to find more info: For detailed installation and configuration guides, searching for “Equalizer APO Peace GUI tutorial” will yield many excellent step-by-step resources, including on websites like SourceForge and Peace GUI’s project page.
2. Voicemeeter (Banana/Potato)
What it is: Voicemeeter is a virtual audio mixer and sound card for Windows. While its primary function is to mix audio from different sources, its advanced versions (Voicemeeter Banana and Voicemeeter Potato) include sophisticated equalizers and audio processing tools.
Why it’s essential:
- Powerful EQ: Offers multi-band equalizers, often with detailed control over each band.
- Advanced Routing: Allows you to route audio between different applications and hardware devices in complex ways.
- Virtual Inputs/Outputs: Creates virtual audio devices for flexible mixing.
- Comes with Effects: Including compressor, gate, and more, which can work in tandem with the EQ.
Considerations: Voicemeeter has a significant learning curve. It’s aimed at users who need advanced audio control, like streamers or podcasters. For just a simple EQ, it might be overkill, but if you need more, it’s a fantastic all-in-one solution.
Where to find more info: The official website is vb-audio.com.
3. PulseEffects (Linux focus, but alternatives exist for Windows)
What it is: PulseEffects is a popular system-wide audio equalizer primarily for Linux. While there isn’t a direct Windows port that’s as well-known or maintained, its existence highlights the desire for such tools. For Windows, Equalizer APO is the closest equivalent in terms of system-wide impact and power.
Note: Be wary of older or unofficial “PulseEffects for Windows” downloads, as they may be outdated or bundled with unwanted software. Stick to well-known, reputable sources for any audio software.
4. Specific Music Player EQs
Many popular music players have their own built-in equalizers:
- VLC Media Player: Has a decent graphical EQ under Tools > Effects and Filters > Audio Effects > Equalizer.
- Foobar2000: Highly customizable with a powerful included EQ plugin.
- PotPlayer: Also features a good built-in EQ.
The Catch: These EQs only affect the audio played within that specific application. They won’t influence system sounds, browser audio, or other applications.
Mastering Your Sound: How to Use an Equalizer Effectively
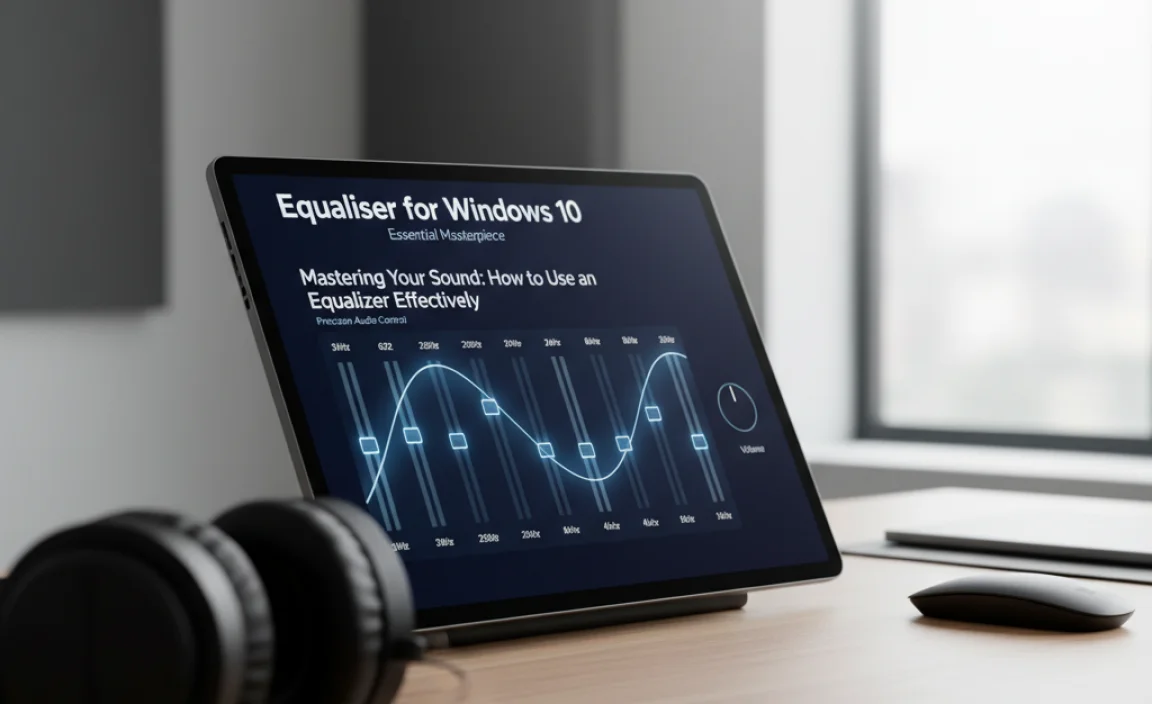
Simply installing an EQ isn’t enough; knowing how to use it is key to creating that “essential masterpiece” of sound. Here’s a beginner-friendly approach.
Understanding Frequency Bands
Equalizers divide the audible spectrum into bands. Here’s a general breakdown of what each range typically controls:
| Frequency Range (Hz) | What it Affects | Common Adjustments |
|---|---|---|
| 20Hz – 60Hz | Sub-bass / Rumble | Boost for deep bass in music/games; cut if it sounds muddy or boomy. |
| 60Hz – 250Hz | Bass / Warmth | Adds richness to music; boost for a fuller sound, cut if it’s overpowering. |
| 250Hz – 500Hz | Low Mids / Body | Gives instruments their fullness; can sound “muddy” or “boxy” if too high. |
| 500Hz – 2kHz | Midrange / Presence | Where most vocals and instruments sit; essential for clarity. Too much can sound harsh. |
| 2kHz – 6kHz | Upper Mids / Clarity | Adds intelligibility to vocals and instruments; boost can make things “pop,” but too much leads to harshness. |
| 6kHz – 16kHz | Treble / Airiness | Adds sparkle, detail, and “air” to the sound; cut if it sounds sibilant (hissy) or too bright. |
| 16kHz+ | Very High Treble / Harmonics | Subtle details, “air.” Often rolled off by speakers/headphones. |
Step-by-Step EQ Adjustments
This is a general guide. Your ears are the ultimate judge!
- Start with a Clean Slate: If using Peace GUI or a similar visual EQ, set all sliders to 0dB (the center). If using presets, pick one that’s close to your desired sound and adjust from there.
- Listen to Familiar Content: Play a song, game, or movie you know very well. This helps you identify what sounds “off” to you.
- Make Small Adjustments: Don’t crank sliders all the way. Adjust by 1-3dB at a time.
- Focus on Areas:
- Too Boomy/Muddy? Try slightly cutting frequencies in the 100-300Hz range.
- Vocals or Instruments Unclear? Try a small boost in the 1-5kHz range.
- Sound Too Dull? Slightly boost frequencies above 6kHz for more “sparkle.”
- Too Harsh or Sibilant? Try a small cut in the 5kHz-8kHz range.
- Want More Punch? Gently boost the bass frequencies (around 60-150Hz).
- Compare A/B: Most EQs (especially Peace GUI) have an “on/off” or “bypass” button. Use this to compare your adjusted sound with the original. Does it sound genuinely better?
- Save Your Presets: Once you find a sound you love, save it as a custom preset! Label it something descriptive like “My Music EQ” or “Gaming Immersion.”
- For Different Content: You might need different EQ profiles for music, movies, and games. Create and switch between them as needed.
Common Pitfalls to Avoid
- Over-Boosting: Boosting too many frequencies, especially at once, can lead to distorted, muddy, orfatiguing sound. Less is often more!
- Boosting Everything: An EQ isn’t a universal volume knob. If everything sounds too quiet, slightly increase the master volume after setting your EQ.
- Ignoring Your Hardware: An EQ can’t miraculously make cheap earbuds sound like high-end studio monitors. It enhances what’s already there.
- Setting It and Forgetting It: Your ideal EQ might change depending on the headphones you’re using or the type of content you’re listening to.
Troubleshooting Common Audio Issues with EQ
Sometimes, you’re not just trying to make things sound better, but trying to fix a specific problem. An equalizer can be a powerful tool for this.
Problem: Dialogue in Movies/Shows is Hard to Hear
Fix: Boost the midrange frequencies, typically between 1kHz and 5kHz. This is where human speech intelligibility lies. Be careful not to boost too much, as it can make the audio sound harsh or “shouty.” You might also consider cutting some booming low frequencies (below 100Hz) if they are muddying the sound.
Problem: Music Sounds Muddy or Lacks Clarity
Fix: Muddy sound is often caused by an overabundance of low-mid frequencies (around 200Hz to 400Hz). Try reducing these frequencies slightly. Then, try boosting the upper midrange (2kHz to 6kHz) or treble (6kHz+) to bring out clarity and detail in instruments and vocals.
Problem: Bass is Overpowering or Boomy
Fix: Reduce the sub-bass (30Hz-60Hz) and bass (60Hz-150Hz) frequencies. If the bass sounds “one-note” or is distorting, you might also want to slightly cut the low-mid range where these frequencies blend.
Problem: Stereo Imaging is Flat or Narrow
Fix: While EQ alone can’t completely fix poor stereo separation from the source audio, subtly boosting the higher frequencies (e.g., 8kHz and above) can add a sense of “width” and “air.” Some dedicated audio plugins (beyond simple EQs) can also affect stereo width.
Problem: System Sounds Are Annoying or Too Loud
Fix: While most system sounds are fixed, if you’re using a system-wide EQ like Equalizer APO, you can create a profile that slightly attenuates the frequencies where these sounds are most prominent, or simply add a gentle global reduction.
Security Considerations for Audio Software
When you’re downloading any software, especially audio drivers or plugins that interact with your system’s core functions, security is paramount. Mike Bentley’s advice:
- Download from Official Sources: Always get your software directly from the developer’s official website or reputable repositories like SourceForge, Microsoft Store, or GitHub. Avoid random download sites.
- Check Reviews & Community Feedback: Look for what other users are saying. Active communities and positive reviews are good signs.
- Scan Downloads: Use your antivirus software to scan any downloaded executable files before running them.
- Be Wary of “Bundles”: If an installer tries to bundle extra software (toolbars, other programs), decline it. This is a common way malware is distributed.
- Understand Permissions: When installing, pay attention to the permissions the software requests. An audio EQ needs access to your audio devices, but it shouldn’t need access to your personal files without a very good reason.
For general Windows security maintenance, regularly update your operating system and keep your antivirus software running. Microsoft provides excellent security guidance at Microsoft Security.
Tips for an Even Better Audio Experience
Beyond just the equalizer, here are some extra tips to elevate your Windows 10 sound:
- Use Quality Headphones/Speakers: This is the single biggest factor. Even the best EQ can’t fix terrible hardware.
- Experiment with Presets: Don’t be afraid to try the pre-made EQ profiles. They can give you a great starting point or inspire your own settings.
- Listen in Context: EQ your audio while doing what you normally do. A setting that sounds great for music might be too boomy for a podcast.
- Consider Room Acoustics: For speakers, the room itself plays a huge role. Treatments like carpets, curtains, and furniture placement can affect sound more than EQ alone.
- Keep Drivers Updated: Sometimes, driver updates from your sound card manufacturer (e.g., Realtek, NVIDIA, AMD) or motherboard manufacturer can improve audio performance or add new features, including better EQ options. You can usually find these on the manufacturer’s support website.
- Disable Unnecessary Enhancements: If you’re using a powerful third-party EQ, it’s often best to disable Windows’ built-in “Enhancements” (like the basic Windows EQ or Bass Boost) to avoid conflicting or muddy sound.
Frequently Asked Questions (FAQ)
Q1: Do I need a special equalizer for Windows 10 or Windows 11?
A1: Windows 10 and 11 have basic equalizer features built into the sound settings. However, for more advanced control and system-wide application, third-party software like Equalizer APO with Peace GUI is highly recommended. It’s free and very powerful!
Q2: Is using an equalizer bad for my speakers or headphones?
A2: Generally, no. When used responsibly, an EQ helps your hardware perform better by adjusting frequencies. Be cautious not to boost frequencies to their absolute maximum for extended periods, as this could potentially stress certain drivers, but normal adjustments are safe.
Q3: How do I make my game audio sound more immersive with an EQ?
A3: For games, try boosting the low frequencies for explosions and impact (around 60-150Hz), and the mid-high frequencies (2kHz-6kHz) for crucial in-game sounds like footsteps or voice chat. Experimentation is key to finding what works for your specific game and setup.
Q4: My sound suddenly stopped working after installing an EQ. What should I do?
A4: Don’t panic! This usually means the EQ is misconfigured or conflicting with another setting. The easiest fix is to uninstall the EQ software. If you used Equalizer APO, you can also try running its uninstaller and reinstalling it, paying close attention to which devices you select. Alternatively, you can go back to Windows Sound Settings > Playback devices > your device > Properties > Enhancements and disable all enhancements.
Q5: Can an equalizer fix distorted audio?
A5: An EQ might help if the distortion is due to a specific frequency range being overemphasized. For example, if bass is distorting, you can reduce those frequencies. However, if the audio source itself is distorted or your hardware is being pushed beyond its limits, an EQ can only do so much.
Q6: What’s the difference between graphic and parametric equalizers?
A6: A graphic equalizer has fixed frequency bands with sliders you adjust. It’s easy to use. A parametric equalizer (like Equalizer APO) is more advanced, allowing you to adjust the center frequency, the bandwidth (how wide of a range it affects), and the gain (boost/cut) for each band, offering much more precise control.
Conclusion: Your Sound, Your Masterpiece
Bringing an equalizer into your Windows 10 or Windows 11 setup is one of the most effective ways to transform your audio experience from ordinary to extraordinary. Whether you’re enjoying music, getting lost in a game, or watching your favorite movie, having control over your sound is essential.
We’ve shown you that you don’t need to be an audio engineer to achieve professional-sounding audio. From leveraging the built-in Windows enhancements to mastering the power of free, advanced tools like Equalizer APO with Peace GUI, the path to superior sound is clear and accessible. Remember to experiment, listen carefully, and make adjustments that suit your ears and your hardware best.
By following these steps and tips, you can confidently tweak and perfect your audio, turning your PC into a true sound machine. You’ve got the power to make your audio exactly how you want it – a true masterpiece. Keep exploring, keep listening, and enjoy the fantastic sound you’ve created!