Epson Mac driver install: free & easy is a crucial step for unleashing the full potential of your Epson printer on your Apple computer.
While technology can sometimes feel daunting, installing drivers for your Epson devices on a Mac is surprisingly straightforward and, best of all, completely free. This guide will walk you through the process, from locating the correct driver to ensuring a seamless printing experience.
Why You Need Epson Mac Drivers


Think of drivers as the translators between your Epson printer and your Mac. Without the correct driver, your computer won’t know how to communicate with the printer, preventing you from sending documents to print, scanning, or utilizing any advanced features of your Epson device.
Manufacturers like Epson release specific drivers for different operating systems and printer models to ensure optimal compatibility and functionality. This is especially true for macOS, which has its own unique way of handling hardware.
Finding the Right Epson Driver for Your Mac

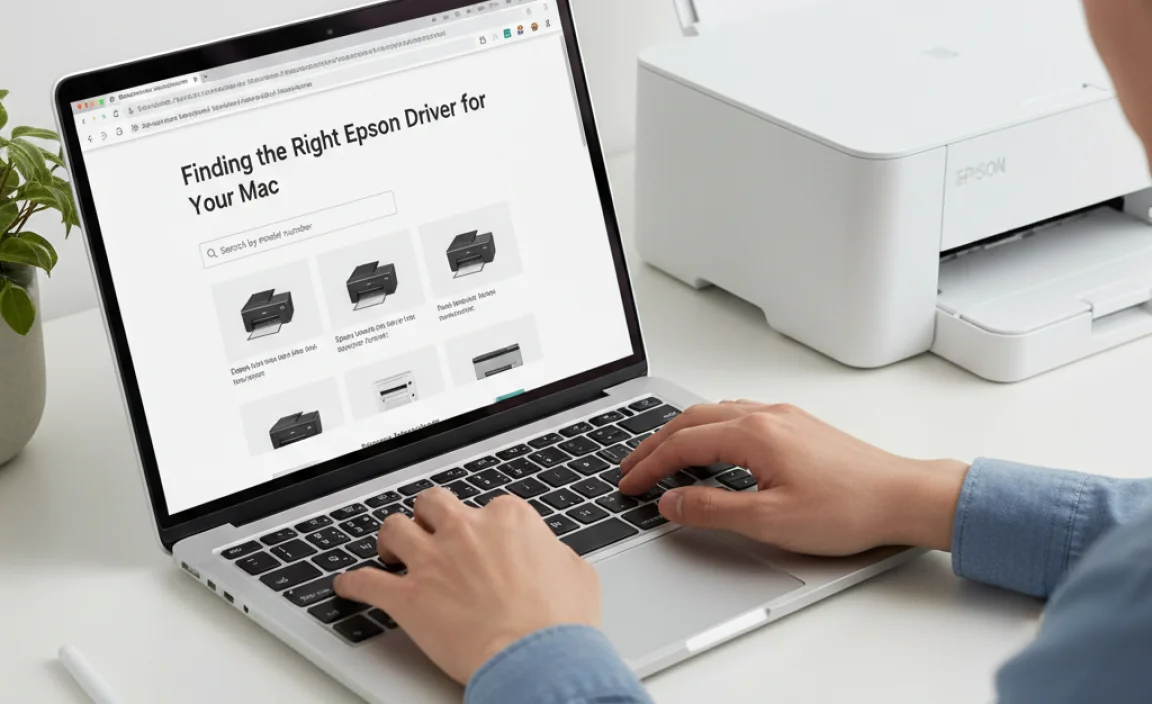
The first step to a successful Epson Mac driver install is to download the correct software. Fortunately, Epson provides a dedicated support website where you can easily find all the necessary drivers and utilities.
1. Identify Your Epson Printer Model: This is the most critical piece of information. Look for a label on the front, side, or back of your printer that clearly states the model number (e.g., Epson EcoTank ET-2800, Epson Expression Home XP-4100).
2. Navigate to the Epson Support Website: Open your web browser and go to your region’s official Epson support website (e.g., epson.com for the US).
3. Search for Your Product: On the support page, you’ll typically find a search bar or a “Support” or “Printers” section. Enter your printer’s model number.
4. Select Your Operating System: Once you’ve found your printer’s page, you’ll be prompted to select your operating system. Make sure to choose the correct version of macOS that you are currently running. You can usually find this information by clicking the Apple icon in the top-left corner of your screen and selecting “About This Mac.”
5. Download the Driver: You’ll likely see a list of available software and drivers. Look for the “Drivers & Utilities Combo Package” or a similar option. This package usually includes all the essential software needed for your printer, including the print driver, scanner driver (if applicable), and any helpful utility programs. Click the download button.
Important Note: Be wary of downloading drivers from unofficial third-party websites. These can sometimes contain malware or outdated software. Always obtain drivers directly from the manufacturer’s official website.
The Epson Mac Driver Install Process

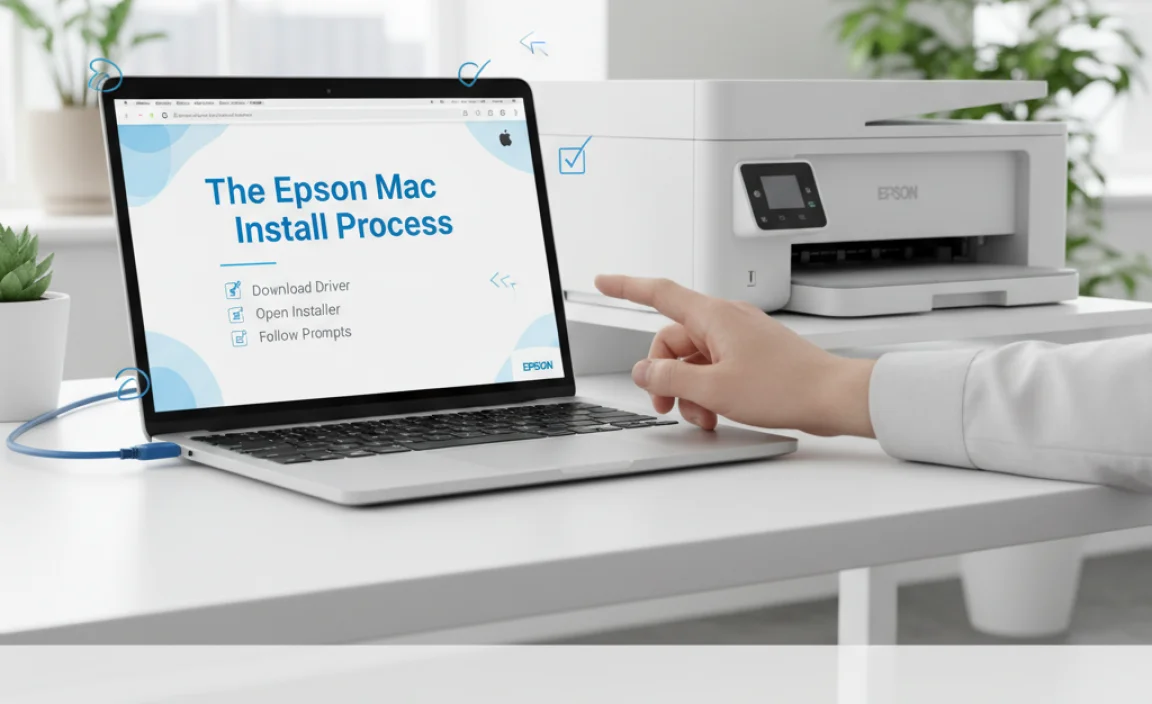
Once you’ve downloaded the driver package, the installation is generally a guided and intuitive process.
1. Locate the Downloaded File: Open your Downloads folder (or wherever your browser saves downloaded files) and find the `.dmg` file you just downloaded.
2. Open the Disk Image: Double-click the `.dmg` file. This will mount the disk image, creating a virtual drive on your desktop or in your Finder window.
3. Run the Installer: Inside the mounted disk image, you’ll find the installer application (usually named something like “Install Epson Software” or “Printer Installer”). Double-click this to launch the installation wizard.
4. Follow the On-Screen Instructions: The installer will guide you through the process. This typically involves:
Accepting License Agreements: Read through and accept the terms and conditions.
Choosing Installation Options: You may have the option to install the full suite of software or select specific components. For most users, the default “recommended” installation is perfectly fine.
Connecting Your Printer: The installer will likely prompt you to connect your printer. Ensure your printer is powered on and connected to your Mac via USB cable or, if it’s a network printer, that it’s connected to your Wi-Fi network. The installer might ask you to confirm the connection type.
Completing the Installation: The installer will copy the necessary files to your Mac. This usually takes a few minutes.
5. Restart Your Mac (Recommended): While not always strictly necessary, restarting your Mac after installing new drivers is a good practice to ensure all changes are applied correctly.
Verifying the Epson Mac Driver Install and Printing Freedom
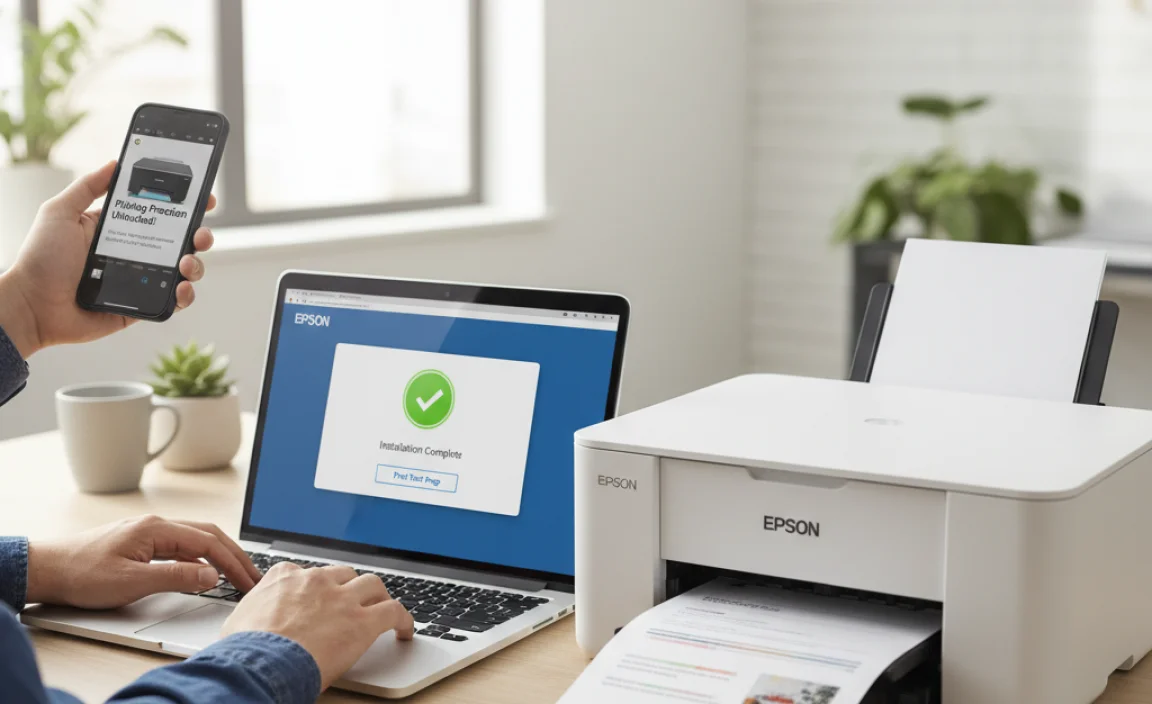

After the installation is complete and your Mac has been restarted, it’s time to test your printer.
1. Open a Document: Launch any application that can print (e.g., Pages, TextEdit, Preview).
2. Go to Print: Select “File” from the menu bar and choose “Print.”
3. Select Your Epson Printer: In the print dialog box, ensure your Epson printer is selected from the dropdown list of available printers.
4. Print a Test Page: You can either print your current document or look for an option to print a test page within the printer settings.
If your printer successfully prints the test page or document, congratulations – your Epson Mac driver install was a success! You can now enjoy printing and scanning with all the features your Epson device offers.
Troubleshooting Common Issues


Even with a straightforward process, occasional hiccups can occur. Here are a few common issues and how to resolve them:
Printer Not Appearing in Print Dialog:
Ensure your printer is powered on and correctly connected to your Mac (USB or Wi-Fi).
Restart both your printer and your Mac.
Try removing and re-adding the printer in System Settings. Go to Apple Menu > System Settings > Printers & Scanners. Click your printer, then click “-“, then “+”, and re-add it.
Error Messages During Installation:
Double-check that you downloaded the correct driver for your specific printer model and macOS version.
Ensure you have administrative privileges on your Mac to install software.
Temporarily disable any antivirus software, as it might interfere with the installation process. Remember to re-enable it afterward.
Printing Issues After Installation:
Ensure the correct paper size and type are selected in the print dialog.
Check the printer’s ink or toner levels.
Open your scanner software (often called Epson Scan or similar) to test the scanning functionality.
By following these steps, you can confidently perform an Epson Mac driver install: free & easy, ensuring your Epson printer works flawlessly with your Apple devices. Enjoy hassle-free printing and scanning!