Playing and burning DVDs on Windows 10 is straightforward. While Windows 10 doesn’t include a built-in DVD player app, you can easily download free software or use the built-in capabilities for burning data to discs. This guide walks you through everything you need, from playback options to creating your own DVDs.
Why Are We Talking About DVDs in a Digital Age?
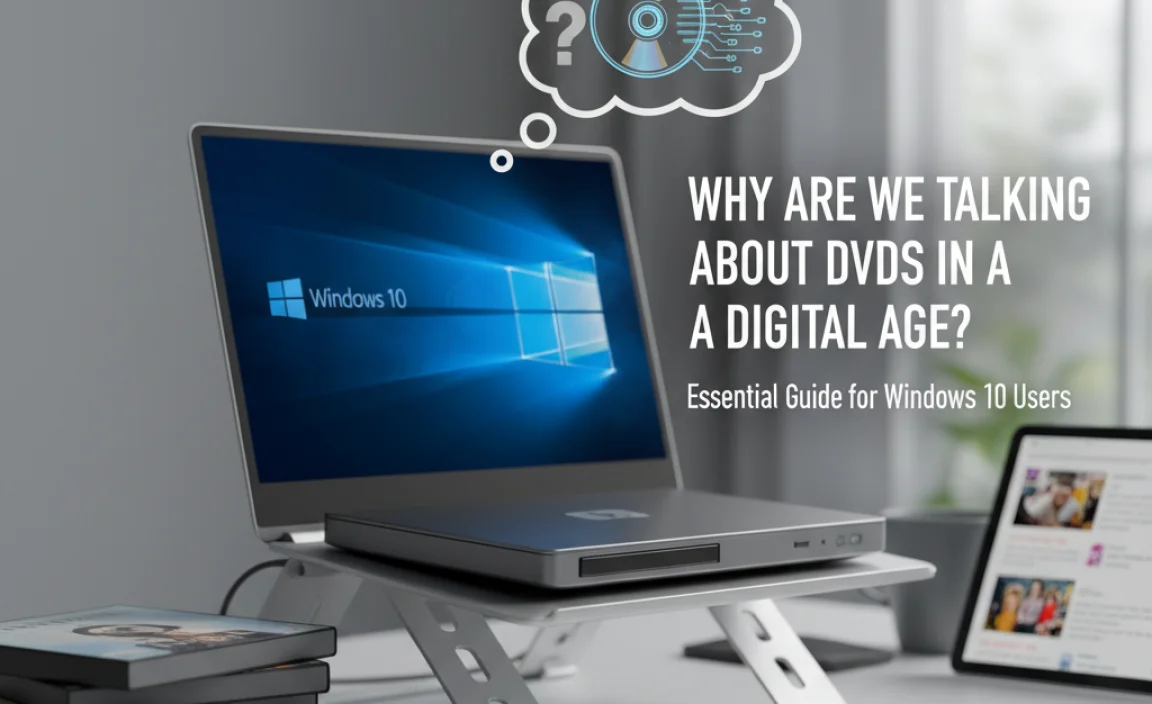
It might seem a little old-fashioned, but DVDs are still around! Maybe you have a collection of movies stored on discs, or perhaps you need to share large files with someone who still uses a DVD drive. Whatever the reason, you might be wondering if your Windows 10 computer can still handle them. The good news is, yes, it absolutely can!
It’s a common question, and sometimes a frustrating one when you just want to pop in a disc and everything isn’t instantly ready to go. But don’t worry, I’m here to show you exactly how to get your DVDs playing and even how to burn your own discs. We’ll break it down step-by-step, making it easy and stress-free.
Do You Even Need a DVD Drive Anymore?
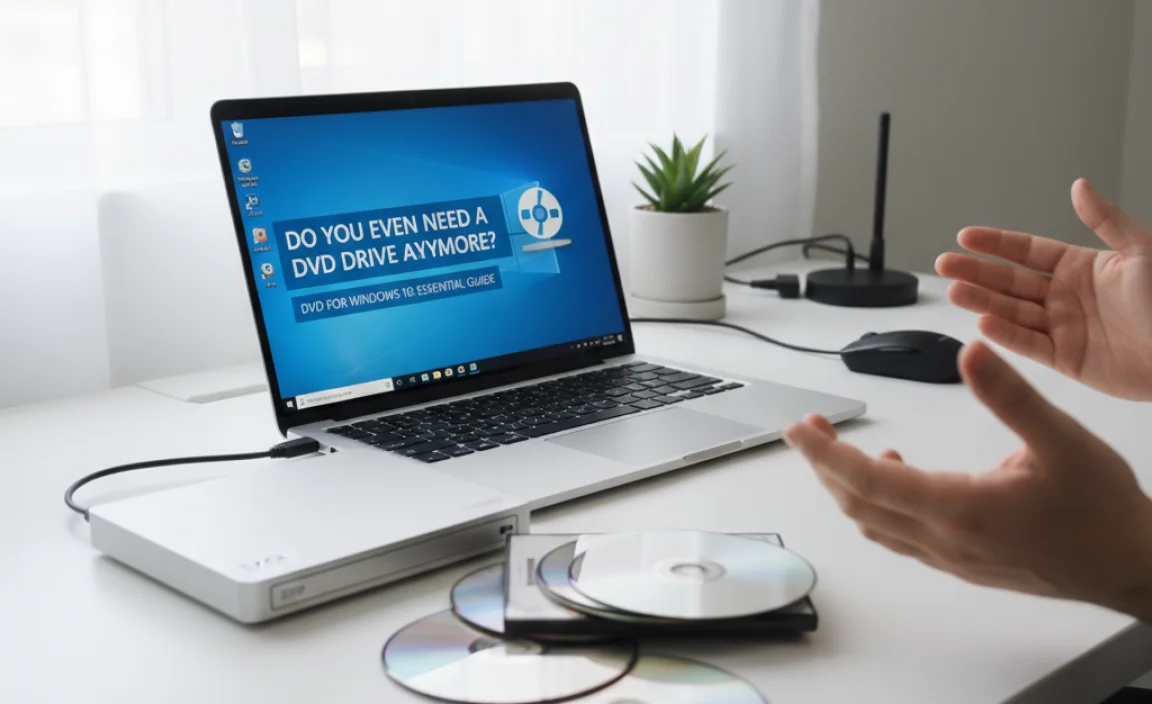
Before we dive into the how-to, let’s briefly touch on whether you actually need a DVD drive. These days, streaming services and USB drives are super popular. However, there are still some good reasons why a DVD drive might be useful:
- Movie Collections: Many of us have stacks of DVDs. If you want to revisit those classics without buying them again digitally, a DVD drive is your ticket.
- Older Software/Games: Some older software or games came on discs. If you need to install them on your Windows 10 PC, a DVD drive is essential.
- Backups: While cloud storage and external hard drives are more common, DVDs can still be a viable option for backing up important files, especially for long-term archival storage if you have the right type of discs.
- Sharing Large Files: If you need to share very large files with someone who doesn’t have fast internet or a lot of storage, burning them to a DVD can be a method.
Checking If Your PC Has a DVD Drive
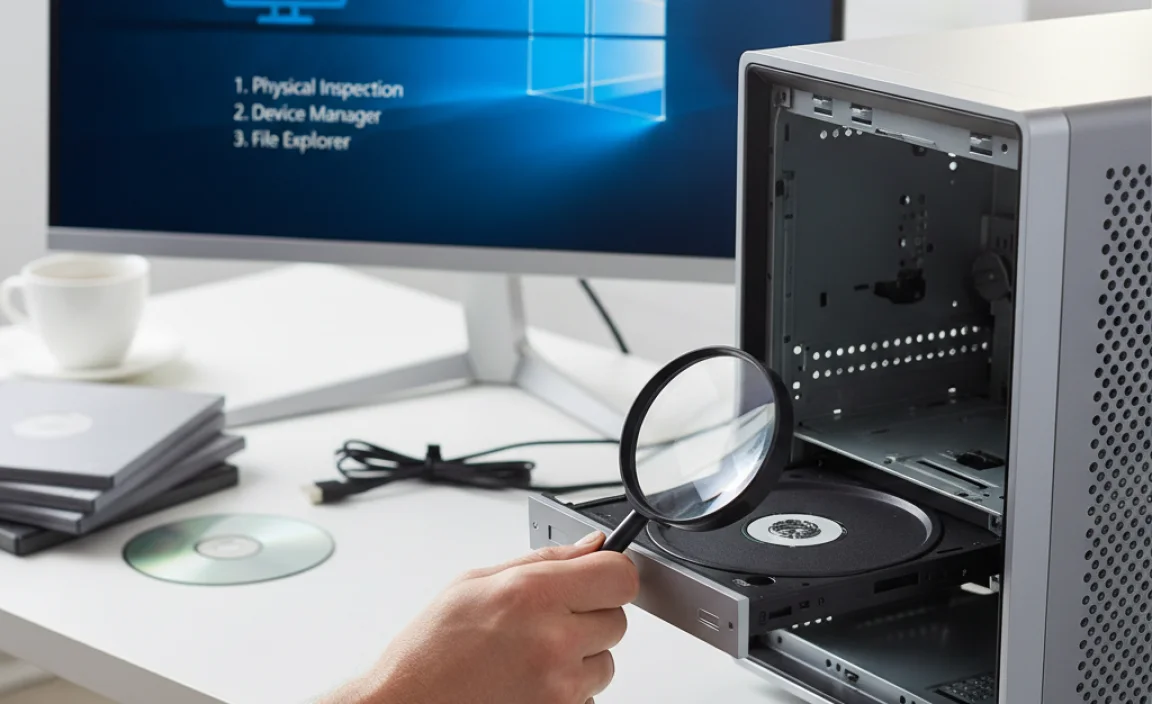
First things first, you need to know if your computer actually has a DVD drive. Most modern laptops and desktop towers don’t come with them anymore, but some might. Here’s how to check:
Visual Inspection:
Look at the sides of your laptop or the front of your desktop tower. You’re searching for a slim tray that can pop out. It usually has a small button or a little pinhole you can press with a paperclip to open it. If you see this, you likely have a CD/DVD drive.
Using Device Manager:
If you can’t find it visually, or you want to be absolutely sure, you can check in Windows itself:
- Right-click the Start button (the Windows icon in the bottom-left corner of your screen).
- Select Device Manager from the menu.
- In the Device Manager window, look for a category called DVD/CD-ROM drives.
- Click the arrow next to it to expand the list. If you see an item listed there, your computer has a DVD drive.
What If You Don’t Have One?
No DVD drive? Don’t fret! You have a couple of easy options:
- External DVD Drive: You can buy an external USB DVD drive. They’re relatively inexpensive and just plug into a USB port on your computer. This is the simplest solution.
- Streaming/Digital Copies: For movies, consider if digital purchase or streaming is an option.
- Alternative File Sharing: For large files, cloud storage services (like OneDrive, Google Drive, Dropbox) or USB flash drives are more modern alternatives.
Playing DVDs on Windows 10: Your Options

This is where things can get a little confusing for some. Straight out of the box, Windows 10 (and Windows 11) doesn’t come with a pre-installed app that can play commercial DVDs. This is mainly due to licensing costs for the necessary decoding technology. But, as always, there are easy fixes!
Option 1: Microsoft’s Paid DVD Player App
Microsoft does offer an official DVD player app, but it’s not free. You can find it in the Microsoft Store.
- Open the Microsoft Store (search for it in the Start menu).
- Search for “DVD Player”%20%20.
- You’ll see the “DVD Player”%20 app listed. Click on it.
- If your PC meets the requirements, you’ll likely see an option to Get or Install it. Sometimes there’s a free trial period, or it might be included with certain Windows editions.
Pros: Official Microsoft app, designed for Windows, straightforward playback.
Cons: Costs money.
Option 2: Free Third-Party DVD Player Software (Recommended!)
This is usually the best route for most people. There are several excellent free programs that can play DVDs with no problem. Here are a couple of popular and reliable choices:
VLC Media Player
VLC is a superstar when it comes to media playback. It handles almost any video or audio format you throw at it, and that includes DVDs. It’s completely free and open-source.
How to Use VLC for DVDs:
- Go to the official VLC website: https://www.videolan.org/vlc/
- Download the latest version for Windows.
- Install VLC following the on-screen instructions. It’s a standard installation, just keep clicking “Next.”
- Once installed, insert your DVD into the drive.
- Open VLC Media Player.
- Go to Media > Open Disc…
- Make sure Disc type is set to DVD.
- Click the Play button.
Pros: Free, plays virtually all media formats, reliable, widely trusted.
Cons: The interface might look a bit basic to some, but it’s incredibly functional.
Other Free Options
While VLC is my top recommendation, other free players like 5KPlayer or Leawo Free DVD Player are also capable of playing DVDs. Always download software from official websites to avoid malware.
Troubleshooting DVD Playback
Still not playing? Here are a few common hiccups and how to fix them:
- Is the Disc Clean? Check for scratches or smudges on the DVD. Gently clean it with a soft, lint-free cloth, wiping from the center outwards.
- Is the Drive Working? Try inserting a different DVD to see if the drive itself is the issue. If it can’t read any discs, the drive might be failing.
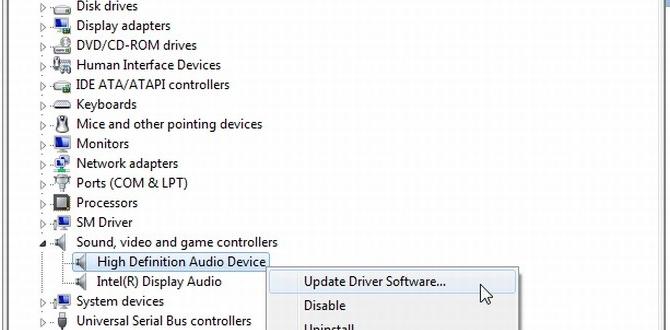
- Check Drivers: Though less common for DVD drives, sometimes driver issues can occur. Open Device Manager (as shown earlier), find your DVD drive, right-click it, and select Update driver. Choose to search automatically.
- Region Codes: Commercial DVDs have region codes to prevent piracy. Your DVD drive is set to a specific region. If the disc is from a different region, it won’t play. Some players (like VLC) can sometimes bypass this, or you might be able to change your drive’s region code a limited number of times. You can check your drive’s region code in Device Manager under its properties.
Burning Data to a DVD in Windows 10
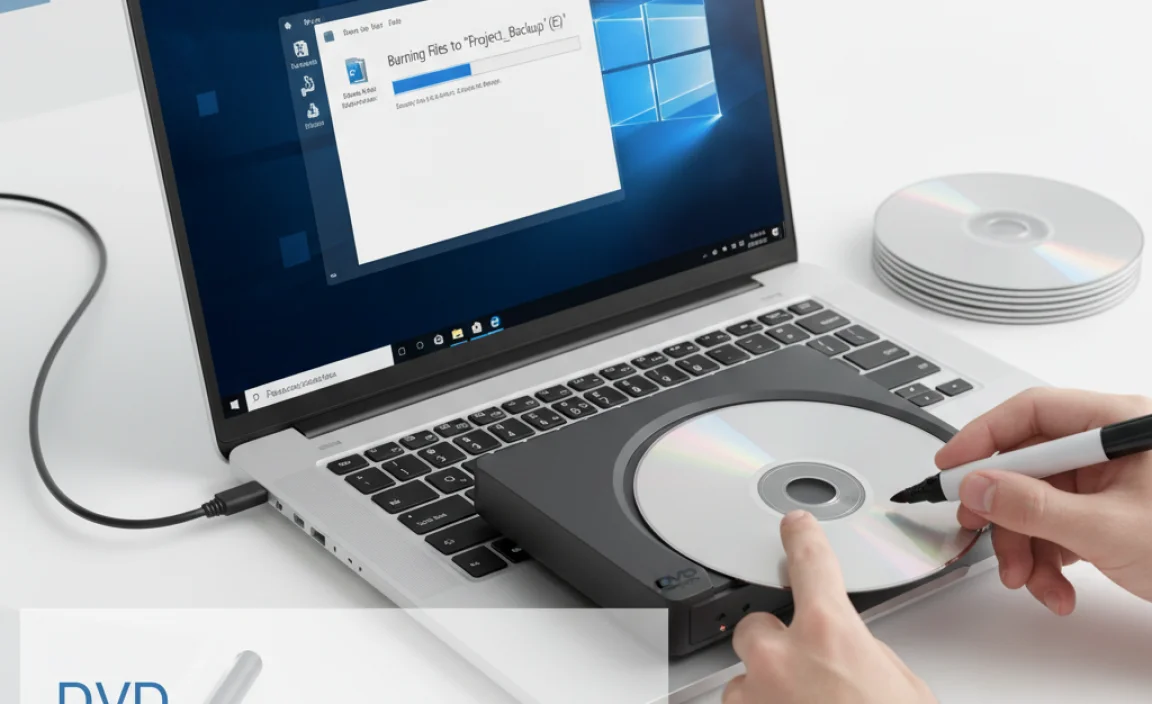
Unlike playing commercial movie DVDs, Windows 10 has built-in support for burning data files (documents, photos, videos, etc.) onto blank DVDs. This is a straightforward process.
What You’ll Need:
- A DVD drive that can write (burn) discs (most optical drives can).
- Blank DVDs (DVD-R or DVD+R are common and widely compatible).
Steps to Burn a Data DVD:
- Insert a blank DVD into your DVD burner.
- Windows should pop up an AutoPlay window asking what you want to do with the disc. If it doesn’t, open File Explorer (the yellow folder icon on your taskbar), and click on your DVD drive in the left-hand pane.
- At the top of the File Explorer window, you will see options for how to use the disc. Choose Burn files to disc.
- A window will appear asking for a name for your disc. Type in a descriptive name (e.g., “My Photos 2023”).
- Choose “With a CD/DVD player” (this is usually the most compatible option) or “a CD/DVD recorder” for faster burning.
- Click Next.
- Now, you can drag and drop the files and folders you want to burn from other File Explorer windows into the blank disc window that just opened.
- Once you’ve added all your desired files, click the Burn to disc button at the top of the File Explorer window.
- Windows will start the burning process. This can take several minutes depending on the amount of data and the speed of your drive. Do not remove the disc or shut down your computer during this process.
- When it’s finished, the disc will usually eject automatically, and you’ll have a finalized DVD with your data on it.
Important Notes on Burning Data DVDs:
- Disc Capacity: Standard DVDs hold about 4.7 GB of data. If your files exceed this, you’ll need more than one disc or a different method.
- Finalizing the Disc: When you choose “With a CD/DVD player”, Windows finalizes the disc. This means you can’t add more files later. If you choose the other option for recorders, you might be able to add more files later in a separate session, but this can sometimes lead to compatibility issues. For most users, finalizing is best.
- Verifying Data: After burning, it’s a good idea to open the newly burned DVD and check that all your files are there and accessible.
Burning Video DVDs (Creating from Videos)
This is a bit more involved than just burning data. Creating a video DVD that can play in standard DVD players requires specific software to encode your video files into the correct DVD format (like VOB files within a VIDEO_TS folder). Windows 10 does not have a built-in tool for this.
Recommended Software for Video DVDs:
You’ll need third-party software for this. Here are some popular choices:
Free Options:
- OpenShot Video Editor (While primarily an editor, you can export projects and then use another tool to burn the video files to a DVD structure).
- Nero Burning ROM (Older versions sometimes had free components or trials that could do this, but it’s largely a paid product now).
- Freemake Video Converter (Often includes DVD burning features, but be mindful of bundled software during installation).
Paid Options:
- Nero Platinum Suite: A comprehensive suite that excels at disc burning, video editing, and more.
- CyberLink PowerDirector: Another professional-grade option with robust DVD creation tools.
General Process for Video DVDs (using a converter/burner tool):
The exact steps vary by software, but the general idea is:
- Install your chosen video DVD creation software.
- Launch the software and select the option to “Create DVD” or “Burn Video to DVD”.
- Add the video files (e.g., MP4, AVI) you want to put on the DVD.
- The software will likely prompt you to create a DVD menu (optional, but nice for navigation) or just burn the video directly.
- Choose your DVD burner as the destination drive and select the burning speed.
- Insert a blank DVD.
- Start the burn process. This will convert your video and write it to the disc, which can take a considerable amount of time.
For a detailed, step-by-step guide on using a specific software, it’s best to consult that software’s documentation or search for tutorials specific to it.
Understanding Different Disc Types
It’s helpful to know the difference between DVD types, especially when burning.
| Type | Capacity | Re-writable? | Compatibility |
|---|---|---|---|
| DVD-ROM | 4.7 GB | No | Read-only (factory pressed) |
| DVD-R | 4.7 GB | No | Very High (record once) |
| DVD+R | 4.7 GB | No | High (record once), often preferred for video |
| DVD-RW | 4.7 GB | Yes (many times) | Good, but can be less compatible than -R/+R |
| DVD+RW | 4.7 GB | Yes (many times) | Good, can be written like a floppy disk, but less compatible for playback |
| Double Layer (DVD-R DL / DVD+R DL) | ~8.5 GB | No | Good (record once), higher storage |
Which Type to Choose for Burning?
For backing up data or creating simple video DVDs, DVD-R or DVD+R are generally the most reliable and widely compatible choices. If you need to try burning a disc multiple times for testing, DVD-RW can be useful, but always check that the playback device supports RW discs well.
Keeping Your Disc Experience Secure
While playing or burning discs is generally safe, a few security points are worth noting:
- Software Downloads: Always download media players or burning software from the official websites of the developers (like VideoLAN for VLC). Avoid third-party download sites, which can bundle malware or unwanted adware. Microsoft’s website and the Microsoft Store are generally safe sources for official applications.
- Physical Discs: Be cautious if you receive discs from unknown sources. While rare, a disc could potentially be used to deliver malware, although this is much less common now than in the past. Treat discs like any other physical item you receive from someone you don’t fully trust.
- Driver Updates: Ensure your system drivers are up-to-date, especially if you encounter issues with your optical drive. You can get driver updates directly from your computer manufacturer’s website or through Windows Update.
- Data Integrity: For critical backups on DVDs, consider using the more robust DVD+R format and verify your data after burning. For truly vital archives, multiple backup methods (including reliable cloud or hard drive backups) are recommended.
Helpful Resources:
For official guidance on hardware and software compatibility in Windows, Microsoft’s support pages are invaluable:
Frequently Asked Questions (FAQ)
Q1: Does Windows 10 come with a DVD player?
No, Windows 10 does not include a built-in DVD player application for commercial movie DVDs due to licensing. However, you can download free software like VLC Media Player, or purchase the official Microsoft DVD Player from the Microsoft Store.
Q2: How can I play a movie DVD on my Windows 10 computer?
The easiest way is to download and install a free media player like VLC Media Player. Once installed, insert your DVD, open VLC, go to “Media” > “Open Disc,” and select “DVD.” Then click “Play.”
Q3: I want to burn my photos and videos from my computer to a DVD. Can Windows 10 do this?
Yes! Windows 10 has built-in tools for burning data files. Insert a blank DVD, open File Explorer, navigate to your DVD drive, choose “Burn files to disc,” add your files, and click “Burn to disc.”
Q4: Can I burn a DVD movie that I created from video files in Windows 10?
Windows 10 doesn’t have a built-in tool to create playable video DVDs from common video files (like MP4s). You’ll need to use third-party software, either free or paid, that specializes in converting video to DVD format and burning it.
Q5: My DVD drive isn’t showing up in Windows 10. What should I do?
First, check that the drive is physically connected and powered on (if it’s an external drive). Then, open Device Manager, look for “DVD/CD-ROM drives,” and see if your drive is listed. If it’s there but has an error icon, try right-clicking it and selecting “Update driver” or “Uninstall device” (then restart your PC to let Windows reinstall it). If it’s not listed at all, there might be a hardware issue.
Q6: What’s the difference between DVD-R and DVD+R?
Both DVD-R and DVD+R are recordable DVDs you can burn data to once. DVD-R is slightly older and has very broad compatibility. DVD+R is a bit newer, can sometimes be written more flexibly, and is often preferred for video DVDs, though compatibility is also excellent.
Conclusion: Enjoy Your Discs with Confidence!
So there you have it! While discs might be a bit of a throwback, playing and burning DVDs on your Windows 10 computer is definitely still achievable and remarkably easy with the right tools. You can revisit your favorite movies using free players like VLC, or archive your precious memories by burning them onto blank discs using Windows’ built-in functionality. Remember to always download software from trusted sources to keep your system secure and free from unwanted programs.
Don’t let a little technical hurdle stop you from enjoying your media or backing up your important files. With these straightforward steps, you’re now equipped to handle your DVD needs in Windows 10. You’ve got this! Keep exploring, keep learning, and feel confident managing your PC’s capabilities.