
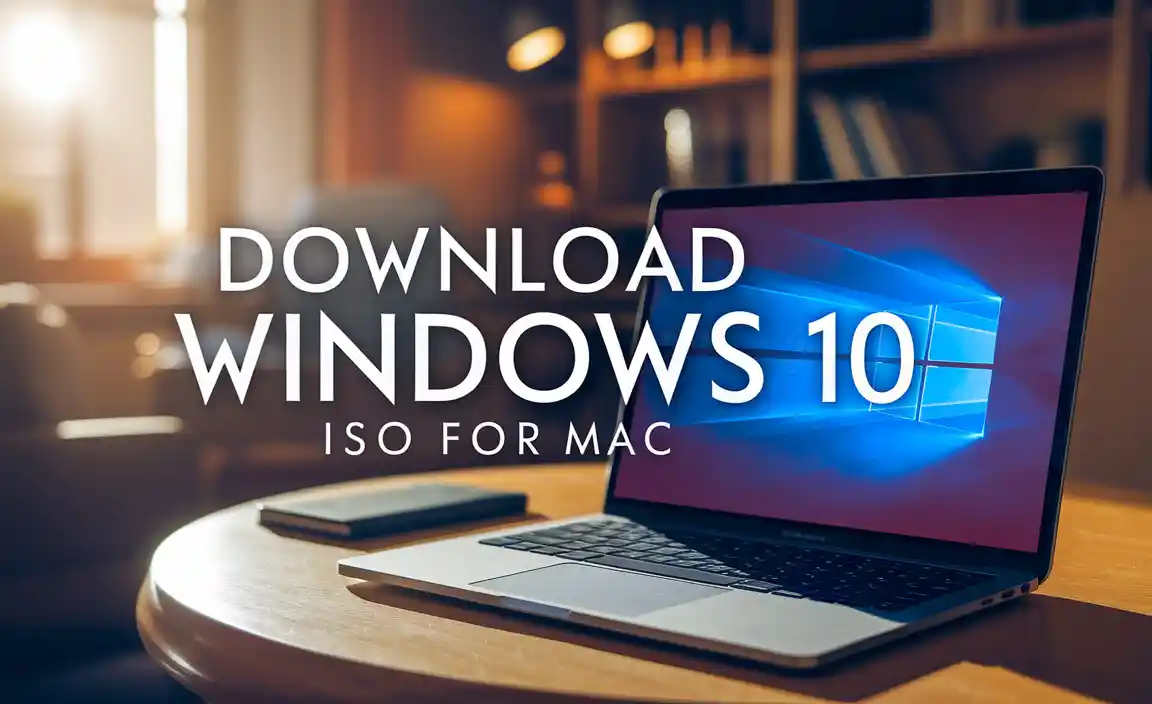
Downloading Windows 10 ISO for Mac is a surprisingly straightforward process, even though it might seem a bit counterintuitive at first. Many Mac users find themselves needing to run Windows applications, test software, or simply have the flexibility of a dual-boot setup. Fortunately, Apple’s built-in Boot Camp Assistant, or various virtualization software, makes this a reality without needing to purchase a separate Windows PC. This guide will walk you through the essential steps, focusing on how to acquire the necessary Windows 10 ISO file and the subsequent installation methods.
The most crucial element of installing Windows on your Mac is obtaining a legitimate Windows 10 ISO (Disk Image) file. This file is essentially a bootable copy of the Windows 10 operating system. Microsoft provides a free tool called the Media Creation Tool that allows you to download the latest version of Windows 10 directly from their official servers. It’s important to use this tool for authenticity and to ensure you’re getting a clean, uncorrupted image.
Obtaining Your Windows 10 ISO for Mac
To begin the process of downloading Windows 10 ISO for Mac, head over to the official Microsoft Windows 10 download page. You’ll need a computer with internet access to download the Media Creation Tool. Once there, locate the “Download tool now” button and save the executable file to your Mac.
When you run the Media Creation Tool, you’ll be presented with licensing terms, which you’ll need to accept. The next crucial step is to select “Create installation media (USB flash drive, DVD, or ISO file) for another PC.” This selection ensures the tool prepares an ISO file rather than an immediate installation on the current machine.
Following this, you’ll be prompted to choose the language, edition (usually Windows 10 Home or Pro), and architecture (64-bit is almost universally recommended for modern Macs). You can uncheck “Use the recommended options for this PC” if you need to select different options. The tool will then offer you the choice between a USB flash drive or an ISO file. For our purpose, you’ll select “ISO file” and choose a location on your Mac to save it. The download size can be several gigabytes, so ensure you have sufficient free space and a stable internet connection. This process can take a considerable amount of time depending on your internet speed.
Installing Windows 10 on Your Mac
Once you have successfully managed to download Windows 10 ISO for Mac, you have two primary methods for installation: using Boot Camp Assistant for a dual-boot setup, or employing virtualization software for running Windows within macOS.

Using Boot Camp Assistant (Dual-Boot)
Boot Camp Assistant is Apple’s native utility designed to help you install Windows on your Mac alongside macOS. This allows your Mac to function as a full-fledged Windows PC, with dedicated resources allocated to each operating system.
1. Launch Boot Camp Assistant: Open the “Utilities” folder within your “Applications” folder and launch “Boot Camp Assistant.”
2. Partition Your Drive: Boot Camp Assistant will guide you through creating a separate partition on your Mac’s hard drive for Windows. You’ll be able to adjust the size of this partition, ensuring you allocate enough space for Windows and your applications. A minimum of 64GB is recommended, but 128GB or more is preferable for a smoother experience.
3. Install Windows: The assistant will then prompt you to select the Windows 10 ISO file you downloaded earlier. It will then proceed to format the newly created partition and begin the Windows installation process. Your Mac will restart, and you’ll boot into the familiar Windows setup environment.
4. Follow Windows Setup: Proceed with the on-screen Windows 10 installation instructions, selecting your language, time zone, and entering your product key if you have one.
5. Install Boot Camp Drivers: After Windows is installed, Boot Camp Assistant will automatically launch the Boot Camp installer from a USB drive it creates (or sometimes directly from the ISO). These drivers are essential for proper hardware functionality, including your trackpad, keyboard, graphics, and wireless connectivity. If they don’t install automatically, you can usually find them on the USB drive created by Boot Camp Assistant or by re-running Boot Camp Assistant after Windows is installed.
6. Switching Between OS: To switch between macOS and Windows, restart your Mac and hold down the “Option” (or “Alt”) key. This will bring up a boot selection menu where you can choose which operating system to start.
Using Virtualization Software
Virtualization software allows you to run Windows 10 as an application within macOS, without the need to partition your hard drive or restart your computer. This is ideal for users who only need to run specific Windows applications occasionally or for testing purposes. Popular choices include VMware Fusion, Parallels Desktop, and the free VirtualBox.
1. Install Virtualization Software: Download and install your chosen virtualization software on your Mac.
2. Create a New Virtual Machine: Open the virtualization software and select the option to create a new virtual machine.
3. Select the ISO File: The software will ask you to locate the Windows 10 ISO file you previously downloaded.
4. Configure Virtual Machine Settings: You’ll need to allocate resources to the virtual machine, such as RAM and hard disk space. The software often provides recommended settings based on your Mac’s specifications.
5. Install Windows 10: The virtualization software will boot the virtual machine using the Windows 10 ISO, and you can then proceed with the standard Windows installation process within the virtual machine window.
6. Install Guest Additions/Tools: Similar to Boot Camp drivers, virtualization software provides “Guest Additions” or “Tools” that enhance performance and integration between the host (macOS) and guest (Windows) operating systems. These are usually installed after Windows setup is complete.
By following these steps, you’ll be able to successfully download Windows 10 ISO for Mac and get it up and running, either as a dual-boot option or within a virtualized environment, giving you the best of both worlds.