Download DirectX for Windows 10: Essential Fix
Quick Summary: If you need to download DirectX for Windows 10, it’s usually already built-in or updated via Windows Update. For older games or specific needs, the DirectX End-User Runtime Web Installer is the safest way to get missing files. We’ll guide you through checking your version and fixing it if needed.
Have you ever tried to launch a game or a favorite application on your Windows 10 PC, only to be met with a cryptic error message about missing DirectX components? It’s a frustrating problem that can stop your fun in its tracks. Many games, especially older ones, rely on specific versions of DirectX to run smoothly. If your system doesn’t have them, you’re out of luck. But don’t worry! Most of the time, DirectX is already part of your Windows 10 system. When it’s not, or when a specific file is missing, there are straightforward ways to fix it. This article will walk you through how to check your DirectX version and ensure you have everything you need, so you can get back to gaming and using your favorite programs without a hitch.
What is DirectX and Why is it Important?
Think of DirectX as a set of tools that your Windows computer uses to help software, especially games and multimedia applications, communicate directly with your hardware. This includes your graphics card, sound card, and other essential components. Without DirectX, games and applications would have to be programmed differently for every single piece of hardware out there, which would be incredibly complicated and inefficient.
Microsoft developed DirectX to create a standard way for software to interact with hardware. This means developers can write their programs to use DirectX, and then DirectX handles the tricky business of making sure those instructions work with whatever hardware the user has. This standardization is crucial for:
- Performance: DirectX helps optimize how your software uses your hardware, leading to smoother graphics, better sound, and faster overall performance.
- Compatibility: It ensures that applications designed for a certain level of DirectX will run on systems that support that level.
- Graphics and Sound: It provides advanced features for 2D and 3D graphics rendering, surround sound, and game input devices.
In essence, DirectX acts as a translator and facilitator, making sure your PC can deliver the rich visual and auditory experiences that modern games and applications promise.
DirectX in Windows 10 and 11: Built-in or Downloaded?
One of the most common points of confusion for users is whether they need to actively “download DirectX” for Windows 10 or Windows 11. The good news is that modern versions of Windows come with DirectX pre-installed. In fact, Windows 10 natively includes DirectX 12, and Windows 11 includes DirectX 12 Ultimate.
This means that for most current applications and games, you likely already have the necessary DirectX components on your system. Windows Update plays a significant role in keeping these components up-to-date. When a new DirectX update is released that your system needs, Windows Update will typically download and install it automatically.
However, there are specific scenarios where you might encounter issues:
- Older Games: Games released before Windows 10 might require older versions of DirectX, such as DirectX 9 or DirectX 11. While Windows 10 and 11 are designed to be backward-compatible, sometimes specific runtime libraries for these older versions can be missing.
- Corrupted Files: In rare cases, DirectX files on your system might become corrupted due to software conflicts, malware, or system errors.
- Specific Application Requirements: Some specialized software or older games might explicitly state a requirement for a particular version of DirectX that isn’t automatically maintained by Windows Update.
When these situations arise, you might see error messages like “d3dx9_43.dll was not found” or similar, indicating a missing DirectX file. This is where the need to “download DirectX” comes into play, but it’s usually about installing specific supplementary components rather than a full DirectX package.
How to Check Your DirectX Version
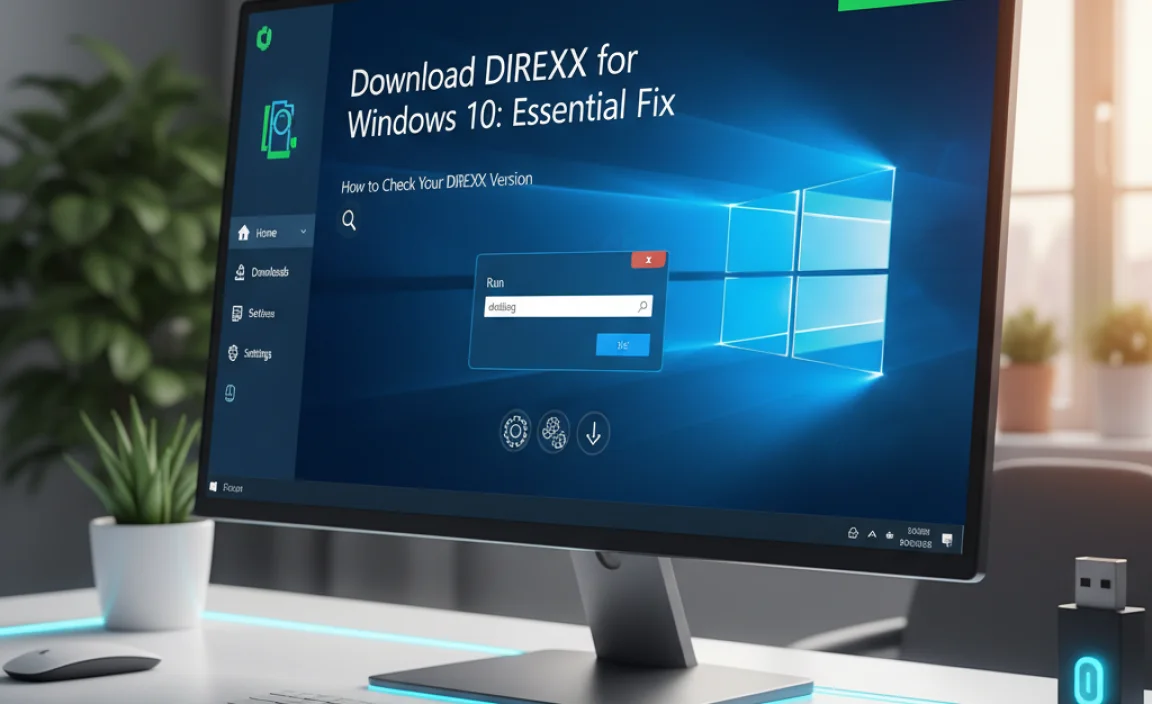
Before you start downloading anything, it’s a good idea to check what version of DirectX your Windows 10 or Windows 11 system is currently running. This will help you understand if an update or a specific download is actually necessary. Thankfully, this process is quite simple.
Using the DirectX Diagnostic Tool (DxDiag)
The DirectX Diagnostic Tool, or `dxdiag`, is a built-in Windows utility that provides detailed information about your system’s DirectX components and drivers.
- Open the Run dialog box: Press the
Windows key + Ron your keyboard. - Type `dxdiag` and press Enter: In the Run dialog box, type
dxdiagand click “OK” or press Enter. - Allow the tool to check for digitally signed driver information: A User Account Control (UAC) prompt might appear. Click “Yes” to continue. The tool will then start collecting information.
- View your DirectX version: Once `dxdiag` has finished loading, you will see a window with several tabs. The version of DirectX your system is running will be displayed at the bottom of the “System” tab, labeled as “DirectX Version:”.
For example, you might see “DirectX Version: 12 (feature levels 12_0, 11_2)”. This tells you that your system supports DirectX 12 and can also run applications designed for older feature levels like 11_2. If you’re looking at this information because a game requires DirectX 9 or 11, knowing your current version confirms whether that’s already covered.
Understanding Feature Levels
You might notice references to “feature levels” in DxDiag. These are important because they indicate the capabilities of your graphics hardware and DirectX installation. A higher feature level means your system supports more advanced graphics features. For instance, an application might require DirectX 11, which has several feature levels (e.g., 11_0, 11_1, 11_2). If your system shows DirectX 11, feature level 11_1, it means it can run applications requiring DirectX 11 with feature levels up to 11_1.
When You Might Need to Download DirectX Components

As mentioned, Windows 10 and 11 are designed to be self-sufficient when it comes to DirectX. However, the primary reason you’d actively seek out a DirectX download is to install older DirectX runtime libraries that aren’t automatically included or maintained by Windows Update for backward compatibility. These are typically needed for older games or applications that were developed before DirectX 11 or 12 became standard.
Here’s a breakdown of common scenarios:
- Missing DLL Files: Error messages like “d3dx9_xx.dll is missing,” “d3dx10_xx.dll is missing,” or “d3dx11_xx.dll is missing” are the biggest indicators. These messages point to specific dynamic-link library files that are part of older DirectX versions and are not present in the core DirectX 12 installation of Windows 10/11.
- Older Game Requirements: You’re trying to install and run a game that specifically lists a prerequisite of DirectX 9.0c or DirectX 10.
- Application Compatibility Issues: Some professional software or older multimedia tools might also rely on these older DirectX components.
In these cases, the solution is usually not to download a massive DirectX package, but rather to install the “DirectX End-User Runtime Web Installer.” This is a small online installer from Microsoft that checks your system and downloads only the specific missing DirectX components (usually from DirectX 9.0c and earlier) that are needed.
The Safest Way to Download DirectX Components for Windows 10

When you need those older DirectX runtime libraries, it’s absolutely crucial to get them from a trusted source. The internet is unfortunately full of websites offering “DirectX downloads” that are bundled with malware, adware, or viruses. To protect your PC, always stick to official sources.
The official, safe, and recommended way to obtain missing DirectX components for Windows 10 (and Windows 11, though less likely to be needed) is by using the DirectX End-User Runtime Web Installer provided by Microsoft.
Step-by-Step Guide to Using the Web Installer
- Visit the Official Microsoft Download Page: Open your web browser and go to the official Microsoft Download Center. Search for “DirectX End-User Runtime Web Installer”.
- A direct link to the relevant page can often be found by searching for “DirectX End-User Runtime Web Installer” on your preferred search engine. Ensure the URL points to
microsoft.com.
directx_redist.exe or dxwebsetup.exe) and double-click it to run.After completing these steps, the missing DirectX files should be in place, allowing your games and applications to run correctly. Restart your computer if prompted, or if you want to be absolutely sure the changes have taken effect.
What Not to Do: Avoiding Third-Party DirectX Download Sites
To reiterate, the internet is a wild west when it comes to software downloads. While the vast majority of users are honest, a significant number of websites prey on people looking for software fixes.
Here’s why you should steer clear of unofficial download sites for DirectX and other software:
- Malware and Viruses: These sites frequently disguise malicious software as the DirectX installer. Downloading from them can lead to infected PCs, stolen data, or ransomware.
- Bundled Adware: Even if not outright malicious, these installers often come packed with unwanted adware that bombards you with pop-up ads and tracks your browsing habits.
- Fake Updates: Some sites trick you into downloading fake “updates” for popular software, which are often just installers for malware.
- Outdated or Incorrect Files: You might download files that are not the correct version or are incomplete, leading to further errors instead of a fix.
Rule of thumb: If you need a component for a Microsoft product like DirectX, always go directly to the official Microsoft website or use Windows Update. For other software, always opt for the developer’s official website.
Troubleshooting Common DirectX Errors
Even with the correct installation, you might still encounter issues. Here are some common problems and their solutions:
<h3 id=”error-directx-encountered-an-unrecoverable-‘])){
title: “Error: DirectX encountered an unrecoverable”,
description: “This error can be caused by a variety of issues, including driver problems, hardware conflicts, or corrupted DirectX files. Ensure your graphics drivers are up to date.”
},
{
title: “What if a specific .dll file is still missing after running the installer?”,
description: “If you still get errors about missing .dll files (like d3dx9_xx.dll), it’s possible the Web Installer didn’t find them necessary or there’s a deeper system issue. Try running the full offline DirectX SDK (Software Development Kit) installer, which contains all components, though it’s larger and generally overkill for most users. Search for ‘DirectX SDK’ on the Microsoft website.”
},
{
title: “Can I uninstall DirectX?”,
description: “You cannot uninstall the core DirectX components that are part of Windows. However, if you installed older runtimes via the Web Installer and suspect they are causing issues, you can try uninstalling specific programs that depend on them, or in very rare cases, perform a system restore to a point before the installation.”
},
{
title: “How do I update my graphics drivers?”,
description: “Outdated graphics drivers are a common cause of DirectX errors. You can update them via Windows Update, or by visiting the website of your graphics card manufacturer (NVIDIA, AMD, Intel) and downloading the latest drivers for your specific model.”
},
{
title: “My game still crashes after installing DirectX. What next?”,
description: “If DirectX is confirmed to be healthy, the issue may lie with the game itself, its installation, or other system components like RAM or CPU. Ensure your graphics drivers are updated, verify the game’s files through its launcher (Steam, Epic Games, etc.), and check the game’s forums for known issues.”
},
{
title: “Is DirectX 9 safe to install on Windows 10/11?”,
description: “Yes, the DirectX End-User Runtime Web Installer from Microsoft is designed to safely install older components without conflicting with the native DirectX 12/12 Ultimate installation. It’s specifically intended for backward compatibility.”
}
]
“`
