Experiencing Windows 10 issues? This guide offers essential diagnostic steps and fixes to pinpoint and resolve common problems, helping you get your PC running smoothly again. Learn simple, effective ways to troubleshoot and maintain a healthy system.
Is your Windows 10 computer acting a bit strange? Maybe it’s slower than usual, an application keeps crashing, or you’re seeing confusing error messages. You’re not alone! These kinds of hiccups are really common for almost everyone who uses a PC.
It can be frustrating when your trusty computer isn’t behaving properly, and you might worry about losing data or facing costly repairs. But don’t worry; often, these issues are totally fixable with a few straightforward diagnostic steps. In this article, Mike Bentley will walk you through exactly what to do, step by step, so you can understand what’s going wrong and how to fix it.
We’ll start by looking at some built-in tools that Windows 10 provides to help you find the root of the problem and then move on to some essential fixes. Let’s get your PC back in tip-top shape!
Why Diagnostics Matter for Windows 10
Think of diagnostics like a doctor giving your computer a check-up. When something feels off, a good diagnostic process helps identify the exact problem. This is super important because it stops you from guessing and trying random fixes that might not work or could even make things worse. For Windows 10, understanding diagnostics means you can:
- Pinpoint the exact cause: Is it a faulty driver, a software conflict, or something else entirely? Diagnostics help you know for sure.
- Avoid unnecessary repairs: Sometimes, people spend money on repairs that aren’t needed if they knew the simple fix.
- Improve performance: Diagnosing and fixing underlying issues can make your PC run much faster and smoother.
- Prevent future problems: By identifying and fixing issues early, you can stop minor glitches from becoming major headaches.
- Boost your confidence: Learning to diagnose and fix your PC empowers you to take control of your technology.
Windows 10 has some really handy built-in tools that make this process much easier for everyone, even if you’re not a tech wizard. We’ll dive into those next.
Windows 10 Built-in Diagnostic Tools
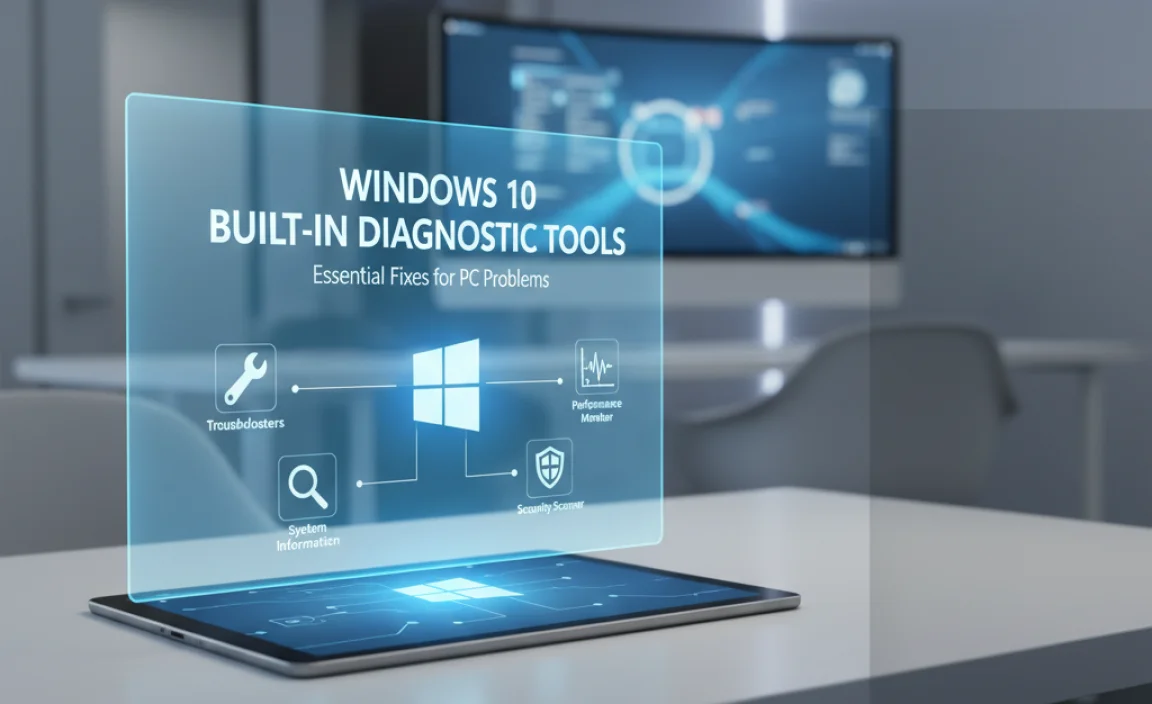
Microsoft has loaded Windows 10 with tools designed to help you diagnose and fix common problems. These are your first line of defense when something goes wrong. We’ll explore some of the most useful ones.
The Troubleshooter Toolbox
This is probably one of the most accessible and surprisingly effective tools. Windows 10 has a troubleshooter for almost everything – from internet connections to audio playback and even Windows Update issues. They guide you through a series of questions and automated checks.
How to Access Troubleshooters:
- Click on the Start button (the Windows logo in the bottom-left corner).
- Select Settings (the gear icon).
- Go to Update & Security.
- In the left-hand menu, click on Troubleshoot.
- You’ll see a list of recommended troubleshooters and an option to View additional troubleshooters. Click that.
- Choose the troubleshooter that best matches your problem (e.g., “Internet Connections,” “Playing Audio,” “Windows Update”).
- Click the troubleshooter and then click Run the troubleshooter.
- Follow the on-screen prompts. The wizard will try to detect and fix problems automatically.
These troubleshooters are great for common issues like network connectivity, printer problems, Bluetooth devices, and sometimes even performance issues. Always try the relevant troubleshooter first!
System File Checker (SFC)
The System File Checker is a command-line utility that scans for and replaces corrupted Windows system files with correct versions. Corrupted system files are a common cause of instability, crashes, and other weird behavior. This tool is a bit more advanced but incredibly powerful.
How to Run SFC Scan:
- Click on the Start button.
- Type cmd. Right-click on Command Prompt in the search results and select Run as administrator. This is crucial – you need administrative privileges for SFC to work.
- In the Command Prompt window, type the following command and press Enter:
sfc /scannow - The scan will begin. It can take some time, so be patient. You’ll see a progress bar. Don’t close the window until it completes.
- Once it’s finished, it will tell you what it found. It might say “Windows Resource Protection did not find any integrity violations” (which is good!), or it might mention finding and repairing corrupted files.
- If SFC finds errors but can’t fix them, there’s another tool called DISM (Deployment Image Servicing and Management) that can help repair the Windows image that SFC uses. You can run that by typing
DISM /Online /Cleanup-Image /RestoreHealthin the administrator Command Prompt before running SFC again. - After the scan, close the Command Prompt window and restart your computer.
SFC is a go-to for many IT professionals when a Windows system is acting up. It’s a robust tool for ensuring your core Windows files are healthy.
Resource Monitor
If your PC is running slow, Resource Monitor is your best friend for figuring out why. It shows you in real-time which applications are using the most CPU, memory, disk, and network resources. This helps you identify resource hogs that might be causing performance problems.
How to Access Resource Monitor:
- Click on the Start button.
- Type resmon and press Enter, or click on Resource Monitor when it appears in search results.
- The Resource Monitor window will open, showing you a detailed breakdown of your system’s resource usage.
- Click on the tabs at the top (CPU, Memory, Disk, Network) to see which processes are consuming the most of each resource. You can click on a process name to highlight it and see its specific activity.
If you see a program using an unexpectedly high amount of resources, especially one you don’t recognize or aren’t actively using, it could be the culprit. You might need to close that program, update it, or even uninstall it if it’s causing ongoing issues.
Event Viewer
Event Viewer is like a digital logbook for your Windows system. It records all sorts of events, including application errors, system errors, warnings, and informational messages. While it can look intimidating with all its technical details, it’s invaluable for diagnosing persistent problems, especially those that don’t have obvious causes.
How to Access Event Viewer:
- Click on the Start button.
- Type eventvwr.msc and press Enter, or search for Event Viewer and open it.
- In the left pane, navigate to Windows Logs. Here you’ll find categories like Application, Security, and System.
- Click on System first. Look for entries marked with a Red error icon. These indicate significant problems.
- Click on Application and look for errors related to software or programs.
- When you find an error, click on it. The details will appear in the pane below. You’ll see information like the date and time, the source of the error, and an event ID. Sometimes, the description will give you a clue about what went wrong.
- If you find an error with a specific event ID or source, you can copy that information and search online. This is often the quickest way to find out exactly what the error means and how to fix it.
Don’t be overwhelmed by everything you see. Focus on recent errors (marked with red exclamation points) and try to find recurring issues. For more in-depth information on Event Viewer, Microsoft’s official documentation is a great resource: Microsoft Docs on Event Viewer.
Essential Fixes Based on Diagnostic Findings
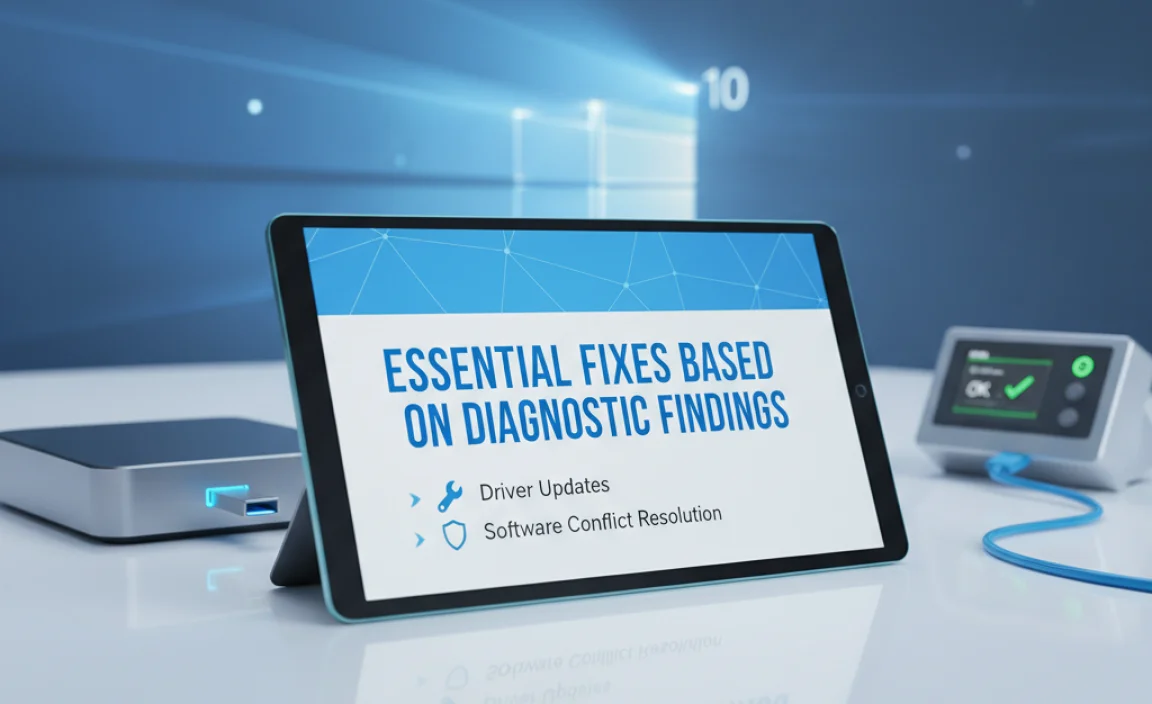
Once you’ve used these diagnostic tools, you might have a better idea of what’s causing your Windows 10 problem. Here are some common fixes you can implement.
Driver Updates and Rollbacks
Outdated, corrupted, or incorrect device drivers are a super common cause of hardware issues, crashes, and performance problems. Drivers are small software programs that allow Windows to communicate with your hardware (like your graphics card, sound card, or network adapter).
Updating Drivers:
- Via Device Manager:
- Right-click the Start button and select Device Manager.
- Look for devices with a yellow exclamation mark, which indicates a problem.
- Right-click on the problematic device and select Update driver.
- Choose Search automatically for drivers. Windows will try to find a better driver online.
- Manually from Manufacturer’s Website: This is often the best method for critical components like graphics cards or network adapters.
- Identify your exact hardware model.
- Go to the support or downloads section of the manufacturer’s website (e.g., NVIDIA, AMD, Intel, HP, Dell).
- Download the latest driver for your specific Windows 10 version.
- Run the downloaded installer and follow the instructions.
Rolling Back Drivers:
Sometimes, a new driver update can cause more problems! If you suspect a recent driver update is the issue:
- Open Device Manager.
- Find the device with the problem, right-click it, and select Properties.
- Go to the Driver tab.
- If the Roll Back Driver button is available (not grayed out), click it and follow the prompts.
Software and Application Fixes
If a specific program is crashing or not working correctly, but your system otherwise seems fine, the issue is likely with that application.
Reinstalling Applications:
- Go to Settings > Apps > Apps & features.
- Find the problematic application in the list.
- Click on it and select Uninstall.
- Follow the on-screen prompts to remove the software.
- Restart your PC.
- Download the latest version of the application from its official website and install it.
Check for Windows Updates:
Sometimes, software compatibility issues are resolved by Microsoft through Windows updates. Make sure your system is up-to-date:
- Go to Settings > Update & Security > Windows Update.
- Click Check for updates and install any available updates.
Disk Cleanup and Defragmentation
Over time, your hard drive can become cluttered with temporary files and fragmented, which can slow down your PC. These tools help keep your storage tidy and efficient.
Disk Cleanup:
- Click on the Start button.
- Type Disk Cleanup and open it.
- Select the drive you want to clean (usually C:).
- Disk Cleanup will calculate how much space you can free up. It will then present a list of file types you can delete (like Temporary Internet Files, Recycle Bin, temporary files). Check the boxes for the files you want to remove.
- For even more options, click Clean up system files. This will rescan and often find more files, including old Windows update files that can be safely removed.
- Click OK, then Delete Files.
Defragmentation and Optimization:
(Note: For Solid State Drives (SSDs), Windows 10 automatically performs optimization, which is different from traditional defragmentation. You generally don’t need to manually defrag SSDs.)
- Click on the Start button.
- Type Defragment and Optimize Drives and open it.
- Select your primary drive (usually C:).
- Click Analyze to see how fragmented the drive is.
- If it’s significantly fragmented, click Optimize. Windows will defragment the drive or perform its optimization for SSDs.
Checking for Malware
Malware (viruses, spyware, etc.) can cause a wide range of performance issues, crashes, and security vulnerabilities. It’s essential to ensure your system is clean.
Using Windows Security (Defender):
- Go to Settings > Update & Security > Windows Security.
- Click on Virus & threat protection.
- Under “Virus & threat protection settings,” click Manage settings.
- Ensure Real-time protection is turned on.
- Back on the “Virus & threat protection” screen, under “Current threats,” click Scan options.
- Select Full scan (this checks everything on your PC and can take a while) and click Scan now. Alternatively, you can run a Quick scan more often.
For extra peace of mind, consider using a reputable, free second-opinion antivirus scanner from a trusted company like Malwarebytes (Malwarebytes). Sometimes, one antivirus program can catch something another misses.
System Restore
If problems started appearing recently after you made a change (like installing new software or a driver), System Restore can be a lifesaver. It reverts your system files, installed applications, and Windows registry back to a point in time when everything was working correctly, without affecting your personal files.
How to Use System Restore:
- Click on the Start button.
- Type Create a restore point and open it.
- In the System Properties window that appears, under the “System Protection” tab, click the System Restore… button.
- Click Next.
- You’ll see a list of restore points. If the “Choose a different restore point” option is available, select it and click Next.
- Select a restore point dated before the problem started. To see more available restore points, check the box that says “Show more restore points.”
- Click Scan for affected programs to see what programs and drivers will be added or removed by performing this restore. Make sure to carefully review this list.
- Once you’ve chosen your restore point and reviewed the affected programs, click Next and then Finish.
- Windows will warn you that the process cannot be interrupted once started. Click Yes to proceed. Your computer will restart.
Important Note: System Restore only works if System Protection is turned on for your drives and restore points have been created. It’s a good idea to ensure System Protection is enabled for your C: drive. You can check this on the “System Protection” tab of the “System Properties” window (where you clicked “Configure…”).
Common Windows 10 Errors and What They Might Mean
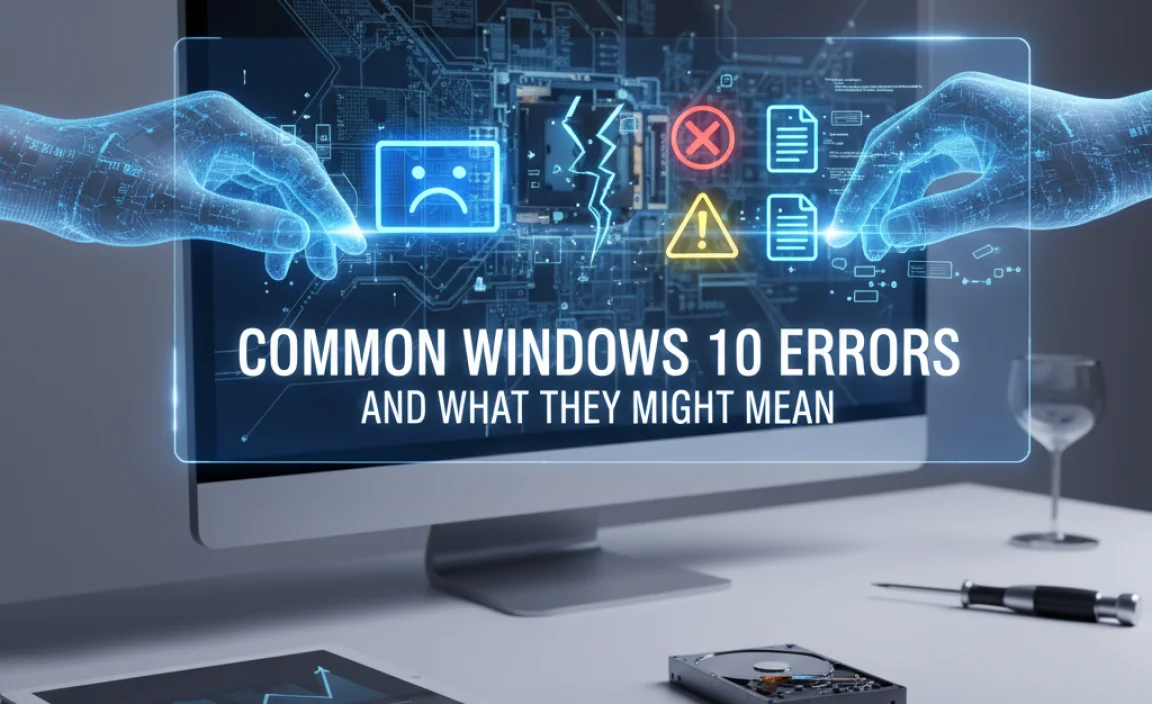
Sometimes, Windows throws up error codes. While it can seem like random numbers, these codes often point to a specific type of problem. Here’s a quick look at a few common ones:
| Error Code/Message | Potential Cause | Recommended Action |
|---|---|---|
| Blue Screen of Death (BSOD) (e.g., 0x0000000A, PAGE_FAULT_IN_NONPAGED_AREA) | Faulty hardware (RAM, hard drive), corrupted drivers, software conflicts. | Note the error code, run SFC, check RAM with Windows Memory Diagnostic, update drivers, check Event Viewer for clues. |
| Windows Update Errors (e.g., 0x80070002, 0x80240fff) | Corrupted update files, Windows Update service issues, disk space problems. | Run the Windows Update troubleshooter, use DISM, clear Windows Update cache, ensure ample disk space. |
| Application Crashes (e.g., “Application has stopped working”) | Corrupted application files, incompatible software, malware, insufficient system resources. | Reinstall the application, check for updates for the app and Windows, run SFC, scan for malware. |
| Driver Power State Failure (e.g., STOP 0x0000009F) | Issues with device drivers, power management settings, or hardware incompatibility during sleep/hibernation. | Update all device drivers (especially graphics, network, chipset), check power options, disable fast startup temporarily. |
For a comprehensive list of error codes and their meanings, a great place to look is Microsoft’s official support site or reputable tech forums where users share solutions.
Keeping Your Windows 10 System Secure and Stable

Prevention is just as important as diagnosis and fixing. A secure and stable system is less likely to have problems in the first place.
- Regularly update Windows: Microsoft constantly releases security patches and performance improvements. Go to Settings > Update & Security > Windows Update and check for updates often.
- Use a strong antivirus: Windows Security is good, but always ensure it’s updated. Consider a second opinion scanner.
- Be cautious with downloads: Only download software from trusted sources. Avoid clicking on suspicious links in emails or on websites.
- Enable UAC (User Account Control): This prompt reminds you when software tries to make changes, helping to prevent malware from installing itself without your knowledge.
- Back up your important data: Use cloud services (OneDrive, Dropbox, Google Drive) or external hard drives to back up your photos, documents, and other important files regularly. This protects you from data loss due to hardware failure or malware. For a guide on backing up, check out Microsoft’s official backup and restore guide.
- Create System Restore points: As mentioned earlier, this is a crucial safety net for when things go wrong.
FAQ on Windows 10 Diagnostics
Q1: How often should I run diagnostics on my Windows 10 PC?
A1: You don’t need to run full diagnostics constantly. Windows 10 runs many checks in the background. However, it’s a good habit to periodically run a quick scan with Windows Security and check for Windows Updates weekly. If you notice your PC slowing down or acting strangely, then it’s time to use the more in-depth tools like SFC or Event Viewer.
Q2: Is it safe to use third-party diagnostic tools?
A2: Some third-party tools can be very helpful, but you need to be careful. Always download them from well-known, reputable companies. Avoid tools that promise to magically fix all your problems with one click, as these can sometimes cause more harm. Sticking to built-in Windows tools and well-respected names like Malwarebytes is usually the safest bet.
Q3: My computer is very slow. What diagnostic step should I try first?
A3: Start by opening Task Manager (press Ctrl+Shift+Esc) to see which applications are using the most CPU or memory. Then, use Resource Monitor for a more detailed view. Also, run a quick scan with Windows Security to rule out malware and check for Windows Updates, as these can sometimes impact performance.
Q4: What if SFC /scannow finds errors but can’t fix them?
A4: Don’t panic! This usually means the source files SFC uses to repair are also corrupted. The best next step is to run the DISM command: open an administrator Command Prompt and type DISM /Online /Cleanup-Image /RestoreHealth. Let it complete, then try running sfc /scannow again. If problems persist, it may indicate a more serious issue requiring a Windows repair or reset.
Q5: I see a yellow exclamation mark in Device Manager. What does it mean?
A5: A yellow exclamation mark usually indicates a driver issue. The device might not be recognized properly, it might be encountering an error, or it’s disabled. Right-click on the device, select “Properties,” and look at the “Device status” for more information. Often, updating or reinstalling the driver will fix this.
Q6: Can System Restore delete my personal files?
A6: No, System Restore is designed to not affect your personal files (documents, photos, etc.). It only reverts changes made to system files, installed applications, drivers, and the Windows registry. However, it’s always wise to back up your important data before making significant system changes, just in case. When you scan for affected programs, you can see what might be removed.
Conclusion: Taking Control of Your Windows 10 Diagnostics
Dealing with Windows 10 issues can feel daunting, but by understanding and using the built-in diagnostic tools, you’re already way ahead! We’ve covered the essential troubleshooters, the powerful SFC and DISM commands, how to identify performance bottlenecks with Resource Monitor, and how to interpret vital clues from Event Viewer. Remember, these tools are your allies, helping you to pinpoint problems accurately.
By following the fixes related to drivers, software, disk health, and even malware scans, you can resolve many common issues. And don’t forget the safety net of System Restore and the ongoing importance of security updates and backups. You’ve learned that diagnosing and fixing your PC doesn’t require a degree in computer science; it just takes a willingness to explore and follow some clear steps. Armed with this knowledge, you can approach future computer hiccups with much more confidence and ease, keeping your Windows 10 system running smoothly, reliably, and securely. You’ve got this!