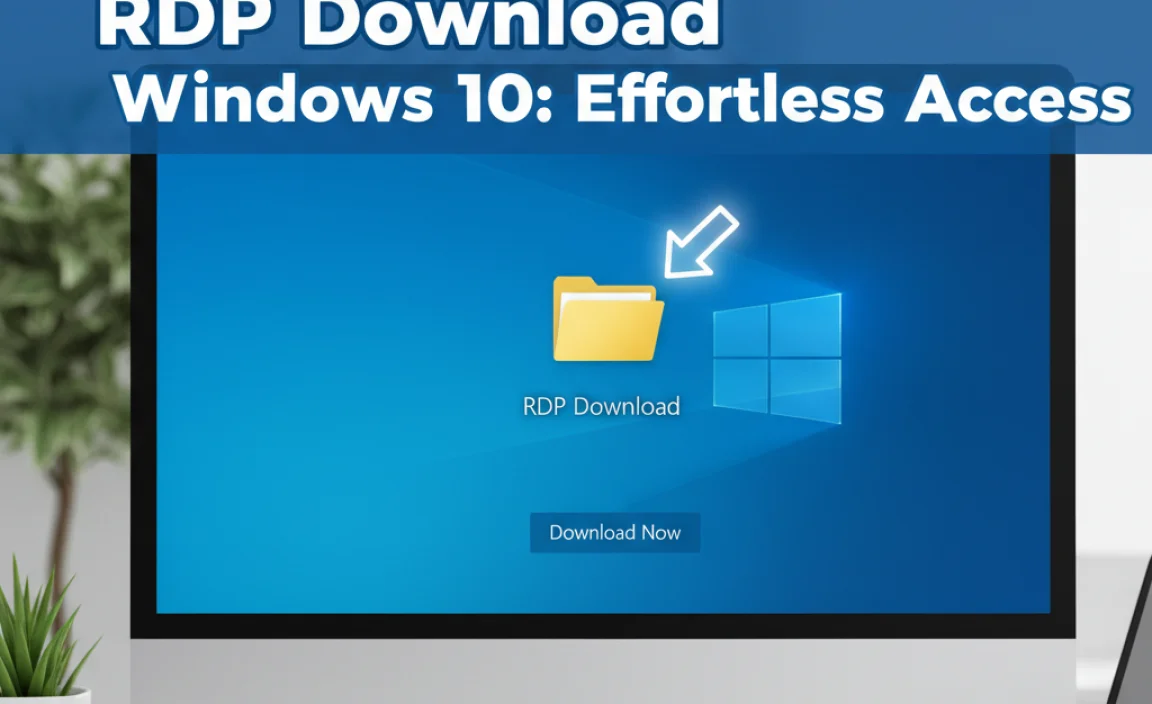
Dell Webcam Driver Setup for Windows 7: Effortless Installation Without a CD
Dell webcam driver setup for Windows 7 without CD doesn’t have to be a daunting task. Many users find themselves in this exact situation, having misplaced their installation disc or purchased a pre-owned laptop that didn’t come with one. Fortunately, the process has become significantly streamlined, thanks to online resources and Windows’ built-in update capabilities. This guide will walk you through the most effective methods to get your Dell webcam up and running smoothly on your Windows 7 system, ensuring you can get back to video calls, recordings, or any other webcam-dependent tasks.
Understanding Your Dell Webcam and Windows 7 Compatibility
Before diving into the installation process, it’s crucial to identify the exact model of your Dell webcam. This information is vital for downloading the correct driver. Most Dell laptops have the webcam integrated directly into the display bezel. You can often find the model number or specifications by:
Checking your laptop’s service tag: This unique identifier can be found on a sticker on the bottom of your laptop or accessible through the BIOS. Entering this tag on Dell’s support website will provide detailed information about your specific model, including its components.
Using Device Manager: Press `Windows Key + R`, type `devmgmt.msc`, and press Enter. Expand the “Cameras” or “Imaging devices” category. Your webcam should be listed here. Double-clicking it will reveal its properties, including the hardware ID, which can be used to search for drivers online.
Referring to your laptop’s original documentation (if available): Even if you don’t have the driver CD, old manuals or purchase order details might list the webcam model.
Once you know your webcam model, you need to ensure you’re downloading drivers specifically designed for Windows 7. While some generic drivers might work, using the official Dell drivers is always the most reliable approach for optimal performance and stability.
The Primary Method: Downloading Drivers Directly from Dell Support
The official Dell support website is your best bet for obtaining the correct drivers, especially when you need to perform a dell webcam driver setup for Windows 7 without CD. Here’s how to navigate it:
1. Visit the Dell Support Website: Open your web browser and go to the official Dell support page. You can usually find this by searching “Dell Support” on your preferred search engine.
2. Identify Your Product: You’ll typically have a few options here:
Enter Service Tag/Express Service Code: This is the most accurate method.
Browse for a Product: If you don’t have your service tag, you can select your product type (e.g., Laptop), then your specific model series and name.
3. Navigate to Drivers & Downloads: Once your product is identified, you’ll be taken to a page with all the available resources. Look for a section labeled “Drivers & Downloads” or similar.
4. Filter for Windows 7: On the drivers page, there will usually be an option to select your operating system. Make sure you choose “Windows 7” (and the correct architecture, 32-bit or 64-bit, if prompted).
5. Locate the Webcam Driver: Scroll through the list of drivers or use the search bar to find the driver specifically for your webcam. It might be listed under categories like “Webcam,” “Imaging,” “Multimedia,” or “Input Devices.” The driver’s name will often clearly indicate it’s for the webcam.
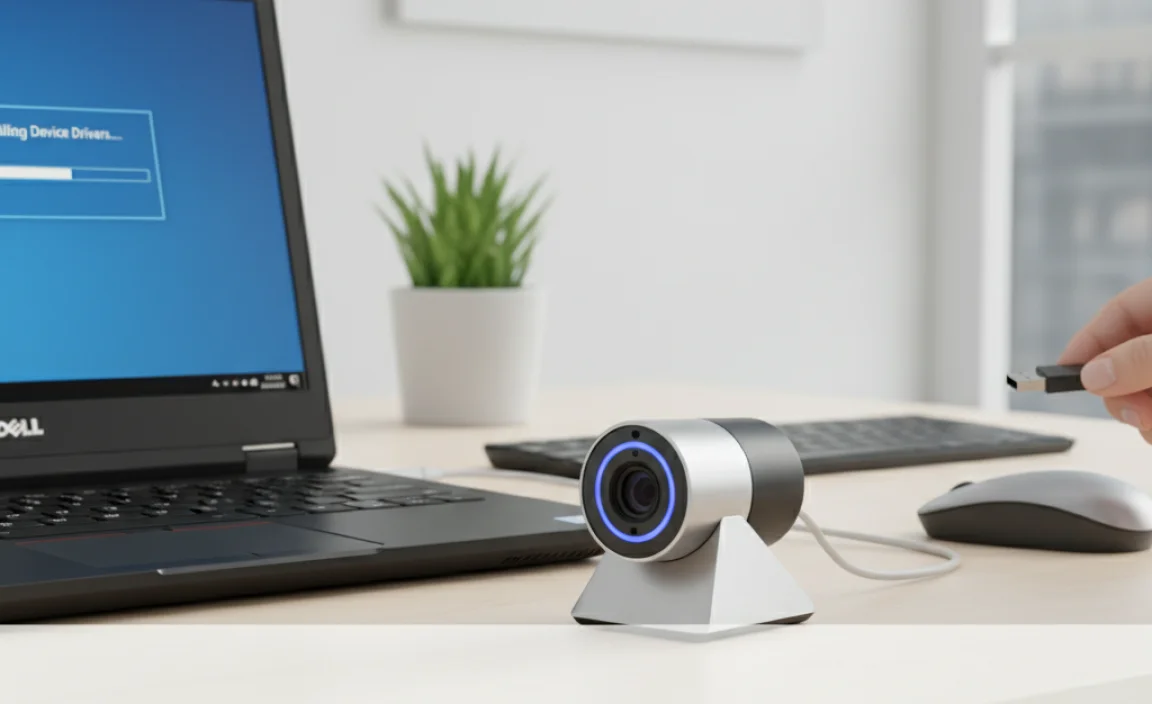
6. Download the Driver: Click the download link for the appropriate driver. The file will typically be an executable (.exe) file.
7. Run the Installer: Once the download is complete, locate the downloaded file (usually in your “Downloads” folder) and double-click it to run the installer.
8. Follow On-Screen Instructions: The installer should guide you through the process. This typically involves accepting license agreements, choosing an installation location, and allowing the program to make changes to your system. In most cases, you’ll need to restart your computer after the installation is finished for the changes to take effect.
Leveraging Windows Update for Automatic Driver Installation
In many instances, Windows 7 can automatically detect hardware and find suitable drivers, even without a CD. This is an excellent, often overlooked, method for dell webcam driver setup for Windows 7 without CD.
1. Connect Your Webcam (if external): If you have an external Dell webcam, plug it into a USB port on your computer.
2. Run Windows Update:
Go to the Start menu.
Click on “Control Panel.”
Select “System and Security.”
Click on “Windows Update.”
Click “Check for updates.”
3. Install Optional Updates: Windows will scan your system for necessary updates, including hardware driver updates. If a driver is found for your webcam, it will likely appear under “Optional updates.”
4. Select and Install: Expand the “Optional updates” section, find the webcam driver (it might be listed under a generic name or the manufacturer’s name), check the box next to it, and click “OK” or “Install updates.”
5. Restart: After the updates are installed, you will likely be prompted to restart your computer.
This method is beneficial because Windows Update often sources drivers directly from manufacturers or through trusted Microsoft partners, ensuring a degree of reliability.
Alternative Method: Using a Third-Party Driver Update Tool (with Caution)
While not the primary recommendation, if you’ve exhausted the official Dell support and Windows Update options, you can consider reputable third-party driver update tools. However, exercise extreme caution when using these.
Choose Wisely: Stick to well-known and trusted software providers. Avoid downloading from suspicious websites or clicking on pop-up ads promising free driver updates.
Scan and Select: These tools typically scan your system for outdated drivers and present you with a list of available updates. Carefully review the suggested drivers for your webcam and ensure they are correctly identified.
Backup First: It’s always advisable to create a system restore point or a full backup before installing drivers from third-party tools.
Potential Risks: Some less reputable tools can install incorrect drivers, bundle unwanted software (malware/adware), or even cause system instability.
This method should be considered a last resort. The most secure and effective way to achieve your dell webcam driver setup for Windows 7 without CD remains the official Dell support portal.
Troubleshooting Common Issues
Even with the correct drivers, you might encounter a few snags:
Webcam not detected: Ensure the webcam is properly connected (if external) and try a different USB port. If it’s integrated, a simple restart can sometimes resolve detection issues.
Driver installation errors: Double-check that you downloaded the driver for the correct Windows 7 version (32-bit or 64-bit) and your specific laptop model. Try uninstalling any previous driver attempts from Device Manager before reinstalling.
* Webcam not working in applications: Some applications might have their own camera settings. Ensure your webcam is selected as the default camera within the application’s preferences. Also, check if any privacy settings within Windows 7 are blocking webcam access.
By following these steps, you should be able to successfully complete your dell webcam driver setup for Windows 7 without CD and enjoy your webcam’s functionality once again. Remember, patience and carefully following instructions are key to a smooth installation process.
Related Posts