Dell Printer Driver Install: Easy Win 10
Getting your Dell printer up and running on Windows 10 should ideally be a straightforward process, and often, it is. The key to a “Dell printer install driver for Windows 10” that goes smoothly lies in understanding the steps involved and having the right tools at your disposal. While the thought of installing new hardware drivers can sometimes feel daunting, for most Dell printers on a Windows 10 machine, it’s more about following a simple sequence of actions rather than complex technical maneuvering. This guide aims to demystify the process, providing you with the clarity and confidence to get your printer connected and printing in no time.
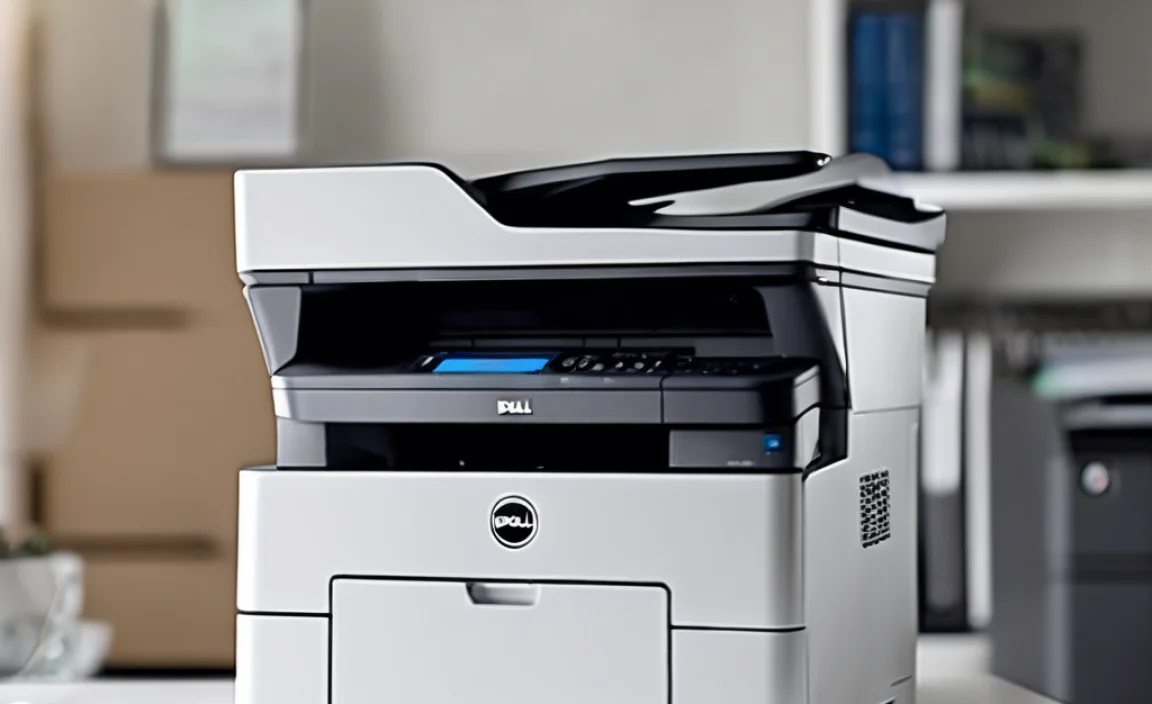
One of the most common scenarios for needing to install a printer driver is when you’ve just acquired a new Dell printer or have recently upgraded your operating system to Windows 10. Windows 10 itself is quite adept at recognizing and installing basic drivers for many common devices. However, for optimal performance, advanced features, and to ensure full compatibility with your specific Dell model, it’s always best practice to install the dedicated driver provided by Dell. This ensures you have access to all the functionalities your printer is capable of, from scanning to duplex printing and beyond.
The First Steps: Preparation is Key for Dell Printer Install Driver for Windows 10
Before you even think about plugging anything in or downloading files, take a moment to prepare. First, locate your Dell printer’s model number. This is crucial as it dictates which specific driver you’ll need. You can usually find this on the front, top, or back of the printer itself. Next, ensure you have a stable internet connection, as you’ll likely be downloading the driver bundle from Dell’s official website. While some printers come with a driver CD, it’s generally recommended to seek out the latest version online, as these often include bug fixes and support for newer Windows 10 updates.
Also, have your printer’s USB cable (if it’s a USB printer) or network details (if it’s a network or wireless printer) ready. For wireless setup, ensure your printer is powered on and in its setup mode, and that your Wi-Fi network name and password are at hand. A little preparation goes a long way in preventing frustration and ensuring a seamless Dell printer install driver for Windows 10 experience.
Automatic Installation: Windows 10’s Built-in Assistant
Windows 10 often attempts to automatically detect and install a driver for your Dell printer as soon as it’s connected via USB or added to your network. If you’ve just plugged in your USB printer, you might see a notification in the bottom right corner of your screen indicating that Windows is searching for and installing a device. In many cases, this will be sufficient to get basic printing functionality working. You can check if Windows has successfully installed a driver by going to `Settings > Devices > Printers & scanners`. Your Dell printer should appear in the list.
However, if the automatic installation doesn’t work, or if you want access to the full suite of features, it’s time to manually install the driver.
Manual Installation: The Dell Official Source
The most reliable way to perform a Dell printer install driver for Windows 10 is by downloading the official driver software directly from Dell’s support website. Here’s how:
1. Visit the Dell Support Website: Open your web browser and navigate to `www.dell.com/support`.
2. Identify Your Product: There are two main ways to do this:
Enter Service Tag or Model Number: If you know your printer’s model number (e.g., Dell E525w, Dell V525w), type it into the search bar and press Enter.
Detect Product: Dell often has a “Detect Product” button that can scan your system and identify any connected Dell hardware, including your printer. This is often the easiest method.
3. Navigate to Drivers & Downloads: Once your product is identified, you’ll usually see a section for “Drivers & Downloads” or “Software & Drivers.” Click on this.
4. Select Your Operating System: Ensure that Windows 10 is selected. The website usually automatically detects your OS, but sometimes it’s good to confirm, especially if you have a specific 32-bit or 64-bit version.
5. Download the Driver: You’ll see a list of available drivers and software. Look for the “Driver” or “Driver and Downloads” package. There might be a basic driver and a more comprehensive “Dell Printer Home” or “Utility” package. For a full-featured experience, download the larger utility package. Click the “Download” button.
6. Run the Installer: Once the download is complete, locate the downloaded file (usually in your “Downloads” folder) and double-click on it.
7. Follow On-Screen Instructions: The Dell installer will guide you through the process. This typically involves accepting license agreements, choosing an installation type (e.g., express or custom), and selecting how your printer is connected (USB, network, wireless).
Connecting Your Printer During Installation
The installer will prompt you when to connect your printer.
For USB Printers: Connect the USB cable to both your printer and your computer only when the installer tells you to. Connecting it too early can sometimes cause Windows to install a generic driver before the Dell-specific one has a chance.
For Network/Wireless Printers: The installer will guide you through connecting the printer to your network. This might involve selecting your Wi-Fi network, entering your password, or using a USB cable temporarily to transfer network settings.
Troubleshooting Common Issues
While most Dell printer install driver for Windows 10 processes are smooth, occasional hiccups can occur.
“Driver not found” error: This often means you downloaded the wrong driver for your specific model or OS version. Double-check the model number and your Windows 10 version (32-bit or 64-bit).
Printer offline: Ensure the printer is powered on, has paper, and any error lights are off. Check your cable connections or Wi-Fi signal. Sometimes restarting both the printer and your computer can resolve this.
Features not working: If basic printing works but advanced features like scanning or duplexing don’t, it’s highly likely you need to install the full driver and software package from Dell’s website, not just a basic print driver.
Windows Update interfering: Occasionally, Windows Update might install a generic driver. If this happens, you might need to uninstall the generic driver through Device Manager and then run the Dell installer again.
By following these steps and understanding the process, your Dell printer install driver for Windows 10 should be a quick and successful endeavor, allowing you to get back to what matters most: printing your documents with optimal quality and utilizing all the capabilities your Dell printer has to offer.