Broadcom Ubuntu Driver: Effortless Install in today’s connected world, reliable network access is no longer a luxury but a necessity. For users of Ubuntu, a popular Linux distribution, encountering issues with their Broadcom wireless network adapters can be a frustrating roadblock.
Fortunately, installing the broadcom usb latest driver for ubuntu latest version is often a straightforward process that can restore seamless connectivity. This guide will walk you through the most effective methods to ensure your Broadcom hardware is recognized and functions optimally on your Ubuntu system.
Understanding the Need for a Specific Driver

Broadcom is a prominent manufacturer of various hardware components, including Wi-Fi and Ethernet chips found in many laptops and other devices. While Ubuntu boasts excellent hardware support, certain Broadcom chips, particularly older or less common ones, might not be immediately supported out-of-the-box with the default kernel drivers.
This is where the need for a specific Broadcom driver arises. Without the correct driver, your Wi-Fi might not be detected, or you might experience intermittent disconnections and slow speeds.
The good news is that the Ubuntu community and Canonical (the company behind Ubuntu) have worked diligently to provide solutions. For the most part, the necessary drivers are either included within the Ubuntu repositories or are readily available through a simple installation process. The key is knowing how to access and install them correctly.
Identifying Your Broadcom Hardware

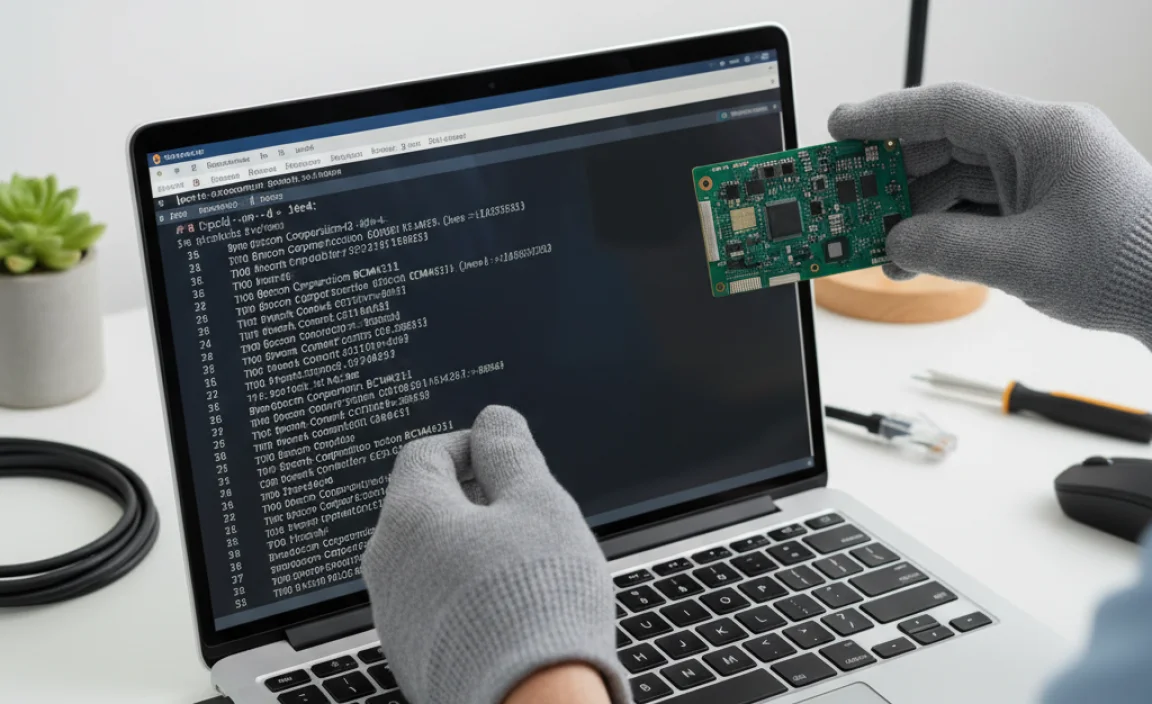
Before diving into the installation process, it’s crucial to identify the specific Broadcom hardware you have. This will help you pinpoint the exact driver you need. Open a terminal window (you can usually do this by pressing `Ctrl+Alt+T`) and enter the following command:
“`bash
lspci -nnk | grep -i net -A 2
“`
This command lists all PCI devices and provides information about their network controllers. Look for lines that mention “Broadcom” and note down the hexadecimal codes in square brackets (e.g., `[14e4:43a0]`). These codes are essential for identifying your device’s chipset.
Alternatively, if you suspect a USB Wi-Fi adapter, you can use:
“`bash
lsusb
“`
Look for entries related to Broadcom.
Once you have this information, you can often search online for “[your Broadcom PCI/USB ID] Ubuntu driver” to confirm the specific driver package you require.
Method 1: Using Ubuntu’s “Additional Drivers” Tool

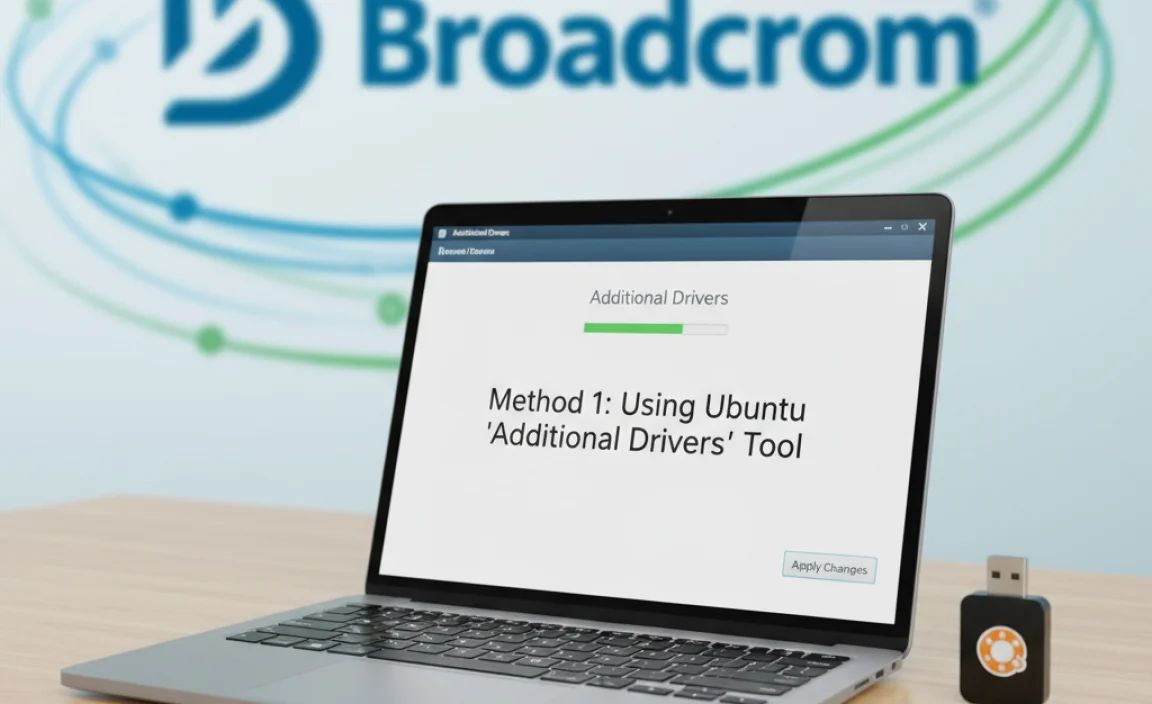
Ubuntu provides a user-friendly graphical tool that automatically scans your system for hardware and suggests proprietary drivers that might enhance performance or enable full functionality. This is often the easiest and most recommended method for installing the broadcom usb latest driver for ubuntu latest version.
1. Open “Software & Updates”: You can find this application by searching for it in the Ubuntu Dash or by navigating to `Settings > Software & Updates`.
2. Navigate to the “Additional Drivers” Tab: Once the “Software & Updates” window opens, click on the “Additional Drivers” tab.
3. Scan for Drivers: The system will automatically begin scanning for available proprietary hardware drivers. This might take a few moments.
4. Select the Broadcom Driver: If your system detects an unsupported Broadcom network adapter, you will likely see one or more driver options listed. Look for options specifically related to Broadcom wireless or network drivers (often labeled as “proprietary” or “restricted”).
5. Apply Changes: Select the recommended driver and click the “Apply Changes” button. You may be prompted to enter your administrator password. Ubuntu will then download and install the selected driver.
6. Reboot: After the installation is complete, it’s essential to reboot your computer for the new driver to take effect.
This graphical method is fantastic because it automates the process of identifying the correct driver and handling dependencies.
Method 2: Installing Drivers via the Terminal

If the “Additional Drivers” tool doesn’t find the necessary driver, or if you prefer using the command line, you can manually install the driver packages. This method is particularly useful for more obscure Broadcom chipsets or if you’re running a server edition of Ubuntu without a graphical interface.
Installing the Broadcom Wireless STA Driver
For many Broadcom wireless cards, the `broadcom-sta-dkms` package is the solution. This package provides the proprietary drivers for Broadcom 802.11 wireless adapters and is built using DKMS (Dynamical Kernel Module Support), which means it can automatically rebuild itself when your kernel is updated.
1. Open a Terminal: Press `Ctrl+Alt+T`.
2. Update Your Package List: Ensure you have the latest information about available packages:
“`bash
sudo apt update
“`
3. Install the `broadcom-sta-dkms` package:
“`bash
sudo apt install broadcom-sta-dkms
“`
4. Reboot: After the installation completes, restart your system:
“`bash
sudo reboot
“`
This command will download and install the driver. If your hardware is supported by this package, your wireless should start working after the reboot.
Using `bcmwl-kernel-source` (Older Systems or Specific Cases)
In some older versions of Ubuntu or for specific Broadcom chipsets, you might encounter the `bcmwl-kernel-source` package. The process is similar to installing `broadcom-sta-dkms`:
1. Open a Terminal: Press `Ctrl+Alt+T`.
2. Update Your Package List:
“`bash
sudo apt update
“`
3. Install the `bcmwl-kernel-source` package:
“`bash
sudo apt install bcmwl-kernel-source
“`
4. Reboot:
“`bash
sudo reboot
“`
Note: `broadcom-sta-dkms` is generally preferred for newer Ubuntu versions.
Troubleshooting Common Issues

Even with the correct driver, you might encounter issues. Here are a few common ones:
Driver Not Loading: After installation and reboot, if your Wi-Fi is still not working, try unloading and reloading the driver module. You can find the module name using `lspci -nnk | grep -i net -A 2` and then use `sudo modprobe [module_name]`.
Secure Boot Enabled: If you have Secure Boot enabled in your BIOS/UEFI, it might prevent third-party kernel modules (like proprietary Broadcom drivers) from loading. You might need to disable Secure Boot or sign the kernel modules, which is a more advanced procedure. A simpler solution is often to temporarily disable Secure Boot for driver installation.
Multiple Drivers Installed: Installing both `broadcom-sta-dkms` and `bcmwl-kernel-source` simultaneously can cause conflicts. If you’ve tried multiple methods, it might be wise to purge any Broadcom-related drivers and start again with the recommended method. You can do this using `sudo apt –purge autoremove broadcom-sta-dkms bcmwl-kernel-source` followed by `sudo apt clean` and then proceeding with a single chosen installation method.
Firmware Issues: Some Broadcom devices require specific firmware files that might not be included by default. In such cases, you might need to install the `firmware-b43-installer` package:
“`bash
sudo apt update
sudo apt install firmware-b43-installer
sudo reboot
“`
Keeping Drivers Updated
Once you have successfully installed your broadcom usb latest driver for ubuntu latest version, it’s important to keep your system updated. Regular system updates, including kernel updates, are handled through Ubuntu’s update manager. If you installed `broadcom-sta-dkms`, it’s designed to automatically rebuild the driver for new kernels, ensuring continued compatibility. Always perform `sudo apt update && sudo apt upgrade` regularly.
By following these steps, you should be able to overcome any Broadcom driver challenges and enjoy stable, reliable wireless connectivity on your Ubuntu system. Remember to identify your hardware accurately and start with the easiest method, resorting to terminal commands only if necessary.

