BIOS for Windows 10: Easy Fix is not as daunting as it might sound. While often perceived as a complex and intimidating part of your computer’s inner workings, understanding and sometimes even adjusting your BIOS settings can be a surprisingly straightforward process for basic troubleshooting and optimization on Windows 10.
The BIOS, or Basic Input/Output System, is the first software that runs when you power on your computer. It initializes your hardware and loads the operating system. Think of it as the conductor of your computer’s orchestra, ensuring all the different instruments (hardware components) are ready and in sync before the main performance (Windows 10) begins.
Navigating the world of BIOS can feel like stepping into a foreign land, with its own language and interface. However, most modern motherboards offer a more user-friendly graphical interface for their BIOS, often referred to as UEFI (Unified Extensible Firmware Interface), which is a successor to the traditional BIOS.
This makes accessing and understanding settings far more intuitive. For users facing common issues like boot order problems, unrecognized hardware, or even performance hiccups, a quick trip into the BIOS might be the “easy fix” they’re looking for.
Accessing Your BIOS for Windows 10
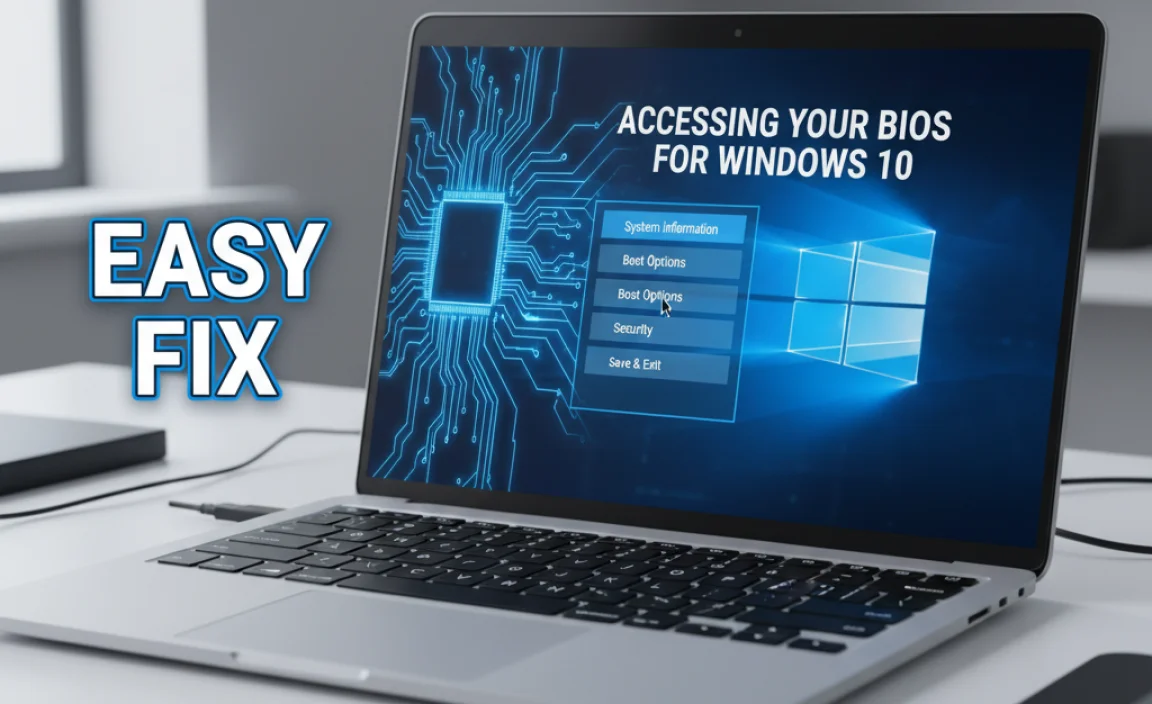
The first hurdle is usually getting into the BIOS menu itself. The exact method varies slightly depending on your motherboard manufacturer, but there are a few common approaches. The most frequent method involves pressing a specific key immediately after you power on your computer, before the Windows logo appears. Common keys include `Del`, `F2`, `F10`, `F12`, or `Esc`. You’ll often see a brief on-screen prompt indicating which key to press (e.g., “Press DEL to enter Setup”). If you miss this prompt, simply restart your computer and try again.
Another option, accessible from within Windows 10, is to use the Advanced Startup options. To do this, go to Settings > Update & Security > Recovery. Under the “Advanced startup” section, click “Restart now.” After your PC restarts, you’ll see a blue screen with several options. Select Troubleshoot > Advanced options > UEFI Firmware Settings. This will directly boot you into your BIOS/UEFI. This is a particularly useful method if your computer is booting so quickly that you can’t physically press the key prompt in time.
Common BIOS Adjustments for Windows 10 Users
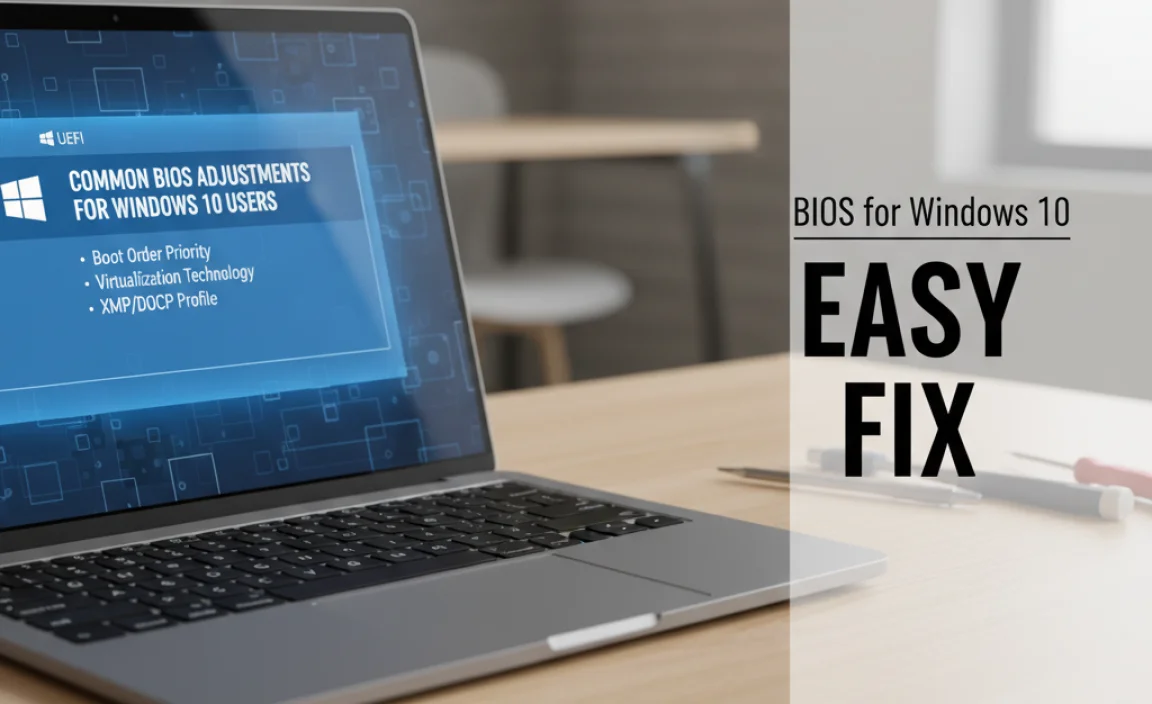
Once you’re inside the BIOS, you’ll find a range of settings. For most Windows 10 users, the need for BIOS adjustment typically falls into a few key categories:
Adjusting Boot Order for BIOS
Perhaps the most common reason to enter the BIOS for Windows 10 for a fix is to change the boot order. This is essential if you’re trying to install a new operating system from a USB drive or DVD, or if your computer is mistakenly trying to boot from a non-bootable device.
Within the BIOS, look for a section labeled “Boot,” “Boot Order,” “Boot Priority,” or something similar. Here, you’ll see a list of your connected storage devices (hard drives, SSDs, USB drives, CD/DVD drives). You can usually rearrange this list using your keyboard arrows and often `+` and `-` keys or by clicking and dragging in UEFI interfaces. To boot from a USB drive, for example, you’ll want to move the USB drive to the top of the list. Once you’ve made your changes, remember to save and exit. This option is typically found under a “Save & Exit” or similar tab, with `F10` often being the shortcut.
Enabling/Disabling Hardware Components
Sometimes, troubleshooting a hardware conflict or simply optimizing performance involves enabling or disabling specific hardware components directly in the BIOS. This could include integrated graphics, specific USB ports, or audio controllers.
If you’ve installed a dedicated graphics card and suspect your integrated graphics might be causing an issue, you can often disable the integrated graphics in the BIOS. Similarly, if a particular USB port is misbehaving, you might be able to disable it temporarily to see if it resolves the problem. These settings are usually found within sections like “Advanced,” “Integrated Peripherals,” or “Onboard Devices.” Be cautious when changing these settings, and it’s wise to note down the original setting before making any changes.
BIOS Updates for Windows 10
While often described as an “easy fix,” updating your BIOS is a more advanced procedure and carries a higher risk if not performed correctly. However, a BIOS update can sometimes resolve compatibility issues with newer hardware, improve system stability, or introduce new features.
To update your BIOS, you’ll typically need to visit your motherboard manufacturer’s website, download the latest BIOS version for your specific model, and transfer it to a bootable USB drive. The update process itself is then performed from within the BIOS, using a utility often called “BIOS Flashback,” “EZ Flash,” or “Q-Flash.” Crucially, ensure your computer is connected to a stable power source during the entire update process, as an interruption can render your motherboard unusable. It’s also recommended to only update your BIOS if you are experiencing a specific problem that a BIOS update is known to address.
When to Be Cautious
While the BIOS can offer an “easy fix” for many Windows 10 issues, it’s important to approach it with a degree of caution. Incorrectly changing settings, especially those related to voltage, clock speeds (overclocking), or system stability, can lead to immediate system instability, data loss, or even permanent hardware damage.
If you’re unsure about a particular setting, it’s always best to leave it at its default value or consult your motherboard manual or reliable online resources before proceeding. For most users, sticking to boot order adjustments and simple hardware toggles will likely provide the most straightforward and beneficial “easy fix” experience with their BIOS for Windows 10.