“`html
Quick Summary: This guide teaches you the essentials of using Word on Windows 10, from basic document creation and formatting to saving and sharing your work like a pro. You’ll learn simple, step-by-step methods to confidently create professional-looking documents for any need.
Word for Windows 10: Your Essential Beginner’s Guide
Ever opened Microsoft Word on your Windows 10 computer and felt a little lost? You’re not alone! So many of us stare at that blank page, wondering how to even start. Whether you need to write a simple letter, create a school report, or put together a resume, Word can seem a bit overwhelming at first. But don’t worry, it’s much easier than you think! This guide is designed just for you – to walk you through everything you need to know, step-by-step, without confusing tech talk. We’ll cover the basics of getting around, making your text look great, and saving your hard work. Get ready to feel confident using Word!
Getting Started with Word on Windows 10
So, you’ve got Microsoft Word installed on your Windows 10 PC. The first thing you’ll notice when you open it is the clean, organized layout. Let’s get you familiar with the key areas so you know where to find everything.
The Word Interface: Your Command Center
When you launch Word, you’ll see a few main parts that help you work. Understanding these will make everything else much simpler.
- The Ribbon: This is the big band of icons and menus at the top of your screen. It’s organized into tabs like “File,” “Home,” “Insert,” “Page Layout,” and more. Each tab has groups of related commands (like “Font” or “Paragraph” on the Home tab). This is where you’ll find most of the tools you need.
- Quick Access Toolbar: Usually found above the Ribbon, this small toolbar has icons for common actions like Save, Undo, and Redo. You can even customize it to add your favorite commands.
- Document Area: This is the large white space in the middle where you actually type your text.
- Status Bar: At the very bottom of the window, this bar shows helpful information like the current page number, word count, and zoom level.
Creating Your First Document
Ready to type? It’s as easy as 1-2-3!
- Open Word: Click the Start button in Windows 10, type “Word,” and click on the Microsoft Word application.
- Choose a Template or Blank Document: Word will usually offer you a choice between a “Blank document” or various templates. For your first document, a “Blank document” is perfect. Click on it.
- Start Typing: You’ll see a blinking cursor in the middle of the white page. Just start typing your text!
It’s that simple to get words onto the page. Now, let’s make those words look good.
Basic Formatting: Making Your Text Shine
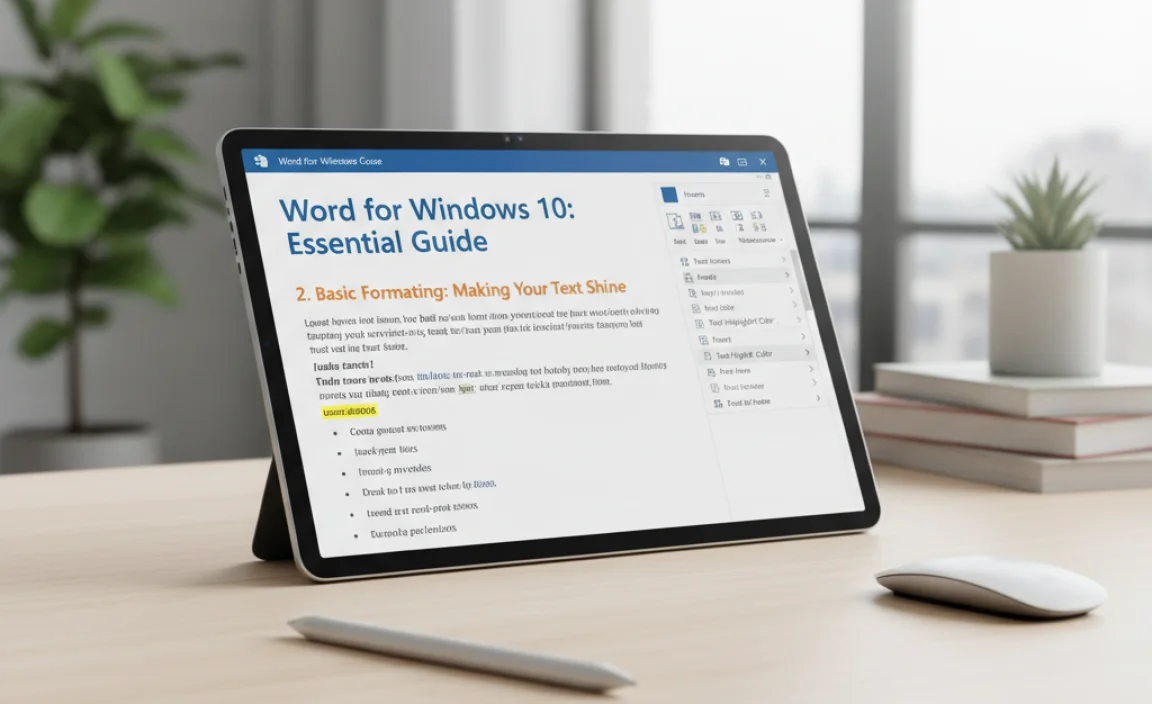
This is where Word really steps in to help you create professional-looking documents. Formatting is all about changing the appearance of your text – how it looks on the page. We’ll focus on the most important tools found on the Home tab of the Ribbon.
The Font Group: Styling Your Words
The “Font” group on the Home tab is your go-to for changing how your text looks. You can impact the size, style, and color.
- Font Typeface: Select the text you want to change, then click the dropdown menu that shows the current font name (like “Calibri”) and choose a different one from the list. Popular choices for readability include Times New Roman, Arial, and Georgia.
- Font Size: Next to the font type, you’ll see a number (like “11” or “12”). Click this dropdown to make your text bigger or smaller. Headings are usually larger than body text.
- Bold, Italic, Underline: These buttons (often shown as B, I, U) are right there. Select text and click them to make it bold, italic, or underlined. Use them to emphasize important words or phrases.
- Font Color: The “A” with a colored bar underneath lets you change the text color. Be careful with colors; for most documents, black or dark gray is best for readability, but you might use color for headings or special highlights.
The Paragraph Group: Arranging Your Text
The “Paragraph” group controls how your text is laid out on the page, like alignment and spacing.
- Alignment: These four buttons control how your text lines up with the margins.
- Align Left: Text lines up on the left edge (most common for body text).
- Center: Text is centered on the page. Good for titles or headings.
- Align Right: Text lines up on the right edge.
- Justify: Text is spread out so both the left and right edges are straight lines. This often makes text in reports and articles look very neat.
- Line and Paragraph Spacing: This button allows you to control the space between lines of text and between paragraphs. Increasing this can make long passages easier to read.
- Bullets and Numbering: Use these to create lists. Bullets are good for simple lists where order doesn’t matter, while numbering is for steps in a process or ordered items.
Applying Styles: A Faster Way to Format
Word has built-in “Styles” that apply a set of formatting (like font, size, color, and spacing) all at once. This is a real time-saver for longer documents.
On the Home tab, look for the Styles gallery. You’ll see options like “Normal” (for body text), “Heading 1” (for main titles), “Heading 2” (for sub-titles), etc. Simply select the text you want to format and click the style name. Using heading styles is also great because it helps Word understand your document structure, which is useful for creating tables of contents later.
Working with Objects: Adding More Than Just Text
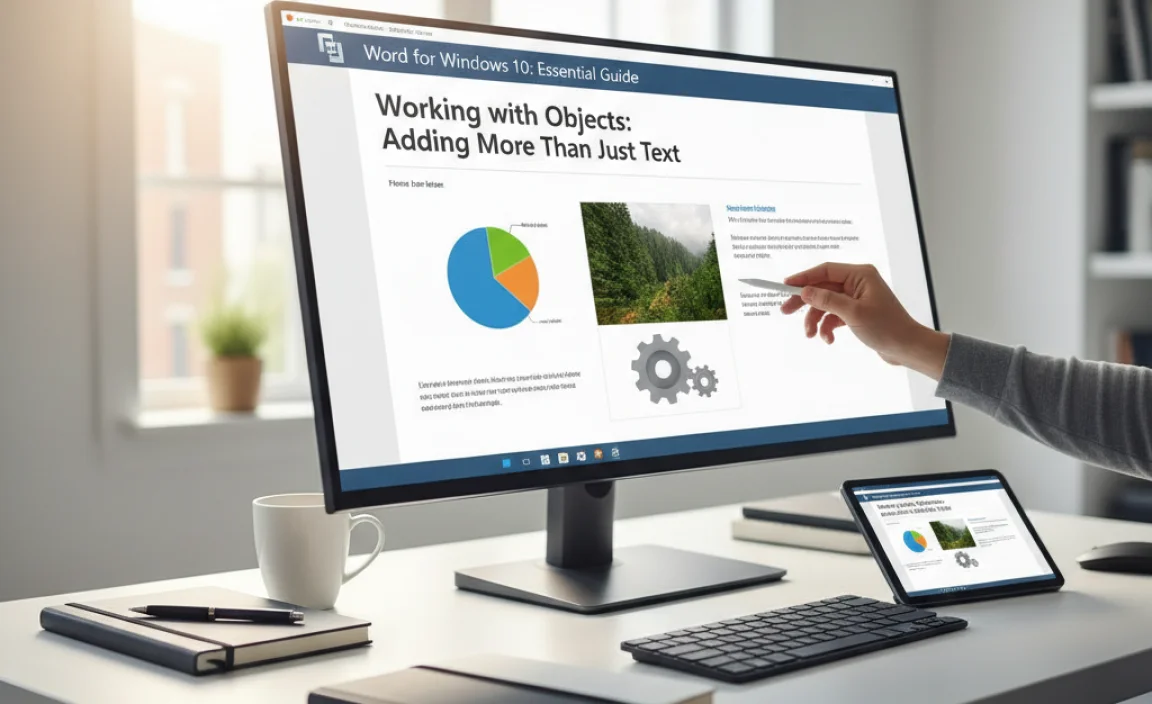
Documents aren’t just about words anymore. Word lets you add pictures, tables, shapes, and much more to make your content engaging and informative.
Inserting Pictures
Pictures can break up text and make your document more visually appealing.
- Place your cursor where you want the picture to appear.
- Go to the Insert tab on the Ribbon.
- Click Pictures. You’ll have options like “This Device” (to find a picture on your computer), “Stock Images” (provided by Microsoft), or “Online Pictures” (searching the web).
- Choose your picture source, select your image, and click Insert.
Once inserted, you can click on the picture to resize it (drag the corners) or move it. You’ll also see a new Picture Format tab appear on the Ribbon with tools for cropping, adding borders, and adjusting colors.
Creating Tables
Tables are fantastic for organizing data in rows and columns. Think of schedules, price lists, or comparison charts.
- Click where you want the table.
- Go to the Insert tab and click Table.
- A small grid will appear. Drag your mouse over it to select the number of columns and rows you need, then click.
A blank table will appear. Click in any cell to start typing. When you click inside a table, you’ll see two new tabs: Table Design and Layout. These have tools to add/delete rows and columns, change cell colors, merge cells, and more.
Adding Shapes and Text Boxes
Shapes (like arrows, boxes, or stars) and Text Boxes can be used for diagrams, call-out boxes, or to place text over images. They work very similarly to inserting pictures: find them under the Insert tab.
Saving and Printing Your Work
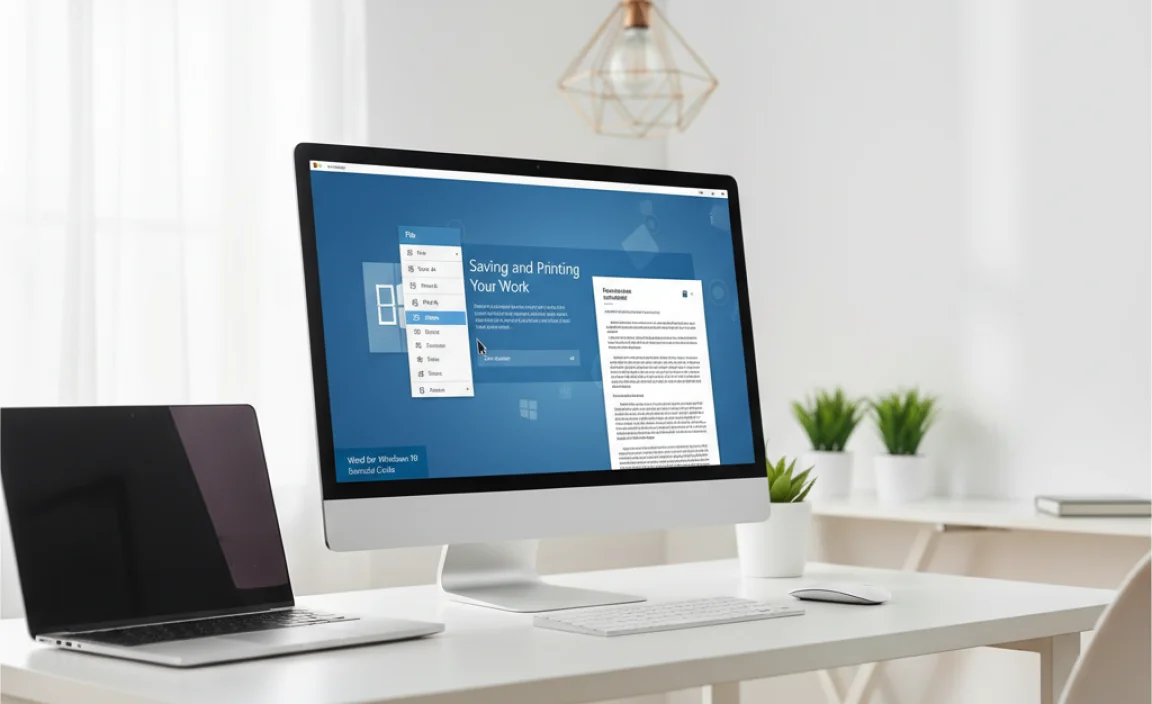
You’ve put in the effort, now you need to save it carefully and know how to get a physical copy if needed.
Saving Your Document
This is crucial! Always save your work regularly to avoid losing it.
- Click the Save icon (a floppy disk symbol) on the Quick Access Toolbar, or go to the File tab and choose Save As or Save.
- Save As: The first time you save, or if you want to save under a new name or location, use “Save As.”
- Choose a Location: Select where you want to save your file. “Documents” is a good default, but you can choose your Desktop or a specific folder.
- Name Your File: Give your document a clear, descriptive name.
- File Type: For most Word documents, “Word Document (.docx)” is the standard.
- Click Save.
Tip: Get in the habit of hitting Ctrl+S (on your keyboard) every few minutes. It’s a quick keyboard shortcut for saving.
AutoRecover and AutoSave
Word has features to help prevent data loss. AutoRecover saves temporary copies of your document at regular intervals (usually every 10 minutes). If Word crashes, it will prompt you to recover these files when you reopen it. AutoSave is available if you’re saving your document to OneDrive or SharePoint and have a Microsoft 365 subscription; it saves your changes automatically as you work.
Printing Your Document
When you’re ready for a hard copy:
- Go to the File tab.
- Click Print.
- You’ll see a preview of your document. On this screen, you can select your printer, choose how many copies you need, and adjust settings like page orientation (portrait or landscape).
- Click the Print button.
Advanced Tips for Easier Word Use
Once you’re comfortable with the basics, these tips can make your Word experience even smoother and more productive.
- Find and Replace: Need to change a word throughout your entire document? Go to the Home tab, look for the Editing group, and click Replace. You can find old words and replace them with new ones instantly. This is a huge time-saver!
- Copy, Cut, and Paste: These are fundamental. Select text, then use Ctrl+C to copy, Ctrl+X to cut (remove it from its current spot), and Ctrl+V to paste it somewhere else.
- Undo and Redo: Made a mistake? Hit Ctrl+Z (Undo) to go back. Went too far? Hit Ctrl+Y (Redo) to bring it back. These are your best friends when experimenting with formatting.
- Zoom Slider: Located at the bottom right of the Status Bar, this slider lets you zoom in to see details or zoom out to see more of the page.
Troubleshooting Common Word Issues
Even the best software can sometimes throw a curveball. Here are a few common issues and how to tackle them.
Scenario: Word is Slow or Unresponsive
This can be frustrating, especially when you’re on a deadline. Try these steps:
- Save Your Work: If you can, save it immediately. Then, try closing Word and reopening it.
- Check Your Computer: Is your entire Windows 10 PC running slowly? If so, Word might be affected by overall system performance. Restart your computer.
- Close Other Programs: Too many applications open can hog resources. Close anything you aren’t actively using.
- Disable Add-ins: Sometimes, third-party add-ins can cause problems. Go to File > Options > Add-ins and manage them there.
- Update Word/Office: Ensure your Office suite is up to date. In Word, go to File > Account > Update Options > Update Now.
Scenario: My Document Looks Different on Another Computer
This often happens if the fonts used in your document aren’t installed on the other computer.
- Embed Fonts: When saving, go to File > Options > Save. Check the box that says “Embed fonts in the file.” This makes your document self-contained but can increase file size.
- Use Standard Fonts: Stick to widely available fonts like Arial, Calibri, Times New Roman, or Georgia.
Scenario: Word Won’t Save My Document
This can be a critical issue. Here’s what to check:
- Disk Space: Is your hard drive full? You need space to save files.
- File Permissions: Are you trying to save in a protected folder? Try saving to your Documents folder or Desktop.
- File Name: Ensure the file name doesn’t contain invalid characters (like / : * ? ” |).
- Antivirus Software: Occasionally, overzealous antivirus programs can interfere. Temporarily disabling it (with caution) can help diagnose the issue.
For more in-depth troubleshooting, Microsoft provides excellent support resources. You can often find answers by searching the Microsoft Word Support page.
Frequently Asked Questions About Word for Windows 10
Q1: Is Word definitely included with Windows 10?
No, Microsoft Word is part of the Microsoft Office suite (like Microsoft 365 or Office 2021), not a standard feature of Windows 10 itself. You need to purchase or subscribe to Office to use Word.
Q2: How do I make my text bigger in Word?
Select the text, then go to the Home tab. In the Font group, click the dropdown next to the font size number and pick a larger size, or type a size directly into the box.
Q3: Can I use Word if I don’t have an internet connection?
Yes! Once Microsoft Word is installed on your Windows 10 computer, you can create, edit, and save documents offline. An internet connection is only needed to download and install Office, use online features like “Online Pictures,” or for cloud-based saving with services like OneDrive.
Q4: How do I recover a document if Word crashes?
When you reopen Word after a crash, it usually brings up an “Document Recovery” pane on the left side of the screen. Look for your file there and click to open the latest AutoRecovered version.
Q5: What’s the difference between “Save” and “Save As”?
Save As is for saving for the first time, saving to a new location, or saving with a new name. Save simply updates the existing file with your latest changes without asking where or what to name it.
Q6: Is it safe to download templates from the internet?
It’s generally safe to download templates from Microsoft’s official site or reputable sources. However, always be cautious with templates from unknown websites, as they could potentially contain malicious code. If you’re unsure, stick to trusted sources.
Conclusion
See? Using Word on your Windows 10 computer doesn’t have to be a puzzle. We’ve gone from understanding the basic layout to making your text look polished, adding images, and keeping your work safe by saving properly. You’ve learned how to arrange text, use styles, and even tackle some common hiccups.
The key is to start with the basics and practice. Don’t be afraid to click around and explore the different options available on the Ribbon. Every time you use Word, you’ll get a little more comfortable, and soon it will feel like second nature. Take pride in your ability to create clear, professional documents – whether it’s for work, school, or personal use. You’ve got this!
“`
