Free Windows 7 to 10 Upgrade: Your Ultimate Guide
The prospect of upgrading from Windows 7 to Windows 10 for free might sound like a relic of the past, but for many users still clinging to the aging but familiar operating system, the question lingers: is it still possible, and how would one go about it? While Microsoft officially ended the free upgrade program back in July 2016, a peculiar loophole has persisted, allowing many to transition from their beloved Windows 7 to the more modern Windows 10 without purchasing a new license. This guide will delve into the nuances of this enduring possibility, offering a comprehensive walkthrough for those who wish to make the jump.
For years, Windows 7 was the operating system of choice for millions. Its stability, user-friendly interface, and robust performance made it a reliable workhorse. However, with the advent of newer technologies and Microsoft’s strategic push towards Windows 10, support for Windows 7 has dwindled. Security updates have ceased, leaving systems vulnerable to emerging threats. This is where the appeal of upgrading, even past the official deadline, becomes exceptionally strong. Fortunately, the path to “upgrading from Windows 7 to Windows 10 for free” isn’t entirely closed off, though it requires a specific approach.
Understanding the “Free” Upgrade Path
The initial free upgrade offer from Windows 7 and 8.1 to Windows 10 was a time-limited promotional campaign. However, it appears that Microsoft never fully shut down the activation servers that recognized legitimate Windows 7 or 8.1 product keys. This means that even today, if you have a valid, unused product key from a retail copy of Windows 7 or 8.1, you can often use it to activate a fresh installation of Windows 10. It’s crucial to emphasize “valid” and “unused” here. If your Windows 7 license key has already been used for a Windows 10 upgrade on another machine, it likely won’t work again. The key needs to be associated with a genuine, unactivated copy of Windows 10.
It’s also worth noting that this method typically works for retail licenses, not OEM (Original Equipment Manufacturer) licenses that came pre-installed on your computer. OEM licenses are tied to the specific hardware they were installed on and do not usually transfer to a new installation or a different operating system.
Preparing for the Upgrade
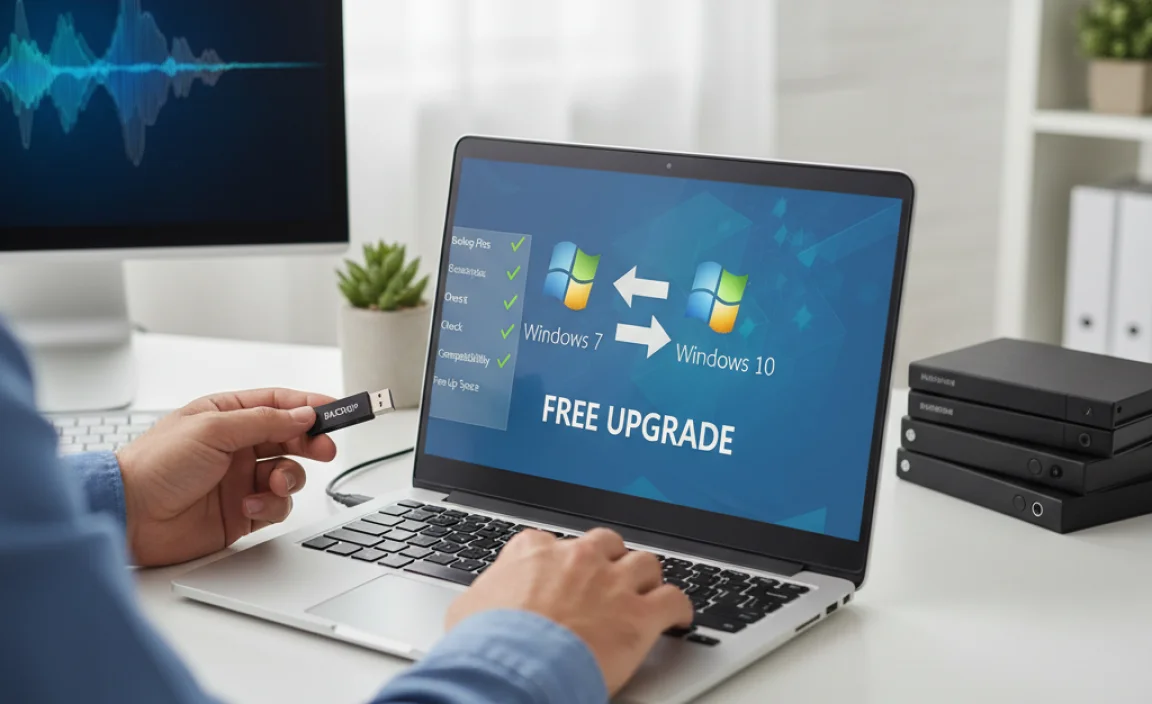
Before you embark on the “upgrading from Windows 7 to Windows 10 for free” journey, thorough preparation is paramount. This isn’t a simple click-and-go process anymore.
1. Back Up Your Data
This is non-negotiable. Regardless of whether you’re performing an in-place upgrade or a clean install, data loss is a risk. Ensure all your important documents, photos, videos, and any other critical files are backed up to an external hard drive, cloud storage, or a USB drive.
2. Gather Your Windows 7 Product Key
As mentioned, your original Windows 7 product key is your golden ticket. It’s usually found on a sticker on your computer case (for desktops) or on the underside of a laptop. If you purchased a digital copy, you might find it in your email confirmation. Without a valid key, the free upgrade will not be possible.
3. Check System Compatibility
Windows 10 has different hardware requirements than Windows 7. Ensure your PC meets the minimum specifications:
Processor: 1 gigahertz (GHz) or faster processor or SoC
RAM: 1 gigabyte (GB) for 32-bit or 2 GB for 64-bit
Hard disk space: 16 GB for 32-bit OS or 20 GB for 64-bit OS
Graphics card: DirectX 9 or later with WDDM 1.0 driver
Display: 800×600 resolution
4. Download the Media Creation Tool
Microsoft still provides the Media Creation Tool, which allows you to download the Windows 10 installation files and create a bootable USB drive or DVD. This tool is essential for performing both clean installs and in-place upgrades. You can find it on the official Microsoft website.
The Upgrade Process: Clean Install vs. In-Place Upgrade
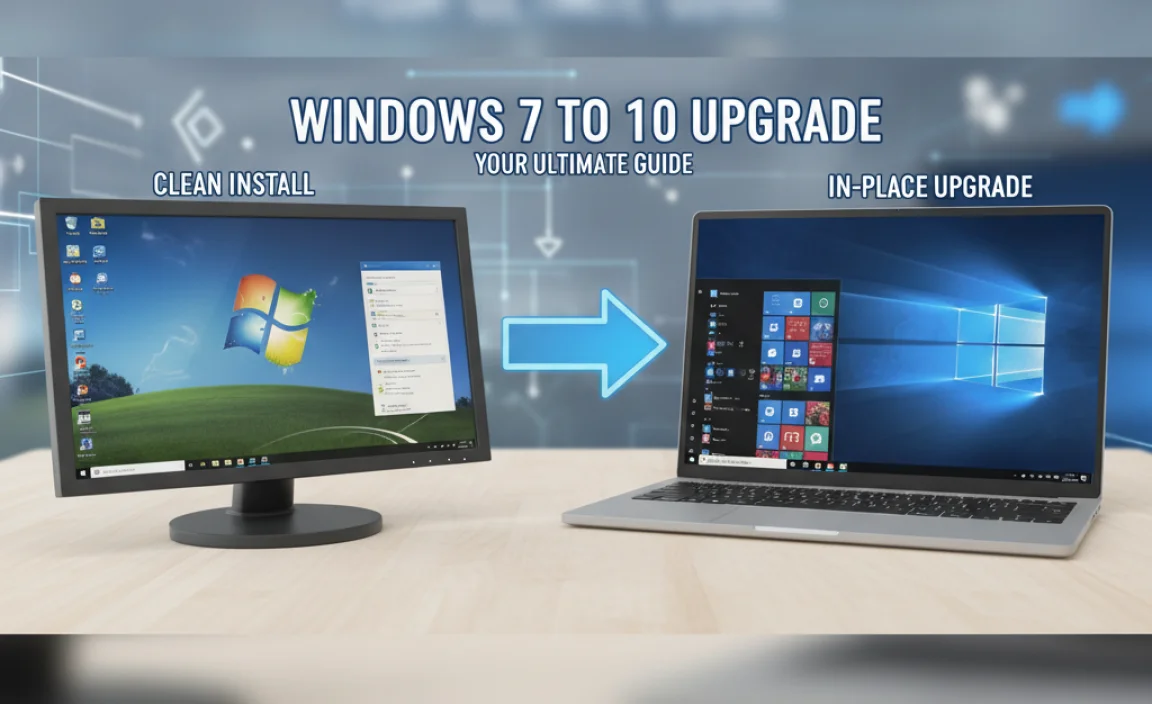
There are two primary methods for upgrading: a clean install and an in-place upgrade.
The Clean Install Method: The Most Reliable Approach
A clean install is generally recommended as it results in a fresh, unburdened operating system. This method involves booting from the Windows 10 installation media and formatting your drive.
1. Create Bootable Media: Run the Media Creation Tool and select the option to create installation media for another PC. Choose the correct edition of Windows 10 (Home or Pro) and language.
2. Boot from Media: Insert the USB drive or DVD into your computer, restart it, and access your BIOS/UEFI settings (usually by pressing F2, F10, F12, or Del during startup). Change the boot order to prioritize the USB drive or DVD.
3. Install Windows 10: Follow the on-screen prompts. When asked for a product key, enter your valid Windows 7 product key. The installer should recognize it. When you reach the installation type, choose “Custom: Install Windows only (advanced)”. Select your drive, format it (this will erase all data on that partition), and proceed with the installation.
4. Activate Windows 10: After installation, Windows 10 should automatically activate online if your product key was accepted. If not, you can go to Settings > Update & Security > Activation and enter your key again.
The In-Place Upgrade Method: Less Common but Possible
Historically, the Media Creation Tool allowed for an in-place upgrade, preserving your files, settings, and applications. While less reliable with the current versions of the tool for the “free” activation loophole, you can still attempt it.
1. Run Setup from within Windows 7: If you choose to try an in-place upgrade, mount the Windows 10 ISO file (created by the Media Creation Tool) within Windows 7 and run the setup.exe file.
2. Follow Prompts and Enter Key: Follow the on-screen instructions. When prompted for a product key, enter your Windows 7 key. The tool might accept it for an upgrade scenario.
3. Potential for Failure: Be aware that this method is less likely to successfully activate Windows 10 using an old Windows 7 key compared to a clean install. You might find yourself with an unactivated copy of Windows 10, requiring a more significant undertaking or the purchase of a new license.
Post-Upgrade Steps
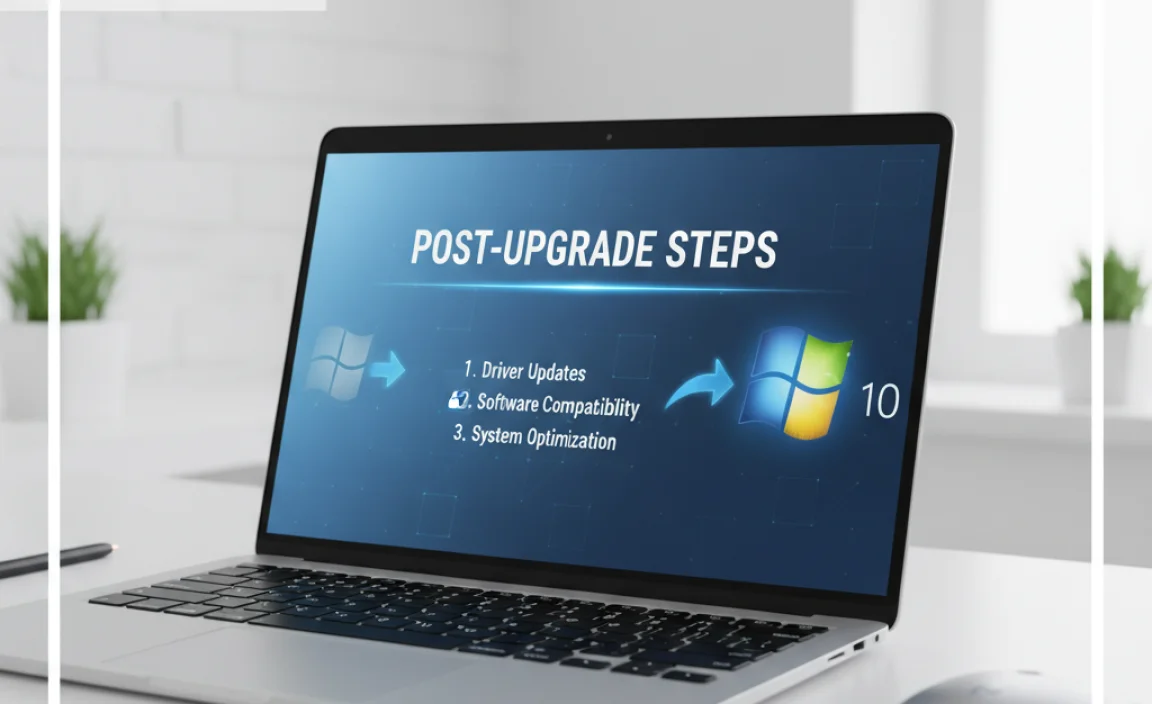
Once Windows 10 is installed and activated:
Install Drivers: Ensure all your hardware components are recognized and functioning correctly. Visit your computer manufacturer’s website or the websites of individual hardware component manufacturers to download the latest drivers for Windows 10.
Run Windows Update: Go to Settings > Update & Security > Windows Update and check for available updates. Install all critical and recommended updates.
Reinstall Software: Reinstall any applications you need.
The Enduring Legacy of the Free Upgrade
While the official free upgrade program is long gone, the ability to leverage older Windows 7 product keys for a free Windows 10 upgrade remains a testament to Microsoft’s approach to transitioning users. It’s a process that requires patience, careful preparation, and a clear understanding of the potential variables. For those seeking to move from the familiar comfort of Windows 7 to the more secure and feature-rich environment of Windows 10 without incurring new costs, this enduring loophole offers a viable, albeit unofficial, solution. Always back up your data, use legitimate product keys, and be prepared for a clean installation, which generally yields the best results.
