
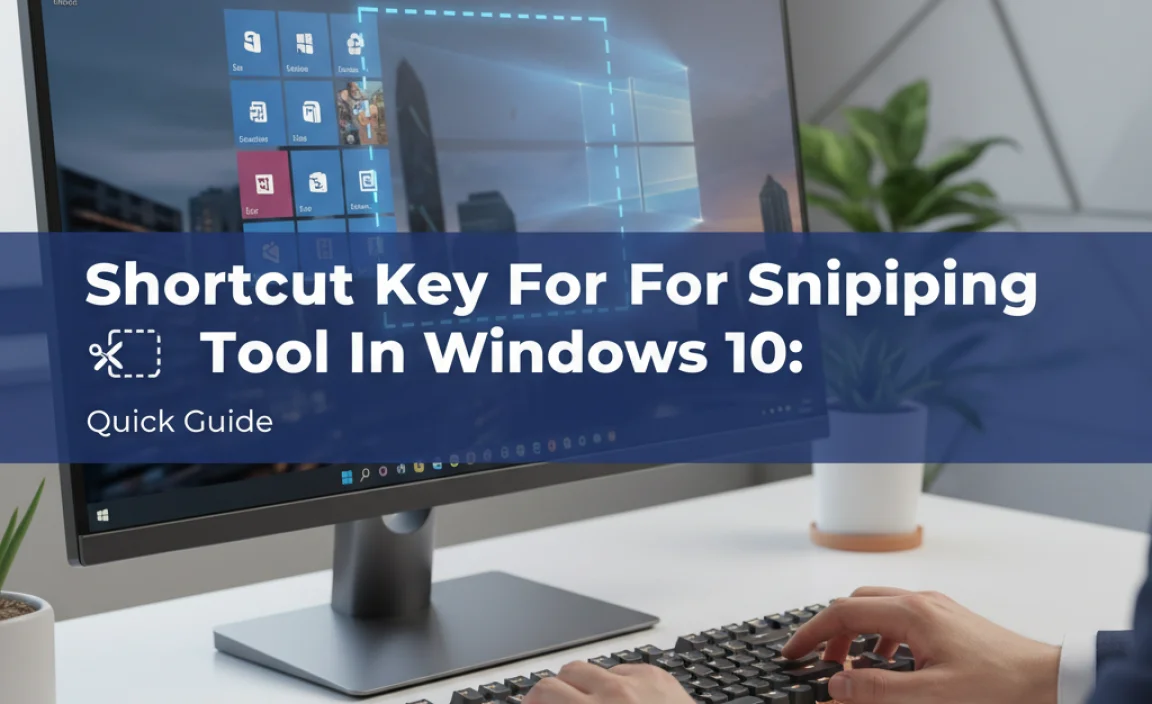
Have you ever needed to grab a quick screenshot while working on your computer? It can be frustrating to search through menus just to capture what you see. Thankfully, there’s a simple solution! The shortcut key for the Snipping Tool in Windows 10 makes taking screenshots fast and easy.
Imagine you’re in class, and your teacher shows a cool slide. You want to save that moment. Instead of fumbling around, you can use the shortcut key to snip it in seconds. It’s like having a superhero tool at your fingertips!
Did you know that many people don’t even know this handy trick? By learning the shortcut key, you can impress your friends and save important info without any hassle. In this article, we’ll explore the shortcut keys available for the Snipping Tool and how they can make your life easier.
Shortcut Key For Snipping Tool In Windows 10:
Quick Access Tips The Snipping Tool Is A Handy Feature In Windows 10 That Allows Users To Capture Screenshots Easily. Understanding The Shortcut Key For The Snipping Tool Can Significantly Enhance Your Productivity. In
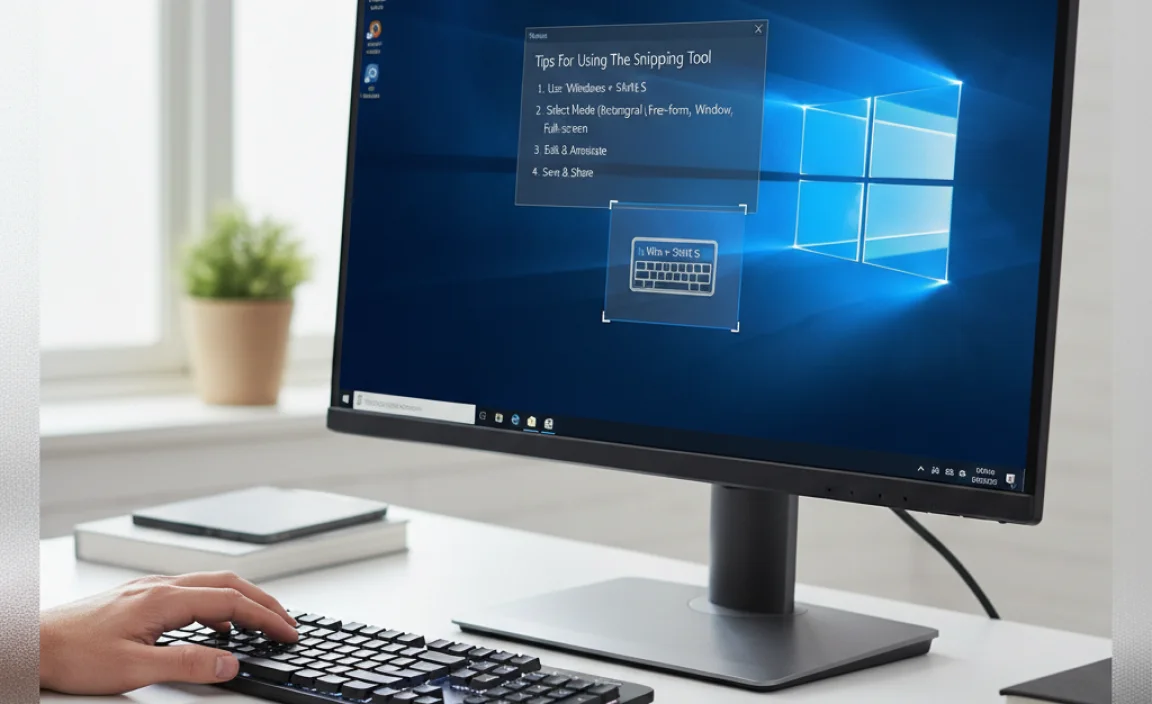
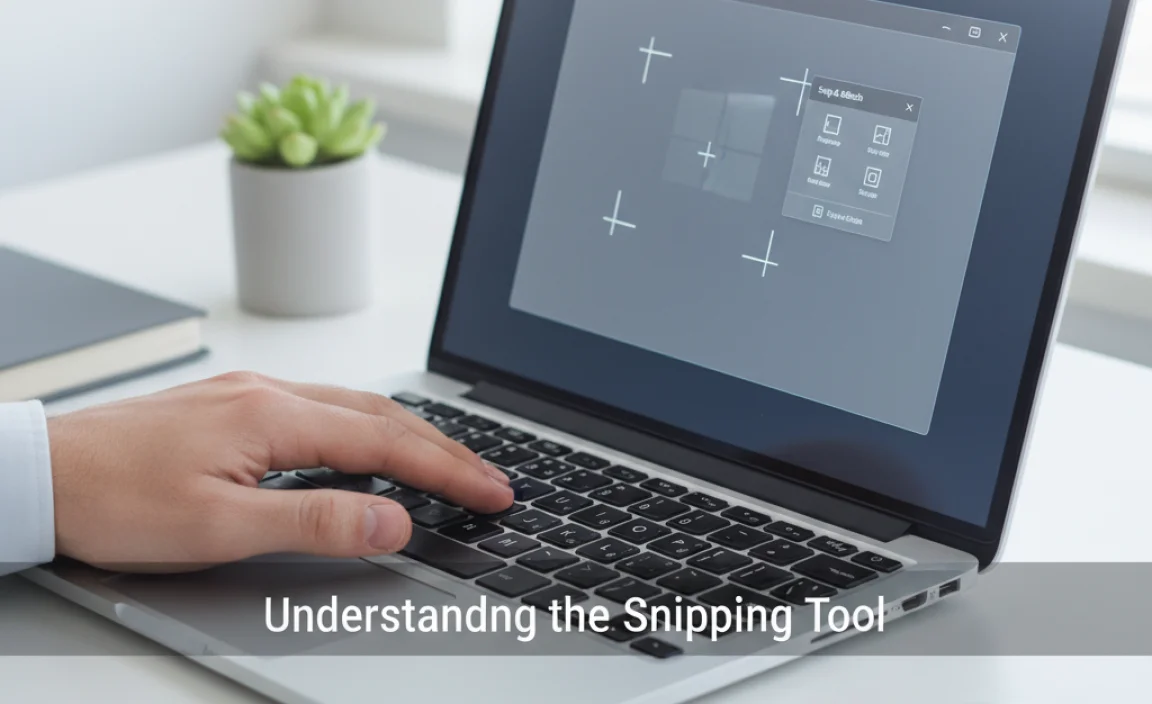
Understanding The Snipping Tool Before Delving Into The Shortcut Key, Let’S Briefly Discuss What The Snipping Tool Is. It Is A Built-In Screen-Capture Utility In Windows 10 That Lets You Take Snapshots Of Your Screen. You Can Take Various Types Of Snips, Including Rectangular, Free-Form, Window, And Full-Screen Snips. The Shortcut Key For Snipping Tool In Windows 10 Is **Windows Key + Shift + S**. When You Press These Keys Together, Your Screen Will Dim, And You’Ll See A Small Toolbar That Offers Several Options For Capturing The Screen.
How To Use The Shortcut Key Effectively

1. **Press Windows Key + Shift + S**: This Action Will Bring Up The Snipping Tool Interface.
2. **Choose Your Snip Type**: After The Toolbar Appears, Select From The Rectangular Snip, Free-Form Snip, Window Snip, Or Full-Screen Snip.
3. **Capture Your Snip**: Click And Drag Your Mouse Over The Area You Want To Capture, Or Select A Window If You Opted For That Option.
4. **Save Or Share**: Once You’Ve Taken A Snip, It Will Be Copied To Your Clipboard, And You Can Paste It Into Any Document Or Image Editor. If You Need To Save It As A File, A Notification Will Appear After You Capture The Snip, Allowing You To Access It And Save It.
Tips For Using The Snipping Tool
– **Pin The Snipping Tool To Taskbar**: For Easier Access, You Can Pin The Snipping Tool To Your Taskbar By Right-Clicking On Its Icon And Selecting Pin To Taskbar. –
**Explore Snip & Sketch**: Consider Using The Snip & Sketch Tool, Which Is An Upgraded Version Of The Snipping Tool. You Can Access It Through `Windows Key + Shift + S` As Well. –
**Organize Your Snips**: Keep Your Snips Organized By Naming Them Or Saving Them In Specific Folders Based On Projects Or Categories. Conclusion The Shortcut Key For The Snipping Tool In Windows 10,
**Windows Key + Shift + S**, Is An Excellent Way To Streamline Your Screenshot Process. With This Knowledge, You Can Quickly Capture And Share Important Information, Enhancing Your Overall Efficiency With Screensharing Tasks. Happy Snipping!
Shortcut Key for Snipping Tool in Windows 10

Using the snipping tool in Windows 10 can really save you time. Did you know there’s an easy shortcut key? Just press “Windows + Shift + S.” This lets you quickly capture your screen. The screen dims, and you can choose what to snip. It’s perfect for grabbing important information or sharing fun moments. Imagine being able to share your favorite game score or an interesting article instantly! Knowing this shortcut makes your computer tasks faster and easier.
Understanding the Snipping Tool
Explanation of what the Snipping Tool is. Importance of using shortcut keys for productivity.
The Snipping Tool is a handy app in Windows 10 that lets you take screenshots easily. You can grab a part of your screen and save it as an image. It’s like having a digital camera for your computer! Using shortcut keys makes this process faster and helps you work smarter. Think of it as giving your finger a workout. Who wouldn’t want to save time and have more fun clicking away?
| Shortcut Key | Action |
|---|---|
| Windows + Shift + S | Open Snipping Tool |
In today’s busy world, every second counts. So, knowing these shortcuts can help you boost your productivity! Instead of fumbling with the mouse, a quick key combination can save the day. Now go ahead, snip away!
Customizing Shortcut Keys for Snipping Tool
Step by step guide on creating custom shortcut keys. Tips for remembering and efficiently using shortcuts.
Creating your own shortcuts for the snipping tool is like giving your fingers superpowers! First, go to the settings where you can change your shortcuts. Type in a special key combo, like Ctrl + Alt + S, and voilà! Your custom key is set. To remember these funky shortcuts, try saying them out loud. It’s like a secret code! Plus, keep practicing until they stick in your brain like peanut butter on bread.
| Tips for Custom Shortcuts | Memory Tricks |
|---|---|
| Choose easy combos | Repeat them often |
| Avoid complicated keys | Make a fun song or rhyme |
Your fingers will dance on the keyboard as you snip away quickly and easily!
Troubleshooting Common Issues with Snipping Tool Shortcuts
Common problems users face with shortcut keys. Solutions and troubleshooting steps.
Many users face issues with their snipping tool shortcuts. Here are some common problems and their solutions:
- Shortcut not working: Restart your computer or check for updates.
- Delay in snip: Ensure no other programs are using the keyboard shortcuts.
- Missing tool: Reinstall the snipping tool from the Microsoft Store.
- No screenshot saved: Check your clipboard or save settings.
By following these simple steps, you can fix most shortcut issues. Don’t let mistakes stop you from using this handy tool!
What should I do if the snipping tool shortcut isn’t working?
First, try restarting your computer. If that doesn’t help, check for Windows updates.
Additional Tips:
- Make sure the snipping tool is properly installed.
- Remove any keyboard software that might conflict with the shortcuts.
Enhancing Your Workflow with Snipping Tool Shortcuts
Tips on how to integrate snipping into daily tasks. Examples of practical uses for snipping screenshots.
Using shortcuts for the Snipping Tool can supercharge your daily tasks! Imagine grabbing a quick screenshot of a funny meme or an important document with just a few clicks. You can easily share these images with friends or keep them for your records. Here are some tips:
| Task | Snipping Method |
|---|---|
| Capture a window | Alt + PrtScn |
| Grab a full screen | Windows + Shift + S |
| Snip a custom area | Windows + Shift + S |
For instance, you can snip that helpful recipe from a website and save it as a quick reminder. Even your favorite cat videos can be captured. Trust me, the cat will thank you later! Use these shortcuts to make your work smoother. You’ll snip like a pro in no time!
Conclusion
In conclusion, the shortcut key for the Snipping Tool in Windows 10 is Shift + Windows + S. This makes taking screenshots quick and easy. You can capture any part of your screen with just a few clicks. Try using this shortcut now! For more tips, explore how to edit your snips or learn about other helpful shortcuts.
FAQs
What Is The Shortcut Key Combination To Open The Snipping Tool In Windows 1
To open the Snipping Tool in Windows, you can press the “Windows” key and the “Shift” key at the same time, then press “S.” This will let you take a screenshot easily. You can then choose what part of the screen you want to capture. It’s a quick way to take pictures of your screen!
Can You Customize The Shortcut Key For The Snipping Tool In Windows 1
You can’t change the shortcut key for the Snipping Tool in Windows 11. It has a set key, which is Windows + Shift + S. This will let you take a screenshot. You can remember to use this key whenever you want to snip something on your screen!
How Can I Take A Screenshot Using The Snipping Tool Without Using The Mouse In Windows 1
To take a screenshot with the Snipping Tool without using the mouse, press the “Windows” key and “Shift” key together. Then, press the “S” key. Your screen will dim, and you can use the arrow keys to choose the type of snip you want. After that, use the arrow keys to select the area you want to capture. Finally, press “Enter” to save your screenshot!
Is There A Built-In Shortcut For Taking Screenshots In Windows That Is Different From The Snipping Tool?
Yes, there is a built-in shortcut for taking screenshots in Windows. You can press the “Windows” key and “Print Screen” at the same time. This will capture your entire screen and save it as a picture. You can find the screenshot in the “Pictures” folder, under “Screenshots.”
What Are The Different Snipping Modes Available In The Snipping Tool, And How Can You Access Them Using Shortcut Keys?
The Snipping Tool has four modes to choose from. You can select “Free-form”, “Rectangular”, “Window”, or “Full-screen”. To use them, press the “Windows key + Shift + S” on your keyboard. This will let you pick the mode you want. Each mode helps you capture different parts of your screen.
Related Posts
How To Change Password For Windows 10 Login: Quick Guide
Best Dvd Player For Windows 10: Top Picks & Reviews
Does Secure Boot Need To Be Enabled For Windows 11?
Top Assistant For Windows 10: Boost Your Productivity Today!
- Aero For Windows 10: Unlock Stunning Visuals Today!

Teams Download For Windows 11: Easy & Fast Install!
2025-02 Cumulative Update For Windows 11: What’S New?
Oregon Drivers Ed Grants: Start Your Journey Today!