
Have you ever wanted to capture what’s on your screen? Perhaps you want to save a funny meme or keep a record of some important information. With Windows 10, taking a screen print is quick and simple.
Imagine you are playing a video game, and you score the highest points ever. Wouldn’t it be exciting to share that moment with friends? Learning how to screen print is a handy skill in today’s digital world.
Many people don’t know that Windows 10 offers different ways to capture your screen. Whether you want to save a full screen or just a part of it, the tools are right at your fingertips. Understanding these methods will make your computer experience even better.
So, are you ready to discover easy ways to screen print on Windows 10? Let’s dive in! You’ll be amazed at how simple it is to save and share your screen!
How To Screen Print For Windows 10: A Complete Guide
Step-by-Step Guide to Screen Print on Windows 10
Detailed method using builtin keyboard shortcuts. Alternative methods using Snipping Tool and Snip & Sketch.
Screen printing on Windows 10 is simple. First, use keyboard shortcuts. Press the PrtScn key to capture the entire screen. For just one window, hold Alt and then press PrtScn. To save the image, paste it in Paint.
If you prefer other methods, use the Snipping Tool or Snip & Sketch. Both tools let you choose what to capture. Follow these steps:
- Open the Snipping Tool or Snip & Sketch.
- Select the area you want.
- Save your screenshot.
With these methods, you can easily screen print on Windows 10!
What are quick methods to screen print?
The quickest way is by using the PrtScn key. You can also try Snipping Tool for more options.
Editing and Sharing Screen Prints in Windows 10
Basic editing options available in Windows 10. Best practices for sharing screen prints with others.
Windows 10 offers simple ways to edit your screen prints. You can crop images, draw, or add text. These tools make your prints clearer and more fun!
When sharing, consider a few best practices:
- Use easy file formats like JPG or PNG.
- Keep the image size small for faster sharing.
- Send through email or cloud services for easy access.
Following these tips ensures your screen prints are clear and helpful for others!
How can I edit screen prints in Windows 10?
In Windows 10, you can crop, draw, and add text using built-in tools. These features help you create sharp and useful images.
What are the best ways to share screen prints?
To share screen prints easily, save them in common formats like JPG or PNG, and send them via email or cloud services such as OneDrive.
Troubleshooting Common Issues with Screen Printing
Identifying and resolving common problems. Tips for optimizing screen print quality and performance.
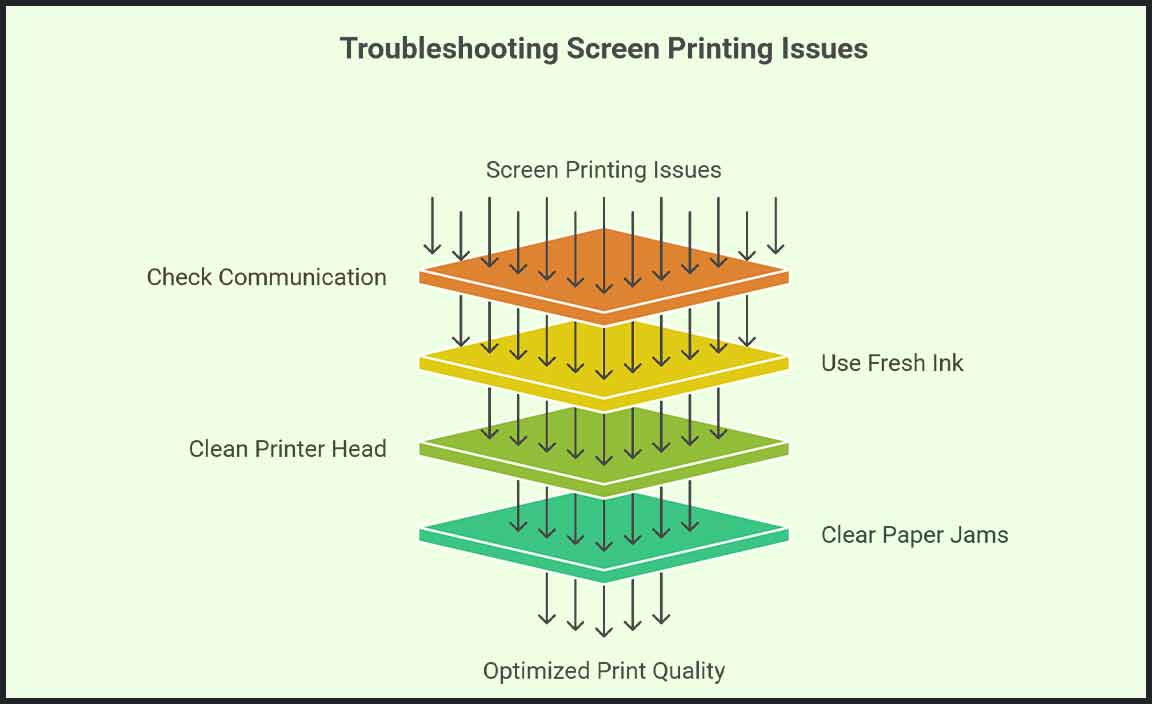
Sometimes screen printing goes on a little adventure and ends up with issues! First, check if your computer and printer are communicating. If they don’t, it’s like trying to talk to a wall. Next, to improve quality, make sure your inks are fresh. Dried inks can create prints that look like something a cat dragged in! For fast fixes, here’s a handy table:
| Problem | Solution |
|---|---|
| Faded colors | Use new ink and adjust settings. |
| Lines or streaks | Clean the printer head. |
| Paper jams | Check for obstructions. |
Keep these tips in mind, and your screen prints will be top-notch! Remember, even printers need their beauty sleep—so give them a break sometimes!
Advanced Techniques for Professional Screen Printing
Techniques for capturing highresolution images. Utilizing keyboard shortcuts for efficiency.
To create high-resolution images, use a good scanner or camera. Make sure the lighting is bright and even. This helps to capture rich details. Don’t forget to clean the surface before printing. This helps avoid dust and scratches. Also, using keyboard shortcuts can speed up your work. For example, you can press Ctrl + P to print quickly. It saves you time and makes your printing easier.
How can I improve my screen printing skills?
Practice makes perfect! Experiment with different settings on your computer for the best results. Join online forums or watch tutorials to learn new tips.
Quick Tips for Efficiency:
- Use Ctrl + A to select all.
- Press Ctrl + Z to undo mistakes.
- Save often with Ctrl + S.
Frequently Asked Questions about Screen Printing on Windows 10
Common queries and solutions. Best resources for further learning and assistance.
Many users have questions about using screen print for Windows 10. Here are some common ones:
How do I take a screenshot?
To take a screenshot, you can press Windows key + Print Screen. This saves your image in the Pictures folder.
What if my print screen isn’t working?
Check your keyboard settings or restart your computer. Sometimes, a simple fix can solve the problem.
Where can I find tutorials?
- Look on YouTube for video guides.
- Visit Microsoft’s official site for expert advice.
- Search user forums for personal tips from other users.
These resources will help you learn more about screen print for Windows 10 and improve your skills!
Conclusion
In summary, screen printing on Windows 10 can enhance your creativity. You can customize your designs easily and share them online. To get started, explore software options and tools available for screen printing. We encourage you to practice and experiment! For more tips and tutorials, check out online resources or join a local printing community. Enjoy creating!
FAQs
How Do I Take A Screenshot On Windows Using Keyboard Shortcuts?
To take a screenshot on Windows, you can press the “PrtScn” key. This key is usually found on the top right of your keyboard. When you press it, it captures the whole screen. If you want to save the screenshot as a file, press “Windows + PrtScn” instead. Your screenshot will be saved in the “Pictures” folder in a folder called “Screenshots.”
What Are The Different Methods To Capture A Specific Area Of The Screen In Windows 1
You can capture a specific area of the screen in Windows using a few methods. First, you can press the “Windows” key and “Shift” key with the “S” key. This will let you draw a box around the area you want to capture. Another way is to use the Snipping Tool. Just open it, select “New,” and drag to choose your area. Finally, you can use the Snip & Sketch tool too!
How Can I Access The Snipping Tool Or Snip & Sketch In Windows For More Advanced Screen Capture Options?
To access the Snipping Tool or Snip & Sketch on your Windows computer, follow these steps. First, click on the Start menu, which is the button with the Windows logo. Then, type “Snipping Tool” or “Snip & Sketch” in the search bar. You can also press the “Windows key + Shift + S” at the same time to open Snip & Sketch quickly. Once it’s open, you can choose how you want to capture your screen!
Is There A Way To Automatically Save Screenshots Taken On Windows Directly To A Specific Folder?
Yes, you can save screenshots to a specific folder on Windows. First, use the Snipping Tool or Snip & Sketch app. When you take a screenshot, choose “Save As” and pick your folder. You can also create a shortcut with the Windows key and Print Screen key. This way, all screenshots will save to the “Screenshots” folder in “Pictures.”
Can I Edit Or Annotate Screen Prints In Windows After Capturing Them, And If So, What Tools Can I Use?
Yes, you can edit or add notes to screen prints in Windows after taking them. You can use Paint, which comes with Windows, to draw or write on your pictures. Another option is Snip & Sketch, which lets you take screen prints and add notes easily. You can also use Microsoft Word or PowerPoint to paste and edit the images. Just open the program and paste your screen print to start!
Resource:
-
Microsoft’s Snip & Sketch Overview: https://support.microsoft.com/en-us/windows/use-snipping-tool-to-capture-screenshots-00246869-184c-a63a-003e-2e08b74abf4f
-
Best Keyboard Shortcuts for Windows 10: https://www.howtogeek.com/115664/42-plus-text-editing-keyboard-shortcuts-that-work-almost-everywhere/
-
Tips on Editing Images in Paint: https://www.lifewire.com/using-paint-in-windows-5183530
-
Ways to Share Files Using OneDrive: https://learn.microsoft.com/en-us/microsoft-365/onedrive/share-files?view=o365-worldwide