Remote desktop connection for Windows 10 offers a powerful and convenient way to access your computer from virtually anywhere.
Whether you’re working from home, traveling for business, or simply need to retrieve a file from your office PC, Windows 10’s built-in Remote Desktop feature makes it surprisingly accessible. This functionality allows you to take full control of another Windows computer as if you were sitting directly in front of it, complete with access to applications, files, and even your desktop environment.
The underlying technology for this feature has been a part of Windows for a long time, evolving with each iteration to become more robust and user-friendly. For Windows 10 users, setting up and utilizing a remote desktop connection is typically a straightforward process, with minimal technical expertise required for basic usage. This article will guide you through the essentials of using remote desktop connection for Windows 10, from initial setup on both the host and client machines to troubleshooting common issues.
Enabling Remote Desktop on Your Windows 10 Host Computer
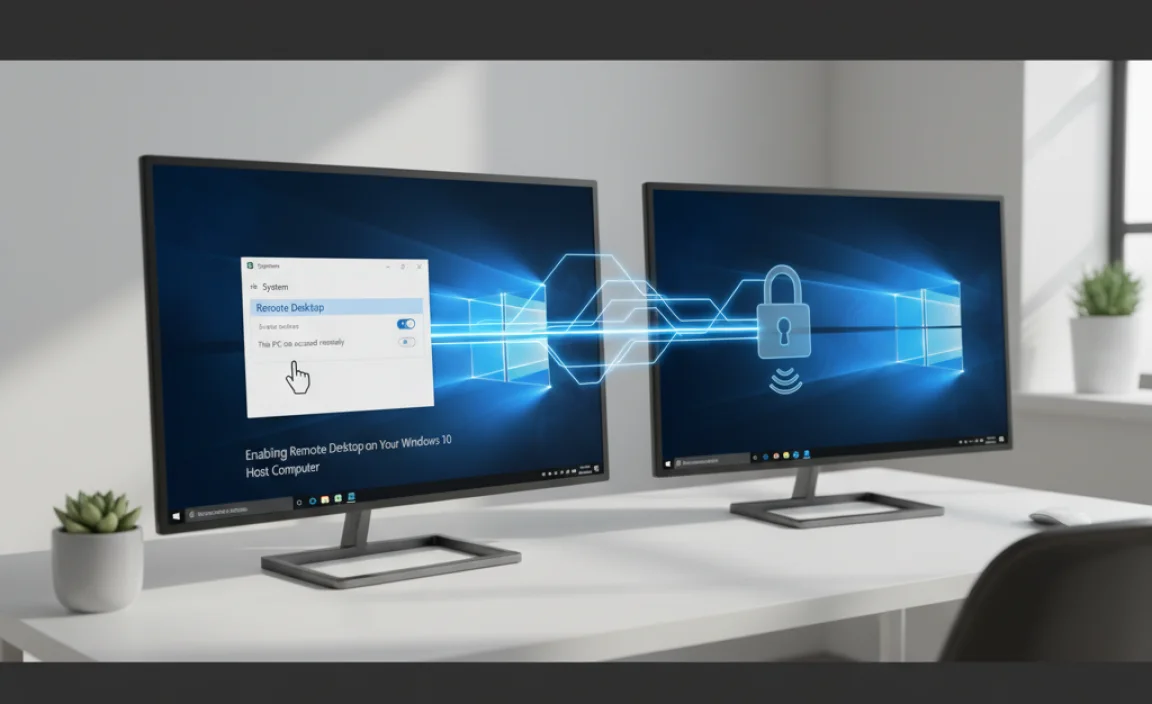
The first crucial step in establishing a remote desktop connection for Windows 10 is to enable the feature on the computer you want to access (the “host”). By default, this setting is often turned off for security reasons, so you’ll need to actively enable it.
1. Access System Properties: The easiest way to reach the necessary settings is by searching for “System” in the Windows search bar and selecting “System.” Alternatively, you can right-click on “This PC” in File Explorer and choose “Properties.”
2. Navigate to Remote Settings: In the System window, look for “Remote settings” in the left-hand pane and click on it.
3. Allow Remote Connections: You’ll be presented with the “System Properties” window, specifically on the “Remote” tab. Under the “Remote Desktop” section, you’ll see two options. For most users, selecting “Allow remote connections to this computer” is the desired choice.
4. Enhance Security (Recommended): You’ll also notice an option that says “Allow connections only from computers running Remote Desktop with Network Level Authentication (recommended).” It’s highly advised to keep this checked, as it adds an extra layer of security by requiring the connecting client to authenticate before a full Remote Desktop session is established.
5. Select Users: By default, administrators of the computer can connect. If you need to grant access to other standard user accounts, click the “Select Users” button. Here, you can add specific users from your computer who will be permitted to establish a remote connection.
Once these steps are completed on the host computer, it’s ready to accept incoming remote connections.
Connecting to Your Remote Desktop
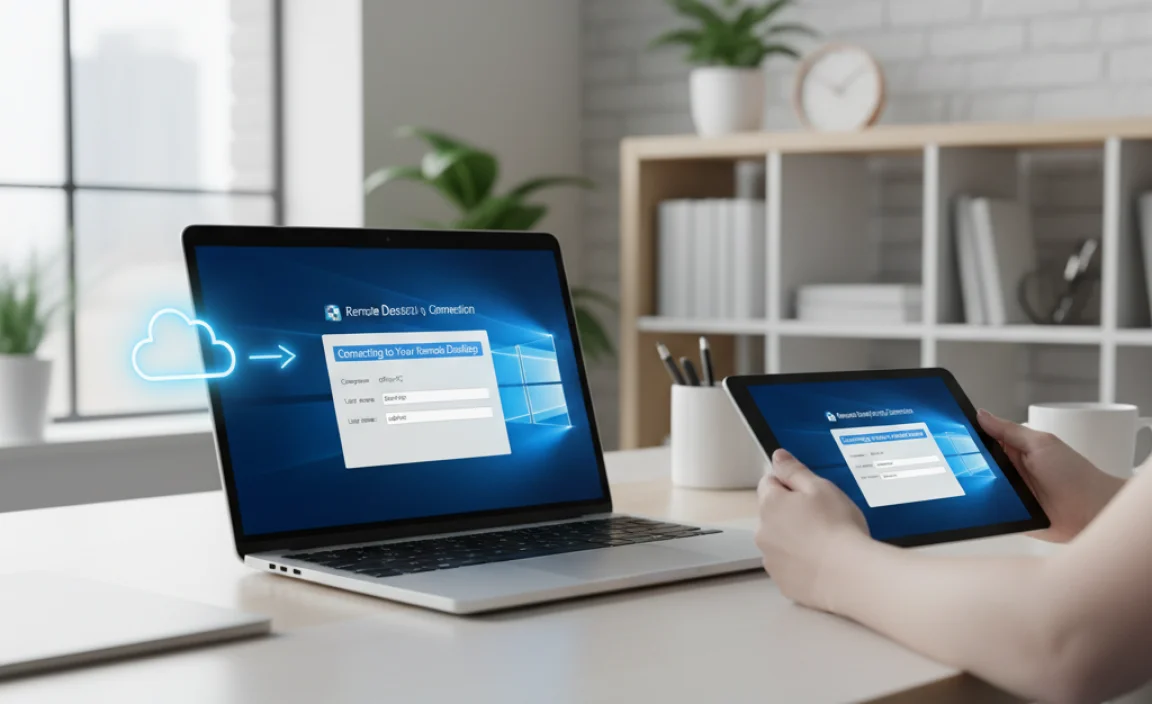
Now that your host computer is configured, you can initiate a connection from another Windows 10 machine (the “client”).
1. Open Remote Desktop Connection: On the client computer, search for “Remote Desktop Connection” in the Windows search bar and open the application.
2. Enter Computer Name or IP Address: In the “Computer” field, you’ll need to enter the name of the host computer or its IP address. If you’re connecting within the same local network, the computer name is usually sufficient. If you’re connecting over the internet, you’ll likely need the host computer’s public IP address and potentially configure your router for port forwarding (more on that later).
3. Show Options: For more advanced settings, click “Show Options.” Here you can specify a username and password (which will be the credentials for an account on the host computer), as well as adjust display settings, local resources (like printers or clipboard sharing), and more.
4. Connect: Click “Connect.” You’ll be prompted to enter the username and password for an account on the host computer.
Upon successful authentication, you will see the desktop of your remote Windows 10 computer, and you can interact with it just as if you were sitting in front of it.
Considerations for Internal vs. External Connections

The ease of establishing a remote desktop connection for Windows 10 often depends on whether you’re connecting within your local network (LAN) or across the internet (WAN).
Local Network Connection: This is the simpler scenario. As long as both computers are on the same router, using the host computer’s name or its local IP address (which you can find by typing `ipconfig` in Command Prompt on the host) will generally work.
Internet Connection: Connecting over the internet presents more challenges, primarily related to network address translation (NAT) and firewalls.
Public IP Address: You’ll need to know the public IP address of your home or office network. You can find this by searching “what is my IP” on Google from a computer on that network.
Port Forwarding: Most home routers use NAT, meaning they have one public IP address and assign private IP addresses to devices on the local network. To allow incoming Remote Desktop connections from the internet, you’ll typically need to configure your router to forward the Remote Desktop port (TCP port 3389) to the local IP address of your host computer. This process varies by router manufacturer and model, so consulting your router’s manual is essential.
Dynamic IP Addresses: If your internet service provider assigns you a dynamic public IP address (meaning it can change), you’ll need a dynamic DNS (DDNS) service to ensure you can always connect. DDNS services associate a hostname with your constantly changing IP address.
Security Concerns: Opening ports to the internet inherently increases security risks. It’s crucial to use strong, unique passwords for all user accounts on your host machine, keep Windows updated, and consider using a VPN for an added layer of security.
Troubleshooting Common Remote Desktop Issues
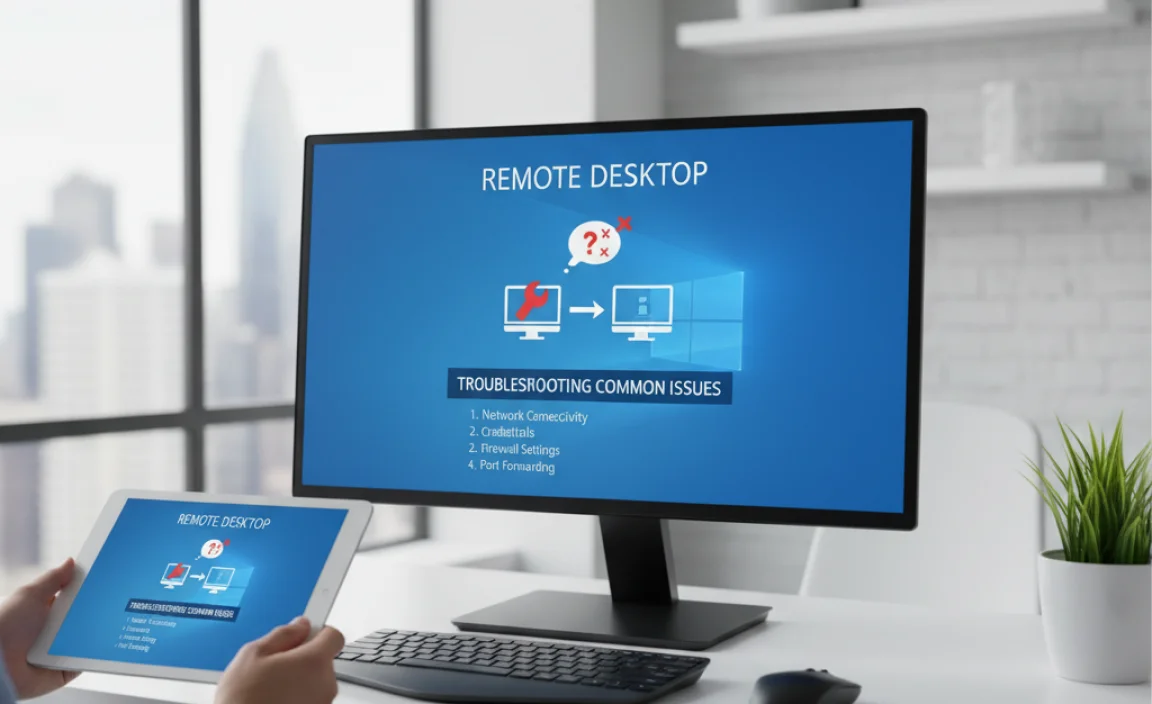
While the remote desktop connection for Windows 10 is generally reliable, you might encounter issues. Here are some common problems and their solutions:
“Remote Desktop can’t find the computer…”:
Double-check the computer name or IP address.
Ensure the host computer is powered on and connected to the network.
Verify that Remote Desktop is enabled on the host.
If connecting over the internet, check port forwarding and your public IP address.
Try connecting using the host’s local IP address.
“Remote Desktop can’t connect to the remote computer…”:
Confirm that the host computer is not in sleep or hibernation mode.
Ensure the “Allow remote connections to this computer” option is checked and that the user you’re connecting with has permission.
Check your Windows Firewall settings on the host to ensure Remote Desktop is allowed.
Authentication errors:
Make sure you are using the correct username and password for an account on the host computer.
* If using a local account, ensure you’re prefixing it with the computer name or a period (e.g., `YOUR-PC-NAMEusername` or `.username`). If connecting to a domain-joined computer from a domain, simply use `username`.
By understanding how to set up and connect using the remote desktop connection for Windows 10, and being aware of potential network configurations and common troubleshooting steps, you can unlock seamless access to your digital world, no matter where you are.