RAM for Windows 10 is more than just a technical specification; it’s a critical component that directly impacts your computer’s speed, responsiveness, and overall user experience.
For anyone looking to breathe new life into their aging desktop or laptop, upgrading the Random Access Memory (RAM) is often the most cost-effective and impactful performance boost you can achieve.
Windows 10, while efficient, can become sluggish with insufficient RAM, especially when running multiple applications, browsing memory-intensive websites, or engaging in demanding tasks like video editing or gaming. This guide will delve into why upgrading your RAM is a smart move and help you navigate the options to find the best RAM for Windows 10 to suit your needs.
Why an RAM Upgrade Makes a Difference

Think of RAM as your computer’s short-term memory. When you open a program or a file, it’s loaded into RAM so your processor can access it quickly. The more RAM you have, the more data your computer can hold readily available, allowing it to switch between tasks seamlessly and run applications smoothly.
If your system runs out of RAM, it has to resort to using slower storage (like your hard drive or SSD) as virtual memory. This process, known as paging or swapping, is significantly slower and can lead to noticeable lag, stuttering, and system unresponsiveness.
For Windows 10 specifically, Microsoft recommends a minimum of 4GB of RAM for basic functionality. However, to truly experience Windows 10 at its best, especially with modern software and multitasking, 8GB is generally considered the sweet spot for everyday users. Power users, gamers, and creative professionals will find 16GB or even 32GB can dramatically improve performance in their respective workflows.
Understanding RAM Specifications: What to Look For
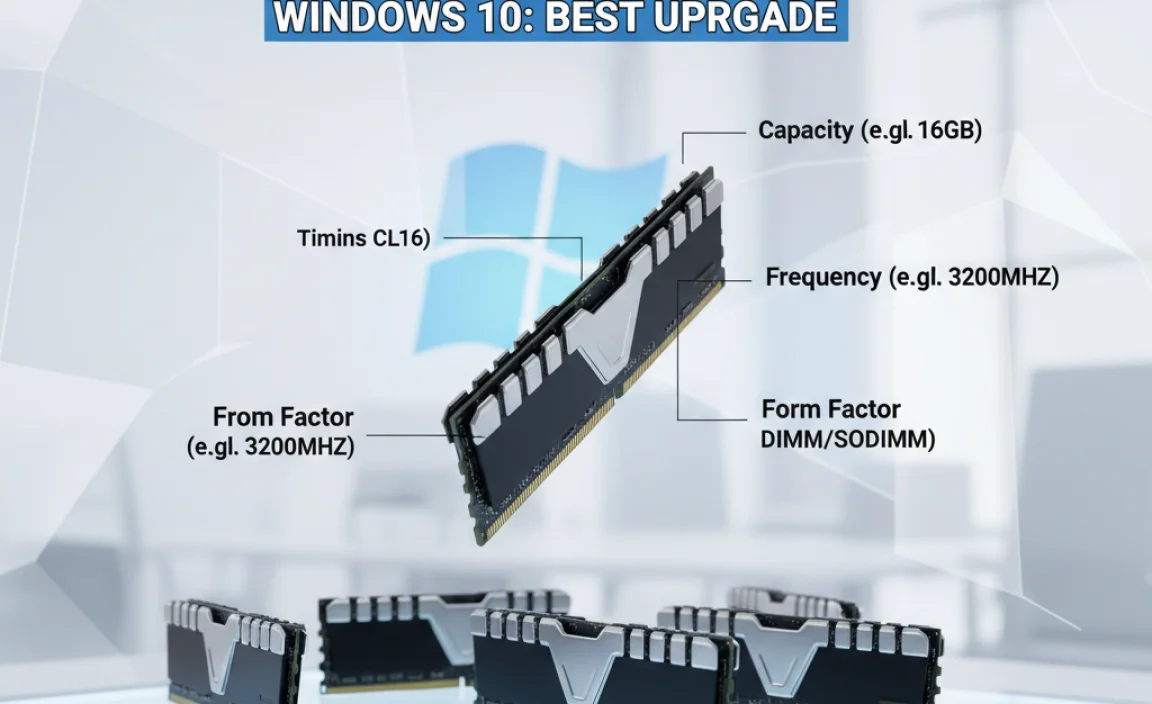
When you’re hunting for the best RAM for Windows 10, you’ll encounter several technical terms. Understanding these will empower you to make an informed decision:
Capacity (GB): This is the most straightforward. It refers to how much data the RAM module can store. As discussed, 8GB is a good starting point for most users, while 16GB is ideal for heavier multitasking and demanding applications.
Type (DDR3, DDR4, DDR5): This stands for Double Data Rate Synchronous Dynamic Random-Access Memory. You’ll see versions like DDR3, DDR4, and the latest DDR5. Crucially, RAM types are not backward or forward compatible. A motherboard designed for DDR4 will only accept DDR4 modules. Check your motherboard or laptop specifications to determine the supported RAM type. DDR4 is the most common for systems built in the last several years, while DDR5 is found in newer, high-end platforms.
Speed (MHz): Measured in Megahertz (MHz), this indicates how quickly the RAM can transfer data. Higher speeds generally translate to better performance, but the difference might be negligible for casual users. For DDR4, speeds often range from 2400MHz to 3600MHz and beyond. For DDR5, speeds are even higher.
Latency (CL): Also known as CAS Latency, this measures the delay before the RAM can start responding to a request. Lower latency numbers (e.g., CL16 is better than CL18) are generally preferable, but it’s a trade-off with speed. The impact of latency is often less significant than RAM capacity or overall speed for most users.
Form Factor (DIMM vs. SO-DIMM): Desktop computers use DIMM (Dual In-line Memory Module) sticks, which are larger. Laptops and small form-factor PCs typically use SO-DIMM (Small Outline Dual In-line Memory Module) sticks, which are shorter. Ensure you purchase the correct form factor for your device.
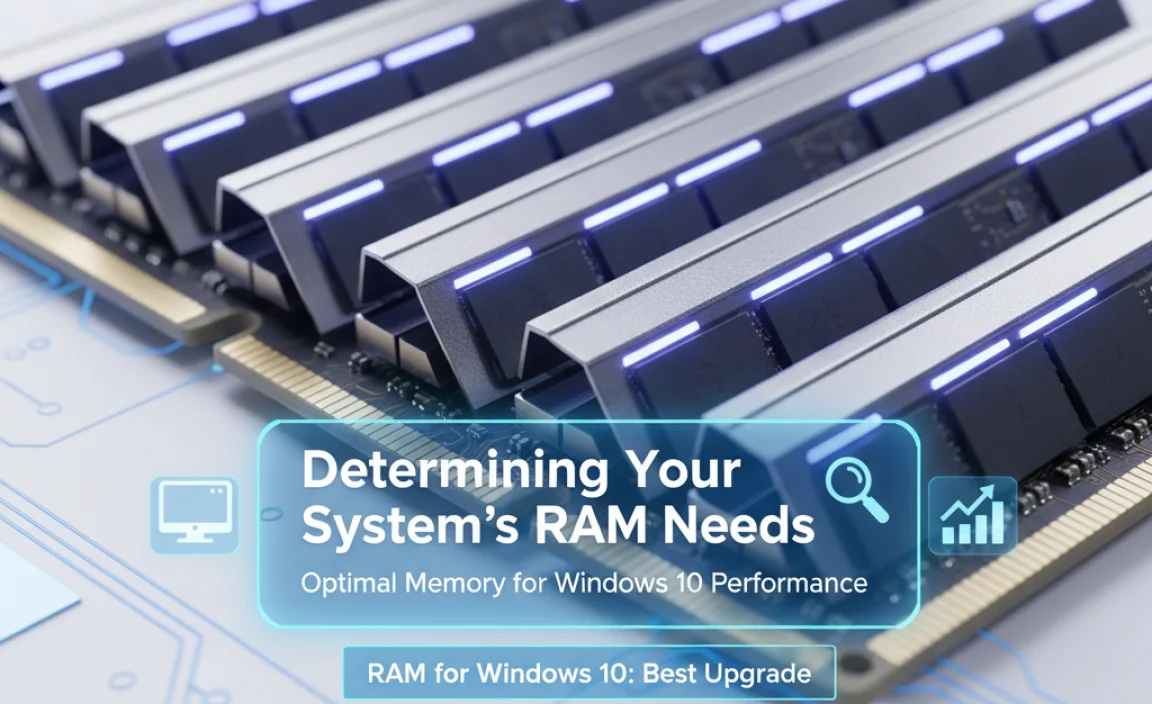
Determining Your System’s RAM Needs
Before you start shopping for RAM for Windows 10, it’s essential to assess your current situation and future needs:
1. Check Your Current RAM:
Windows 10: Press `Ctrl + Shift + Esc` to open Task Manager. Go to the “Performance” tab, then click on “Memory.” This will show you how much RAM you have, how much is being used, and the speed of your current modules.
2. Identify Your Motherboard/Laptop Model: This is crucial for determining the supported RAM type (DDR3, DDR4, DDR5) and maximum capacity. You can find this information in your system’s documentation, by using system information tools (type `msinfo32` in the Windows search bar), or by visiting the manufacturer’s website.
3. Consider Your Usage:
Basic Use (Web browsing, email, office applications): 8GB is usually sufficient, but 16GB offers a more comfortable experience and future-proofing.
Multitasking (Many browser tabs, multiple applications open): 16GB is highly recommended.
Gaming: 16GB is the standard for most modern games. Some very demanding titles might benefit from 32GB, especially if you stream or run other applications in the background.
Content Creation (Video editing, graphic design, programming): 16GB is a solid starting point, but 32GB or even 64GB can significantly speed up rendering and handling large files.
Best RAM Brands and Considerations for Windows 10

When selecting RAM for Windows 10, sticking with reputable brands is generally a good idea. These manufacturers have a track record of reliability and performance. Some of the most popular and well-regarded RAM brands include:
Corsair: Offers a wide range of RAM kits, from budget-friendly to high-performance enthusiast modules.
G.Skill: Known for its high-speed performance RAM, particularly popular among gamers and overclockers.
Crucial: A great option for reliable, no-nonsense RAM that offers excellent value. They often have a handy system scanner tool on their website to help you find compatible upgrades.
Kingston: A long-standing and trusted name in computer components, offering a broad selection of RAM suitable for various needs.
* TeamGroup: Provides a good balance of performance and affordability.
Important Note on Compatibility: Always double-check that the RAM you are purchasing is compatible with your specific motherboard or laptop. Websites of RAM manufacturers often have compatibility checkers where you can enter your system model to find compatible RAM kits. Also, consider buying RAM in kits (e.g., 2x8GB for 16GB total) rather than individual sticks. This ensures the modules are tested to work together and can often enable dual-channel memory, which can boost performance.
The Installation Process: A DIY Friendly Upgrade

Upgrading RAM is one of the easiest hardware upgrades you can perform on a desktop computer, and often achievable on many laptops as well.
For Desktops:
1. Power Down and Unplug: Completely shut down your computer and unplug it from the power source.
2. Ground Yourself: Touch a metal part of the computer case to discharge any static electricity.
3. Open the Case: Remove the side panel of your computer case.
4. Locate RAM Slots: Find the DIMM slots on your motherboard, usually located near the CPU.
5. Remove Old RAM (if applicable): Gently push down the clips at either end of the RAM module to unseat it.
6. Install New RAM: Align the notch on the RAM module with the notch in the RAM slot. Push down firmly on both ends of the module until the clips snap into place.
7. Reassemble and Test: Close the case, plug in the power, and boot up your system. Windows 10 should recognize the new RAM automatically.
For Laptops:
The process varies greatly by model. You may need to remove a specific access panel on the bottom of the laptop or even remove the entire bottom cover. Consult your laptop’s manual or search online for a disassembly guide specific to your model.
By understanding your system’s needs and the specifications of RAM modules, upgrading your RAM for Windows 10 is a straightforward and highly rewarding endeavor that can dramatically improve your computing experience.