Setting up an MQTT broker for Windows 10 doesn’t have to be a daunting task. Whether you’re a hobbyist diving into the Internet of Things (IoT) with microcontrollers, a developer testing distributed applications, or a professional integrating various systems, a local MQTT broker provides a crucial communication hub.
Windows 10, with its user-friendly interface and robust capabilities, can nicely host such a broker, making development and testing more accessible than ever. Gone are the days of needing a dedicated server or complex configurations; with the right tools and a few straightforward steps, you can have your own MQTT broker up and running in no time.
Why You Need an MQTT Broker on Windows 10
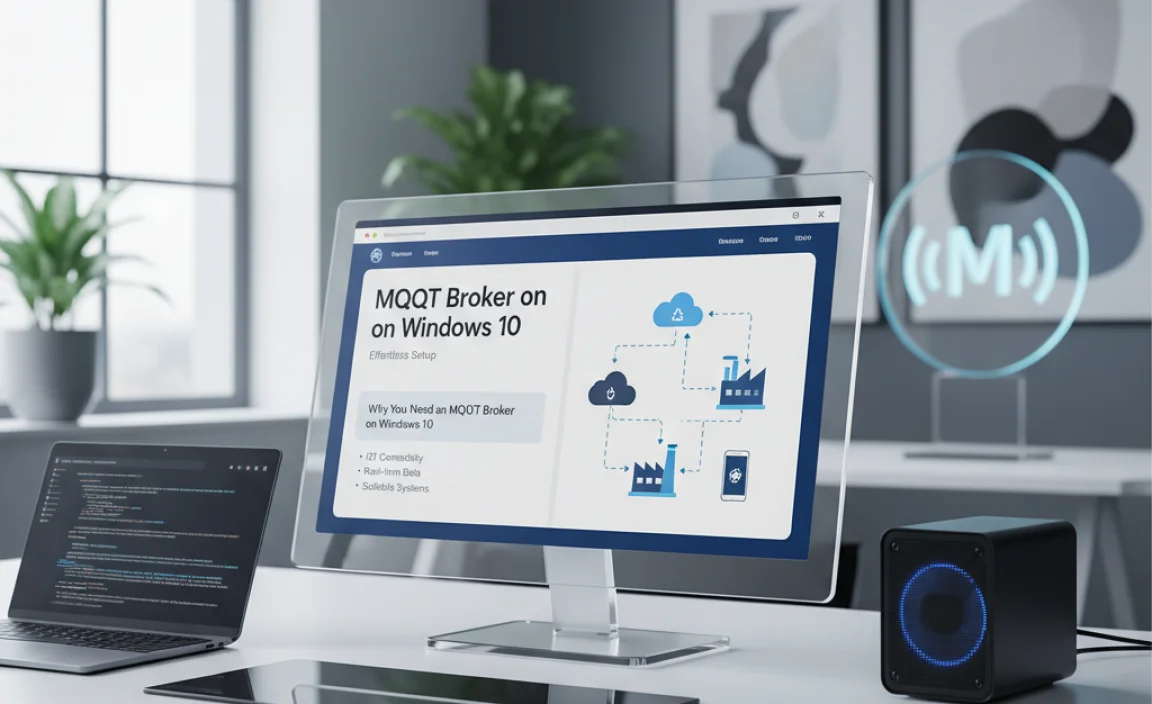
MQTT (Message Queuing Telemetry Transport) is a lightweight messaging protocol designed for constrained devices and low-bandwidth, high-latency networks. It operates on a publish-subscribe model, where clients publish messages to specific “topics,” and other clients subscribe to those topics to receive those messages. The MQTT broker acts as the central intermediary, receiving all published messages and distributing them to the appropriate subscribers.
For Windows 10 users, having a local broker offers several significant advantages:
Development and Testing: It’s an invaluable tool for developing and testing IoT applications, smart home projects, or any system that relies on event-driven messaging. You can simulate client behavior, test message flow, and debug your applications without needing to connect to a remote broker or incur additional costs.
Offline Operation: For projects not yet connected to the internet, or for scenarios where internet connectivity is unreliable, a local broker ensures that your devices can still communicate.
Privacy and Security: Running a broker locally gives you complete control over your data and messaging. This is particularly important for sensitive projects or for experimenting with security configurations without exposing them to the public internet.
Learning and Experimentation: For those new to MQTT or IoT, setting up a local broker on a familiar operating system like Windows 10 provides a low-risk environment to learn the fundamentals.
Choosing the Right MQTT Broker for Windows 10
Several excellent MQTT broker options are available, each with its strengths. For Windows 10, you’ll typically find brokers that are either cross-platform and easily installable, or Windows-specific applications. Here are a few popular choices:
Mosquitto: This is arguably the most popular open-source MQTT broker. It’s highly configurable, robust, and supports MQTT v3.1, v3.1.1, and v5.0. Mosquitto can be easily compiled or downloaded as pre-built binaries for Windows.
EMQX: A highly scalable, distributed MQTT broker designed for enterprise-grade IoT scenarios. While it can be complex, it also offers a standalone edition that runs well on Windows 10 for development purposes.
HiveMQ Community Edition: Another powerful option for large-scale IoT deployments, HiveMQ also provides a community edition that is suitable for local development and testing on Windows.
For ease of setup on Windows 10, Mosquitto is often the go-to choice due to its simplicity and widespread community support.
Effortless Setup: Installing Mosquitto as Your MQTT Broker on Windows 10
Let’s walk through the process of installing Mosquitto on Windows 10, focusing on an effortless setup.
Step 1: Download Mosquitto
1. Navigate to the official Mosquitto downloads page: https://mosquitto.org/download/
2. Look for the “Windows binaries” section. You’ll typically find `.exe` installers for different Windows versions (32-bit or 64-bit). Download the installer that matches your Windows 10 system.
Step 2: Run the Installer
1. Locate the downloaded `.exe` file and double-click it to run the installer.
2. Accept the License Agreement: Read through the terms and click “I Agree.”
3. Choose Components: The default components are usually sufficient for a basic setup. You’ll see options for the broker itself, client utilities (like `mosquitto_pub` and `mosquitto_sub`), and potentially documentation. Keep the defaults if you’re unsure.
4. Select Installation Folder: Choose where you want to install Mosquitto. The default location (e.g., `C:Program Filesmosquitto`) is usually fine.
5. Install as a Service (Recommended): This is a crucial step for effortless management. Ensure the “Install Mosquitto as a Windows service” checkbox is ticked. This allows Mosquitto to start automatically when your computer boots up and run in the background without you needing to manually start it each time.
6. Start Menu Folder: Choose a name for the Start Menu folder.
7. Complete the Installation: Click “Install” and let the installer finish.
Step 3: Starting and Verifying Your MQTT Broker
Once the installation is complete, Mosquitto should automatically start running as a Windows service because you selected that option.
To verify it’s running:
1. Open the Services Application:
Press `Windows Key + R`, type `services.msc`, and press Enter.
Alternatively, search for “Services” in the Windows search bar and open the application.
2. Find Mosquitto: Scroll down the list of services and look for “Mosquitto”.
3. Check Status: Ensure the “Status” column shows “Running.” If it’s not running, right-click on “Mosquitto” and select “Start.”
By default, Mosquitto runs on the standard MQTT port, which is 1883.
Step 4: Testing Your Broker and Using Client Utilities
The Mosquitto installation includes client utilities that are incredibly useful for testing. These are typically located in the installation directory (e.g., `C:Program Filesmosquittobin`). You can either add this directory to your system’s PATH environment variable for easier access from any command prompt, or navigate to this directory in your command prompt.
Let’s test with a simple scenario:
1. Open two Command Prompts: You’ll need at least two to simulate a publisher and a subscriber.
2. Subscriber Command Prompt:
Navigate to the Mosquitto `bin` directory in the first command prompt.
Run the following command to subscribe to a topic named `test/topic`:
“`bash
mosquitto_sub -h localhost -t “test/topic” -v
“`
`-h localhost`: Specifies the host (your local machine).
`-t “test/topic”`: The topic to subscribe to.
`-v`: Verbose output, shows the topic along with the message.
3. Publisher Command Prompt:
Navigate to the Mosquitto `bin` directory in the second command prompt.
Run the following command to publish a message to the same topic:
“`bash
mosquitto_pub -h localhost -t “test/topic” -m “Hello from Windows 10!”
“`
`-h localhost`: The host.
`-t “test/topic”`: The topic to publish to.
`-m “Hello from Windows 10!”`: The message payload.
When you run the publisher command, you should immediately see the message “test/topic: Hello from Windows 10!” appear in the subscriber’s command prompt window. Congratulations, you’ve successfully set up a working MQTT broker for Windows 10!
Advanced Configuration and Security
While the default setup is effortless, most MQTT brokers offer extensive configuration options for more advanced use cases:
Configuration File (`mosquitto.conf`): Mosquitto uses a configuration file, usually located in its installation directory (e.g., `C:Program Filesmosquittomosquitto.conf`). You can edit this file to:
Change the listening port.
Configure persistent sessions.
Set up user authentication and access control lists (ACLs) for enhanced security.
Enable TLS/SSL for encrypted communication.
* Security: For any production or sensitive development, it’s highly recommended to secure your broker. This involves setting up username/password authentication and potentially TLS encryption. You’ll need to create password files and configure the broker to use them, which are standard procedures documented on the Mosquitto website.
Conclusion
Establishing an MQTT broker for Windows 10 is now within easy reach for developers and hobbyists alike. By leveraging straightforward installers like Mosquitto and utilizing the built-in Windows services, you can quickly set up a robust messaging backbone for your IoT projects, application testing, and more.
This local broker environment provides the flexibility, control, and learning opportunities essential for modern distributed systems. Whether you’re sending sensor data, controlling smart devices, or building complex event-driven architectures, your Windows 10 machine can serve as a powerful, reliable MQTT hub with minimal effort.


