Quick Summary: Setting up a mobile hotspot on Windows 10 is straightforward. This guide provides clear steps to share your internet connection with other devices, ensuring a reliable connection wherever you go. Follow this proven setup for seamless connectivity.
Mobile Hotspot for Windows 10: Proven Setup Made Easy
Ever found yourself needing internet on your laptop but stuck with no Wi-Fi? Maybe you’re at a cafe, a friend’s house, or traveling, and your phone has a great data plan, but your computer doesn’t. It’s a common frustration, feeling disconnected when you need to get work done or just browse the web. Fortunately, Windows 10 has a built-in feature that can turn your laptop into a Wi-Fi hotspot, sharing your phone’s internet connection. It sounds a bit technical, but I’ll walk you through it, step by step. We’ll cover exactly how to set it up so you can get online quickly and reliably. Let’s dive in and get you connected!
Why Use Your Windows 10 Mobile Hotspot?
Using your Windows 10 PC as a mobile hotspot, also known as tethering, is incredibly useful. It transforms your laptop into a portable Wi-Fi router, allowing you to share your cellular data connection from your smartphone or another cellular modem with other devices. This is a lifesaver in many situations:
- On-the-Go Productivity: Need to send an important email or join a video conference while traveling? A mobile hotspot ensures your work doesn’t have to stop.
- Connecting Multiple Devices: If you have several gadgets that need internet access (like a tablet or another laptop), you can connect them all through your PC’s hotspot.
- No Wi-Fi Availability: When you’re in areas with no public Wi-Fi or where the available networks are unreliable or expensive, your phone’s data can be your saving grace.
- Cost-Effective: For many, sharing their existing smartphone data plan is more economical than paying for separate Wi-Fi services or portable hotspots.
How to Share Your Internet Connection: The Mobile Hotspot Feature

Windows 10 makes sharing your internet connection for mobile hotspot use quite simple. The feature is built directly into the settings. Here’s how you set it up:
Step 1: Ensure Your PC is Connected to the Internet
This might seem obvious, but your Windows 10 PC needs an active internet connection to share it. This connection typically comes from your Wi-Fi adapter or an Ethernet cable. If you’re planning to share your cellular data connection from your phone via USB tethering, that connection will be established in a later step. For now, confirm your PC has internet access.
Step 2: Configure Mobile Hotspot Settings
Now, let’s get into the settings to activate and configure your mobile hotspot.
- Open Settings: Click the Start button (the Windows icon in the bottom-left corner) and then click the Gear icon to open the Settings app.
- Go to Network & Internet: In the Settings window, click on “Network & Internet.”
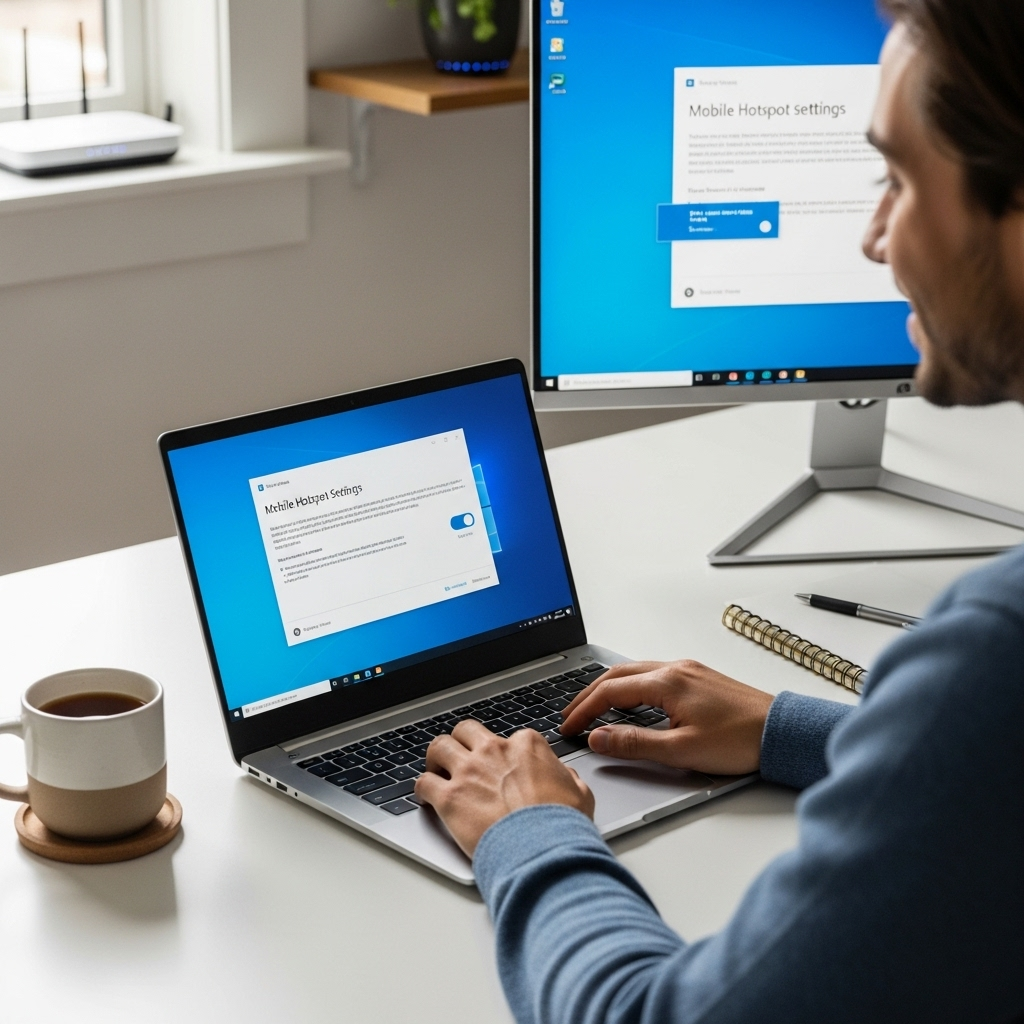
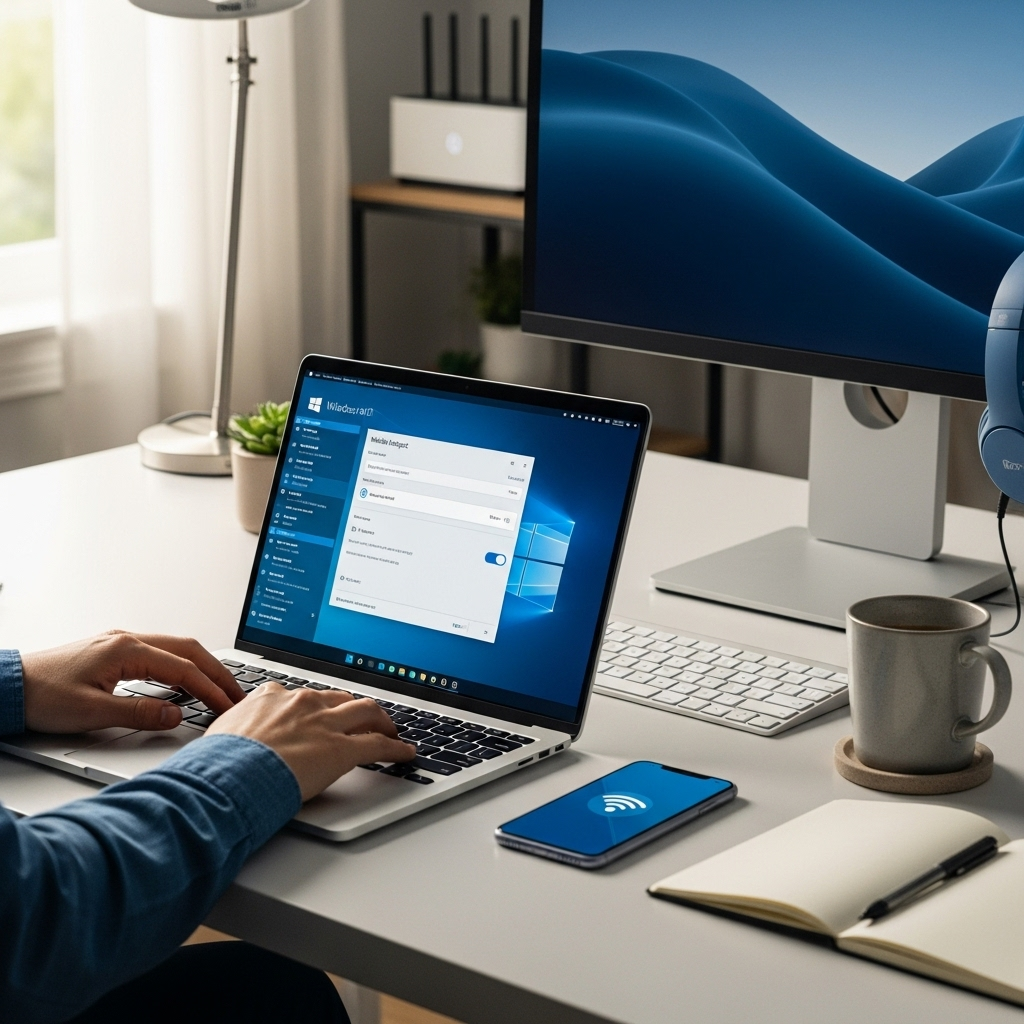
- Select Mobile Hotspot: On the left-hand menu, click on “Mobile hotspot.”
You’ll see a few options here:
- Share my Internet connection from: This dropdown menu allows you to choose which internet connection you want to share. If your PC is connected via Wi-Fi and Ethernet, you might see options for both. Typically, you’ll want to select the connection that’s actively providing your PC with internet (e.g., your Wi-Fi adapter if you’re not plugged in via Ethernet).
- Share over: This option lets you decide how you want to broadcast your hotspot. You have two choices:
- Wi-Fi: This is the most common and versatile option. Your PC will broadcast a Wi-Fi network that other devices can connect to.
- Bluetooth: This is a less common and slower option, generally used for connecting only a single device for basic internet tasks. We’ll focus on Wi-Fi, as it’s the most practical.
Step 3: Set Up Your Hotspot Network Name and Password
Before you turn on the hotspot, it’s essential to set a secure network name (SSID) and a strong password. This prevents unauthorized access to your internet connection.
- Edit Network Details: Below the “Share over” option, you’ll see “Share my Internet connection with other devices comes from.” Directly under that, you should see your current network name and password. Click the “Edit” button.
- Create a Network Name (SSID): In the window that pops up, type your desired network name in the “Network name” field. Choose something easily identifiable but not too personal (e.g., “Mike’sHotspot” or “TravelWiFi”).
- Set a Strong Password: In the “Network password” field, create a strong password. It should be complex, using a mix of uppercase and lowercase letters, numbers, and symbols. Aim for at least 8 characters, but longer is better for security.
- Save Changes: Click the “Save” button.
Once these details are set, your hotspot will be ready to broadcast. You’ll see the network name and password displayed in the Mobile Hotspot settings.
Step 4: Turn On Your Mobile Hotspot
With the settings configured, it’s time to activate your hotspot.
- Toggle the Switch: At the top of the “Mobile hotspot” page in Settings, you’ll see a toggle switch labeled “Share my Internet connection with other devices.” Click this toggle to “On.”
Your Windows 10 PC will now start broadcasting the Wi-Fi network you just configured. You should see a confirmation message, and the toggle will show as “On.”
Step 5: Connect Other Devices to Your Hotspot
Now that your hotspot is active, you can connect other devices to it just like you would to any other Wi-Fi network.
- On the device you want to connect (e.g., your smartphone, tablet, or another laptop), open its Wi-Fi settings.
- Look for the network name (SSID) you created in Step 3.
- Select your network name and enter the password you set.
Your device should now connect to your Windows 10 mobile hotspot and gain internet access!
Advanced Setup: Sharing Your Phone’s Data via USB Tethering
While the Wi-Fi hotspot is great for sharing your PC’s connection, often you’ll want to share your phone’s internet connection with your PC. This is where USB tethering comes in. It’s often faster and more stable than Wi-Fi hotspotting, and it also charges your phone while it’s connected.
Prerequisites:
- A smartphone (Android or iPhone).
- A USB cable to connect your phone to your PC.
- Sufficient data allowance on your phone’s plan.
Steps for USB Tethering:
For Android Devices:
- Connect Your Phone: Plug your Android phone into your Windows 10 PC using a USB cable.
- Open Phone Settings: On your phone, go to “Settings.”
- Navigate to Tethering Options: The exact location can vary slightly by manufacturer, but generally, you’ll find it under:
- “Network & Internet” or “Connections”
- Then look for “Hotspot & tethering” or “Mobile Hotspot and Tethering.”
- Enable USB Tethering: Find the “USB tethering” option and toggle it on.
Your Windows 10 PC should automatically detect the new network connection. You might see a notification from Windows saying a new network has been set up. Your PC will now use your phone’s data.
For iPhones (iOS):
- Connect Your iPhone: Plug your iPhone into your Windows 10 PC using a USB cable.
- Open iPhone Settings: On your iPhone, go to “Settings.”
- Navigate to Personal Hotspot: Tap “Personal Hotspot.”
- Enable “Allow Others to Join”: Toggle “Allow Others to Join” to the ON position.
- Trust This Computer (if prompted): You might see a pop-up on your iPhone asking, “Trust This Computer?” Tap “Trust.” You may also need to enter your iPhone passcode.
Windows 10 should recognize the connection. If it doesn’t automatically use the phone’s internet, you might need to go into your PC’s network settings (as described in Step 2 of the Wi-Fi hotspot section) and ensure the iPhone network is selected as the connection to share.
Managing Your Mobile Hotspot Settings

Windows 10 offers some helpful management options for your mobile hotspot.
Power Saving Settings
To conserve battery power, Windows 10 can automatically turn off your mobile hotspot when no devices are connected for a certain period. This is usually enabled by default.
- In the Settings > Network & Internet > Mobile hotspot section, you’ll find an option like “Turn off automatically when no devices are connected.” Ensure this is checked if you want this power-saving feature.
This is great for preventing your PC from running down its battery unnecessarily.
Data Usage Monitoring
When you’re sharing your mobile data, it’s crucial to keep an eye on your usage, especially if you have a limited data plan. Windows 10 allows you to set data limits for your hotspot connections.
- Go to Network & Internet: In Settings, click “Network & Internet.”
- Select Data Usage: From the left-hand menu, click on “Data usage.”
- Choose Your Hotspot Connection: You’ll see a list of your network connections. Click on the one corresponding to your mobile hotspot.
- Set a Limit: You can then click “Set limit” to define a data cap (e.g., 10 GB) and the type of limit (Monthly, One-time, or Unlimited). Windows will then warn you when you approach or exceed this limit.
This feature is especially valuable when using your phone’s data plan, helping you avoid excessive charges.
Troubleshooting Common Mobile Hotspot Issues
While setting up a mobile hotspot is usually smooth sailing, you might occasionally run into a snag. Here are some common problems and how to fix them:
Issue 1: Mobile Hotspot Option is Greyed Out or Missing
Cause: This often happens if your Wi-Fi adapter driver is outdated, corrupted, or not compatible with the hotspot feature. It can also be due to a disabled network service.
Fixes:
- Check Your Wi-Fi Adapter:
- Open Device Manager: Right-click the Start button and select “Device Manager.”
- Expand Network adapters: Look for your Wi-Fi adapter (it will usually have “Wireless” or “Wi-Fi” in its name).
- Update Driver: Right-click your Wi-Fi adapter and select “Update driver.” Choose “Search automatically for drivers.” If Windows finds a newer driver, install it.
- Reinstall Driver: If updating doesn’t work, right-click the adapter again, select “Uninstall device.” Check the box to “Delete the driver software for this device” if prompted. Then, restart your PC. Windows will usually reinstall the driver automatically upon reboot.
- Check Network Services:
- Press
Windows key + R, typeservices.msc, and press Enter. - In the Services window, find “WLAN AutoConfig.”
- Ensure its “Startup type” is set to “Automatic” and that it is “Running.” If not, double-click it, change the startup type, and click “Start.”
- Press
- Check for Windows Updates: Sometimes, missing drivers or system files are resolved by installing the latest Windows updates. Go to Settings > Update & Security > Windows Update and click “Check for updates.”
Issue 2: Devices Can Connect to the Hotspot, but There’s No Internet
Cause: This usually means your PC has internet access, but it’s not correctly sharing it to the hotspot. It could also be that the device you’re connecting has an IP address conflict or DNS issue.
Fixes:
- Verify Your PC’s Internet Connection: Make sure your PC itself can browse the web without issues.
- Restart the Mobile Hotspot: Turn the mobile hotspot off and then on again from the Windows Settings.
- Restart Your PC and Connected Device: A simple reboot can often resolve temporary glitches.
- Check Network Adapter Properties:
- Go to Settings > Network & Internet > Status.
- Click on “Change adapter options.”
- Right-click on the adapter that provides your PC’s internet connection (e.g., your Wi-Fi adapter), select Properties.
- Go to the “Sharing” tab.
- Ensure “Allow other network users to connect through this computer’s Internet connection” is checked.
- In the dropdown menu under “Home networking connection,” select the “Microsoft Wi-Fi Direct Virtual Adapter” or the adapter associated with your mobile hotspot feature.
- Click OK.
- Forget and Reconnect on the Client Device: On the device trying to connect to the hotspot, “forget” the Wi-Fi network and then try to connect again, re-entering the password.
Issue 3: Slow Internet Speed on Hotspot
Cause: The speed of your mobile hotspot is limited by several factors: the speed of your original internet connection, the capabilities of your Wi-Fi adapter, the number of devices connected, and network congestion.
Fixes:
- Ensure a Strong Original Connection: If your PC’s internet is slow, the hotspot will be slow, too.
- Use USB or Bluetooth Tethering: If available, these methods can offer better speed than Wi-Fi hotspotting, especially if your PC’s Wi-Fi isn’t the latest standard.
- Limit Connected Devices: Fewer devices mean more bandwidth for each.
- Move Closer: Ensure your connected device is close to your PC, and your PC is close to your phone if using USB tethering.
- Check Your Phone’s Data Speed: If you’re using your phone’s data, check its signal strength and general internet speed.
- Update Wi-Fi Drivers: As mentioned, outdated drivers can impact performance.
Security Considerations for Your Mobile Hotspot

When setting up a mobile hotspot, security is paramount. You’re essentially creating a mini Wi-Fi network, and just like any Wi-Fi network, it needs to be protected.
1. Always Use a Strong Password
This is the most critical step. A weak password (like “12345678” or “password”) makes it easy for anyone nearby to connect to your network. This not only uses your data but could also potentially expose your connected PC to security risks.
Recommendation: Use a combination of uppercase letters, lowercase letters, numbers, and symbols. Aim for a password that is at least 12 characters long. A password manager can help you generate and store strong, unique passwords.
For more on smart password practices, check out this guide from the FTC.
2. Keep Your Windows 10 Updated
Microsoft regularly releases security updates for Windows 10. These updates patch vulnerabilities that could be exploited by malicious actors. Ensuring your operating system is up-to-date is a fundamental security practice, especially when using features like mobile hotspots.
Action: Regularly check for and install Windows Updates by going to Settings > Update & Security > Windows Update.
3. Be Mindful of Network Type (Private vs. Public)
When you connect to a new network in Windows 10, you’re usually asked if you want to make it a Private or Public network. For a mobile hotspot created by your PC, it’s best to treat it as a Public network by default.

