Have you ever thought about how you can use a small USB drive to install Windows 10? It sounds cool, right? Making a bootable pendrive for Windows 10 can be a fun project!
Imagine this: you have an old computer, and it doesn’t work like it used to. You might want to reset it or install a fresh copy of Windows 10. Instead of buying a new one, you can do it yourself.
Using a simple pendrive, you can save time and money. Knowing how to create a bootable pendrive can help you save your computer. Plus, it feels rewarding to fix things with your own hands!
So, are you ready to learn how to make a bootable pendrive for Windows 10? Let’s dive in and discover the easy steps together!
How To Make Bootable Pendrive For Windows 10 Effortlessly
Make Bootable Pendrive for Windows 10
Creating a bootable pendrive for Windows 10 opens new doors for computer users. Imagine having the power to install or repair Windows anytime. You simply need to download the Windows ISO file and use tools like Rufus or the Windows Media Creation Tool. This quick process allows anyone to set up their computer effectively. Plus, it’s a handy solution for troubleshooting. Ready to get started? Your next adventure in tech is just a pendrive away!
Understanding Bootable Pendrives
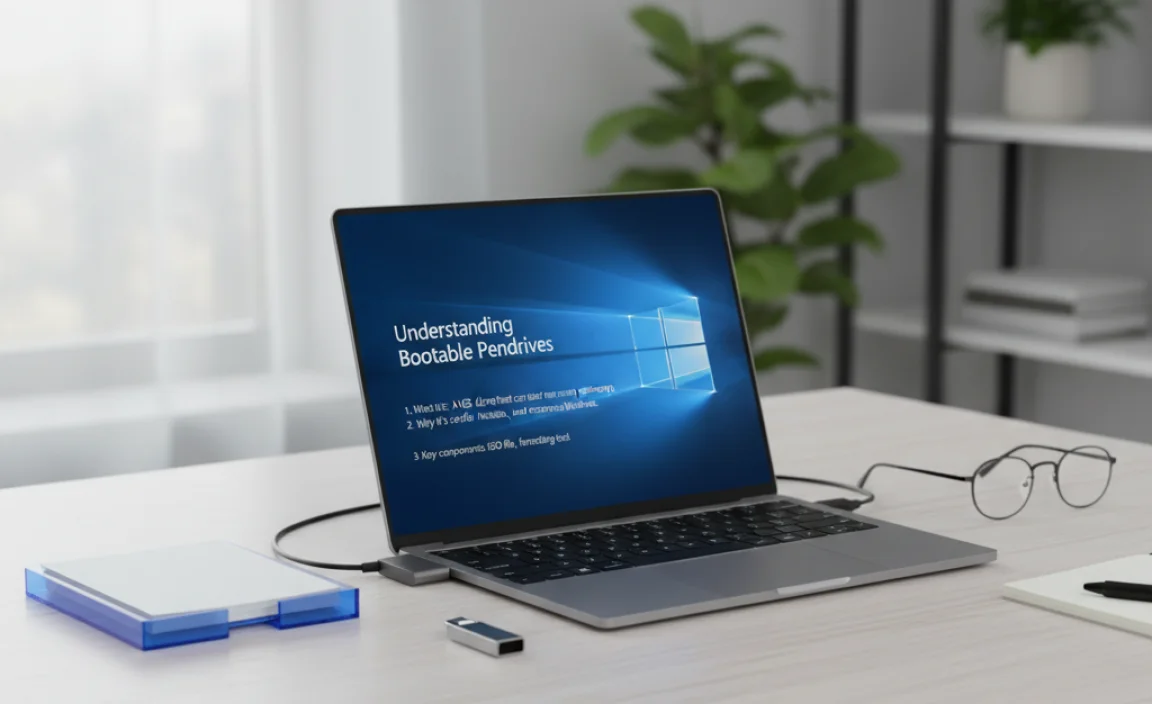
Definition and purpose of a bootable pendrive. Importance in troubleshooting and installation processes.
A bootable pendrive is like a magic key! It lets your computer start up from the pendrive instead of the usual hard drive. Why is this important? Well, if something goes wrong with your system, a bootable pendrive can help you troubleshoot and fix it. It’s also perfect for installing new operating systems, like Windows 10. Think of it as a superhero for your computer troubles—always there when you need it!
| Purpose | Importance |
|---|---|
| Install Windows 10 | Helps fix problems quickly |
| Run recovery tools | Saves time and frustration |
Prerequisites for Creating a Bootable Pendrive
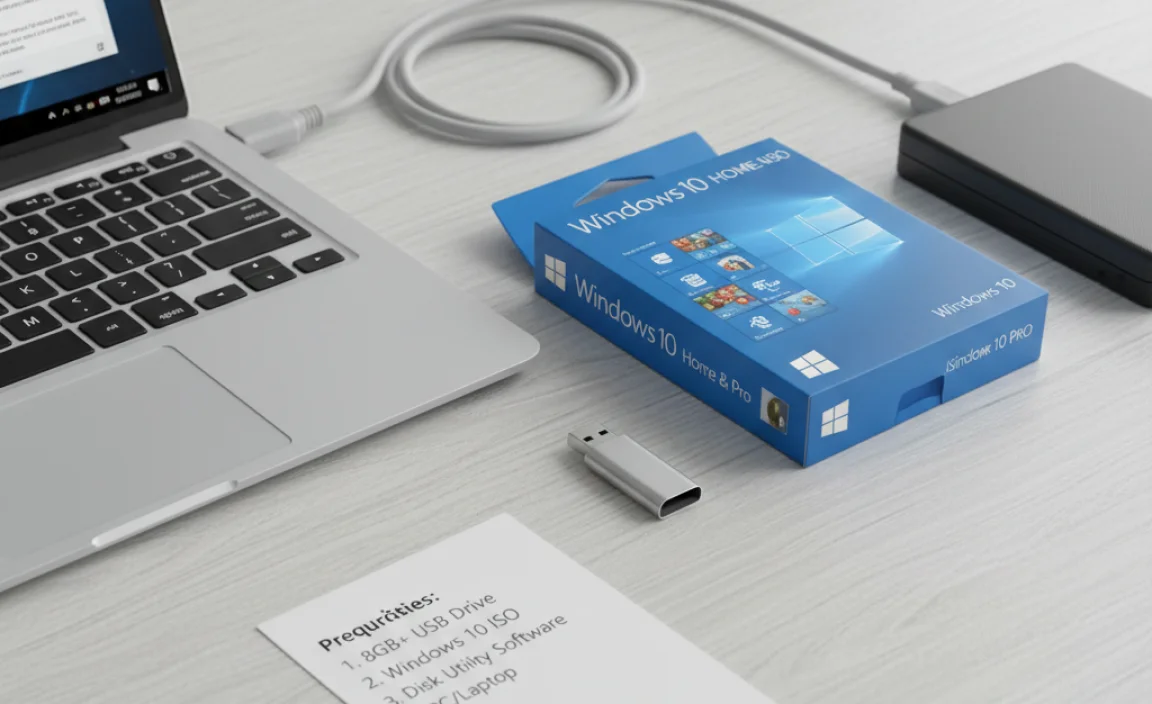
Required hardware and software. Downloading the official Windows 10 ISO file.
Before jumping into making that magical bootable pendrive, let’s gather what we need! First, you’ll need a reliable USB drive. Aim for at least 8GB—think of it as your tiny wizard’s wand. Next, make sure you have a computer handy to work your magic. Almost forgot! You also need to download the official Windows 10 ISO file. That’s like the secret potion recipe! So, gear up and let’s get started!
| Required Hardware | Required Software |
|---|---|
| USB drive (8GB or more) | Windows 10 Media Creation Tool |
| Computer (Windows OS) | Windows 10 ISO file |
Choosing the Right Pendrive

Minimum storage requirements. Recommended brands and specifications.
Picking the right pendrive is key for creating a bootable drive. Aim for a minimum of 8GB storage. This is enough space for Windows 10. Here are some good brands you can trust:
- SanDisk
- Kingston
- Samsung
Look for USB 3.0 for faster speeds. A good pendrive will help make your job easier. Choose wisely!
What are the minimum storage requirements for a bootable pendrive?
The minimum storage needed is 8GB. This size allows enough room for installing Windows 10.
Step-by-Step Guide Using Windows Media Creation Tool
Downloading and installing the Media Creation Tool. Detailed instructions for creating a bootable pendrive.
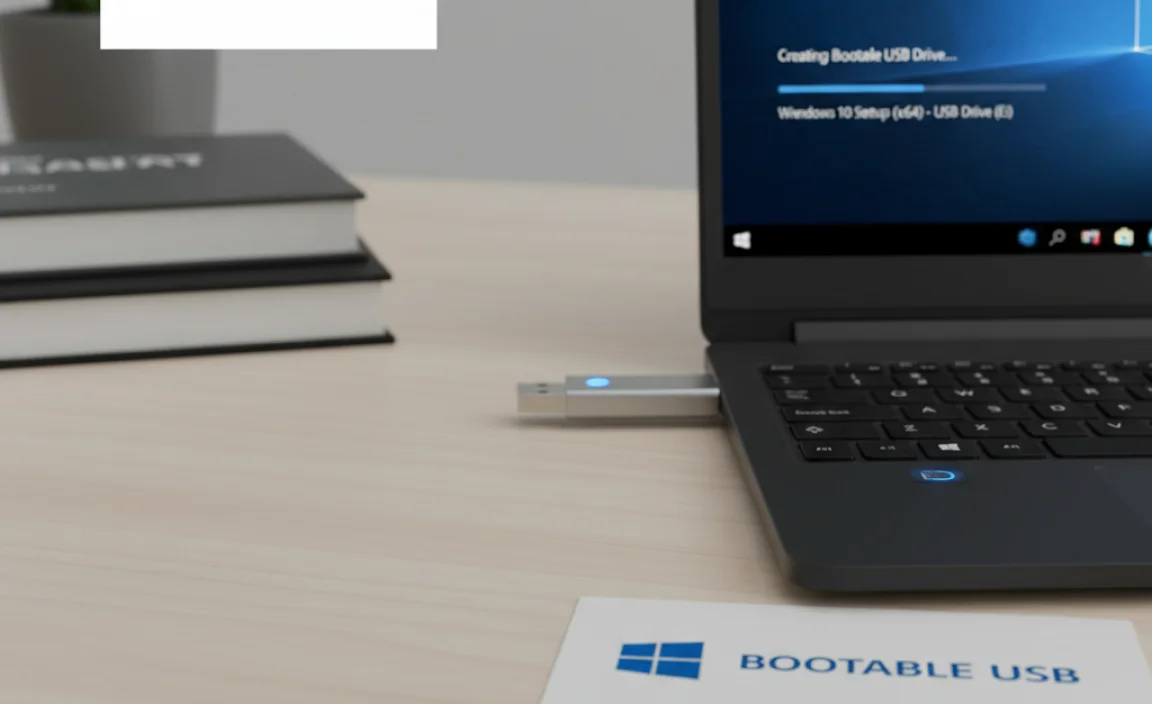
Ready to create your magical bootable pendrive? First, download the Media Creation Tool from the official Microsoft website. It’s as easy as pie (or cake, if you prefer)! Install it by following the prompts. Once installed, pop in your USB drive and choose the “Create installation media” option. Select the right Windows version, language, and edition. Click next and sit back while it does the hard work for you. Your USB will be bootable in no time!
| Step | Action |
|---|---|
| 1 | Download the Media Creation Tool |
| 2 | Install the tool |
| 3 | Insert USB drive and select ‘Create installation media’ |
| 4 | Choose the version and language |
| 5 | Click ‘Next’ and wait |
Troubleshooting Common Issues
Issues during the creation process. Solutions for boot errors after installation.
Creating a bootable pendrive can be tricky, but don’t worry, even a clumsy penguin can get it right! Common mistakes include using the wrong file format or a bad USB stick. If your computer keeps showing a boot error after installation, it might be looking for the wrong drive. Don’t panic—here’s a quick guide!
| Issue | Solution |
|---|---|
| Wrong file format | Use NTFS instead of FAT32 for larger files! |
| USB not booting | Check BIOS settings and make sure USB is the first boot option! |
With these tips, you’ll be a bootable pendrive pro in no time!
Verifying Your Bootable Pendrive
How to check if your pendrive is bootable. Importance of testing before use.
After you make your bootable pendrive, it’s time to check if it works. This step is very important. You don’t want to find out it’s not ready during setup. Follow these steps to verify:
- Connect the pendrive to your computer.
- Restart your computer.
- Enter the boot menu (usually by pressing F12 or Esc).
- Select the pendrive from the list.
If your computer starts from the pendrive, congratulations! It is bootable. Testing it helps you avoid problems later. You want things to run smoothly.
How do I know if my pendrive is bootable?
You can check if your pendrive is bootable by trying to boot from it. Restart your computer and select the pendrive in the boot menu.
Using Your Bootable Pendrive
Instructions for booting from the pendrive. Installation steps for Windows 10.
Ready to boot up? First, plug in your shiny pendrive and restart your computer. Watch for a message that says, “Press F12 to select boot device.” Hit that key like it owes you money! Next, pick your pendrive from the list that appears. Once you’re in the setup screen, follow these steps:
| Step | Action |
|---|---|
| 1 | Select your language and click “Next.” |
| 2 | Click on “Install now” and enter your product key. |
| 3 | Choose “Custom install” and select the drive. |
| 4 | Follow prompts, and let Windows work its magic! |
Congratulations! You are now on your way to a brand new Windows 10 adventure. Enjoy the journey!
FAQs on Bootable Pendrives for Windows 10
Common questions and concerns. Expert tips for firsttime users.
Curious about bootable pendrives? You’re not alone! Many people have questions. Can I use any USB? Yes, but it should be at least 8GB. What if it doesn’t work? Try another USB port or software. First-timers might feel nervous. Don’t fret! Just follow the steps carefully. Think of it like making a sandwich—layer it right, and you’ll enjoy the “tech treat.” Here are some quick tips:
| Concern | Answer |
|---|---|
| Can I boot from a small USB? | No, it needs to be 8GB or more! |
| What if my computer won’t read it? | Check the USB connection or try another port. |
| Is it hard to make? | Nope! Follow the steps, and you’ll be a pro in no time! |
Conclusion
In summary, making a bootable pendrive for Windows 10 is simple and useful. You need a USB drive and a tool like Rufus. This process helps install or repair Windows easily. You can find many guides online. So, gather your materials and start creating your bootable pendrive today! It’s a valuable skill that can really help you. Happy learning!
FAQs
Here Are Five Related Questions On The Topic Of Making A Bootable Pendrive For Windows 10:
To make a bootable pendrive for Windows 10, you will need a USB drive and a computer. First, download the Windows 10 setup tool from the Microsoft website. Then, use the tool to create a bootable USB. This means your pendrive can start the computer and install Windows. After that, you can use it to fix or install Windows 10!
Sure! Please ask your question, and I’ll be happy to help you with a simple answer.
What Tools Or Software Do I Need To Create A Bootable Usb Drive For Windows 10?
To create a bootable USB drive for Windows 10, you need a few tools. First, get a USB drive with at least 8 GB of space. You also need the Windows Media Creation Tool, which is a program you can download for free. This tool helps you put Windows on the USB drive. Finally, just follow the instructions on the screen to create your bootable USB!
How Can I Download The Windows Iso File Required For Creating A Bootable Usb Drive?
To download the Windows ISO file, go to the official Microsoft website. Click on the “Download” section for Windows. Choose the version you want and click “Download.” The file will save to your computer. Once it’s ready, you can use it to make a bootable USB drive.
What Are The Step-By-Step Instructions To Create A Bootable Pendrive For Windows Using The Windows Media Creation Tool?
To create a bootable pendrive for Windows using the Windows Media Creation Tool, follow these steps:
1. First, you need a pendrive with at least 8 GB of space.
2. Go to the official Microsoft website and download the Windows Media Creation Tool.
3. Open the tool and agree to the terms.
4. Choose “Create installation media” and click “Next.”
5. Select your language and version of Windows, then click “Next” again.
6. Choose “USB flash drive” and select your pendrive from the list.
7. Click “Next” and wait for the tool to finish.
Now your pendrive is ready to help install Windows!
Are There Any Specific Formatting Requirements For The Usb Drive Before Making It Bootable For Windows Installation?
Yes, there are specific formatting requirements for the USB drive. First, you need to use the FAT32 format. This allows the computer to read the drive correctly. You can format the USB drive on your computer before making it bootable. Just make sure to back up any important files because formatting will delete everything on it.
How Do I Boot My Computer From The Created Bootable Usb Pendrive After It Has Been Set Up For Windows Installation?
To start your computer from the USB pendrive, first, plug the USB into your computer. Next, turn on the computer. As it starts, look for a message telling you to press a key, like F12 or Esc. Press that key quickly to open the boot menu. Then, select your USB from the list and press Enter to start the installation.