
Have you ever had your computer crash? It’s a nightmare! You might have lost important files, or worse, your whole system could be gone. But what if I told you there’s a way to fix it? You can make a boot disc for Windows 10. This simple tool can save your computer and recover your data.
Making a boot disc is easier than you might think. It gives you a fresh start when things go wrong. Imagine having a special disc that can help you restart your computer when it’s feeling sick. It’s like giving your PC a magic potion!
In this article, you’ll learn the steps to make a boot disc for Windows 10. You’ll see how simple it can be. You won’t need to be a tech whiz to follow along. Let’s dive into this fun journey and secure your computer today!
How To Make A Boot Disc For Windows 10: A Step-By-Step Guide
Making A Boot Disc For Windows 10 Is An Essential Skill For Many Pc Users, Whether You’Re Troubleshooting, Reinstalling The Operating System, Or Upgrading Hardware. In This Article, We Will Delve Into The Process Of Creating A Bootable Disc And The Tools You Will Need To Get Started.
Why You Need A Boot Disc
A Boot Disc Allows You To Start Your Computer And Access Recovery Options Or Installation Utilities Without Relying On The Main Operating System. This Is Particularly Useful If Your Windows 10 System Fails To Boot Or If You Need To Perform Repairs.
Tools Required
To Make A Boot Disc For Windows 10, You Will Need:
– A Blank Dvd Or A Usb Drive (At Least 8 Gb).
– A Working Computer With Windows 10 Installed.
– Windows Media Creation Tool (Downloadable From Microsoft’S Official Website).
Step-By-Step Guide To Create A Boot Disc
1. **Download Windows Media Creation Tool:**
Go To The Official Microsoft Website And Download The Windows Media Creation Tool. This Application Will Enable You To Download The Windows 10 Iso File And Create A Bootable Disc.
2. **Run The Tool:**
After Downloading, Open The Media Creation Tool. Accept The Terms And Conditions To Proceed.
3. **Select Create Installation Media:**
Choose The Option For Create Installation Media (Usb Flash Drive, Dvd, Or Iso File) For Another Pc. Click Next.
4. **Select Language, Edition, And Architecture:**
Choose The Appropriate Language, Windows 10 Edition, And Architecture (32-Bit Or 64-Bit) That Matches Your System.
5. **Choose Media Type:**
Select “Usb Flash Drive” Or “Iso File.” If You Choose Usb, Plug Your Usb Drive Into The Computer. If You Opt For An Iso File, You Will Later Need To Burn It To A Dvd.
6. **Create Bootable Media:**
The Tool Will Download Windows 10 And Create The Bootable Media On Your Usb Drive Or Dvd. This Process May Take Some Time, Depending On Your Internet Speed.
Final Steps
Once The Boot Disc Is Ready, Store It In A Safe Location. To Use The Boot Disc, Insert The Usb Drive Or Dvd Into The Computer You Wish To Boot And Restart The Pc. Make Sure You Configure The Bios Or Uefi Settings To Ensure The System Recognizes The Boot Disc.
Conclusion
Knowing How To Make A Boot Disc For Windows 10 Is Vital For Maintaining The Health Of Your Computer. Whether You’Re Fixing Issues Or Carrying Out A Clean Installation, A Bootable Disc Can Save You Time And Effort. By Following The Outlined Steps, You Will Be Equipped With The Tools Needed To Address Any Windows 10 Concerns Effectively.
Learn to Make a Boot Disc for Windows 10
Creating a boot disc for Windows 10 can save your tech day. If your computer won’t start, a boot disc helps fix issues. It’s like a safety net for your PC! With a USB drive or DVD, you can make one easily. This process involves downloading the Windows Media Creation Tool. You simply follow the instructions to transfer files. Imagine being able to bring your computer back to life with just a disk! It’s magic at your fingertips.
Understanding Boot Discs
Definition and purpose of boot discs. Differences between USB and CD/DVD boot discs.
A boot disc is a special tool that helps start your computer. It can fix problems or install new systems. You can use a USB drive or a CD/DVD to make this disc.
Here are the main differences between them:
- USB Drive: Faster and can hold more data.
- CD/DVD: Slower and has less space.
Choosing the right type matters. What do you think would work best for you?
What is the purpose of a boot disc?
The purpose of a boot disc is to help your computer start properly, fix problems, or install a new operating system.
Why would you choose a USB over a CD/DVD?
People often prefer USBs because they are faster and hold more files than CDs or DVDs.
Requirements for Creating a Boot Disc
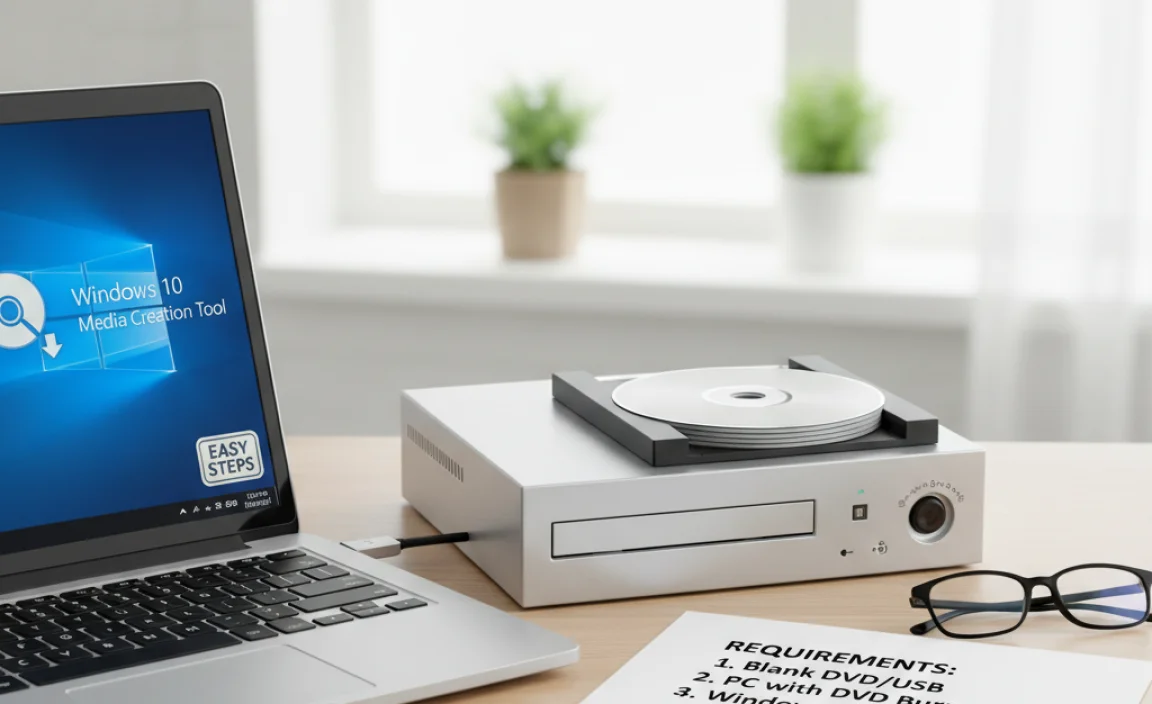
Necessary tools and software. Supported Windows 10 versions and editions.
To create a boot disc, you’ll need a few key items. First, grab a USB drive with at least 8 GB of space. Next, download the Windows 10 Media Creation Tool from Microsoft’s website. This program does most of the heavy lifting. Now, let’s not forget the supported versions. You can use this method for Windows 10 Home, Pro, Education, and Enterprise. It’s kind of like the VIP list for a cool party, and these versions get in!
| Windows 10 Versions | Supported? |
|---|---|
| Home | Yes |
| Pro | Yes |
| Education | Yes |
| Enterprise | Yes |
Step-by-Step Guide to Create a USB Boot Disc

Preparing a USB drive for booting. Using Windows Media Creation Tool to create a bootable USB.
To prepare a USB drive for booting, first, plug it into your computer. Make sure it’s empty, as this process will erase all data. Then, download the Windows Media Creation Tool from Microsoft’s website. Open the tool and follow these steps:
- Select “Create installation media.”
- Choose your preferred language and edition of Windows 10.
- Select “USB flash drive” as the installation media.
- Pick your USB drive from the list.
- Click “Next” to start creating the bootable USB.
After this, you’ll have a ready-to-use USB boot disc. It’s quick and simple!
What is a USB boot disc?
A USB boot disc allows you to start your computer using the USB drive. You can use it to install operating systems like Windows 10 or troubleshoot issues with your computer.
Creating a Boot Disc using a CD/DVD

Formatting the CD/DVD for booting. Using ISO files to burn a bootable disc.
To make a boot disc using a CD or DVD, first, you need to format the disc. This makes it ready for use. Next, you’ll want to get an ISO file. This file contains all the necessary data. Use a burning tool to create a bootable disc from this ISO. Follow these simple steps:
- Insert the CD/DVD into your drive.
- Open the formatting tool on your computer.
- Select the disc and choose to format it.
- Open your burning software and select the ISO file.
- Click on “Burn” to create the bootable disc.
How do you format a CD/DVD for booting?
To format a CD/DVD for booting, use your computer’s built-in formatting tool. Insert the disc, right-click it in File Explorer, and choose “Format.” Make sure to select the correct file system, usually ISO9660, for compatibility.
Troubleshooting Common Issues
Resolving USB recognition problems. Fixing boot errors during installation.
Sometimes, your USB might not be recognized. This can happen due to loose connections or a faulty port. Here’s how to fix it:
- Check if the USB is plugged in correctly.
- Try a different USB port.
- Restart your computer.
Boot errors can also occur during installation. To solve this, ensure your BIOS is set to boot from USB first. If there are still issues, create a new boot disk. This can help start the installation correctly.
What to do if my USB is not recognized?
Make sure the USB is properly connected and try different ports. Restarting your computer can also help.
How can I fix boot errors during installation?
Check your BIOS settings and ensure it’s set to boot from USB first. If the problem continues, recreate your boot disk.
Testing the Boot Disc
How to test if your boot disc works. Tips for ensuring successful booting from the disc.
To see if your boot disc is ready, follow these simple steps. Insert the disc into your computer and restart it. Press the key that takes you to the boot menu. This key is often F12, Esc, or Del. Make sure the boot disc is selected. If the computer starts loading from the disc, it works! If not, check these tips:
- Use a working USB or DVD: Make sure the disc is clean and undamaged.
- Right settings: Verify the BIOS settings are set to boot from the disc.
- Test on another computer: Try the disc on a different PC to confirm it works.
How can I test my boot disc?
To test your boot disc, restart your PC after inserting the disc and check if it loads.
Advanced Tips and Considerations
Customizing the boot disc with drivers and software. Maintaining boot disc security and updates.
Customizing your boot disc is smart. You can add drivers and software that your computer needs. This makes setup easier. Be sure to keep your boot disc safe. Always update it to avoid issues. Here are some tips:
- Choose essential drivers that match your hardware.
- Add up-to-date software for better performance.
- Store your boot disc in a safe place to prevent loss.
- Check for updates regularly to keep it handy.
These steps ensure your boot disc works well and stays secure over time.
What should I include on my boot disc?
Include drivers, essential software, and security tools to keep your system safe and running smoothly.
Conclusion
In conclusion, making a boot disc for Windows 10 is simple and useful. You need a USB drive and some software. This tool helps you fix problems if your computer won’t start. We encourage you to try creating a boot disc today. For more detailed steps, check out guides online. Keep your computer safe and ready!
FAQs
What Are The Necessary Tools And Software Required To Create A Boot Disc For Windows 1
To create a boot disc for Windows 1, you need a few things. First, you need a computer. You also need a blank CD or USB drive. Then, download a program called “Rufus.” This program helps you make the boot disc. Lastly, follow the instructions in Rufus to finish the job!
How Do You Create A Bootable Usb Drive For Windows Using The Media Creation Tool?
To create a bootable USB drive for Windows, first, we need a USB drive with at least 8 GB of space. Then, go to the Microsoft website and download the Media Creation Tool. Open the tool and choose “Create installation media.” Next, select your language and version of Windows. Finally, pick “USB flash drive,” choose your USB drive from the list, and click “Next” to start the process.
What Steps Should You Follow To Format A Usb Drive Before Making It A Bootable Disc For Windows 1
To format a USB drive, first, plug it into your computer. Next, open “This PC” or “My Computer.” Right-click the USB drive and choose “Format.” Select “FAT32” as the file system, then click “Start.” Wait for it to finish, and your USB is now ready!
How Can You Use The Command Prompt To Create A Bootable Windows Usb Drive?
To create a bootable Windows USB drive using Command Prompt, first, plug in your USB drive. Then, open Command Prompt by searching for it in the Start menu. Type `diskpart` and press Enter. Next, type `list disk` to see your drives. Find your USB drive number and type `select disk X` (replace X with your USB number). Then, type `clean`, `create partition primary`, and `format fs=ntfs quick`, pressing Enter after each. Finally, type `active`, then `exit`. Now, your USB drive is ready to use!
What Troubleshooting Steps Can You Take If Your Windows Boot Disc Is Not Recognized By The Computer?
If your Windows boot disc isn’t recognized, start by checking if it is clean and free of scratches. Make sure you put it into the disk drive correctly. Restart your computer and tap the right key to enter the boot menu. You can try moving the boot option for the disc to the top of the list. If that doesn’t work, try using a different computer to see if the disc is okay.