Getting your HP audio driver set up correctly on Windows 11, especially the 64-bit version, is crucial for a seamless and enjoyable multimedia experience.
Whether you’re listening to music, watching videos, or participating in conference calls, a functional audio driver ensures that sound is reproduced clearly and without distortion. Fortunately, HP has made the process of installing and updating these drivers relatively straightforward. This guide will walk you through the steps to ensure your audio is up and running in no time.
Understanding Your HP Audio Driver
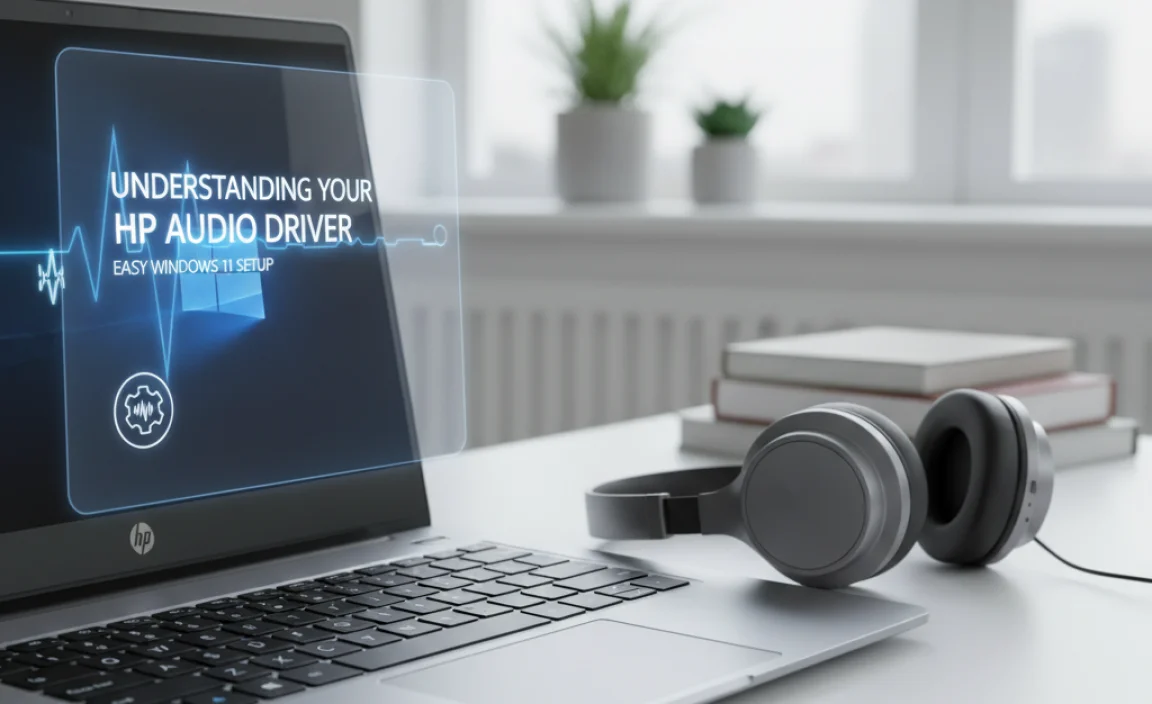
At its core, an audio driver is a piece of software that allows your operating system, Windows 11 in this case, to communicate with your computer’s sound hardware. Without the correct driver, your PC simply won’t know how to process sound signals, leaving you with silence.
For HP laptops and desktops, these drivers are often specifically tailored to the particular sound card or audio chipset installed in your device, ensuring optimal performance and compatibility. Knowing this will help you understand why it’s important to get the right driver for your HP model.
Troubleshooting Common Audio Issues Before Installation
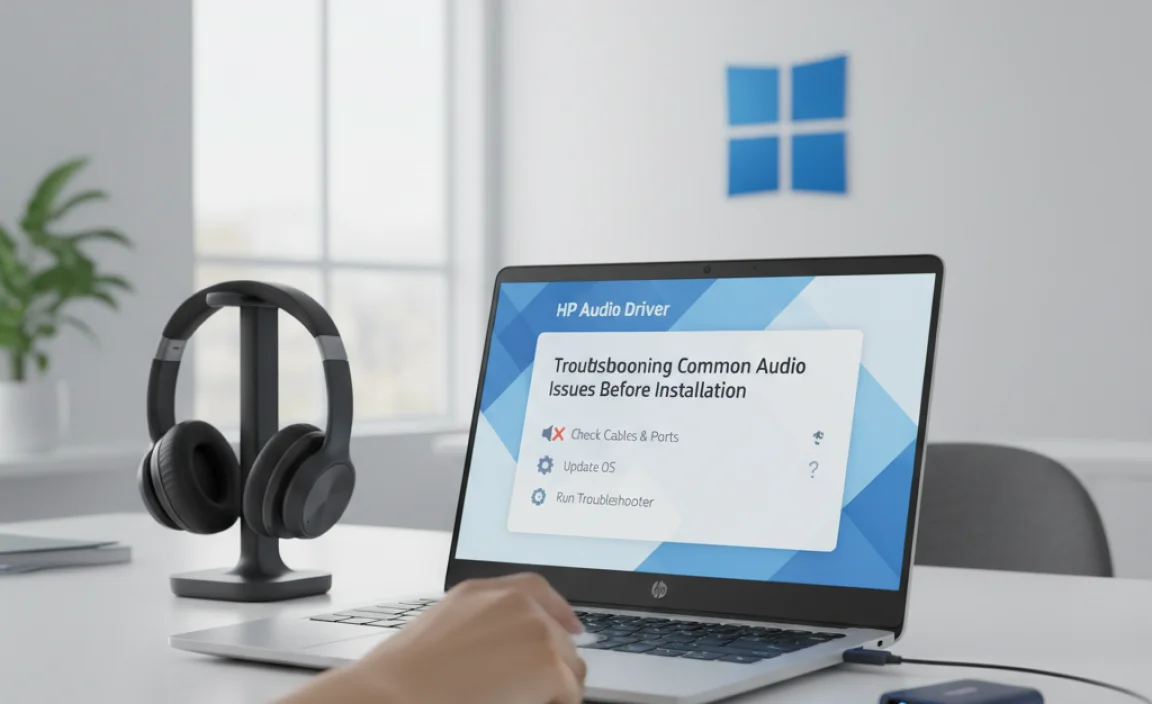
Before diving into the installation process, it’s a good idea to briefly address some common audio problems you might be encountering. Sometimes, the issue isn’t with the driver itself but with simple settings.
Check Volume Levels: It sounds obvious, but ensure your system volume is turned up and that no applications are muted within Windows’ Volume Mixer.
Test Different Outputs: If you have speakers connected via a 3.5mm jack and also use headphones, try both to see if the issue is specific to one output.
Restart Your PC: A simple reboot can often resolve temporary glitches that might be preventing sound playback.
If these basic checks don’t solve your problem, it’s time to look at the audio driver.
The Importance of the HP Audio Driver Setup for Windows 11 64-bit
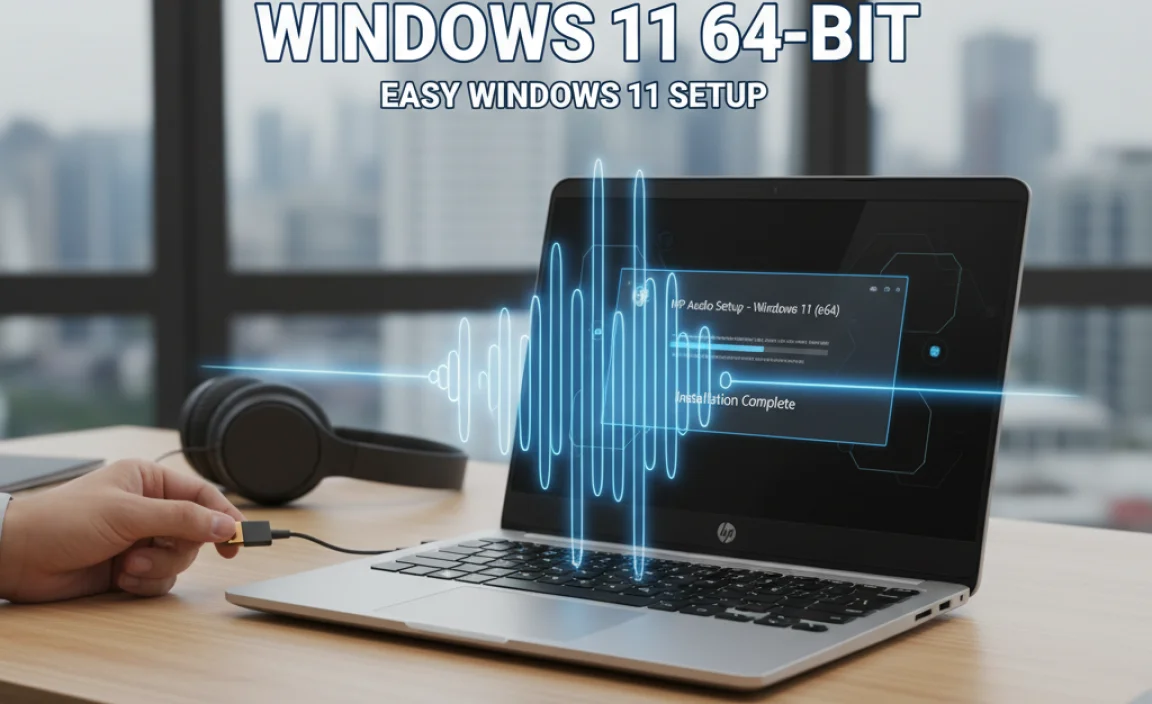
When it comes to the `hp audio driver setup for windows 11 64 bit`, accuracy is key. Windows 11 is a 64-bit operating system by default for most modern installations.
Therefore, ensuring you download and install the 64-bit version of the driver is paramount. Using a 32-bit driver on a 64-bit system won’t work, and attempting to use a driver for a different operating system version can lead to instability and performance issues. HP’s support website is designed to help you find the precise driver for your specific HP product model and your installed operating system.
Method 1: Using HP Support Assistant for Automatic Driver Updates
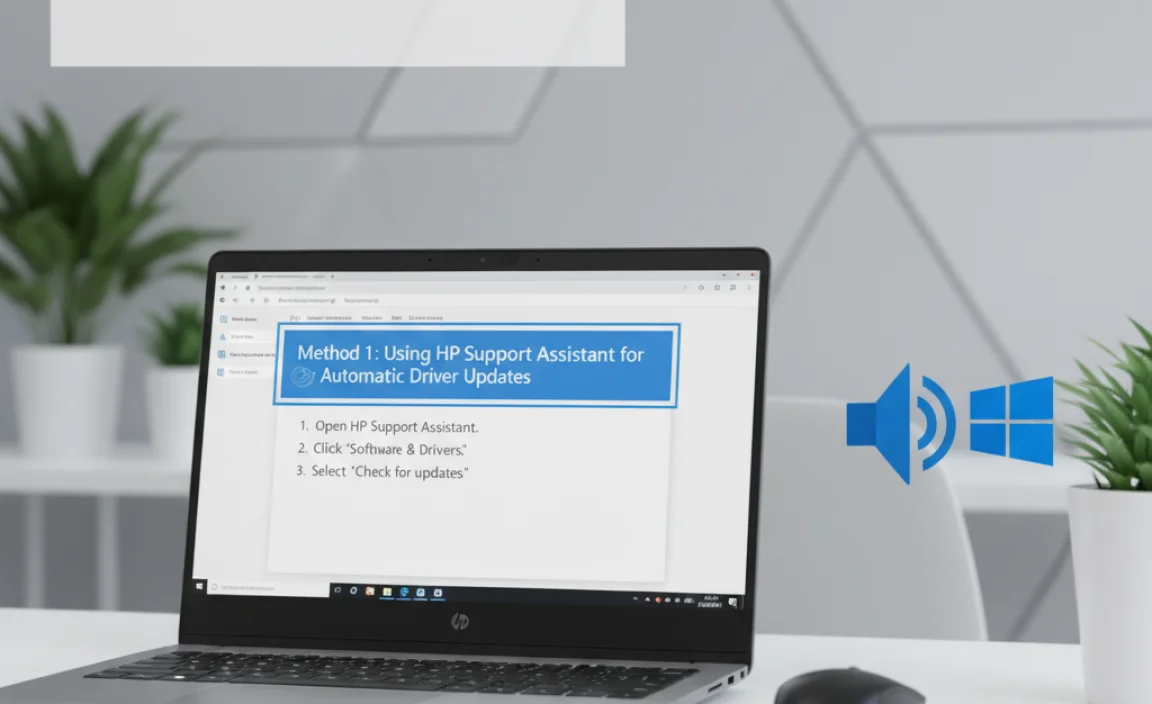
HP provides a user-friendly tool called HP Support Assistant, which is often pre-installed on HP devices. This application can automatically detect your hardware and Windows 11 64-bit version, then scan for available driver updates, including audio drivers.
1. Open HP Support Assistant: Search for “HP Support Assistant” in your Windows search bar and open the application.
2. Navigate to Updates: On the main dashboard, look for an option like “My devices,” “Updates & downloads,” or a similar tab.
3. Run an Update Check: Click on “Check for updates and messages.” HP Support Assistant will then scan your system for any pending updates for your hardware.
4. Install Available Updates: If an audio driver update is found, it will be listed. Select it and follow the on-screen prompts to download and install it. The assistant usually handles the installation process automatically.
5. Restart Your PC: After the installation is complete, a restart is usually recommended to ensure the new driver is fully integrated.
This is often the simplest and safest method, as HP Support Assistant is designed to provide compatible drivers.
Method 2: Manual Driver Download from HP’s Official Website
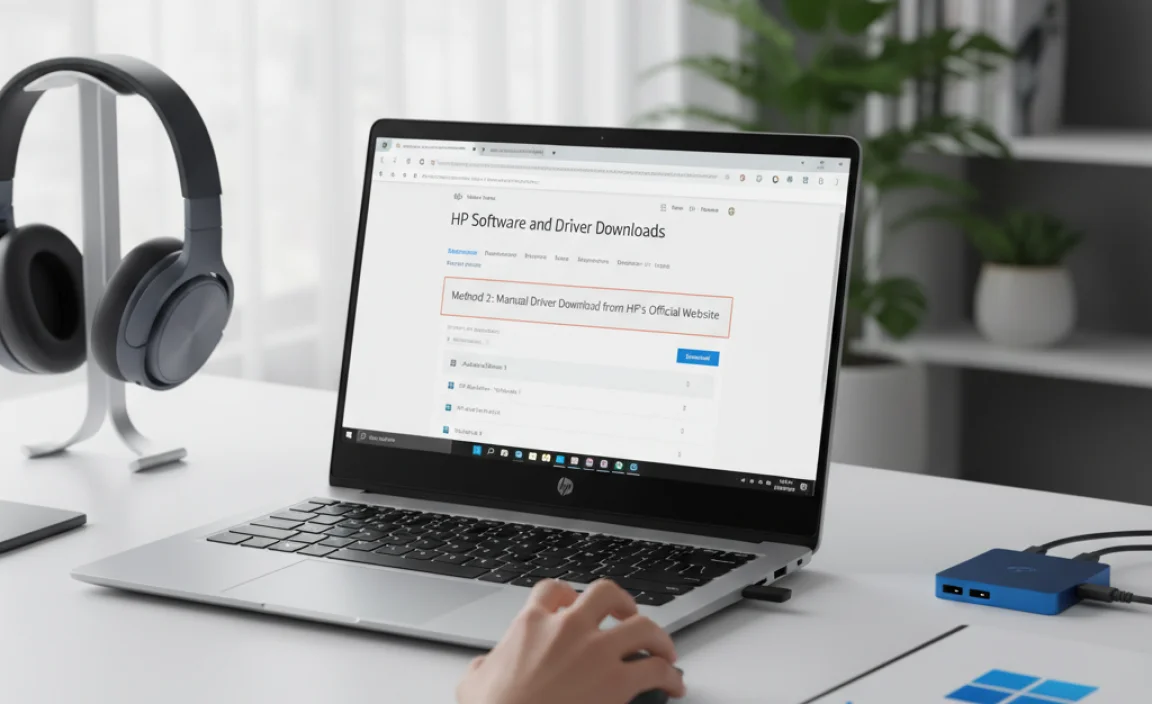
If HP Support Assistant isn’t installed, or if you prefer to manually manage your drivers, HP’s official support website is your next best stop.
1. Identify Your HP Product: You’ll need your HP product name or serial number. This information is usually found on a sticker on your laptop or PC.
2. Visit the HP Support Website: Go to the official HP Customer Support website.
3. Enter Your Product Information: Use the search bar to enter your product name or serial number, or let HP detect your product automatically.
4. Select Your Operating System: Crucially, ensure you select “Windows 11” and confirm it’s the 64-bit version.
5. Find the Audio Driver: Once your product and OS are recognized, HP will present a list of available drivers. Look for the section labeled “Driver-Audio” or similar.
6. Download the Latest Driver: Download the most recent audio driver file. It will likely be an executable (.exe) file.
7. Run the Installer: Locate the downloaded file, double-click it to run the installer. Follow the on-screen instructions.
8. Complete the Installation and Restart: Once the installation is finished, restart your computer.
This method gives you more control and ensures you’re getting drivers directly from the source.
Method 3: Using Windows Update
Occasionally, Windows Update itself can download and install the necessary audio drivers. While this might not always be the very latest version provided by HP, it can often resolve basic functionality issues.
1. Open Windows Settings: Press `Windows key + I` to open Settings.
2. Go to Windows Update: Click on “Windows Update.”
3. Check for Updates: Click “Check for updates.”
4. View Optional Updates: If Windows finds any driver updates, they might appear under “Optional updates” or “Advanced options.” Expand this section and look for any audio-related driver updates.
5. Install Drivers: If found, select the audio driver and proceed with the installation.
6. Restart: Remember to restart your PC after the update.
This method is less targeted than HP’s own tools but can be a convenient way to find a working driver.
After Installation: Verifying Your HP Audio Driver Works
Once you’ve installed a new driver, it’s essential to confirm it’s working correctly.
1. Play Audio: Open a music player, video, or a website with audio and try playing something.
2. Check Device Manager:
Right-click on the Start button and select “Device Manager.”
Expand the “Sound, video and game controllers” section.
You should see your audio device listed (e.g., “Realtek High Definition Audio,” “Intel(R) Display Audio,” etc.).
* Look for any yellow exclamation marks or red Xs next to the device, which would indicate a problem. If there are none, the driver is likely functioning.
3. Test Inputs/Outputs: Ensure both your speakers and microphone (if applicable) are working as expected.
By following these steps, you can successfully complete your `hp audio driver setup for windows 11 64 bit` and enjoy your computer’s audio capabilities to their fullest. Keeping your drivers updated is a key part of maintaining a healthy and functional PC.