
Format SD Card for Windows 10: Effortless Guide
Quick Summary: Formatting an SD card in Windows 10 is a straightforward process that frees up space, resolves errors, and prepares the card for new data. This guide provides simple, step-by-step instructions to format your SD card without technical hassle, ensuring it’s ready for immediate use.
Have you ever found yourself staring at an SD card, wondering why it’s not working correctly or if there’s a better way to organize your files? Perhaps you’ve encountered cryptic error messages when trying to save photos, videos, or documents. It’s a common frustration that can stop you in your tracks. But don’t worry! Most of these issues can be easily fixed by simply formatting your SD card. This guide will walk you through how to format an SD card for Windows 10, making the process as smooth and stress-free as possible. We’ll cover everything you need to know, from understanding why and when to format, to the exact steps you need to take. Get ready to give your SD card a fresh start!
Why Format Your SD Card?
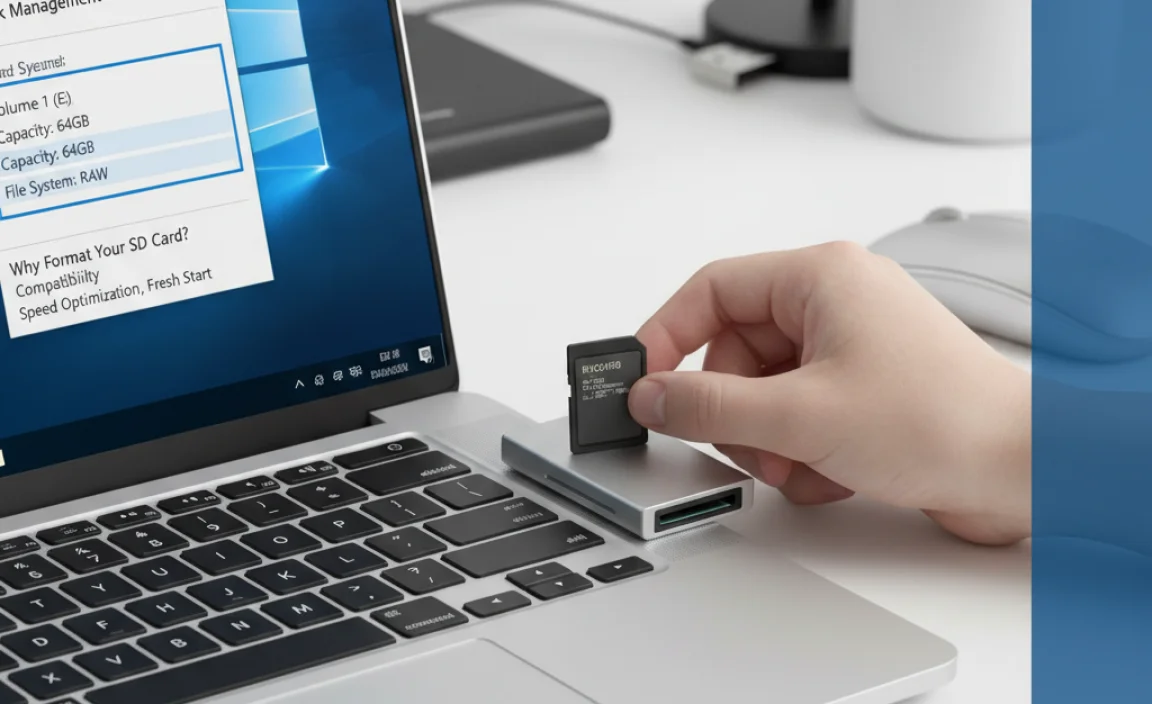
Formatting an SD card is like giving it a fresh coat of paint and a thorough spring cleaning. It erases all the data on the card and sets up a new file system, making it ready to store information again. There are several common reasons why you might need to format an SD card:
- Deleting All Data: When you want to completely wipe the card clean to start fresh, format it. This is useful if you’re selling the card, giving it away, or simply want to clear out old files.
- Resolving Errors: Sometimes, SD cards can develop errors. These might be due to improper removal, power interruptions during writing, or file system corruption. Formatting can often fix these glitches.
- Changing File System: SD cards can be formatted with different file systems (like FAT32, exFAT, or NTFS). Different devices and operating systems work best with specific file systems. For example, FAT32 is widely compatible but has file size limitations. exFAT is good for larger files and modern devices. NTFS is primarily for Windows. Formatting allows you to choose the best file system for your needs.
- Improving Performance: Over time, as files are added and deleted, the card’s file structure can become fragmented, potentially slowing it down. A format can help reorganize the data and potentially improve read/write speeds.
- When Windows Suggests It: If Windows 10 detects an issue with the SD card and prompts you to format it, it’s usually a good idea to do so, especially if you’ve tried other troubleshooting steps without success.
Before You Format: A Crucial Step

This is the most important step, so please pay close attention! Formatting an SD card will erase absolutely everything on it. This means any photos, videos, documents, or other files you have saved will be gone forever. Before you even think about clicking that format button, you MUST back up any important data.
How to Back Up Your SD Card:
- Insert the SD Card: Place your SD card into your computer’s card reader or use an external USB card reader.
- Open File Explorer: Press the
Windows key + Eon your keyboard to open File Explorer. - Locate the SD Card: Your SD card should appear under “This PC” or “Devices and drives” as a removable disk.
- Copy and Paste: Open the SD card drive. Select all the files and folders you want to keep. You can do this by clicking and dragging your mouse over them, or by pressing
Ctrl + Ato select everything. Then, pressCtrl + Cto copy them. - Paste to a Safe Location: Navigate to a safe place on your computer’s hard drive (like your Documents, Pictures, or a dedicated backup folder) or an external hard drive. Press
Ctrl + Vto paste the files.
Once you are absolutely certain that all your important data has been safely copied elsewhere, you can proceed with formatting.
Methods to Format Your SD Card in Windows 10
Windows 10 offers a few easy ways to format an SD card. We’ll go through the most common and effective methods.
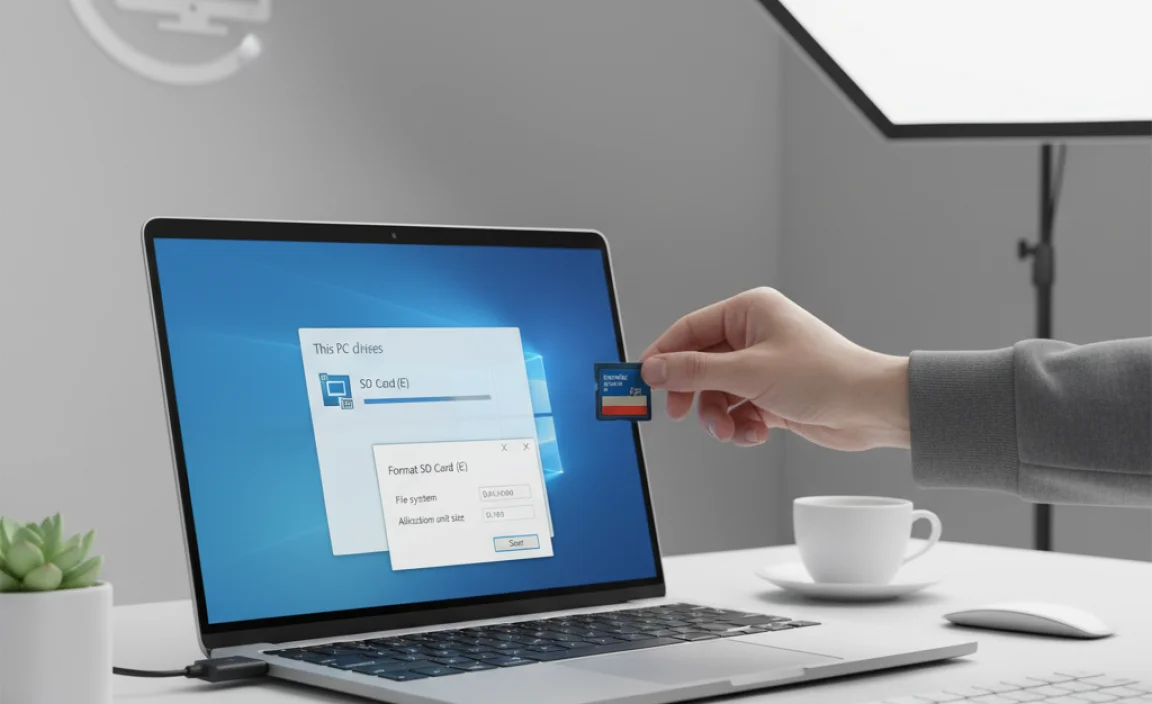
Method 1: Using File Explorer (The Easiest Way)
This is usually the quickest and most straightforward method for most users.
Step-by-Step Guide:
- Insert the SD Card: Make sure your SD card is properly inserted into your computer’s card reader.
- Open File Explorer: Press the
Windows key + E. - Find Your SD Card: In the left-hand navigation pane, click on “This PC.” Your SD card will appear under “Devices and drives” with a drive letter. It might be labeled as “Removable Disk” or show the name of your SD card.
- Right-Click the SD Card: Right-click on the icon representing your SD card.
- Select “Format…”: From the context menu that appears, choose “Format…”.
- Configure Format Options: A “Format” window will pop up. Here’s what you need to know:
- Capacity: This shows the size of your SD card. You generally won’t need to change this.
- File system: This is important. For most SD cards (especially those 32GB or smaller), FAT32 is a good choice due to its wide compatibility with various devices like cameras, older phones, and game consoles. For SD cards larger than 32GB, exFAT is usually the best option because it doesn’t have the 4GB individual file size limit that FAT32 does, and it’s compatible with most modern devices and Windows. NTFS is typically for internal Windows drives and not recommended for SD cards unless you have a very specific reason.
- Allocation unit size: You can usually leave this at “Default allocation size.” This determines the size of the smallest block of disk space that can be used to store a file.
- Volume label: This is the name of your SD card. You can rename it to something descriptive, like “MyPhotos” or “CameraSD”.
- Format options: You’ll see “Quick Format.” This is usually checked by default.
- Choose Quick Format:
- Quick Format: When checked, this option quickly removes the file table and creates a new one. It’s much faster but doesn’t check the card for bad sectors. It’s suitable for cards that are working fine but need reformatting.
- Unchecked: If you unchecked “Quick Format” (which will take much longer), Windows will perform a full format. This writes zeros to every sector of the card and checks for bad sectors. It’s a more thorough process and can sometimes fix minor issues or ensure data is irrecoverable. For most everyday purposes, Quick Format is sufficient and recommended for speed.
- Start Formatting: Once you’ve selected your options, click the “Start” button.
- Confirmation Warning: You will see a warning message stating that formatting will erase all data. If you’ve backed up your data, click “OK” to proceed.
- Formatting Complete: Windows will format the card. This usually takes a few seconds to a minute with Quick Format. You’ll see a message box when it’s done. Click “OK.”
Close the Format window. Your SD card is now formatted and ready to use!
Method 2: Using Disk Management
Disk Management is a more advanced tool in Windows that gives you more control over your drives. It’s also a great way to format if File Explorer isn’t cooperating.
Step-by-Step Guide:
- Insert the SD Card: Connect your SD card to your PC.
- Open Disk Management:
- Right-click the Start button (the Windows icon in the bottom-left corner of your screen).
- Select “Disk Management” from the menu.
- Locate Your SD Card: In the Disk Management window, look for your SD card. It will usually be listed as a “Removable” disk with a drive letter. Be careful to identify the correct drive; you don’t want to format the wrong one! It will typically be labeled with its capacity (e.g., 32GB, 64GB).
- Right-Click the Partition: Right-click on the main partition block of your SD card (the colored bar representing the drive).
- Select “Format…”: Choose “Format…” from the context menu.
- Configure Format Options:
- Volume label: Give your SD card a name.
- File system: Choose between FAT32, exFAT, or NTFS, as described in Method 1. For general use, exFAT (for cards >32GB) or FAT32 (for cards <=32GB) are good bets.
- Allocation unit size: Leave this as “Default.”
- Perform a quick format: Ensure this box is checked for a faster format. Unchecking it will perform a full, slower format.
- Confirm and Start: Click “OK.” You’ll get a warning that formatting will erase all data. Click “OK” again to proceed.
Disk Management will format your SD card. You’ll see a progress bar. Once it’s complete, the status will show as “Healthy.”
Method 3: Using Command Prompt (For Advanced Users)
This method uses the Command Prompt, which offers precise control. It’s a bit more technical, but very powerful.
Step-by-Step Guide:
- Insert the SD Card: Connect your SD card to your PC.
- Open Command Prompt as Administrator:
- Click the Start button.
- Type
cmdin the search bar. - Right-click on “Command Prompt” in the search results.
- Select “Run as administrator.”
- Click “Yes” if prompted by User Account Control.
- Open Diskpart: In the Command Prompt window, type
diskpartand press Enter. This launches the Diskpart utility. - List Disks: Type
list diskand press Enter. This will show you a list of all disks connected to your computer. - Identify Your SD Card: Carefully examine the list. Look for your SD card based on its size. It will be labeled as “Disk X” (where X is a number). This is critical: selecting the wrong disk will erase its data! For example, your SD card might be “Disk 3.”
- Select Your SD Card: Type
select disk X(replace X with the correct disk number for your SD card) and press Enter. Diskpart will confirm that the disk is now selected. - Clean the Disk (Optional but Recommended): To ensure a complete wipe, type
cleanand press Enter. This command removes all partitions and data from the selected disk. - Create a Primary Partition: Type
create partition primaryand press Enter. - Select the Partition: Type
select partition 1and press Enter. - Format the Partition: Now, format the partition. You can use different commands depending on your desired file system:
- For FAT32:
format fs=fat32 quickand press Enter. - For exFAT:
format fs=exfat quickand press Enter. - For NTFS:
format fs=ntfs quickand press Enter.
The
quickparameter performs a quick format. - For FAT32:
- Assign a Drive Letter: Type
assignand press Enter. This will automatically assign a drive letter to your SD card. - Exit Diskpart: Type
exitand press Enter to close Diskpart. - Exit Command Prompt: Type
exitagain and press Enter to close the Command Prompt window.
Your SD card is now formatted. This method is very effective if other methods fail or if you want to be absolutely sure the card is clean.
Choosing the Right File System
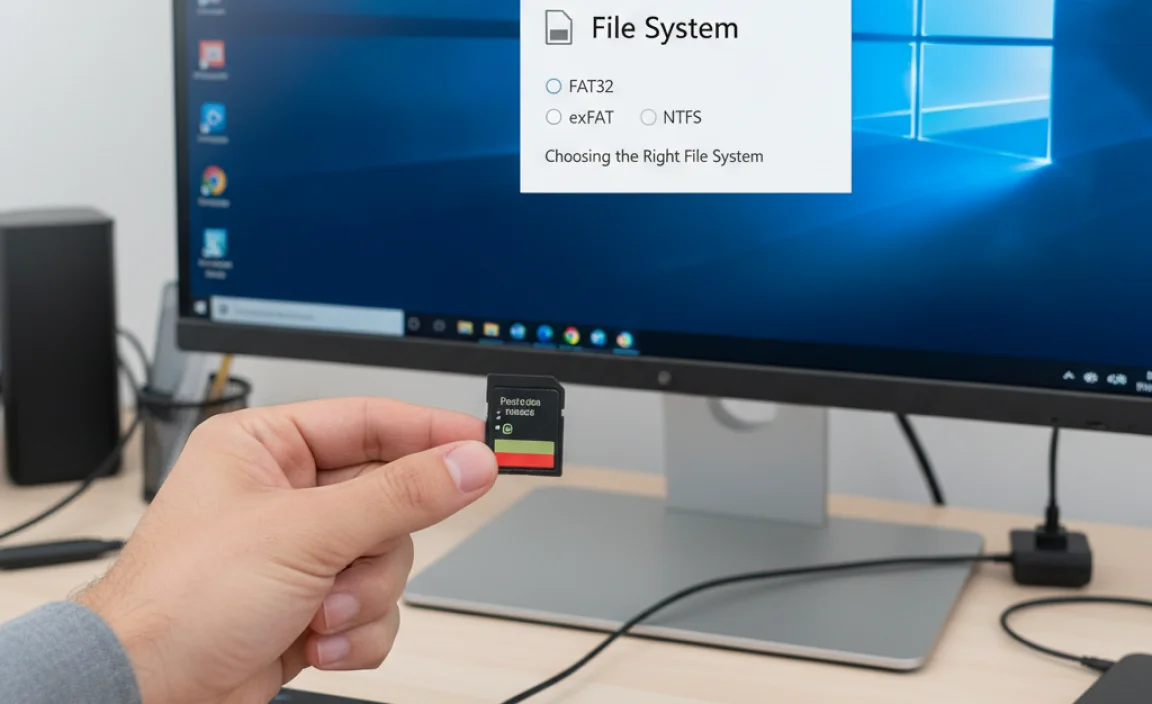
The file system you choose can impact your SD card’s compatibility and performance. Here’s a quick rundown:
| File System | Max File Size | Max Partition Size | Compatibility | Best For |
|---|---|---|---|---|
| FAT32 | 4GB | 2TB (though Windows limits creation to 32GB) | Highest (Windows, macOS, Linux, cameras, older devices) | SD cards up to 32GB; when maximum compatibility is needed for older devices. |
| exFAT | Practically unlimited | Practically unlimited | Good (Windows, macOS, newer cameras, smartphones) | SD cards larger than 32GB; for transferring large files. |
| NTFS | Practically unlimited | 256TB | Windows (read/write); macOS (read-only by default, needs extra software for write); Linux (good support) | Primarily for internal Windows drives; if you need specific Windows features like file permissions on an SD card used only with Windows. Not ideal for most SD card uses. |
As a general rule:
- For SD cards 32GB or smaller, FAT32 is usually your best bet for broad compatibility.
- For SD cards larger than 32GB, exFAT is almost always the better choice to avoid the 4GB file size limit.
Troubleshooting Common Formatting Problems
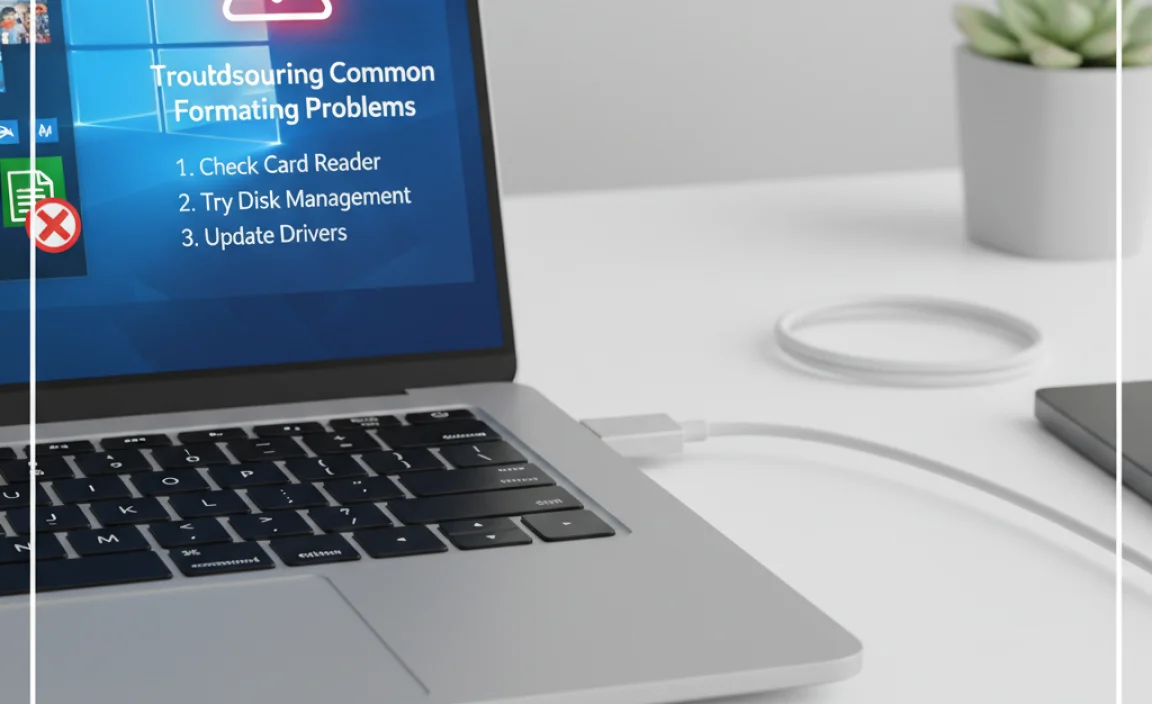
Sometimes, things don’t go as smoothly as planned. Here are some common issues and how to address them:
“Windows was unable to complete the format.”
This error can occur for several reasons:
- SD Card is Write-Protected: Some SD cards have a physical lock switch on the side. Ensure this switch is in the “unlock” position.
- SD Card is Damaged or Corrupt: The card might be physically damaged. If the Command Prompt `clean` command doesn’t work, or if you repeatedly get errors, the card might be beyond repair.
- Bad Sectors: The card may have developed bad sectors. Try formatting without “Quick Format” (which performs a fuller check) or use the Command Prompt method. If it still fails, the card might be failing.
- Driver Issues: Ensure your card reader drivers are up to date. You can check this in Device Manager.
- Try a Different Card Reader/Port: Sometimes, the issue is with the reader or USB port.
If you repeatedly encounter this error, especially with the `clean` command in Diskpart failing, it’s a strong indicator that the SD card itself may be faulty and needs to be replaced.
SD Card Not Showing Up in File Explorer
If your SD card isn’t appearing, try these steps:
- Check the Card Reader: Ensure it’s properly plugged in. Try a different USB port.
- Check in Disk Management: Open Disk Management (as in Method 2). If it appears there, it might just need a drive letter assigned. Right-click the partition and select “Change Drive Letter and Paths…” to assign one.
- Update Drivers: Go to Device Manager (search for it in the Start menu), expand “Disk drives” or “Universal Serial Bus controllers,” and look for your card reader. Right-click and select “Update driver.”
- Reinsert the Card: Sometimes, simply removing and reinserting the SD card can help.
Tips for Maintaining Your SD Cards
To keep your SD cards in good working order and prevent the need for frequent formatting:
- Safely Eject: Always “Safely Remove Hardware and Eject Media” before physically removing an SD card from your computer or device. This prevents data corruption. You can find this icon in the system tray (near the clock).
- Avoid Filling to Capacity: Don’t cram too much data onto an SD card. Leaving a little free space can improve performance and longevity.
- Avoid Frequent Deletions/Modifications: Constant writing, deleting, and rewriting can wear down NAND flash memory over time.
- Handle with Care: Keep SD cards away from extreme temperatures, moisture, and strong magnetic fields. Avoid touching the gold contacts with your fingers.
- Use Quality Cards: Invest in SD cards from reputable brands. Cheap, unbranded cards are more prone to failure.
- Regularly Back Up: Make it a habit to back up your important data from your SD cards to your computer or cloud storage.
Frequently Asked Questions (FAQ)
Q1: Will formatting my SD card erase everything on it?
A1: Yes, it will. Formatting completely erases all data on the SD card, so it’s essential to back up any important files before you begin.
Q2: How do I know which file system to choose (FAT32, exFAT, NTFS)?
A2: For most SD cards (especially those 32GB or smaller), FAT32 offers the best compatibility. For cards larger than 32GB, exFAT is usually the best choice as it supports larger files. NTFS is generally not recommended for SD cards.
Q3: My SD card is very slow. Will formatting help?
A3: Formatting can sometimes help speed up a slow SD card by reorganizing its file system. However, if the card is old or physically damaged, formatting might not solve the speed issue, and you may need to replace it.
Q4: Can I format my SD card on a Mac instead of a Windows PC?
A4: Yes, you can. macOS has a built-in utility called Disk Utility that can format SD cards. The process is similar, where you select the card and choose a format like “ExFAT” or “MS-DOS (FAT)” which is FAT32.
Q5: What if I accidentally formatted the wrong drive? Is my data lost forever?
A5: If you accidentally formatted the wrong drive, don’t panic immediately. Stop using that drive to prevent overwriting the data. Data recovery software can sometimes recover files from a freshly formatted drive, but success is not guaranteed and depends on many factors. It’s always best to be extremely careful when selecting a drive in formatting tools.
Q6: How often should I format my SD card?
A6: You don’t need to format your SD card regularly. Only format it when you need to clear all data, fix errors, or change its file system. Excessive formatting can potentially reduce the lifespan of the card.
Conclusion
Formatting an SD card in Windows 10 is a simple and effective way to resolve issues, clear data, and prepare your card for new uses. By following these step-by-step guides, whether using File Explorer, Disk Management, or Command Prompt, you can confidently format your SD card. Remember, the most critical initial step is always to back up your data. With a clean, properly formatted SD card, you can ensure reliable storage for your photos, videos, and important files, keeping your digital life running smoothly and securely.