
Have you ever found your computer running slow or acting strange? It can be frustrating, right? Sometimes, the best solution is to format your hard drive for Windows 10. This process can give your computer a fresh start. Think of it like spring cleaning for your digital space.
Did you know that formatting a hard drive can actually help with viruses and clutter? When you format, you remove old files and start new. Imagine being able to use your computer like it was brand new. Many people don’t realize how easy it is to format a hard drive, especially on Windows 10.
In this article, we will guide you through the steps to format your hard drive for Windows 10. You’ll learn how to do it safely and effectively. Whether you want to clear space or fix issues, this guide is for you. Are you ready to make your computer feel like new again?
How To Format Hard Drive For Windows 10: A Complete Guide

Format Hard Drive for Windows 10
Formatting a hard drive for Windows 10 can seem like a big task. Have you ever wondered how to start fresh with your computer? Formatting clears all existing data, giving you a clean slate. First, back up important files! Then, access the disk management tool. Choose your drive, right-click, and select “Format.” Finally, follow the prompts to finish. This process can improve performance and make space. It’s like giving your computer a new beginning!
Understanding Hard Drive Formatting
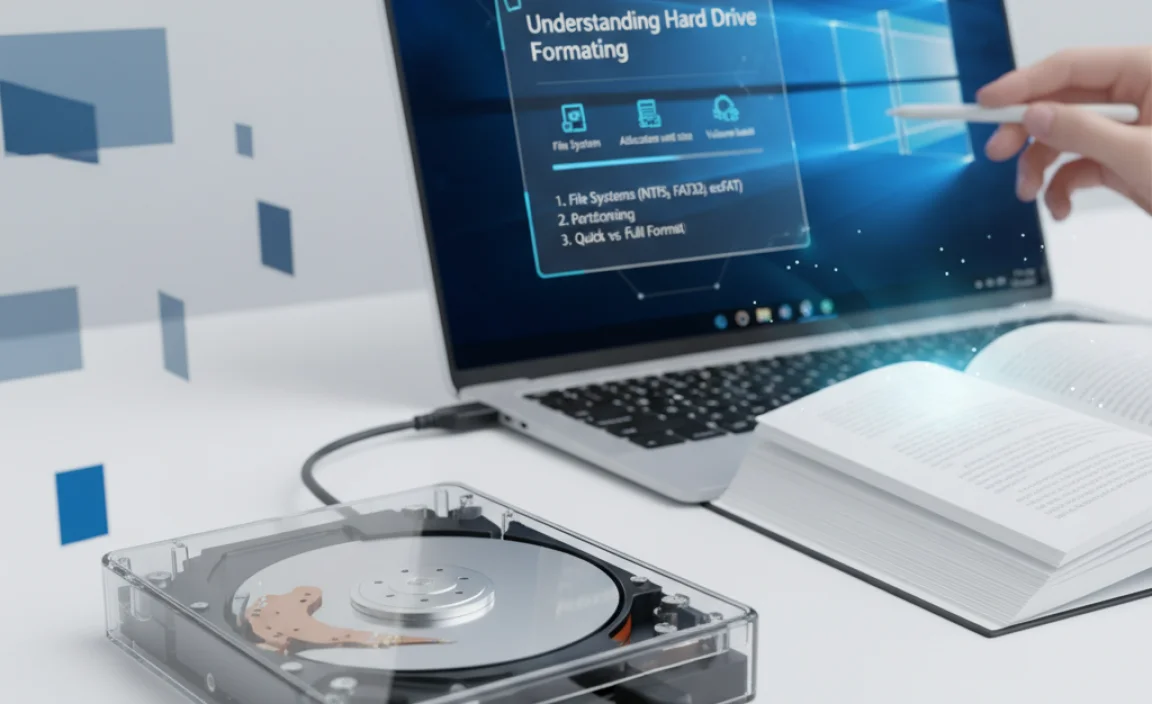
Definition and purpose of hard drive formatting. Differences between quick format and full format.
Formatting a hard drive means wiping it clean and setting it up for use. Think of it as giving your computer a fresh start! The purpose is to prepare the drive for a new system or remove old data. There are two ways to do this: a quick format and a full format.
| Type of Format | Description |
|---|---|
| Quick Format | Clears the data but leaves the files. It’s like cleaning your room but hiding the clutter under the bed! |
| Full Format | Wipes everything and checks for errors. Think of it as a deep cleaning service for your drive! |
Choosing between the two depends on your needs. Quick format is faster, while full format is more thorough. Just remember, be careful before hitting that format button – you don’t want to erase grandma’s secret cookie recipe!
Preparing for the Formatting Process
: importance and best practices. Ensuring drive integrity: running diagnostics and checks.
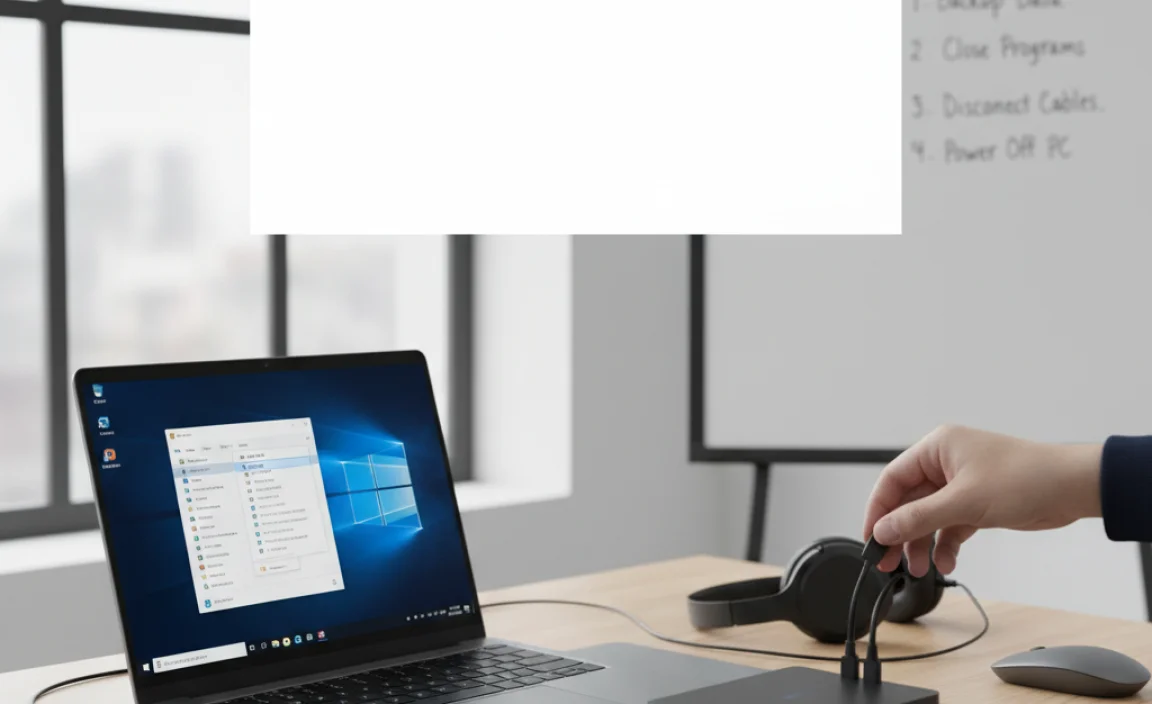
Before formatting your hard drive for Windows 10, it’s key to prepare carefully. First, always back up your data. This protects your important files from being lost. Use an external hard drive or cloud storage. Here are some best practices:
- Save documents, photos, and music files.
- Confirm backups are complete by checking the files.
- Organize backups to easily find what you need later.
Next, ensure the drive is healthy. Run diagnostics and checks to spot any issues. A healthy drive works better and lasts longer. Check for errors using built-in tools in Windows. These steps help your formatting process go smoothly.
Why is backing up important?
Backing up prevents loss of important files. If something goes wrong during formatting, you won’t lose your valuable data.
How can I check my drive’s integrity?
You can check your drive’s integrity by running tools like Check Disk. This helps find and fix problems before formatting.
Formatting from Windows 10 Settings
Stepbystep guide on accessing the Disk Management tool. Detailed instructions for formatting a drive using Settings.
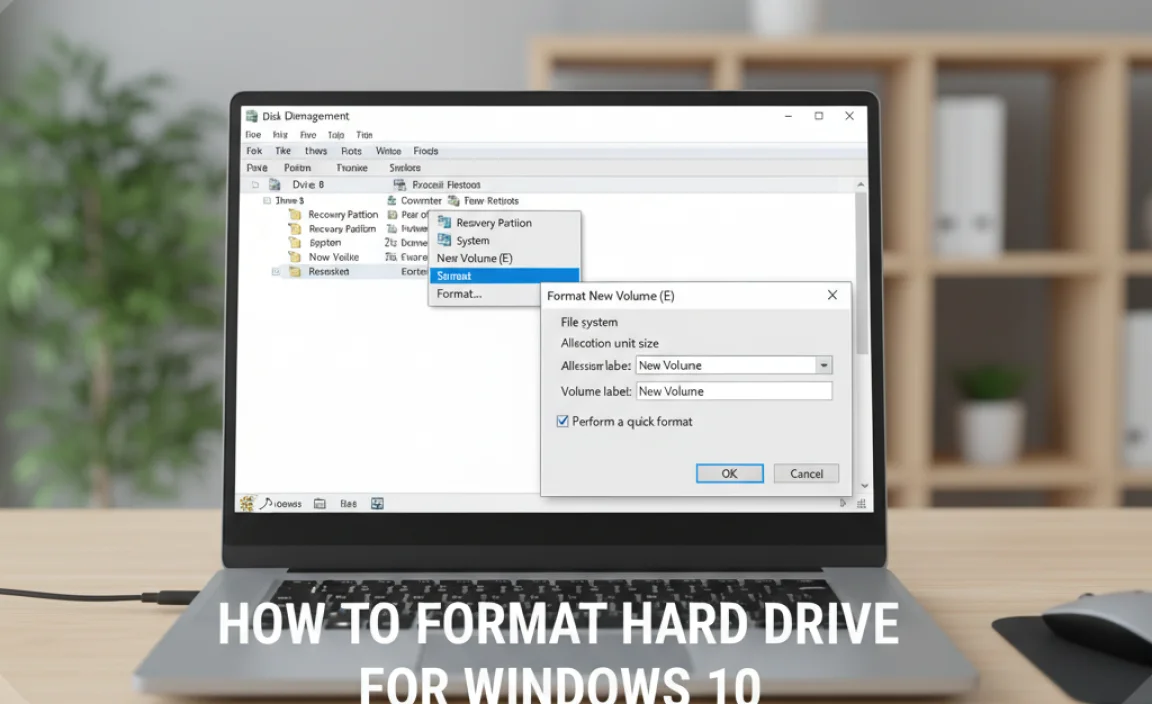
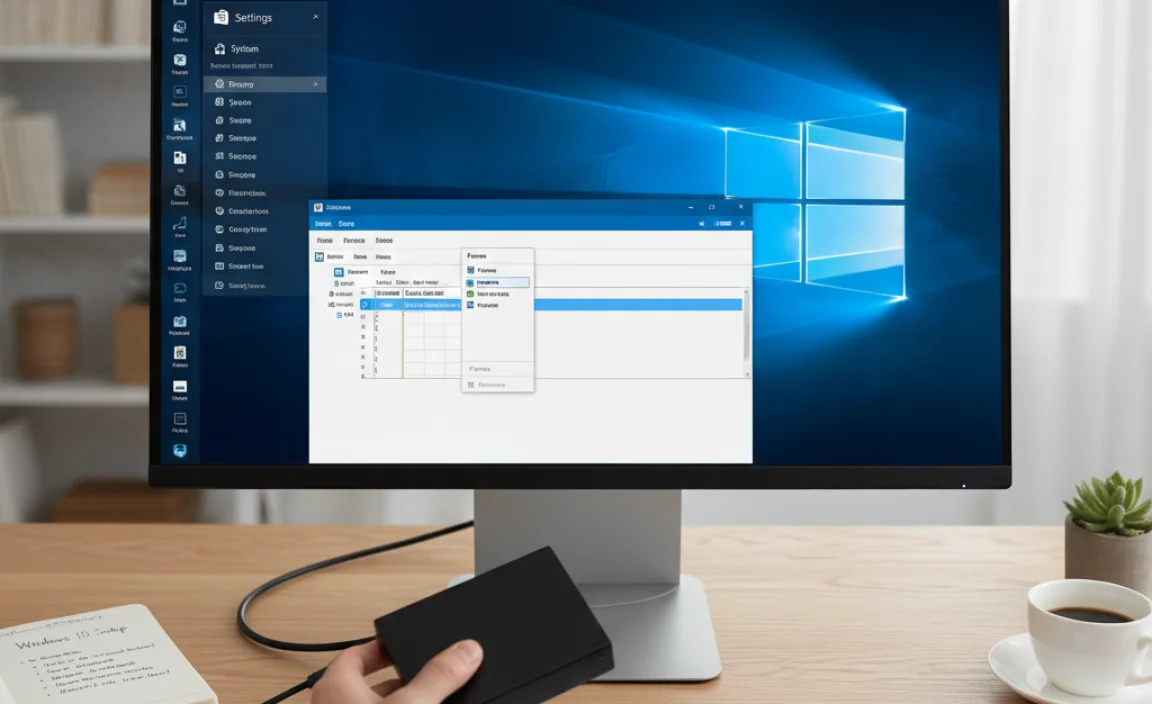
To format a drive using Windows 10 settings, follow these easy steps. First, right-click the Start button and select Disk Management. You will see a list of all drives. Next, find the drive you want to format. Right-click on it and choose Format. A window will pop up. Here, you can select the file system and label for your drive. Finally, click OK to start formatting. Your drive is now ready for use!
How do I access Disk Management?
To reach Disk Management, right-click on the Start menu and choose it from the list. It shows all connected drives!
| Step | Action |
|---|---|
| 1 | Right-click the Start button |
| 2 | Select Disk Management |
| 3 | Right-click your desired drive |
| 4 | Choose Format |
| 5 | Follow on-screen instructions |
Using Command Prompt for Advanced Formatting
How to access Command Prompt as an administrator. Stepbystep commands for formatting via CMD.
First, let’s dive into how to reach the Command Prompt, which is like your computer’s secret door. Click on the Start menu and type “cmd.” Right-click on the result and choose “Run as administrator.” Trust me, this is important for what comes next!
Now, for the formatting magic, follow these steps:
| Step | Command |
|---|---|
| 1 | diskpart |
| 2 | list disk |
| 3 | select disk X (replace X with your disk number) |
| 4 | clean |
| 5 | create partition primary |
| 6 | format fs=ntfs quick |
| 7 | exit |
Follow these commands carefully, and your hard drive will be ready to rock! It’s like giving your old disk a makeover. Remember, if your disk could talk, it would say “Thank you!”
Formatting External Drives and USBs
Steps to format external hard drives and USB flash drives. File system options and their implications for usability.
It’s easy to format your external drives and USBs. Follow these simple steps:
- Plug in the drive.
- Open “This PC” or “My Computer.”
- Right-click the drive icon.
- Choose “Format.”
- Select your file system: FAT32, NTFS, or exFAT.
- Click “Start” to format.
Each file system has its uses. FAT32 works well for smaller files but has a size limit. NTFS is great for larger files and security. exFAT is good for drives used on different devices.
What file system should I choose for my drives?
Choose FAT32 for compatibility, NTFS for larger files and added security, or exFAT for easy use across devices. Each one has its strengths!
Troubleshooting Common Formatting Issues
Error messages and their meanings. Solutions for drive not formatting or getting stuck.
Sometimes, formatting a hard drive can feel like trying to tame a wild beast. You might see error messages that say things like “Drive not ready,” or “Cannot format,” which can be confusing. Don’t worry! These phrases usually mean the drive isn’t recognized. If your hard drive gets stuck, it’s like it’s taking a nap when it should be working. Restart your computer or make sure no programs are using the drive. Here’s a quick table to help you decode those error messages:
| Error Message | Meaning | Solution |
|---|---|---|
| Drive not ready | Drive isn’t being detected. | Check connections or restart. |
| Cannot format | Drive might be corrupt. | Use disk check tools. |
| Drive is in use | Another program is blocking it. | Close programs or restart. |
With these tips, your hard drive will be back on track in no time! Remember, formatting isn’t scary—it’s just a life reset for your drive!
After the Format: Next Steps
Repartitioning drives if necessary. Options for reinstalling operating systems or software.
Once you’ve formatted your drive, it’s time for the fun part: deciding what to do next! If your computer feels a bit lonely, repartitioning drives might be a good idea. This means dividing your space, sort of like sharing a pizza—everyone gets a slice! Now, for the real excitement: reinstalling your operating system or software. You can choose between a fresh start with Windows 10 or your favorite programs. Let’s break it down in the handy table below:
| Option | Description |
|---|---|
| Repartitioning | Divide your drive space for different uses. |
| Reinstall OS | Start with a clean install of Windows 10. |
| Install Software | Add your favorite tools and games. |
No pressure, though! Just think of it as setting up your new digital home. What’s your favorite software? Don’t forget to bring snacks (or coffee) for the ride—installations can be a tad slow!
Best Practices for Drive Maintenance Post-Formatting
Regular backups and their importance. Tools for monitoring drive health and performance.
Taking care of your drive after formatting is key to keeping your data safe. Regular backups are important. This means saving copies of your files often. If something goes wrong, you won’t lose everything. Also, use tools to watch your drive’s health. These tools can tell you if your drive is working well.
- Backup your files weekly to ensure safety.
- Use monitoring tools like CrystalDiskInfo or HD Tune to check performance.
Remember, a well-maintained drive lasts longer and works better!
Why are regular backups important?
Regular backups protect your important files. If your computer breaks or gets a virus, backups help recover your lost data. Make it a habit to back up your files!
What tools can help monitor drive health?
- CrystalDiskInfo: Checks drive status and temperature.
- HD Tune: Measures speed and finds errors.
Conclusion
In conclusion, formatting a hard drive for Windows 10 is simple but important. It clears old data and prepares your drive for new use. Remember to back up your files first. You can follow step-by-step guides for a smooth process. Take action today, and explore more resources to get the best results for your computer!
FAQs
What Steps Do I Need To Follow To Format A Hard Drive In Windows Using Disk Management?
To format a hard drive in Windows using Disk Management, first, click on the start button. Then, type “Disk Management” and open it. Next, find the hard drive you want to format, right-click on it, and select “Format.” Follow the instructions on the screen. Finally, click “OK” to start formatting your drive.
How Can I Format A Hard Drive Using Command Prompt In Windows 1
To format a hard drive using Command Prompt, first, open the Command Prompt on your computer. You can do this by searching for “cmd” in the Start menu. Next, type “diskpart” and press Enter. This tool helps you manage drives. Then, type “list disk” to see all your drives. Find the number of the drive you want to format. Type “select disk X,” replacing “X” with that number. Finally, type “format fs=ntfs” and press Enter to start formatting. This will erase everything on that drive, so be careful!
Are There Different File System Options Available When Formatting A Hard Drive In Windows 1And Which One Should I Choose?
Yes, there are different file system options when you format a hard drive in Windows. The most common ones are NTFS, FAT32, and exFAT. NTFS is great for big files and security. If you want something simple for smaller files and easy sharing, choose FAT32 or exFAT. We can pick the best one based on what we need!
What Precautions Should I Take Before Formatting A Hard Drive In Windows To Avoid Data Loss?
Before formatting your hard drive, back up your important files. This means copying them to another place, like a USB drive or cloud storage. Check if you have everything you want to keep. Also, make sure you know what the format will do, so you don’t lose important data. After that, you’re ready to format safely!
Can I Format A Hard Drive That Contains Windows 1And If So, What Is The Process For Doing That?
Yes, you can format a hard drive that has Windows on it. Formatting means erasing everything on the drive, so be careful! First, back up your important files. Then, go to your computer’s settings, find “Disk Management,” right-click on the drive, and choose “Format.” Follow the instructions, and your hard drive will be empty and ready to use.