Experiencing problems with your Epson scanner on Windows 10 can be a frustrating roadblock, especially when you need to digitize documents, photos, or other important items.
Fortunately, resolving an Epson scanner driver fix for Windows 10 is often a straightforward process that can get your device back up and running with minimal hassle. This comprehensive guide will walk you through the most effective solutions, empowering you to troubleshoot and fix common driver-related issues.
Understanding Common Epson Scanner Driver Problems
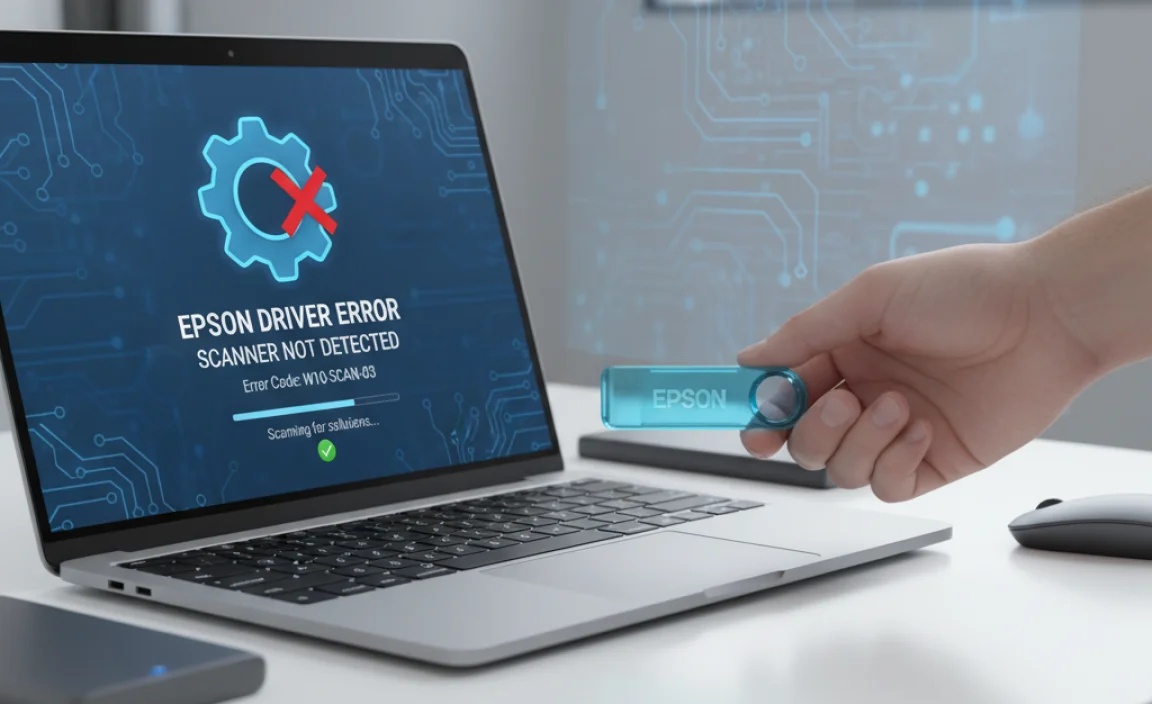
Before diving into solutions, it’s helpful to understand why these issues might arise. The most frequent culprits for an Epson scanner not working on Windows 10 often stem from driver conflicts, outdated drivers, corrupted installations, or even Windows updates that have inadvertently affected compatibility.
Sometimes, the problem isn’t with the driver itself but rather with the scanner’s connection or the Windows operating system’s recognition of the device. Identifying the root cause is the first step toward an efficient fix.
Signs Your Epson Scanner Driver Needs Attention
Scanner not detected by Windows: The most obvious sign is when your computer simply doesn’t see the scanner. You might receive an error message like “Scanner not found” or the scanner may be listed as “Unknown Device” in Device Manager.
Error messages during scanning: You might encounter specific error codes or general messages like “Scanner is not responding” or “Failed to initialize scanner.”
Inconsistent performance: The scanner might work intermittently, or scans might come out blank, corrupted, or with distorted colors.
“Driver is unavailable” messages: Windows might explicitly state that the necessary driver for your Epson scanner is missing or not functioning correctly.
Scanner utility software not launching or crashing: The specialized software provided by Epson to operate your scanner might fail to open or may crash unexpectedly.
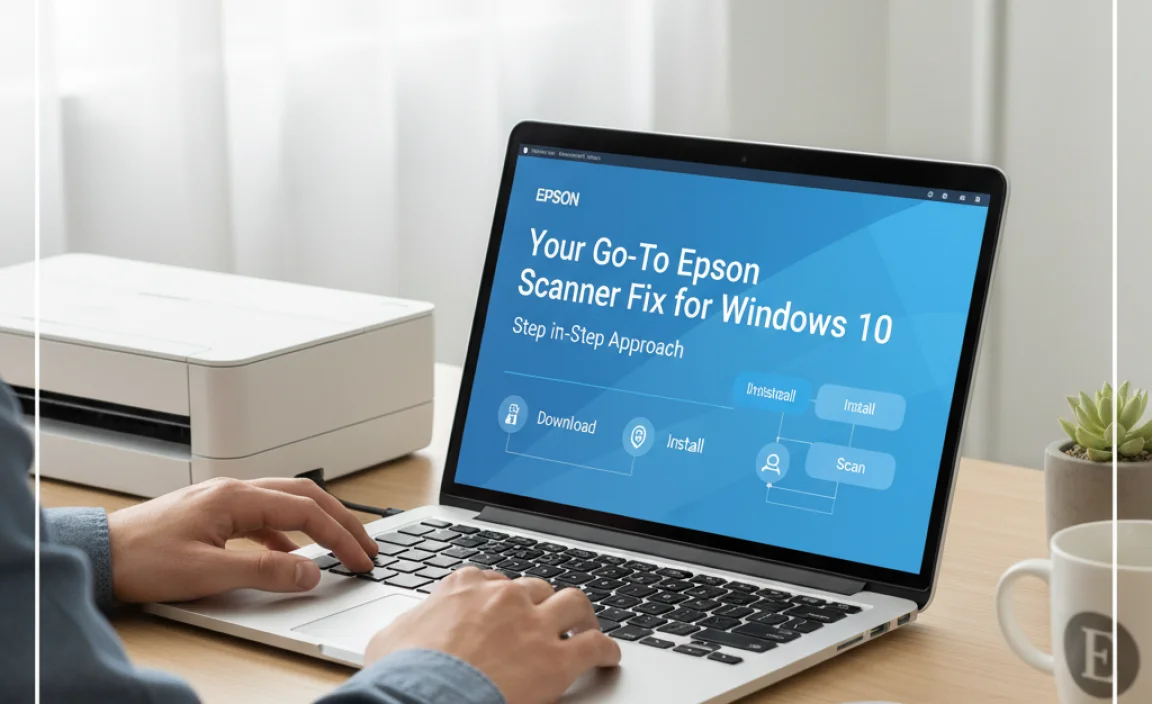
Your Go-To Epson Scanner Driver Fix for Windows 10: The Step-by-Step Approach
When your Epson scanner is behaving erratically on Windows 10, a systematic approach to fixing the driver is your best bet.
Step 1: The Simple Restart (Don’t Underestimate It!)
It sounds basic, but a simple restart of both your computer and scanner can miraculously resolve many transient software glitches. Turn off your scanner, unplug it from the power source, and then restart your Windows 10 PC. Once your computer has fully booted up, plug your scanner back in, turn it on, and try scanning again.
Step 2: Check the Physical Connection
Before you delve into driver troubleshooting, confirm that your scanner is properly connected.
USB Cable: Ensure the USB cable is securely plugged into both the scanner and a functional USB port on your computer. Try using a different USB port to rule out a faulty port. If possible, test with a different USB cable, as these can also fail.
Power Adapter: Verify that the scanner’s power adapter is correctly connected and that the scanner is receiving power.
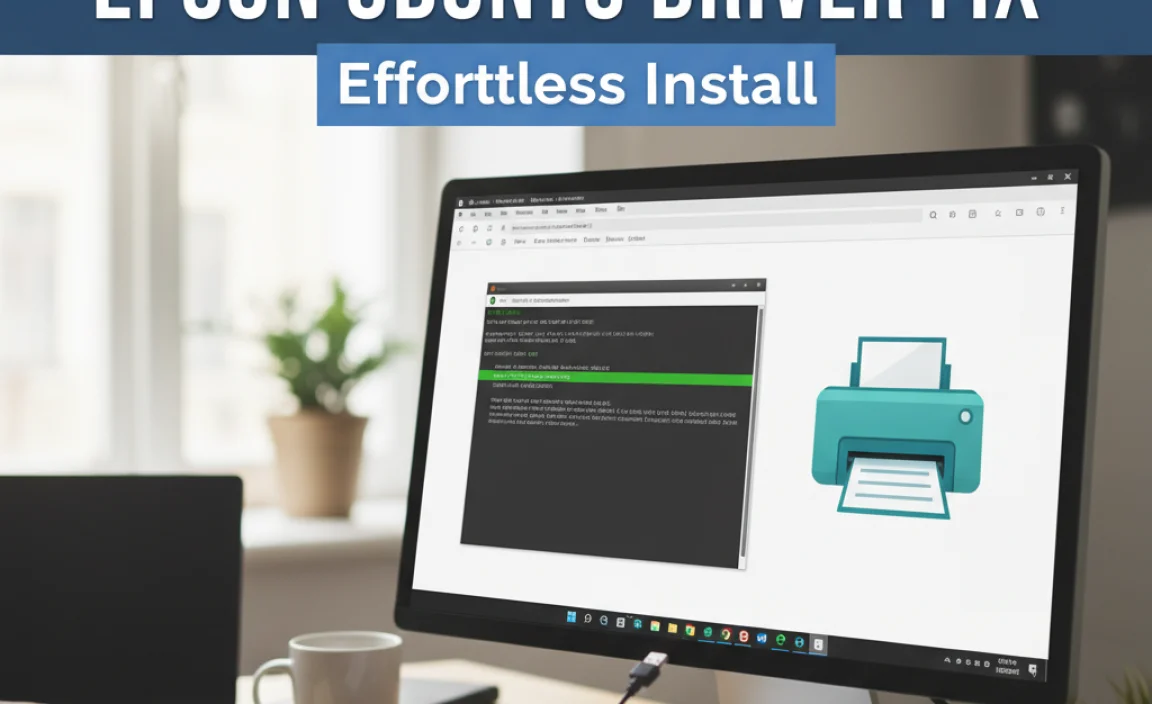
Step 3: Utilize Windows Device Manager
Device Manager is a powerful tool within Windows that allows you to view and manage all hardware connected to your computer. This is often where you’ll find the first concrete clues about driver issues.
1. Open Device Manager: Right-click the Start button and select “Device Manager” from the context menu, or type “Device Manager” into the Windows search bar.
2. Locate Your Scanner: Look for your Epson scanner under “Imaging devices,” “Scanners,” or sometimes “Unknown devices.” If you see a yellow exclamation mark next to it, it indicates a driver problem.
3. Update Driver: Right-click on your Epson scanner and select “Update driver.” Choose “Search automatically for drivers.” Windows will attempt to find and install the latest driver.
4. Uninstall Device: If the automatic update doesn’t work, or if the scanner is listed as an unknown device, right-click on it and select “Uninstall device.” Crucially, if prompted, check the box to “Delete the driver software for this device.” This ensures a clean slate for reinstallation. After uninstalling, restart your computer. Windows will often try to reinstall a generic driver upon reboot.
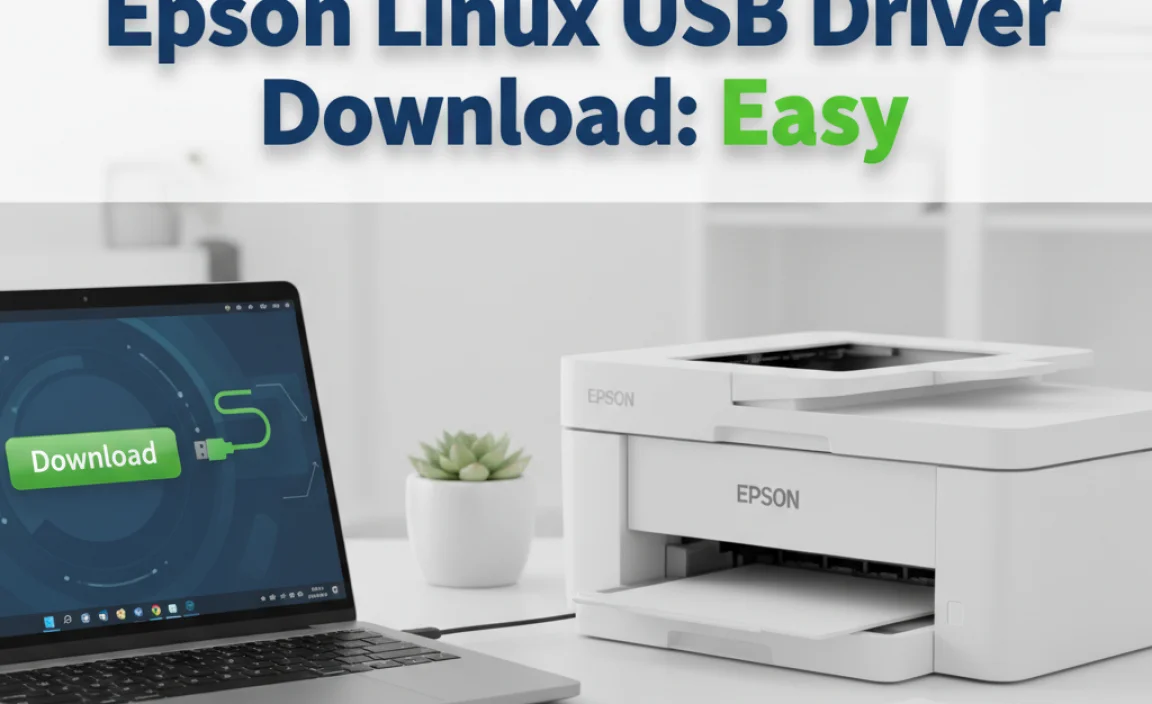
Step 4: Download the Latest Epson Drivers Directly
This is arguably the most reliable method for ensuring you have the correct and most up-to-date Epson scanner driver fix for Windows 10.
1. Visit the Epson Support Website: Go to the official Epson support website for your region.
2. Locate Your Scanner Model: Enter your scanner’s model number (e.g., Epson Perfection V39, Epson ScanSmart) into the search bar.
3. Navigate to Drivers and Downloads: Find the section dedicated to drivers, software, and firmware for your specific model.
4. Select Your Operating System: Ensure you choose “Windows 10” (and the correct architecture – 64-bit or 32-bit if you know it, though Windows 10 is predominantly 64-bit).
5. Download the Latest Driver and Scanner Utility: Download the recommended scanner driver and any associated scanning utility software (like Epson Scan or Epson ScanSmart).
6. Install the Drivers: Before installing, ensure your scanner is NOT connected to your PC. Run the downloaded driver installer. It will guide you through the process and usually prompt you when to connect the scanner. Follow the on-screen instructions carefully.
Step 5: Reinstall Epson Software and Drivers
If the above steps haven’t resolved the issue, a complete reinstallation of Epson’s software and drivers can often be effective.
1. Uninstall Existing Epson Software: Go to “Apps & features” in Windows Settings (search for it in the Start menu) and uninstall all Epson-related software, including drivers, scanning utilities, and any other Epson applications.
2. Restart Your PC: Always restart your computer after uninstalling software.
3. Download and Install Fresh Drivers: Follow Step 4 to download the latest drivers and software directly from Epson’s website.
4. Connect Scanner When Prompted: During installation, connect the scanner only when the installer instructs you to do so.
Step 6: Run the Windows Troubleshooter
Windows has built-in troubleshooters that can automatically detect and fix common hardware and device issues.
1. Open Troubleshoot Settings: Go to Settings > Update & Security > Troubleshoot.
2. Run Hardware and Devices Troubleshooter (if available): On older Windows 10 versions, you might find a dedicated “Hardware and Devices” troubleshooter. If not, select “Other troubleshooters.”
3. Choose Relevant Troubleshooter: Look for troubleshooters related to printers or hardware. Run the troubleshooter and follow any on-screen prompts.
Advanced Troubleshooting Tips
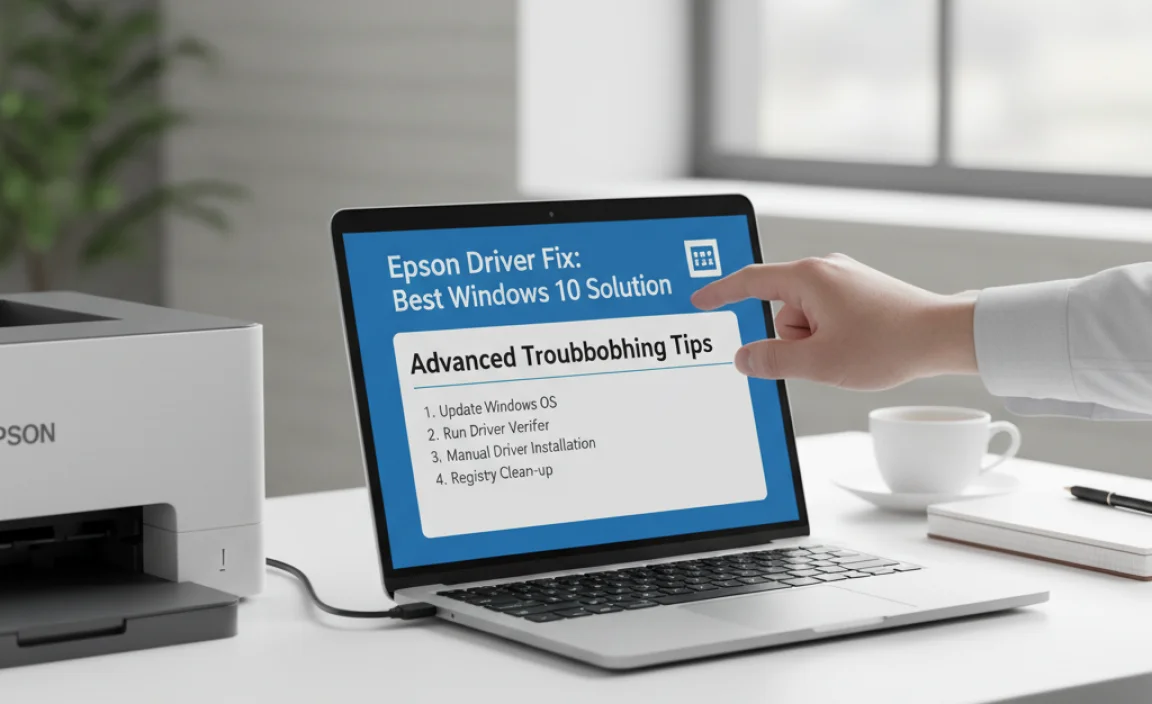
If your Epson scanner driver fix for Windows 10 still isn’t working after following these steps, consider these additional measures:
Check for Windows Updates: Ensure your Windows 10 is fully updated. Sometimes, an update may include a fix or a more compatible driver. Go to Settings > Update & Security > Windows Update.
Compatibility Mode: If you’re trying to install older Epson software or drivers, you might try running the installer in compatibility mode. Right-click the installer file, select “Properties,” go to the “Compatibility” tab, and choose an older Windows version.
Firewall and Antivirus: Occasionally, security software can interfere with driver installations or device communication. Temporarily disable your firewall and antivirus software and try installing the drivers again. Remember to re-enable them afterward.
* System File Checker (SFC) Scan: Corrupted system files can also cause hardware issues. Open Command Prompt as an administrator and type `sfc /scannow` then press Enter. This will scan for and attempt to repair corrupted system files.
By systematically working through these steps, you should be able to find a reliable Epson scanner driver fix for Windows 10 and get your device operational again, ensuring your scanning needs are met without frustrating delays.